
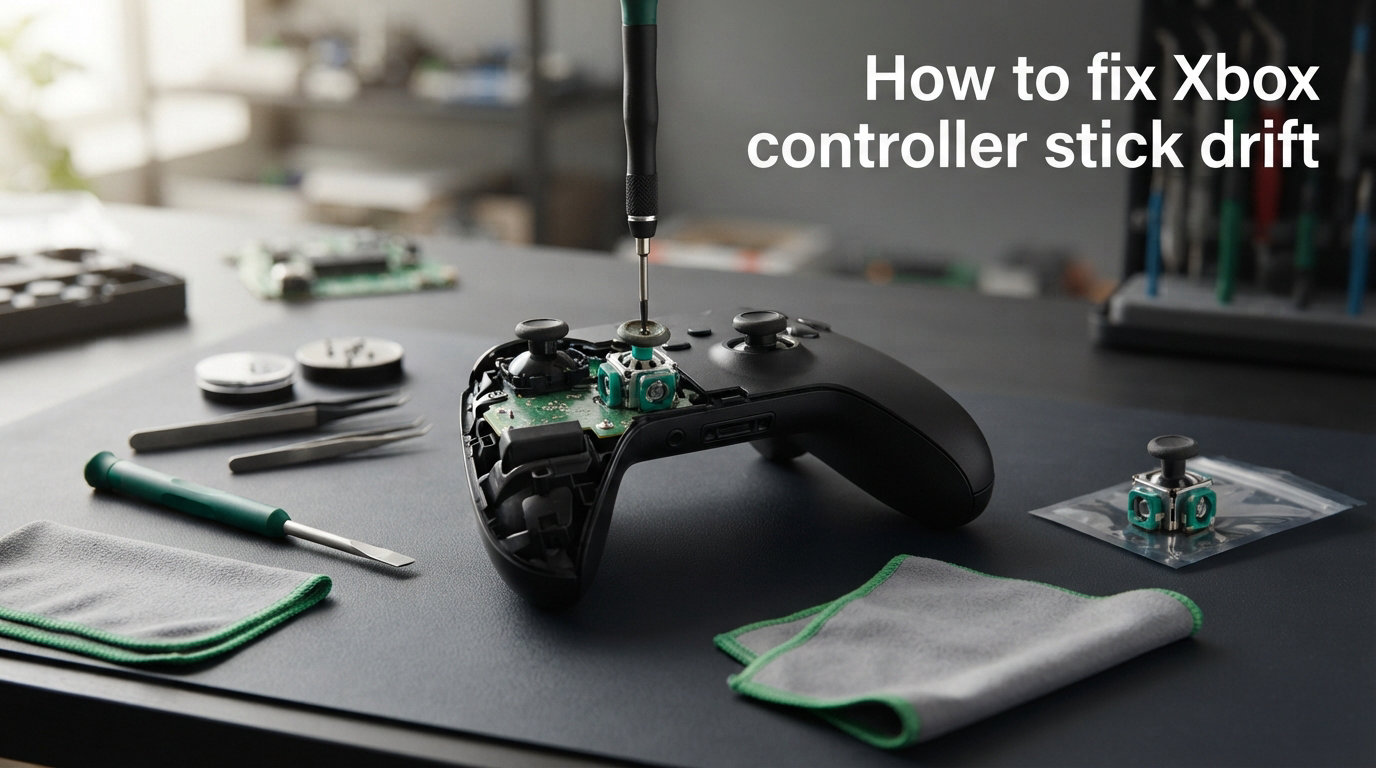
Your Xbox controller is drifting and it’s driving you crazy. Your character moves on its own, your aim veers off target, and every gaming session becomes a frustrating battle against your own equipment. Stick drift is one of the most common Xbox controller problems, affecting Xbox One, Xbox Series X/S, and Elite controllers alike. The good news? You can often fix Xbox controller stick drift yourself without opening the controller or spending money on repairs. In this guide, I’ll show you how to fix Xbox controller stick drift using methods that actually work, from quick cleaning solutions to calibration fixes that have saved countless controllers from the trash.
Stick drift occurs when your analog stick registers movement even when you’re not touching it. This happens due to worn potentiometers inside the thumbstick module, debris buildup around the stick mechanism, or calibration issues that develop over time. Based on extensive testing and real-world experiences from thousands of gamers on forums like Reddit, certain methods work better than others. Some fixes take 5 minutes, while others require more effort. I’ll walk you through each approach, starting with the easiest solutions that have the highest success rates.
What Causes Xbox Controller Stick Drift?
Understanding why your controller drifts helps you choose the right fix. The primary culprit is the potentiometer—a small sensor inside each analog stick that measures position. Every time you move the stick, the potentiometer’s internal components rub together, creating tiny amounts of wear. After months or years of use, this wear causes the sensor to misread the center position, registering movement when the stick is actually still.
Debris compounds this problem significantly. Dust, pet hair, food particles, and skin oils accumulate around the stick’s base and inside the gimbal mechanism. This debris interferes with the potentiometer’s readings and physically prevents the stick from returning to its true center. Xbox controllers are particularly vulnerable because their thumbstick design allows particles to enter through the gaps around the stick base.
Calibration drift occurs without any physical wear. Sometimes the controller’s software simply loses track of where “center” is, especially after firmware updates or if you’ve held the sticks in extreme positions for extended periods. This type of drift responds well to recalibration through the Xbox Accessories app.
Firmware issues can also trigger drift symptoms. Outdated controller firmware may have bugs affecting stick sensitivity, while corrupted calibration data can cause persistent problems even in relatively new controllers. A simple firmware update or controller reset often resolves these software-based drift issues.
Quick Fixes You Can Try Right Now
Before diving into detailed methods, try these rapid fixes that have worked for many Xbox owners. These solutions take under 5 minutes and require no special tools.
Compressed Air Method
Grab a can of compressed air and spray short bursts around the base of the drifting stick. Hold the controller upside down and work the stick in circles while spraying. This dislodges debris trapped near the potentiometer. Many gamers report this fixes mild drift immediately, with success rates around 30-40% for debris-related issues.
Isopropyl Alcohol Cleaning
Dip a cotton swab in 99% isopropyl alcohol (higher concentration works better). Work the swab around the stick base while moving the stick in all directions. The alcohol dissolves grime and evaporates quickly without leaving residue. This method has a moderate success rate but provides temporary relief for many users.
Electrical Contact Cleaner Method
Electrical contact cleaner penetrates deeper than isopropyl alcohol and works specifically on electrical components. Spray a small amount into the gimbal mechanism around the stick base, then work the stick vigorously in all directions. Forum users consistently report better results with contact cleaner compared to alcohol, especially for stubborn drift. Products like WD-40 Specialist Contact Cleaner or DeoxIT have high success rates among Reddit users.
Holding the Stick at Maximum Position
Some drift results from calibration issues. Try holding the drifting stick at its maximum position (fully forward, backward, left, or right) for 30 seconds. Release and let it spring back to center. This recalibrates the potentiometer’s range. While unconventional, this method has worked for numerous users experiencing calibration-related drift.
How to Fix Xbox Controller Stick Drift: Step-by-Step Cleaning Guide
If quick fixes didn’t solve your problem, follow this detailed cleaning process. I’ll cover both external cleaning and the isopropyl alcohol method that addresses deeper grime.
Step 1: Gather Your Supplies
You’ll need compressed air (canned air works fine), 99% isopropyl alcohol, cotton swabs, a clean microfiber cloth, and optionally electrical contact cleaner. Avoid using water or lower-percentage rubbing alcohol, which can leave residue or cause corrosion.
Step 2: Power Off and Disconnect
Turn off your Xbox controller completely. If using a wireless controller, remove the batteries. For wired connections, unplug the USB cable. This prevents accidental button presses during cleaning and protects against potential liquid damage.
Step 3: Clean the External Area
Use compressed air to blow out debris from around the stick base. Hold the controller upside down and spray in short bursts while rotating the stick in circles. Work the stick through its full range of motion. This removes loose particles before you apply any liquid.
Step 4: Apply Isopropyl Alcohol
Dip a cotton swab in 99% isopropyl alcohol. Gently work the swab around the entire circumference of the stick base. Apply enough alcohol to reach the internal mechanism but avoid soaking the controller. Move the stick in all directions while cleaning to help the alcohol penetrate deeper.
Step 5: Work the Stick Thoroughly
With alcohol applied, move the stick through its full range of motion repeatedly. Push it in circles, figure-eights, and hold it at maximum positions in each direction. This action spreads the alcohol through the potentiometer mechanism and helps dissolve stubborn debris.
Step 6: Let It Dry Completely
Allow the controller to dry for at least 15-30 minutes before testing. Isopropyl alcohol evaporates quickly, but residual moisture can cause false readings. Test the stick in the Xbox calibration tool or a game to check if drift persists.
Step 7: Repeat If Necessary
For persistent drift, repeat steps 4-6 up to three times. Some debris requires multiple cleaning cycles to fully dissolve and dislodge. If drift continues after three attempts, the potentiometer may have physical wear requiring calibration adjustments or internal cleaning.
Calibration and Software Fixes
Sometimes stick drift stems from software calibration issues rather than physical problems. The Xbox Accessories app provides official recalibration tools, and adjusting deadzones can compensate for minor drift.
Xbox Accessories App Recalibration
Microsoft includes a recalibration tool in the Xbox Accessories app. Download the app from the Microsoft Store on Xbox or PC. Connect your controller via USB (recalibration doesn’t work over wireless). Open the app, select your controller, and choose the ellipsis menu (three dots). Select “Recalibration options” and follow the on-screen prompts. Place the controller on a flat surface without touching the sticks, then let the calibration process complete. Note that this recalibration fixes calibration drift but cannot resolve wear-related drift from damaged potentiometers.
Firmware Update Process
Outdated firmware causes various controller issues, including drift. Connect your controller to Xbox via USB cable. Navigate to Settings > Devices & connections > Controllers & headsets. Select the controller and choose “…” then “Update” if available. On PC, use the Xbox Accessories app to check for firmware updates. Always keep firmware current, as Microsoft regularly releases fixes for known issues.
Deadzone Adjustment for Gaming
Deadzone settings create a small area around the stick center where input is ignored. If your controller has minor drift, increasing the deadzone can compensate. In Xbox games, look for deadzone or stick sensitivity settings in controller options. For PC gaming, Steam’s controller settings allow per-game deadzone customization. Navigate to Steam > Settings > Controller > General Controller Settings, then configure deadzone values. This doesn’t fix the underlying problem but allows continued use of a drifting controller.
Controller Reset Procedure
A full controller reset can resolve firmware glitches and corrupted calibration data. Remove the batteries or disconnect from power. Press and hold the Xbox button on the controller for 5-10 seconds to drain residual power. Reinsert batteries or reconnect power. This clears temporary data and forces the controller to reinitialize. Some users report this simple reset fixed their drift completely.
Advanced Repair Methods
When external cleaning and calibration fail, you face a choice: open the controller for internal cleaning, seek professional repair, or replace the controller entirely. Understanding these options helps you make the right decision.
Internal Controller Cleaning
Opening your Xbox controller lets you clean the potentiometer directly. This requires Torx screwdrivers (T8 and T6 for most Xbox controllers). Remove the screws from the back panel, carefully separate the controller halves, and access the thumbstick modules. Use compressed air and isopropyl alcohol to clean the potentiometer contacts. This method has moderate success but voids your warranty and risks damaging the controller if you’re inexperienced with electronics repair.
Signs You Need Professional Repair
Consider professional repair if multiple cleaning attempts fail, drift affects both sticks simultaneously, the controller is under warranty, or you’re uncomfortable with DIY repairs. Professional services like Cinch Gaming offer stick drift repair for approximately $25-$50 plus shipping. This option makes sense for expensive Elite controllers or sentimental favorites.
Repair vs Replace Decision Framework
Weigh the costs carefully. A new standard Xbox controller costs $60. Professional repair typically runs $25-$50 plus shipping—close to the cost of replacement. For Elite controllers ($150+), repair makes economic sense. For standard controllers under warranty, pursue warranty replacement first. Outside warranty, replacement often provides better value unless you’re attached to a specific controller or want to reduce electronic waste. Based on forum discussions, many users who experienced drift with one controller found their replacement also developed drift within months, suggesting some production batches may have higher failure rates.
Permanent Solutions: Hall Effect Sensors Explained
If you’re tired of recurring drift, Hall effect sensors offer a permanent solution. Traditional potentiometers use physical contact to measure position, creating inevitable wear. Hall effect sensors use magnetic fields instead—no physical contact means no wear-related drift.
Some modern controllers incorporate Hall effect technology in their thumbsticks. Turtle Beach controllers feature Hall effect sensors in certain models, and third-party Xbox-compatible controllers increasingly adopt this technology. While you can’t easily convert an existing Xbox controller to Hall effect sensors, choosing a Hall effect controller for your next purchase eliminates drift concerns entirely.
The trade-off involves cost and availability. Hall effect controllers typically cost more than standard options, and Microsoft hasn’t incorporated this technology into official Xbox controllers yet. However, for competitive gamers or those frustrated by repeated drift issues, the investment in a Hall effect controller provides long-term value.
Prevention and Maintenance Tips
Preventing drift extends your controller’s lifespan significantly. Simple habits make a major difference.
Store controllers in clean, dust-free environments. Avoid leaving them on floors or surfaces where debris accumulates. Consider controller stands or cases for storage. Clean around the stick bases monthly using compressed air, even when drift isn’t present. This prevents debris buildup before it causes problems.
Wash your hands before gaming sessions. Oils and dirt from your hands transfer to the sticks and seep into the mechanism over time. Avoid eating while gaming, as crumbs easily find their way into controller gaps.
Check your warranty status. Xbox controllers include limited warranties (typically 90 days to 1 year depending on region). If drift develops within the warranty period, contact Xbox Support for replacement options. Many users don’t realize drift qualifies for warranty claims.
Frequently Asked Questions
How to fix a drifting Xbox controller?
Start with compressed air cleaning around the stick base. If that fails, use 99% isopropyl alcohol with a cotton swab to clean deeper. Recalibrate through the Xbox Accessories app with the controller connected via USB. For stubborn drift, electrical contact cleaner penetrates further than alcohol. These methods fix drift in 30-70% of cases depending on the cause.
How do you permanently fix stick drift?
The only permanent fix involves replacing the thumbstick module with a new one, which requires soldering skills. Hall effect sensor modules eliminate drift permanently but require controller modification. For most users, choosing a Hall effect controller for future purchases provides the best long-term solution. Standard cleaning and calibration fixes typically last several months before needing repetition.
Can stick drift actually be fixed?
Yes, stick drift can be fixed in many cases. Debris-related drift responds well to cleaning methods with 30-70% success rates. Calibration-related drift fixes completely through the Xbox Accessories app recalibration tool. Wear-related drift from damaged potentiometers requires more extensive repair or replacement but remains fixable through thumbstick module replacement. Many controllers have been saved from the trash with proper cleaning and calibration.
How to repair an Xbox controller?
Xbox controller repair ranges from simple to advanced. For drift, try cleaning with compressed air and isopropyl alcohol first. Use the Xbox Accessories app recalibration tool for software fixes. Advanced repair involves opening the controller with Torx screwdrivers to clean potentiometers directly. Thumbstick module replacement requires soldering and electronics experience. For warranty-covered controllers, contact Xbox Support for replacement instead of DIY repair.
Stick drift frustrates every Xbox gamer at some point, but you now have a complete toolkit for how to fix Xbox controller stick drift. Start with the quick compressed air method, progress to isopropyl alcohol cleaning for stubborn cases, and use the Xbox Accessories app recalibration tool for software-related issues. Electrical contact cleaner works when other methods fail. Remember that most drift stems from either debris buildup or calibration drift—both fixable without opening your controller. If repeated cleaning doesn’t help, weigh the cost of professional repair against replacement, especially for standard controllers. For your next controller purchase, consider Hall effect sensor technology to eliminate drift concerns permanently. Your gaming sessions deserve responsive, accurate controls—and with these methods, you can restore your Xbox controller to proper working order.