
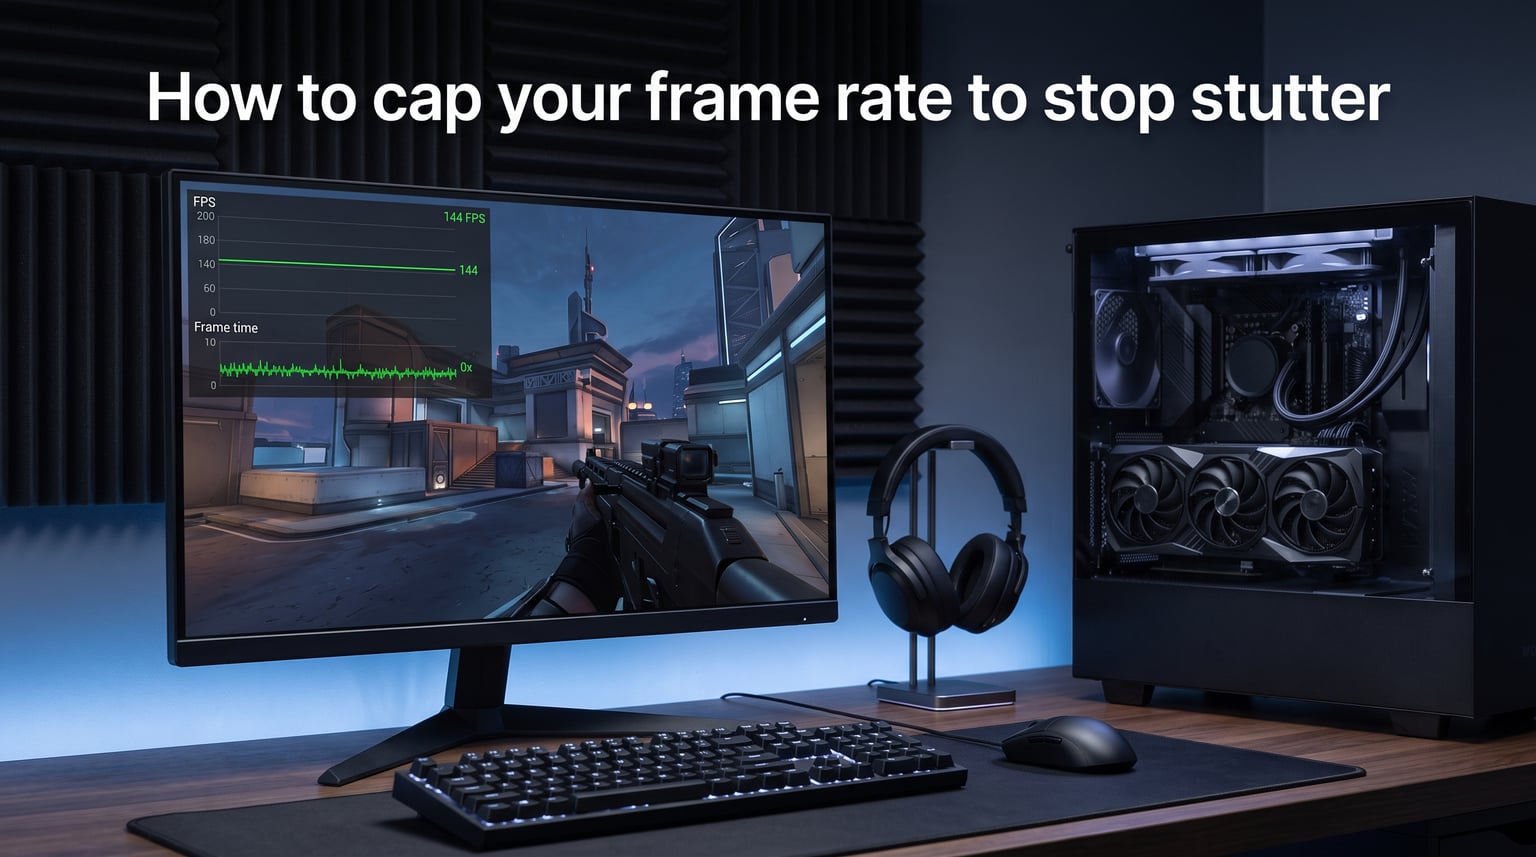
Your FPS counter reads 120, 140, sometimes even 200 but the game still hitches and stutters like a slideshow. Sound familiar? This is one of the most frustrating problems in PC gaming, and the counterintuitive fix is learning how to cap your frame rate to stop stutter instead of pushing for higher numbers.
I spent weeks troubleshooting this on my own rig. I swapped drivers, tweaked in-game settings, and nearly replaced my GPU before I discovered that the problem was not low performance but inconsistent frame delivery. Once I capped my frame rate properly, the difference was night and day.
In this guide, I will walk you through exactly why high FPS does not guarantee smooth gameplay, which frame capping method works best, and the specific FPS cap values you should use for your monitor. Whether you are running a 60Hz panel or a 240Hz competitive display, you will find a setup that eliminates stutter for good.
Why High FPS Can Still Stutter
High FPS alone does not equal smooth gameplay. What matters is how evenly those frames are spaced apart, a concept called frame pacing. When your GPU pumps out frames at irregular intervals, you get visible stuttering even when the average FPS counter looks great.
Imagine two scenarios at 100 FPS. In the first, your GPU renders one frame every 10 milliseconds like clockwork. In the second, it renders three frames in 5 milliseconds, then pauses for 25 milliseconds before rendering the next batch. Both average 100 FPS, but only the first looks smooth.
That second scenario is what gamers call frametime spikes. Your on-screen FPS counter says everything is fine, but your eyes tell a different story. The screen hitches, the mouse feels jerky, and the whole experience feels broken despite high framerates.
This problem gets worse with uncapped frame rates. When your GPU runs at maximum capacity with no limit, it has no headroom to maintain consistent frame intervals. Scene complexity changes, GPU usage spikes, and frame delivery becomes unpredictable. Capping FPS gives your GPU breathing room to deliver frames on a steady, predictable schedule.
What Is Frame Pacing and Why It Matters
Frame pacing is the measure of how consistently frames are delivered to your monitor over time. Good frame pacing means each frame arrives at a regular interval. Bad frame pacing means frames arrive in clumps and pauses, creating that uneven, stuttery look even at high framerates.
To understand frame pacing, you need to understand frame times. Frame time is how long it takes your GPU to render a single frame, measured in milliseconds. At 60 FPS, each frame takes about 16.7 milliseconds. At 144 FPS, that drops to roughly 6.9 milliseconds per frame. When frame times stay consistent, gameplay looks smooth.
The metric that reveals stutter better than average FPS is 1% lows. This number shows the slowest 1% of frame times in your session. If your average is 120 FPS but your 1% low is 55 FPS, you are experiencing significant stutter. A system averaging 90 FPS with a 1% low of 80 FPS will look dramatically smoother.
This is why forum users on r/pcmasterrace and LinusTechTips consistently recommend looking at frame time graphs rather than trusting an FPS counter. Tools like MSI Afterburner and RTSS can overlay these graphs in real time so you can see exactly when and why stutter occurs.
How to Cap Your Frame Rate to Stop Stutter: Method Comparison
When learning how to cap your frame rate to stop stutter, you have three main options: RTSS (RivaTuner Statistics Server), in-game frame limiters, and GPU driver limiters. Each has strengths and weaknesses depending on your hardware and what type of game you play.
RTSS offers the best frame pacing of any limiter because it uses a CPU-based framerate limiting method that enforces strict frame intervals. It works across all games and gives you granular control down to single-FPS precision. The trade-off is a small amount of added input latency, typically 1 to 2 milliseconds, which is negligible for most players but matters to competitive esports athletes.
In-game frame limiters are convenient because no extra software is needed. However, their quality varies wildly from game to game. Some games like Counter-Strike 2 and Valorant have excellent built-in limiters with minimal latency. Others have broken limiters that produce worse frame pacing than running uncapped.
GPU driver limiters are built into NVIDIA Control Panel and AMD Radeon Software. They are easy to set up and work globally across all games. NVIDIA’s Max Frame Rate option provides decent pacing with low latency, making it a strong middle ground. AMD’s Radeon Chill works differently, dynamically adjusting FPS based on scene movement, which saves power but can feel inconsistent.
For the absolute best smoothness, RTSS is the community-validated gold standard. For the lowest input latency in competitive shooters, a well-implemented in-game limiter is hard to beat. And for a set-and-forget solution that works everywhere, GPU driver limiters get the job done.
Method 1: RTSS (RivaTuner Statistics Server) – The Gold Standard
RTSS is a free tool bundled with MSI Afterburner that provides the most consistent frame pacing of any limiter available. Competitive and casual gamers alike trust it because it enforces strict frame intervals at the CPU level, before frames even reach your GPU.
Step 1: Download MSI Afterburner from the official Guru3D or MSI website. The installer includes RTSS as an optional component, so make sure the checkbox for RivaTuner Statistics Server is selected during installation.
Step 2: Launch RTSS from your system tray or Start menu. You will see a list of detected applications and a global profile at the top. Click the green “Add” button next to any game you want to cap, or simply use the global profile to apply a cap to everything.
Step 3: Under the “Framerate limit” column, click the number and type your desired cap. For a 144Hz monitor, enter 141. For a 165Hz display, use 162. For 60Hz, use 58. The general rule is to cap 3 FPS below your monitor’s refresh rate when using G-Sync or FreeSync, which I will explain in detail later.
Step 4: Set the “Framerate limit” to the same value under the “Global” profile if you want the cap applied to all games by default. For per-game control, add each game individually and set custom values. This is useful if you want 141 FPS for single-player titles but 237 FPS for competitive matches on a 240Hz monitor.
Step 5: Click “Apply” and launch your game. You should see the framerate locked at your chosen value with rock-solid frame pacing. Use the RTSS overlay (enable it in MSI Afterburner settings) to verify that your frame time graph is a flat, consistent line.
One thing to keep in mind: RTSS adds approximately 1 to 2 frames of rendering queue latency. At 60 FPS that is about 16 to 33 milliseconds. At 144 FPS it is only about 7 to 14 milliseconds. For competitive shooters where every millisecond counts, you may prefer an in-game limiter. For everything else, RTSS delivers the smoothest experience.
Method 2: In-Game Frame Limiters
In-game frame limiters are the simplest option because they require no additional software. Most modern games include a Max FPS setting in their graphics or display options menu. The quality of these limiters depends entirely on how well the developer implemented them.
Games built on Source 2 (Counter-Strike 2, Dota 2) and Unreal Engine 5 typically have excellent in-game limiters with frame pacing that rivals RTSS. If you play these titles, using the built-in FPS cap gives you low latency and smooth delivery without any extra tools.
To set an in-game FPS cap, open your game’s settings menu, navigate to the Graphics or Display section, and look for a Max Frame Rate, FPS Limit, or Frame Cap option. Enter your desired value following the same 3-below-refresh-rate rule and apply the setting.
The downside is inconsistency. Some games have notoriously poor frame limiters that produce worse pacing than running uncapped. If you notice stutter after setting an in-game cap, switch to RTSS or your GPU driver limiter instead. A quick test is to enable the frame time overlay and look for jagged spikes. If the graph is flat, the in-game limiter is working well. If it is erratic, move on to a better option.
My recommendation: always try the in-game limiter first since it offers the lowest latency when implemented correctly. If frame pacing is poor, fall back to RTSS for the smoothest experience or NVIDIA Control Panel for a good balance.
Method 3: GPU Driver Frame Limiters (NVIDIA and AMD)
GPU driver limiters are built directly into your graphics driver, which means they work across every game without requiring third-party software. They are the best option for gamers who want a set-and-forget solution that applies globally.
For NVIDIA users: Open NVIDIA Control Panel, navigate to “Manage 3D Settings” under the 3D Settings section. Scroll through the Global Settings tab until you find “Max Frame Rate.” Toggle it to “On” and use the slider to set your desired FPS cap. Click “Apply” to save. This limiter works well with low latency and good frame pacing, making it an excellent middle ground between RTSS and in-game limiters.
NVIDIA’s driver limiter is particularly effective when combined with NVIDIA Reflex, a technology available in supported games that reduces system latency. If your game supports Reflex, enable it alongside your driver-level FPS cap for the best responsiveness.
For AMD users: Open AMD Radeon Software (Adrenalin), click the gear icon for Settings, then navigate to the “Graphics” tab. Look for “Radeon Chill” or “Frame Rate Target Control” (FRTC). FRTC lets you set a specific FPS cap similar to NVIDIA’s solution. Radeon Chill dynamically adjusts your framerate based on in-game movement, reducing FPS during slow scenes and boosting it during fast action. This saves power and reduces heat but can feel inconsistent.
For a straightforward cap that behaves like NVIDIA’s option, use FRTC. If you want power savings and lower temperatures, experiment with Radeon Chill. Neither method offers frame pacing as tight as RTSS, but both are reliable enough for most gamers.
Monitor Refresh Rate to Optimal FPS Cap Reference
One of the most common questions I see on gaming forums is what FPS to cap for a specific monitor. The answer depends on whether you are using G-Sync, FreeSync, or a fixed refresh rate panel. Here is the reference I use across all my setups.
60Hz monitor: Cap at 58 FPS with G-Sync or FreeSync enabled. If you have no variable refresh rate, cap at 60 FPS and enable V-Sync in your GPU driver to prevent tearing. For older hardware that cannot sustain 60 FPS, cap at 30 for consistent console-style smoothness.
144Hz monitor: Cap at 141 FPS with G-Sync or FreeSync. This is the sweet spot that the gaming community has validated across thousands of setups. The 3-FPS buffer prevents your framerate from touching the refresh rate ceiling, which keeps G-Sync active and eliminates both tearing and stutter.
165Hz monitor: Cap at 162 FPS with G-Sync or FreeSync. The same 3-below rule applies. If your GPU cannot sustain 162 FPS, cap at 141 or 120 for more consistent frame pacing with GPU headroom to spare.
240Hz monitor: Cap at 237 FPS with G-Sync or FreeSync. Most competitive gamers on 240Hz panels play without G-Sync for absolute minimum latency, capping at 240 or leaving FPS uncapped. For smooth single-player gaming on a 240Hz display, 237 with VRR enabled provides the best experience.
The key principle is always leaving a small buffer below your refresh rate when using variable refresh rate technology. This prevents the limiter and VRR from conflicting at the boundary, which can cause stutter and input lag spikes.
Windows Settings and Power Plan Optimization
Capping your frame rate is the biggest piece of the puzzle, but Windows settings play a supporting role in keeping your system running smoothly. A few quick tweaks can eliminate background stutter caused by the operating itself stealing resources mid-game.
Enable Game Mode: Press the Windows key, type “Game Mode Settings,” and toggle Game Mode to On. This tells Windows to prioritize gaming processes and suspend background tasks like Windows Update while you play. It is a simple toggle that makes a measurable difference.
Switch to High Performance Power Plan: Open the Start menu, search for “Choose a power plan,” and select “High Performance” or “Ultimate Performance.” This prevents your CPU and GPU from downclocking to save power, which is a common cause of random stutter during gameplay. On laptops, this setting is especially important since balanced power plans throttle aggressively.
Close unnecessary background apps: Browser tabs, streaming software, and even some RGB lighting utilities consume GPU and CPU resources. Before launching a game, check your system tray and close anything you do not need. Discord overlays, Steam overlay, and NVIDIA ShadowPlay can also cause micro-stutter on lower-end systems.
Keep drivers updated: GPU driver updates regularly include frame pacing improvements and game-specific optimizations. I check for updates monthly using NVIDIA GeForce Experience or AMD Radeon Software. A clean install (removing old drivers before installing new ones) can resolve persistent stutter issues that no amount of FPS capping will fix.
Monitor temperatures: Thermal throttling is a sneaky cause of progressive stutter. When your GPU or CPU hits its thermal limit (typically around 83 to 90 degrees Celsius), it automatically reduces clock speeds to protect itself. This causes sudden FPS drops and frame time spikes. Use MSI Afterburner to monitor GPU temperature in your overlay. If temps exceed 85 degrees consistently, clean your fans, improve case airflow, or reapply thermal paste.
V-Sync, G-Sync, and FreeSync Configuration
Variable refresh rate (VRR) technology is the perfect companion to frame capping. G-Sync (NVIDIA) and FreeSync (AMD) dynamically adjust your monitor’s refresh rate to match your GPU’s framerate, eliminating screen tearing without the input lag of traditional V-Sync.
The ideal setup for G-Sync and FreeSync users: Enable G-Sync or FreeSync in your GPU driver. Set your FPS cap to 3 below your monitor’s maximum refresh rate (141 for 144Hz, 162 for 165Hz, 237 for 240Hz). Leave V-Sync OFF in-game and ON in your GPU driver control panel. This combination is the community-standard configuration validated by Battle(non)sense and other technical experts.
You might wonder why V-Sync should be on in the driver but off in-game. When G-Sync or FreeSync is active, it handles tear prevention up to your refresh rate. At the exact refresh rate boundary, VRR stops working and V-Sync takes over. By capping 3 FPS below the refresh rate, you never hit that boundary, so V-Sync never actually engages. But if your cap somehow fails, driver-level V-Sync acts as a safety net to prevent tearing without adding latency during normal operation.
For NVIDIA users without a G-Sync monitor, consider “Fast Sync” instead of standard V-Sync. Fast Sync renders frames as fast as possible but only displays the most recent complete frame, eliminating tearing with less latency than traditional V-Sync. It works best when your framerate is at least double your refresh rate.
For users on fixed refresh rate monitors with no VRR support, traditional V-Sync eliminates tearing but adds up to one full frame of input latency. In this case, a frame cap set exactly at your refresh rate combined with V-Sync is the best compromise between smoothness and responsiveness.
Competitive vs Single-Player Frame Cap Strategies
Not all games benefit from the same frame cap strategy. Competitive shooters demand the lowest possible input latency, while single-player titles benefit from maximum smoothness and visual consistency.
For competitive games like Counter-Strike 2, Valorant, and Apex Legends: Use the in-game frame limiter if it is well-implemented, as this provides the lowest system latency. Cap at your monitor’s refresh rate or slightly above if you have a high-refresh display. Disable G-Sync and FreeSync if you play at a level where every millisecond matters, since VRR adds a tiny amount of processing latency. Many pros run uncapped or at 240+ FPS even on 144Hz monitors for reduced input lag, accepting minor tearing as a trade-off.
For single-player games like Cyberpunk 2077, Red Dead Redemption 2, and story-driven titles: Use RTSS to cap 3 FPS below your refresh rate with G-Sync or FreeSync enabled. This gives you the smoothest, most consistent visual experience with zero tearing and minimal stutter. The small amount of added input latency from RTSS is completely unnoticeable in non-competitive gameplay.
For MMO and open-world games with highly variable scene complexity: Consider a more conservative cap. Instead of pushing your GPU to its limit, cap at a value your system can sustain 99% of the time. If you average 130 FPS but dip to 85 in busy areas, capping at 100 FPS eliminates those distracting dips and makes the experience feel consistently smooth throughout.
Frequently Asked Questions
Does capping FPS help with stuttering?
Yes. Capping FPS creates GPU headroom that allows your graphics card to render frames at consistent intervals. When your GPU is not running at maximum capacity, it has breathing room to maintain steady frame times, which directly reduces stutter. Most users see dramatic improvement by capping 3 FPS below their monitor refresh rate using RTSS or a GPU driver limiter.
How to reduce FPS stutter?
To reduce FPS stutter, cap your frame rate 3 FPS below your monitor refresh rate using RTSS or your GPU driver limiter. Enable G-Sync or FreeSync, set Windows to High Performance power plan, close background applications, and keep your GPU drivers updated. Use MSI Afterburner to monitor your frame time graph and identify remaining stutter sources like thermal throttling.
How to fix choppy frame rate?
Fix choppy frame rate by capping FPS at a value your GPU can sustain consistently, enabling Game Mode in Windows, switching to the High Performance power plan, and ensuring your GPU temperatures stay below 85 degrees Celsius. If the problem persists, try a clean reinstall of your graphics drivers and disable overlay software like Discord or Steam overlay that can interfere with frame delivery.
Is capping FPS a good idea?
Yes, capping FPS is almost always a good idea for smoother gameplay. It prevents your GPU from running at maximum capacity, reduces heat and power consumption, eliminates screen tearing when paired with G-Sync or FreeSync, and produces more consistent frame pacing. The only scenario where capping is not recommended is competitive esports where minimum input latency matters more than smoothness.
Conclusion
Learning how to cap your frame rate to stop stutter is the single most effective change you can make for smoother PC gaming. The key takeaways are simple: cap 3 FPS below your refresh rate, use RTSS for the best frame pacing, pair it with G-Sync or FreeSync, and keep your system free of thermal and background-process interference.
Start with RTSS set to 141 FPS for a 144Hz monitor (or the equivalent for your display), enable G-Sync or FreeSync with driver-level V-Sync, and switch to the High Performance power plan. Test this setup for one gaming session and you will likely notice the improvement immediately. Your FPS counter might read lower, but your eyes will thank you.