
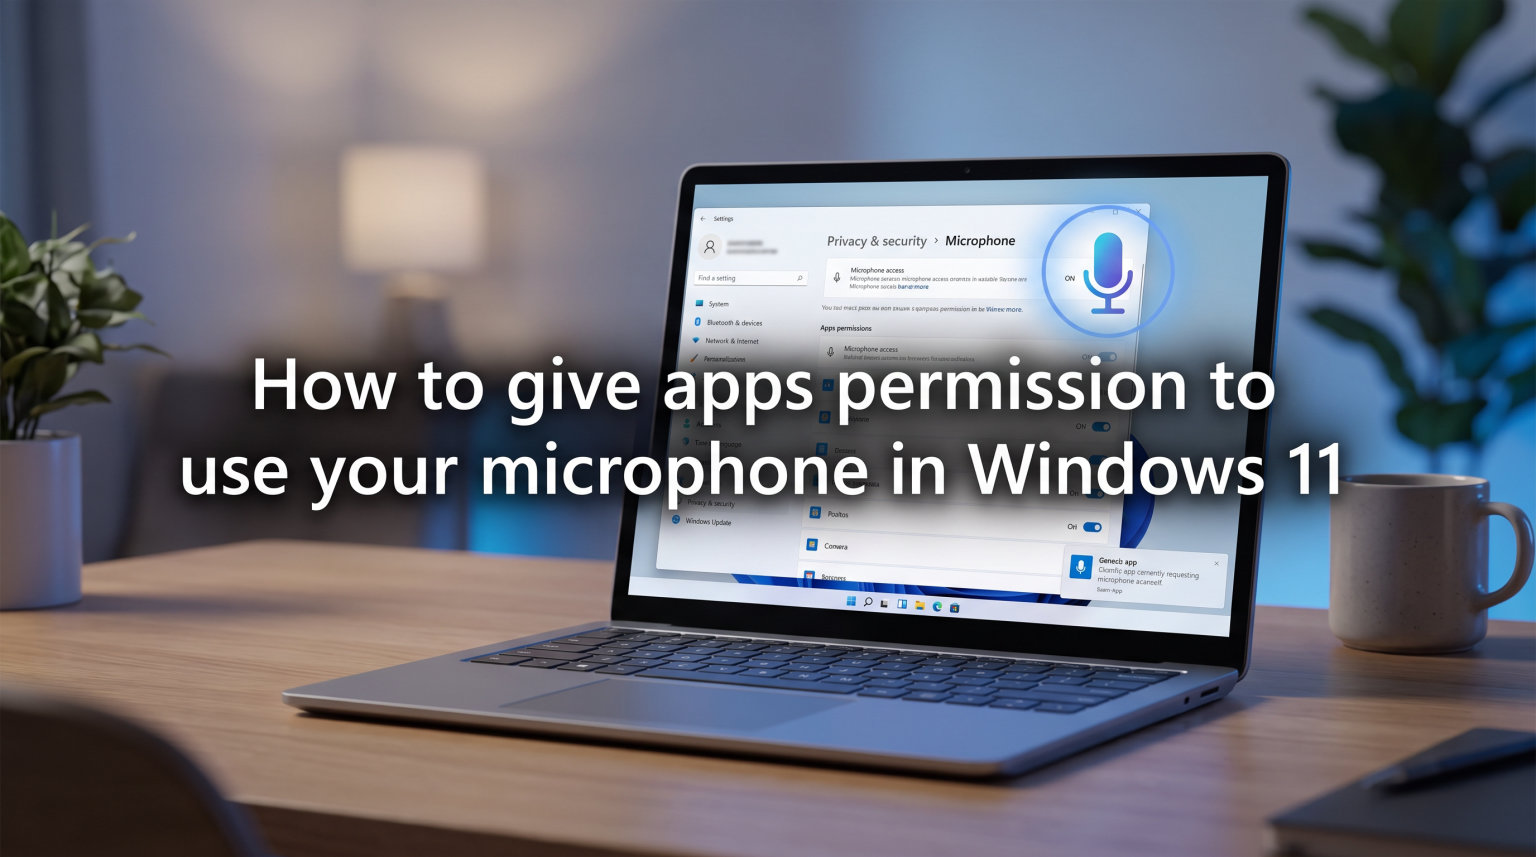
Windows 11 blocks microphone access by default to protect your privacy, which means apps like Microsoft Teams, Zoom, Discord, and voice recorders cannot capture audio until you explicitly grant permission. If you have ever launched a video call only to find that no one can hear you, the cause is almost always a microphone privacy setting that needs toggling on. Learning how to give apps permission to use your microphone in Windows 11 takes less than two minutes once you know where every toggle lives.
In this guide, I will walk you through the exact step-by-step process using the exact toggle names Microsoft uses in 2026. I will also cover a faster Quick Settings shortcut, browser-specific permissions for Chrome and Edge, what each permission level actually controls, and troubleshooting fixes for the most common microphone issues users report on forums.
How to Give Apps Permission to Use Your Microphone in Windows 11
Here is the quick path: Select Start > Settings > Privacy & security, then find Microphone under App permissions and make sure Microphone access is turned on. After that, toggle on Let apps access your microphone, enable each individual app you want to use, and finally turn on Let desktop apps access your microphone. Now let me break down each step in detail.
Step 1: Open the Settings App
Click the Start button on your taskbar (the Windows icon in the bottom-left or center) and select Settings from the pinned apps or by searching. You can also press Win + I on your keyboard to open Settings instantly. This keyboard shortcut is the fastest way to get into Settings, and I use it every single time.
Once Settings opens, you will see a sidebar on the left with categories like System, Bluetooth & devices, and Network & internet. Make sure you are on the home screen of Settings before moving to the next step.
Step 2: Navigate to Privacy and Security
In the left sidebar of Settings, click on Privacy & security. This section houses all of Windows 11’s permission controls, including camera, microphone, location, and account info.
Scroll down the Privacy & security page until you reach the App permissions section. You will see a list of hardware and data categories that apps can request access to.
Step 3: Select Microphone Under App Permissions
Under App permissions, click on Microphone. This opens the Windows 11 microphone privacy settings page where every toggle related to mic access lives.
If you do not see Microphone listed, your system may not have detected an audio input device yet. Try plugging in a microphone or headset, then restart Settings. I cover this issue in more detail in the troubleshooting section below.
Step 4: Turn On Microphone Access (Master Toggle)
The first toggle at the top of the page is Microphone access. This is the master switch that controls whether any app or user on the system can use the microphone at all. If this is off, nothing else on this page matters.
Toggle Microphone access to On. A small confirmation dialog may appear asking you to confirm. Click Turn on to proceed.
This toggle affects every user account on the device. If you share your computer with family members or coworkers, keep in mind that enabling microphone access here allows all users to grant mic permissions within their own sessions.
Step 5: Turn On Let Apps Access Your Microphone
Scroll down slightly to find Let apps access your microphone. This toggle controls whether Microsoft Store apps (also called UWP apps) can use your microphone. Apps like the built-in Voice Recorder, Camera app, and any app installed from the Microsoft Store fall under this category.
Toggle Let apps access your microphone to On. Once enabled, a list of individual Store apps will appear below this toggle, each with its own permission switch.
Step 6: Enable Individual App Permissions
Below the “Let apps access your microphone” toggle, you will see a list of apps installed on your system that have requested microphone access. Each app has its own toggle switch. This is where you choose which apps can use your microphone.
Go through the list and toggle On every app you want to have microphone access. For example, if you use Microsoft Teams, find it in the list and make sure its toggle is on. The same goes for Zoom (if installed from the Microsoft Store), WhatsApp, or any other Store app that needs audio input.
If an app is missing from this list, it means it has not yet requested microphone access. Launch the app and trigger its microphone feature (such as starting a call or recording), and Windows 11 will add it to the list.
One thing I always recommend: turn off microphone access for apps that do not need it. If a calculator app or a game has no reason to listen, toggle it off. This is a simple privacy practice that takes seconds and limits your exposure.
Step 7: Turn On Let Desktop Apps Access Your Microphone
This is the toggle that most people miss, and it is the single most common reason a microphone works in Settings tests but fails in actual apps. Scroll to the bottom of the microphone permissions page to find Let desktop apps access your microphone.
Toggle it to On. This toggle controls Win32 applications, which includes programs like the desktop versions of Discord, Zoom (downloaded from their website), OBS Studio, Audacity, Steam games, and any software not installed through the Microsoft Store.
If this toggle is off, none of your traditional desktop applications will be able to use your microphone regardless of every other setting on this page. I have seen this confuse users on Reddit and tech support forums countless times. They enable the Store apps toggle but forget the desktop apps toggle, and then Discord shows no microphone input.
Faster Method: Use the Quick Settings Menu
If you want to reach the microphone settings faster, there is a shortcut. Click the Quick Settings area on your taskbar (the cluster of icons for Wi-Fi, volume, and battery in the bottom-right corner). Click the Settings gear icon in the panel that opens, then click Privacy & security and navigate to Microphone.
This method skips the Start menu and gets you into Settings with one click. I prefer the Win + I keyboard shortcut for speed, but the Quick Settings method is useful if you are already adjusting volume or Wi-Fi and want to hop straight into privacy settings.
What Each Microphone Toggle Actually Controls
Windows 11 uses a tiered permission model with three layers of control. Understanding what each layer does helps you troubleshoot issues faster and make better privacy decisions.
The Microphone access toggle at the top is the system-wide master switch. When it is off, no app, no user, and no service can access the microphone. Think of it as cutting power to the entire microphone subsystem.
The Let apps access your microphone toggle controls UWP (Universal Windows Platform) apps, which are the apps installed from the Microsoft Store. These apps run in a sandboxed environment and follow a stricter permission model. Each Store app gets its own individual toggle below this setting.
The Let desktop apps access your microphone toggle controls Win32 applications. These are traditional Windows programs like Discord, OBS, Steam games, and anything you install from a direct download rather than the Store. Desktop apps do not get individual toggles. Instead, this single switch allows or denies all desktop apps at once.
This distinction matters because if you install Zoom from the Microsoft Store, it follows the Store app rules. If you install Zoom from zoom.us, it follows the desktop app rules. The same software, two different permission paths.
Browser-Specific Microphone Permissions (Chrome and Edge)
If you use web-based apps like Google Meet, browser-based Teams, Discord in your browser, or any website that needs microphone access, you need to grant permission at two levels. First, Windows 11 must allow your browser to use the microphone (this is handled by the desktop apps toggle since Chrome and Edge are desktop apps). Second, the browser itself must grant the specific website permission to use your microphone.
In Google Chrome, click the three-dot menu, go to Settings > Privacy and security > Site settings > Microphone. Make sure “Sites can ask to use your microphone” is selected. When you visit a site that needs your mic, Chrome will show a permission prompt in the address bar. Click Allow to grant access for that specific site.
In Microsoft Edge, the process is nearly identical. Click the three-dot menu, go to Settings > Cookies and site permissions > Microphone. Ensure “Ask before accessing” is enabled. When a site requests microphone access, a prompt appears at the top of the browser window.
If a website previously had microphone access and you want to revoke it, you can remove it from the same settings pages. Both browsers let you manage a list of allowed and blocked sites individually.
Troubleshooting: Microphone Still Not Working
If you have toggled every permission on and your microphone still does not work in a specific app, here are the most common causes and fixes I have encountered based on forum reports and testing.
Microphone Works in Settings Test But Not in Apps
This is the most common complaint on Reddit and tech support forums. If Windows Settings shows your microphone is working but an app reports silence, check two things. First, verify that Let desktop apps access your microphone is turned on if the app is a desktop program. Second, open Settings > System > Sound and make sure the correct microphone is selected as the default input device. Many apps default to whatever Windows has selected, so if a different device is set as default, the app will listen to the wrong microphone.
USB Webcam Microphone Not Recognized
USB webcams with built-in microphones can confuse Windows 11. If your webcam video works but the microphone does not, open Settings > System > Sound and look for the webcam microphone under input devices. If it does not appear, open Device Manager, expand Audio inputs and outputs, and check if the webcam mic shows up there. Right-click and select Update driver if needed. Unplugging and replugging the webcam into a different USB port can also force Windows to re-detect the audio device.
Game Bar Blocking Microphone
Windows 11 Game Bar has its own audio capture settings that can block your microphone during recordings or gameplay. Open Game Bar by pressing Win + G, go to the audio settings, and verify that your microphone is selected and not muted. Some users report that Game Bar overrides system microphone settings, so even with all privacy toggles on, Game Bar may still silence your mic. Check the Game Bar capture settings under Settings > Gaming > Captures as well.
Permissions Reset After Windows Update
Windows updates, especially major version updates like 24H2, can reset microphone permissions to their default state. If your microphone suddenly stops working right after an update, go back through all seven steps in this guide. This happens often enough that checking your permission toggles should be your first step after any system update.
Microphone Settings Page Will Not Open
If clicking on Microphone under App permissions does nothing or gives an error, try restarting your PC first. If that does not work, open an Administrator Command Prompt and run sfc /scannow to check for corrupted system files. You can also try navigating directly by pressing Win + R, typing ms-settings:privacy-microphone, and hitting Enter. This URI shortcut jumps straight to the microphone settings page.
Quick Checklist: Verify Your Microphone Permissions
Use this checklist to confirm every permission is set correctly:
Settings > Privacy & security > Microphone is open
Microphone access toggle is ON
Let apps access your microphone toggle is ON
Individual Store apps (Teams, Voice Recorder, etc.) are toggled ON
Let desktop apps access your microphone toggle is ON
Correct microphone is set as default input in System > Sound
Browser site permissions are set to Allow (for web apps)
If every item on this list is verified and your microphone still does not work, the issue is likely a driver problem or hardware fault rather than a permissions problem.
Frequently Asked Questions
How do I allow apps to access my microphone?
Open Settings (Win + I), go to Privacy and security, click Microphone under App permissions, and toggle on Microphone access. Then toggle on Let apps access your microphone, enable individual apps you want to use, and turn on Let desktop apps access your microphone for traditional desktop programs like Discord and OBS.
Why is my microphone not working on Windows apps?
The most common causes are: the master Microphone access toggle is off, the Let desktop apps access your microphone toggle is off (for programs like Discord), the wrong input device is set as default, or a Windows update reset your permissions. Go through the seven steps in this guide and verify every toggle is on.
How to allow app permission in Windows 11?
Open Settings with Win + I, click Privacy and security in the sidebar, find the permission category (Microphone, Camera, Location, etc.) under App permissions, and toggle on the master access switch followed by the individual app toggles you want to enable.
How to allow apps to use camera and mic?
Camera and microphone permissions are managed separately but follow the same process. Go to Settings, Privacy and security, and enable both the Camera and Microphone sections under App permissions. For each, turn on the master toggle, the apps access toggle, individual app toggles, and the desktop apps toggle.
Knowing how to give apps permission to use your microphone in Windows 11 is a skill you will use repeatedly, especially after system updates that can reset your settings. The process boils down to seven toggles across three permission layers: the master Microphone access switch, the Store apps section with individual app controls, and the desktop apps toggle that most people forget. Bookmark this checklist so you can verify your settings quickly the next time your microphone stops working in Teams, Discord, or any other app.