
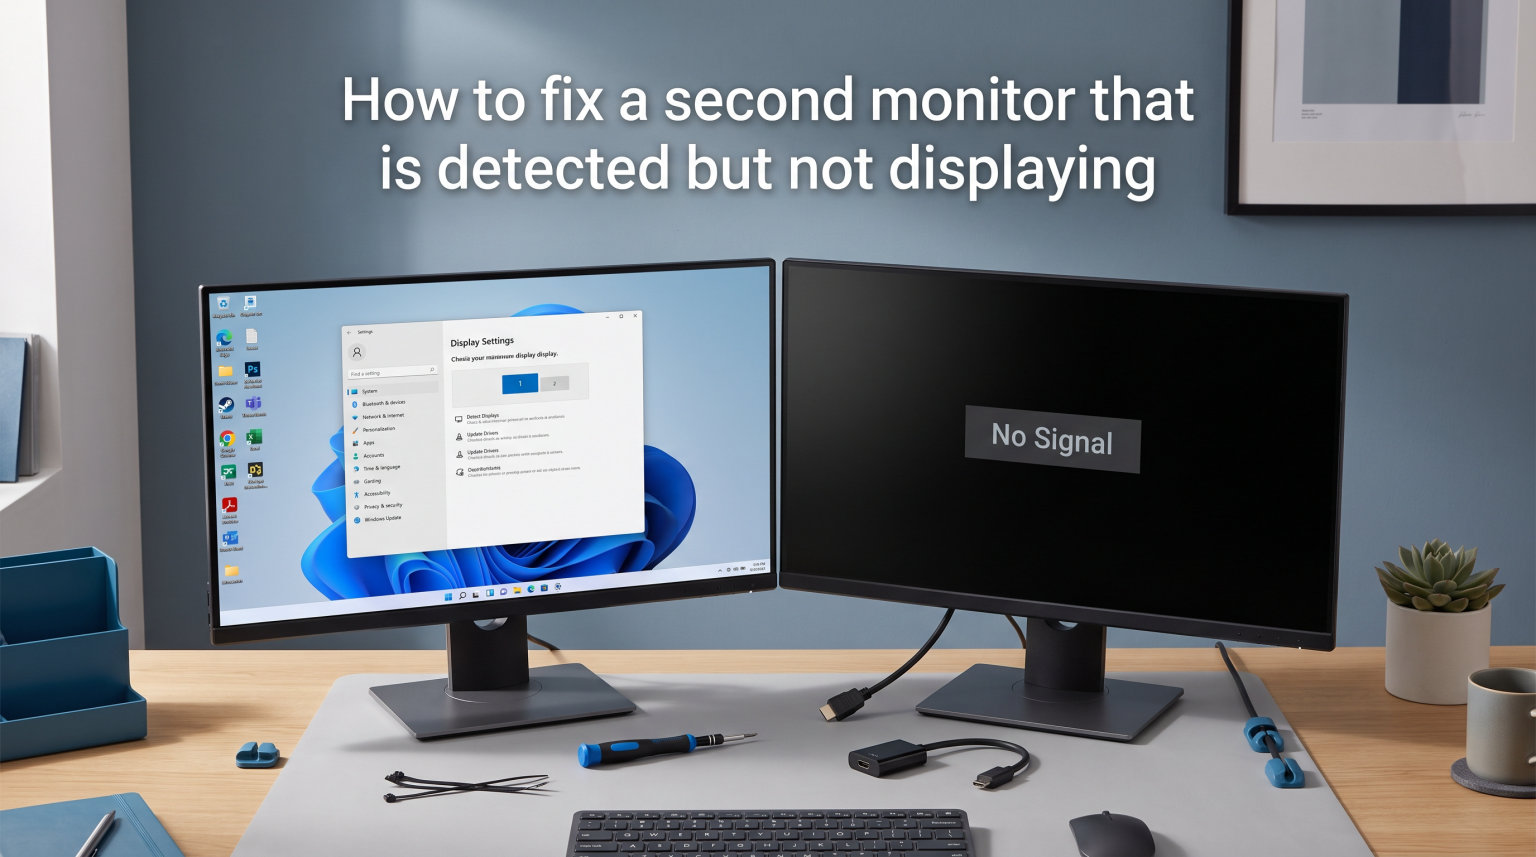
So your computer knows the second monitor is there. It shows up in Display Settings. But the screen stays stubbornly black. If you are trying to figure out how to fix a second monitor that is detected but not displaying, you are in the right place.
This is one of the most frustrating multi-monitor problems because Windows or macOS clearly sees the display. The detection handshake worked. The signal, however, is not making it through. Our team has run into this issue on everything from budget office setups to high-end gaming rigs, and the fix is almost always one of eight specific things.
We will walk you through each fix in order, starting with the simplest and most common solutions. Most people resolve this within the first three steps. We will also explain why each fix works, because understanding the cause helps you avoid the problem next time.
Common Causes of a Second Monitor Detected But Not Displaying
Before we jump into fixes, it helps to understand what is actually happening. When your system detects a second monitor but shows nothing on screen, the communication channel between your computer and the display is partially working but the video signal is not getting through.
Here are the most frequent culprits our team encounters:
Loose or faulty cables — The cable has enough contact to register a connection but not enough to carry the video signal reliably.
Wrong input source on the monitor — The monitor is set to HDMI while your cable is plugged into DisplayPort (or vice versa).
Motherboard vs GPU confusion — You plugged the cable into the motherboard’s video port, but your display output is routed through the dedicated graphics card.
Outdated or corrupted display drivers — Windows detects the monitor, but the driver cannot push a signal to it.
Incompatible adapters — Using a passive adapter where an active one is needed, or mixing analog and digital signals (like DVI-I vs DVI-D).
Display settings misconfiguration — Windows thinks the monitor should be “disconnected” rather than extended or duplicated.
Many of these issues share a similar symptom, which is why we recommend working through the steps below in order. Each one targets a different layer of the problem.
How to Fix a Second Monitor That Is Detected But Not Displaying
Follow these eight steps in sequence. Stop when the fix works. We have ordered them from fastest to most involved, so you are not wasting time on complex solutions when the problem is just a loose cable.
Step 1: Check Physical Connections and Power
Start with the basics. Unplug the video cable from both the monitor end and the computer end, then plug it back in firmly. A cable that is slightly loose can still register as connected in Windows while failing to transmit video.
While you are at it, check that the monitor itself is powered on. Some monitors enter a deep sleep mode where the power LED dims or turns off, but the display connection is still detected by the computer. Press the power button on the monitor to wake it up fully.
If you are using a docking station, unplug the dock from the wall and reconnect it. We have seen Dell docking stations in particular hold onto stale display states that cause the second monitor to show up but refuse to display anything.
One more thing worth checking: make sure the cable is not damaged. We had a situation where an HDMI cable looked fine on the outside but had a bent internal pin. The computer detected the monitor every time, but the screen was always black. Swapping the cable fixed it instantly.
Step 2: Force Detect Displays in Windows
Sometimes Windows knows a monitor is connected but does not configure it properly. You can force Windows to re-establish the connection through Display Settings.
On Windows 10 and Windows 11, right-click the desktop and select Display Settings. Scroll down to the section that shows your detected displays. If your second monitor appears there but shows nothing on the actual screen, look for a button labeled Detect or click the monitor rectangle and select Extend desktop to this display from the dropdown.
If the display mode is set to Disconnect this display, that is your problem right there. Change it to Extend these displays or Duplicate these displays depending on your setup. This setting alone fixes the issue for a surprising number of users.
You can also try the Windows Key + P shortcut, which opens the Project panel. Cycle through the options: PC screen only, Duplicate, Extend, and Second screen only. This forces Windows to re-evaluate the display configuration and can kick the second monitor into life.
Step 3: Confirm the Monitor Input Source
This is one of the most overlooked fixes, and it trips up experienced users all the time. Your monitor has multiple input ports (HDMI, DisplayPort, VGA, DVI), and it needs to be told which one to display.
Use the physical buttons on your monitor to open its built-in menu. Look for an option called Input, Source, or Input Select. Make sure it matches the port your cable is actually plugged into.
We see this happen constantly when someone moves a monitor or swaps cables. They plug the cable into HDMI 2 on the monitor, but the monitor is still set to DisplayPort from last time. The computer detects the monitor through the HDMI handshake, but the monitor is listening on the wrong port, so you get a black screen.
Some monitors auto-detect the active input, but many do not, or the auto-detection fails after a power cycle. Always verify this manually if your monitor has multiple ports.
Step 4: Check for Motherboard vs GPU Port Confusion
If you have a desktop computer with a dedicated graphics card, your motherboard likely has its own set of video ports. This is a trap that catches people after a GPU upgrade or a PC rebuild.
Here is what happens: you plug your second monitor into a port on the back of the motherboard instead of the GPU. The motherboard port can still register a connection in some cases, especially if the CPU has integrated graphics enabled. But the actual video output is being handled by the GPU, so nothing reaches that port.
The fix is simple. Look at the back of your computer. If you have a dedicated graphics card, all of your monitors should be plugged into the ports on the graphics card itself, not the ones clustered near the USB and Ethernet ports on the motherboard.
If your GPU only has one type of port (say, only DisplayPort) and your monitor only has HDMI, you will need an adapter or a different cable. We will cover adapter issues in Step 8.
Step 5: Power Cycle Everything
A standard restart does not always clear display issues. What you need is a full power cycle, which drains residual charge and forces all hardware to reinitialize from scratch.
Shut down your computer completely. Turn off the monitor using its power button. Unplug both the monitor and the computer from the wall outlet. Wait at least 20 seconds, though 30 to 60 seconds is better. Then plug everything back in, power on the monitor first, wait for it to fully initialize, and then turn on the computer.
Why does this work? Modern monitors and graphics cards maintain a low-power state even when “off.” The display handshake data from a previous session can linger and cause conflicts. A full power drain clears this state, forcing a fresh negotiation between the GPU and the monitor when power returns.
On a laptop, this process is slightly different. Shut down the laptop, unplug the charger, and if your laptop has a removable battery, take it out. Hold the power button for 15 seconds to drain residual power. Reconnect everything and boot up.
Step 6: Try a Different Cable, Port, or Adapter
If you have made it this far and the second monitor is still black, start swapping hardware. The goal is to isolate whether the problem is the cable, the port, or the monitor itself.
First, try the cable in a different port on the same computer. If you are using HDMI port 1, switch to HDMI port 2 (if available), or switch to a DisplayPort or USB-C connection. If the monitor comes to life with a different port, the original port may be damaged.
Next, try a completely different cable. Not just a different port on the same cable. Use a known working cable from another device. We cannot count the number of times a cable that looked perfectly fine turned out to be the culprit. HDMI and DisplayPort cables are cheaply made sometimes, and internal damage is invisible.
If you are using an adapter (USB-C to HDMI, DisplayPort to DVI, etc.), try bypassing it with a direct cable connection. If that is not possible, swap the adapter for a different one. Adapters fail more often than cables in our experience.
If you have a second monitor available, connect it to the same port. If the replacement works but the original does not when connected to the same port, the monitor itself may have a hardware fault.
Step 7: Update Your Display Drivers and BIOS
Outdated, corrupted, or mismatched display drivers can cause a monitor to be detected without receiving a video signal. The driver knows the monitor is there but cannot communicate with it properly.
On Windows, press Windows Key + X and select Device Manager. Expand the Display adapters section. Right-click your graphics card and select Update driver. Choose the option to search automatically for updated driver software.
For the best results, go directly to the manufacturer’s website. Download the latest drivers from NVIDIA, AMD, or Intel depending on your GPU. Perform a clean installation if the tool offers that option, which removes old driver files that can cause conflicts.
If you are using a Dell, HP, or Lenovo system, also check for BIOS updates. Dell includes display handshake improvements in BIOS updates regularly. Run the manufacturer’s support tool (like Dell SupportAssist) to check for both BIOS and driver updates in one pass.
One common scenario: you updated Windows, and the update replaced your manufacturer driver with a generic Microsoft driver. The generic driver can detect monitors but may not push video to all ports. Rolling back to the manufacturer driver fixes this.
Step 8: Check Adapter Compatibility (DVI-I vs DVI-D, Active vs Passive)
This is the step that most troubleshooting guides skip, and it is the one that catches people using older monitors or mixing connection types. If you are using any kind of adapter, you need to understand the difference between analog and digital signals.
Here is the key issue: DVI-I connectors carry both digital and analog signals. DVI-D connectors carry only digital signals. If you use a DVI-I to VGA adapter on a DVI-D port, the adapter physically fits but no signal will pass through, because the analog pins on the DVI-D port are not connected to anything.
The same applies to VGA to HDMI adapters. VGA is analog. HDMI is digital. A simple passive adapter cannot convert between the two. You need an active adapter, which includes a small chip that converts the analog VGA signal to a digital HDMI signal. Passive adapters are cheaper, but they only work when converting between compatible signal types.
We saw this exact problem on a forum thread where a user upgraded to a new GTX graphics card and their older VGA monitor showed up as detected but displayed nothing. The card had DVI-D ports. Their old DVI-I to VGA adapter was useless because the DVI-D port does not carry analog signals. They needed an active DVI to VGA converter.
The rule of thumb: if you are converting between analog (VGA) and digital (HDMI, DisplayPort, DVI-D), you need an active adapter. If you are converting between two digital formats (DisplayPort to HDMI, DVI-D to HDMI), a passive adapter usually works.
Advanced Fixes for Stubborn Display Issues
If none of the eight steps above resolved the problem, there are a few less common solutions worth trying before you consider hardware replacement.
Reset the monitor to factory defaults. Open the monitor’s built-in menu using its physical buttons. Look for an option called Reset, Factory Reset, or Restore Defaults. This clears any custom resolution, refresh rate, or color settings that might be causing a signal mismatch. We have seen monitors get stuck in a state where they refuse specific resolutions after a firmware glitch, and a factory reset clears it every time.
Lower the resolution and refresh rate. If the second monitor is detected but black, it may be receiving a signal it cannot handle. In Windows Display Settings, select the second monitor, scroll to Display resolution, and choose a lower resolution. Also check the refresh rate setting and reduce it to 60Hz. Some monitors struggle with high refresh rates over certain adapters.
Try a USB display adapter. If you are in a pinch and need a second monitor working immediately, a USB to HDMI or USB-C to HDMI adapter bypasses the graphics card entirely. These adapters have their own display chip and show up as a separate display adapter in Device Manager. They are not ideal for gaming, but for productivity work they work well as a temporary or even permanent solution.
Check for hardware failure signs. If you have tried every cable, port, adapter, and driver combination and the monitor still shows nothing on any computer, the monitor itself is likely faulty. Test it on a different computer to confirm before replacing it. Similarly, if one specific port on your graphics card never works with any monitor, that port may be damaged.
Connection Types Compared: HDMI, DisplayPort, VGA, and DVI
Understanding the differences between video connection types helps you avoid compatibility issues from the start. Here is a quick reference for each major type.
HDMI is the most common connection for consumer monitors and TVs. It carries both video and audio. HDMI versions matter: HDMI 1.4 supports up to 4K at 30Hz, HDMI 2.0 supports 4K at 60Hz, and HDMI 2.1 supports 4K at 120Hz or 8K at 60Hz. An HDMI version mismatch between your GPU and monitor can cause detection without display.
DisplayPort is preferred for PC monitors, especially for gaming. It supports higher refresh rates and resolutions than HDMI at equivalent versions. DisplayPort also supports daisy-chaining multiple monitors through a single port, which is useful for multi-monitor setups.
VGA is an analog connection that is largely obsolete but still found on older monitors and some budget displays. VGA does not carry audio and is more susceptible to signal degradation over long cables. If you are using VGA with a modern GPU, you will definitely need an active adapter.
DVI comes in several variants: DVI-A (analog only), DVI-D (digital only), and DVI-I (both). This is why DVI adapters cause so many headaches. Always check which DVI variant your port and cable support before using an adapter.
USB-C and Thunderbolt are becoming the standard for laptop connectivity. A single USB-C cable can carry video, data, and power. However, not all USB-C ports support video output. The port must support DisplayPort Alternate Mode or Thunderbolt. This is a common source of confusion for laptop users who assume any USB-C port can drive an external monitor.
Frequently Asked Questions
Why is my second monitor not showing up but still detected?
Your second monitor is detected but showing nothing because the connection registers but the video signal is not passing through. The most common causes are a loose or faulty cable, the monitor being set to the wrong input source, plugging into the motherboard port instead of the GPU, or Windows being configured to disconnect that display. Start by checking the physical cable connection, then verify the monitor input source matches the cable type, and finally check Windows Display Settings to make sure the display is set to Extend rather than Disconnect.
How to fix monitor detected but no display?
To fix a monitor that is detected but shows no display, work through these steps in order: (1) Reseat all cable connections firmly. (2) Check that the monitor power is on and not in deep sleep. (3) Verify the monitor input source matches your cable. (4) Force detect the display in Windows Display Settings. (5) Make sure you are plugged into the GPU, not the motherboard. (6) Power cycle the computer and monitor. (7) Try a different cable or port. (8) Update your display drivers. Most users find the fix within the first three steps.
Why am I getting no display on my second monitor?
No display on a second monitor is typically caused by one of four things: the monitor is set to the wrong input source, the cable or adapter is faulty or incompatible, the display drivers are outdated or corrupted, or Windows display settings are misconfigured. Less commonly, it can be caused by a DVI-I to DVI-D adapter incompatibility, a passive adapter being used where an active one is needed, or a hardware fault in the monitor or graphics card port.
Why is my HDMI detected but no display?
HDMI detected but no display usually means the monitor is set to a different input source, or there is an HDMI version mismatch between your GPU and monitor. Check that the monitor is set to HDMI input, try a different HDMI cable, and try a different HDMI port on both the monitor and the computer. If you are using an HDMI adapter or dock, try a direct HDMI connection to rule out adapter issues. Also verify that the HDMI cable is not longer than 15 feet without a signal repeater, as long HDMI cables can lose signal integrity.
Conclusion
Figuring out how to fix a second monitor that is detected but not displaying comes down to isolating where the signal chain breaks. Start with the basics: reseat your cables, check the monitor input source, and verify Windows display settings. For most people, the problem is solved within those first few steps.
If those do not work, move through the remaining fixes systematically. Check for the motherboard vs GPU port mistake, power cycle everything, swap cables and adapters, update your drivers, and verify adapter compatibility. The DVI-I vs DVI-D and active vs passive adapter issues catch more people than you might expect.
If you have worked through all eight steps and the advanced fixes and the monitor still shows nothing on any computer or port, you are likely dealing with a hardware fault. At that point, testing the monitor on a different system will confirm whether it needs to be replaced.