
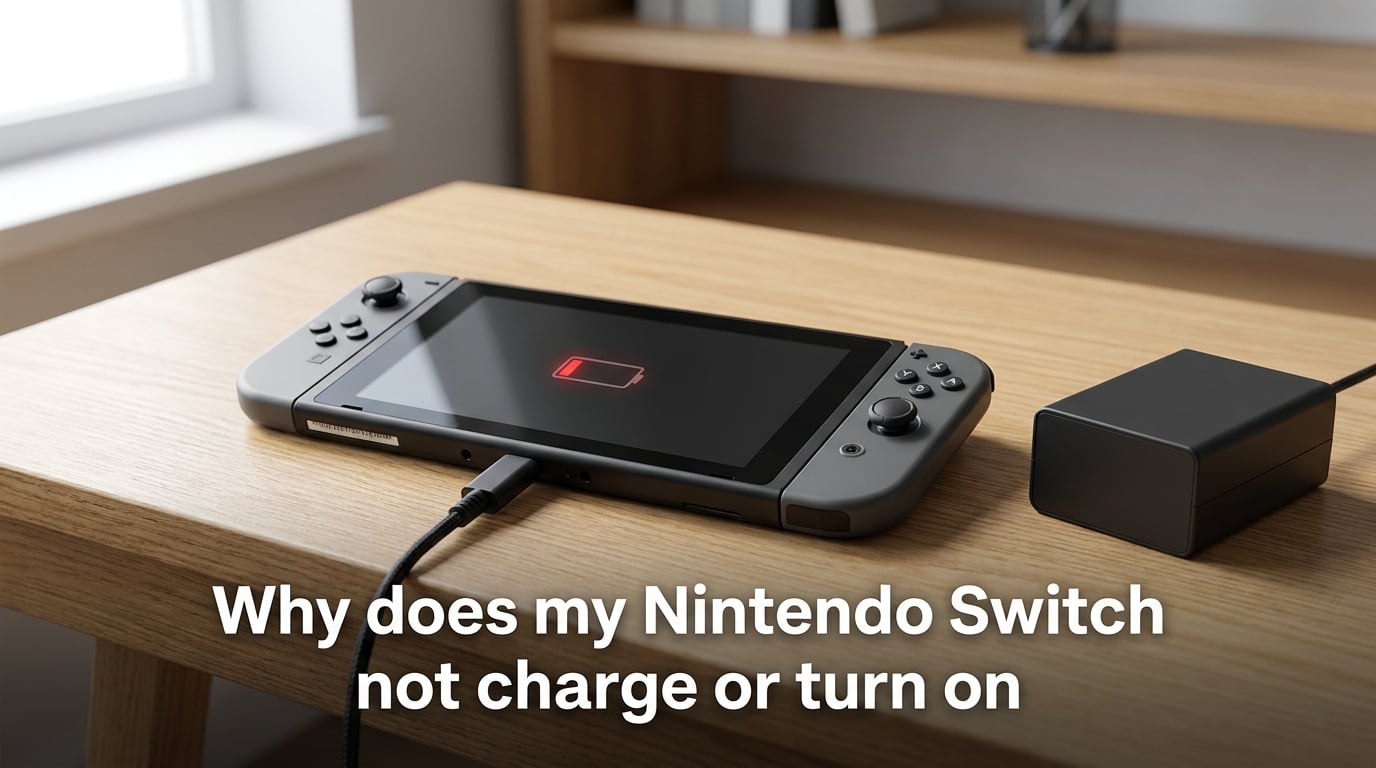
It is one of those moments every Switch owner dreads. You pick up your console after a few days (or weeks) of not using it, press the power button, and nothing happens. No logo, no light, no sound. Your Nintendo Switch sits there like an expensive paperweight, and you start wondering if it is broken for good.
If your Nintendo Switch is not charging or turning on, you are dealing with one of the most common issues reported by users across all three models. The good news is that most cases are fixable at home without any special tools or technical knowledge. This guide walks you through every troubleshooting step, from the simplest 30-second reset to identifying when you actually need professional repair.
Whether you have the original Switch, a Switch Lite, or the OLED model, the solutions below apply to all three. We cover dead batteries, faulty AC adapters, USB-C port problems, charging method differences, battery degradation signs, and the specific quirks that make third-party chargers a gamble.
Quick Fixes to Try First
Before anything else, try these two fixes. They resolve the majority of “dead Switch” cases within minutes.
Force Restart Your Switch (The 20-Second Hold)
This single step fixes more unresponsive Switch consoles than any other solution combined. The power management system can get stuck in a state where the console will not respond to normal button presses, and a forced shutdown resets it.
Here is exactly what to do:
Unplug the AC adapter from both the wall outlet and your Switch console or dock.
Wait at least 30 seconds. This resets the adapter’s internal circuitry.
Plug the adapter back into the wall first, then connect it directly to the Switch console (not the dock).
Press and hold the POWER Button for at least 20 seconds. Do not let go early.
Release the button, then press it once normally to power on.
If nothing happens immediately, do not panic. A deeply discharged battery may need up to 30 minutes of charging before the screen shows any sign of life.
Reset the AC Adapter
The official Nintendo Switch AC adapter (model HAC-002) has built-in protection circuitry that can sometimes trip, especially after power surges or if the adapter was unplugged while actively charging. When this happens, the adapter stops outputting power even though it is plugged in.
To reset it: unplug the adapter from both the wall and the console. Leave it disconnected for at least 30 seconds. This is not arbitrary timing. The internal capacitors need that long to fully discharge and clear the protection state.
After 30 seconds, plug it back into the wall first, wait a few seconds, then connect it to your Switch. Using the official Nintendo adapter matters here because third-party chargers may not provide the correct voltage profile the Switch expects.
Why Does My Nintendo Switch Not Charge or Turn On?
If the quick fixes above did not work, we need to dig deeper. The problem falls into one of several categories: a completely depleted battery, a dirty or damaged USB-C port, an incompatible charging method, interference from accessories, or in rare cases, actual hardware failure.
The Battery Is Completely Dead (Deep Discharge)
This is the most common reason a Switch will not turn on, especially after sitting unused for weeks or months. Lithium-ion batteries slowly self-discharge over time. If the charge drops below a critical threshold, the Switch will not boot to protect the battery from damage.
A deeply discharged Switch needs patience. When you plug it in, you may see a battery icon with a small red indicator in the corner of the screen. This means it is charging but needs more time. If you see nothing at all, the battery is so low that the console cannot even display the charging indicator yet.
Leave the Switch plugged in with the official AC adapter for at least 30 minutes before trying to turn it on again. In extreme cases where the console has been unused for months, it may need up to 2 hours of charging before it shows any response. This is normal for lithium-ion batteries that have fallen below their minimum voltage.
During this charging period, do not repeatedly press the power button. Every press consumes a small amount of power and can interfere with the slow recovery process. Just plug it in, set a timer, and walk away.
USB-C Port Issues
The Switch uses a USB-C port for charging, and this port is exposed every time you are not using the console. Pocket lint, dust, pet hair, and debris can accumulate inside the port over months of use, preventing the charging pins from making proper contact.
To inspect the port, shine a flashlight into it and look for any visible debris. If you see anything inside, here is how to clean it safely:
Power off the Switch completely.
Use a wooden toothpick (never metal) to gently pick out any visible debris.
Use compressed air in short bursts to blow out remaining dust.
Inspect again with a flashlight to confirm the port is clean.
Never use metal objects like needles or paperclips to clean the port. The pins inside are delicate, and a metal tool can short-circuit them or permanently damage the charging circuitry.
While inspecting, also check for physical damage. If the port looks loose, bent, or has bent pins inside, you are likely looking at a hardware problem that requires professional repair. Forum users on Reddit frequently report that a wobbling USB-C connector is an early sign of a failing port.
Charging Method Matters: Dock vs Direct
When troubleshooting a dead Switch, always charge directly from the AC adapter to the console. Skip the dock entirely until the console is working again. The dock adds another layer of complexity because it has its own charging circuitry and connectors that can fail independently.
If your Switch charges fine when plugged in directly but will not charge in the dock, the problem is likely with the dock connector or the dock’s internal circuitry. Check the USB-C connector inside the dock for bent pins or debris. Clean it the same way you cleaned the console port.
For the Switch Lite, this is simpler since it does not use a dock. However, Lite owners should still charge directly with the official adapter during troubleshooting to eliminate variables.
Third-Party Charger Compatibility Warning
This is a pain point that comes up constantly in forums. The Switch uses a proprietary power delivery profile through its USB-C port, and not all USB-C chargers work correctly with it. Many users report that their phone charger, tablet charger, or laptop charger simply will not charge the Switch, even though it fits the port.
Nintendo officially recommends using only the included AC adapter (HAC-002) or licensed Nintendo chargers. Third-party chargers from reputable brands like Belkin or Apple sometimes work, but they can also deliver incorrect voltage profiles that cause slow charging, no charging, or in worst cases, damage to the charging circuitry.
If you have been using a third-party charger and your Switch stopped charging, switch back to the official adapter immediately. Charge directly from the wall to the console for 30 minutes before attempting anything else.
Portable battery packs present the same issue. Even ones marked as USB-C PD (Power Delivery) may not match the exact voltage negotiation the Switch expects. For troubleshooting purposes, always use the official wall adapter.
SD Card and Accessory Interference
This is one of the least known but surprisingly common causes. Some users report that their Switch would not charge or turn on while a microSD card was inserted. The card can cause a boot loop or prevent the system from initializing properly, which drains the battery faster than normal and prevents charging from completing.
If your Switch has been acting up, power it off (if possible) and remove the microSD card. Then try charging again. If the console charges and boots normally without the card, reformat the SD card or replace it with a new one before reinserting.
The same applies to Joy-Con controllers. If you are charging the Switch in handheld mode with Joy-Cons attached, they draw additional power. Detach them during troubleshooting to give the main battery the full charging current.
Advanced Troubleshooting Steps
If none of the above solutions worked, these advanced steps can help identify whether you are dealing with a software issue, a failing battery, or hardware damage.
Safe Mode vs Recovery Mode: What Is the Difference?
These two modes are often confused, but they serve different purposes and are accessed differently.
Safe Mode boots the Switch with minimal services running. It is useful when your console turns on but behaves erratically, crashes, or will not complete a system update. To enter Safe Mode, power off the console completely, then press and hold the Volume Up, Volume Down, and Power buttons simultaneously until the Safe Mode menu appears.
Recovery Mode (Maintenance Mode) is a deeper diagnostic tool. It offers options like updating the system, resetting the cache, or initializing the console. To enter Recovery Mode, power off the console, then hold both Volume Up and Volume Down buttons, and press the Power button. Keep holding the volume buttons until the Recovery Menu appears.
One important warning: the “Initialize Console” option in Recovery Mode deletes all save data, downloaded games, and settings. Never use this option unless you have exhausted everything else and are prepared to lose your data. Also, do not attempt Recovery Mode if your battery is very low. The initialization process requires sustained power and can brick the console if it runs out of battery midway.
Signs Your Switch Battery Is Bad
Battery degradation happens gradually over years of use, but it can also happen suddenly if the battery was exposed to extreme temperatures or stored fully discharged for months. Here are the telltale signs:
The battery percentage jumps erratically (for example, drops from 40% to 5% instantly).
The Switch shuts down even when the battery indicator shows 15% or higher.
The console charges to 100% very quickly (under 30 minutes) but drains equally fast.
The battery percentage never moves from a fixed number regardless of how long you charge.
The back of the console feels swollen or the plastic looks bulged (this indicates a swollen battery, which is a safety hazard).
If you notice a swollen battery, stop using the Switch immediately. A swollen lithium-ion battery is a fire risk. Contact Nintendo support or a professional repair service right away.
For batteries that are simply degraded but not dangerous, Nintendo offers battery replacement service. The cost is typically around $40 to $60 through Nintendo, though local repair shops may charge more. Some users on gaming forums report that local shops quote prices close to buying a refurbished console, so it is worth comparing options.
Model-Specific Troubleshooting Notes
While the core troubleshooting steps are the same for all Switch models, there are a few differences worth knowing.
Original Nintendo Switch (HAC-001): This model has been around the longest, so battery degradation is most common here. The kickstand and Joy-Con rails are also common failure points. If your console charges in handheld mode but not in the dock, check the rail connectors and dock port carefully.
Switch Lite (HDH-001): The Lite does not have a dock, so troubleshooting is simpler with fewer variables. However, the Lite has a smaller battery capacity (3570 mAh vs 4310 mAh in the original), meaning it discharges faster during idle periods. If you have not used your Lite for a few weeks, a deep discharge is very likely.
Switch OLED (HEG-001): The OLED model has an improved kickstand and screen, but the charging system is essentially the same. One thing to note: the OLED model comes with a new dock that has a LAN port built in. If you are using an older dock from the original Switch with your OLED console, it should still work, but for troubleshooting, always use the dock that came with your console.
When to Seek Professional Repair?
If you have tried every step in this guide and your Switch still will not charge or turn on after several hours of charging, you are likely dealing with a hardware failure. The most common hardware causes are a blown charging IC (integrated circuit), a detached battery connector, or physical damage to the USB-C port that cannot be fixed with cleaning.
Nintendo offers repair service through their official website. If your console is under warranty, repairs are typically free (minus shipping). Out-of-warranty repairs usually cost between $100 and $150 depending on the issue.
For battery-only replacements, third-party repair shops can be a cheaper option. Just make sure they use quality parts and offer a warranty on their work. Ask specifically whether they use OEM batteries or aftermarket ones, as this affects long-term performance.
Frequently Asked Questions
How to fix a Nintendo Switch that won’t charge or turn on?
Unplug the AC adapter from the wall and console for 30 seconds. Plug it back into the wall first, then connect directly to the Switch. Press and hold the POWER Button for 20 seconds to force a shutdown. Release, then press POWER once normally. If nothing happens, leave it charging for at least 30 minutes before trying again.
How to tell if a Switch battery is bad?
Signs of a bad battery include the percentage jumping erratically, the console shutting down while showing 15% or higher, charging to full very quickly but draining equally fast, or the battery percentage never changing from a fixed number. A visibly swollen back panel indicates a battery safety hazard that requires immediate professional attention.
How to reset an unresponsive Switch?
Press and hold the POWER Button for at least 20 seconds to perform a forced shutdown. Release the button completely, then press POWER once normally to turn the console back on. This resets the power management system without affecting your save data or downloaded games.
How do I force my Switch to turn on?
Hold the POWER Button for 20 seconds to force a shutdown, then press it once normally. If the battery is deeply discharged, plug the Switch into the official AC adapter directly (not through the dock) and wait 30 minutes before pressing POWER again. A completely dead battery needs sustained charging time before it can boot.
Getting Your Switch Back On
A Nintendo Switch that will not charge or turn on is usually suffering from a deeply discharged battery, a tripped AC adapter, or a dirty USB-C port. In most cases, the 20-second power button hold combined with 30 minutes of direct charging brings it back to life. The steps in this guide cover everything from quick resets to identifying hardware failure, so work through them in order and give each step enough time to work.
To prevent this from happening again, try to charge your Switch at least once every two weeks if you are not using it regularly. Store it at around 50% battery charge rather than fully dead or fully charged. And always use the official Nintendo AC adapter for the most reliable charging experience.