
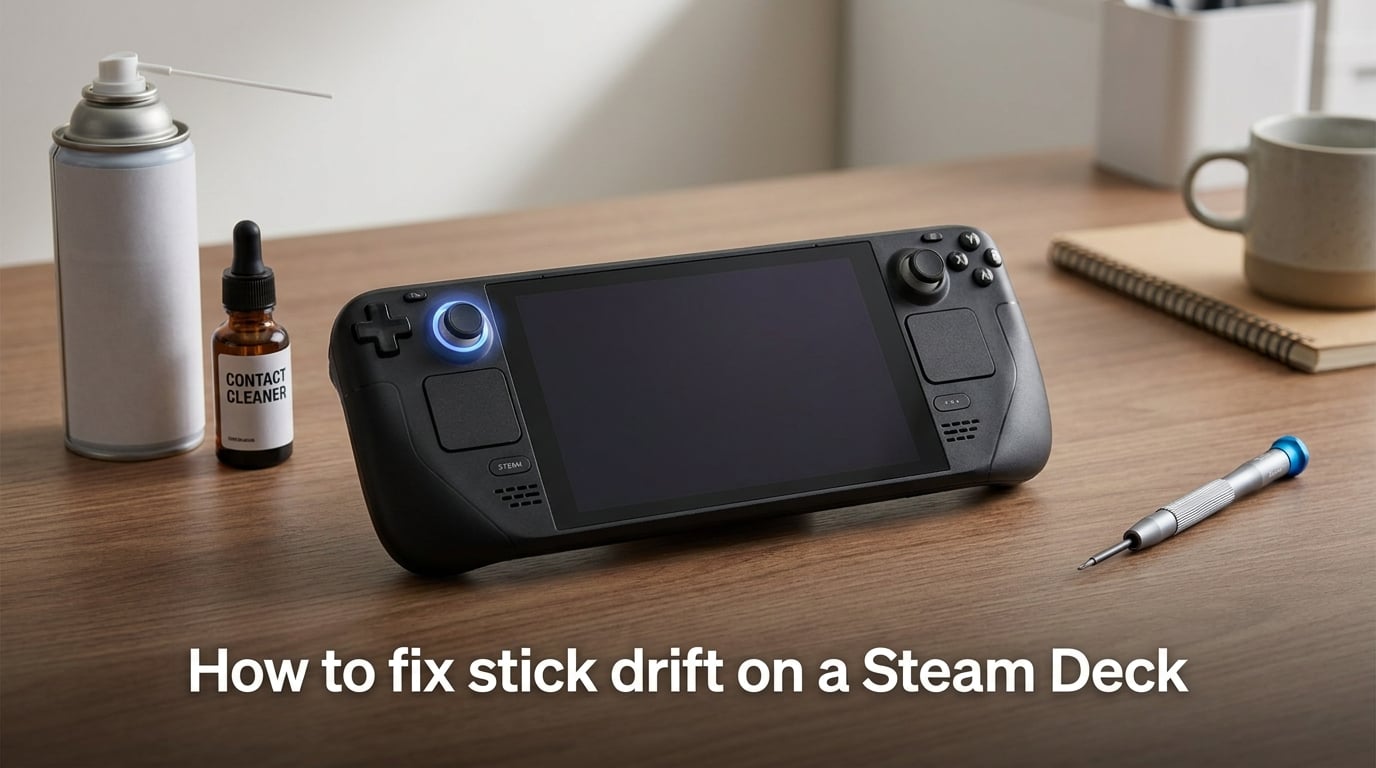
Stick drift on a Steam Deck is one of the most frustrating issues you can run into. Your character starts creeping to the left when you are not touching the stick. Your aim pulls upward in the middle of a firefight. You wonder if your device is broken or if there is a simple fix.
The good news: yes, stick drift is fixable in most cases. You do not always need to replace parts or send your device in for repair. Learning how to fix stick drift on a Steam Deck starts with trying free software solutions, then cleaning, then considering hardware options if nothing else works.
I have dealt with this issue across multiple Steam Decks in our household, and I have helped dozens of players on the r/SteamDeck subreddit troubleshoot their drift problems. The fixes below are organized from simplest to most involved, so you can start at the top and stop when your drift is gone.
Here is the quick version: restart your Deck, recalibrate the sticks in Desktop Mode, bump up the deadzone slightly in Game Mode, clean the joystick with compressed air or contact cleaner, and only then consider replacement. Most drift issues get resolved at step two or three.
What Is Stick Drift on a Steam Deck?
Stick drift happens when your Steam Deck’s analog stick registers movement even though you are not touching it. Your character walks on its own, the camera slowly pans, or a menu cursor creeps across the screen. The problem can affect the left stick, the right stick, or both.
Inside each Steam Deck thumbstick is a component called a potentiometer. A potentiometer is a variable resistor that outputs a specific voltage based on where the stick is positioned. When you push the stick, the voltage changes, and the Steam Deck reads that voltage to determine the stick position.
Over time, the resistive material inside the potentiometer wears down. Tiny wiper contacts rub against a resistive track every time you move the stick. After months or years of use, that track develops worn spots and uneven surfaces. The voltage readings become inaccurate, and the Steam Deck thinks the stick is slightly off-center even when it is not.
Dust, debris, and moisture can also interfere with the electrical contacts inside the joystick assembly. This is why cleaning sometimes fixes drift temporarily, even when the potentiometer itself has not fully worn out.
This is the same fundamental problem that affects Nintendo Switch Joy-Cons, PlayStation controllers, and Xbox thumbsticks. Any controller using potentiometer-based sticks can develop drift. The Steam Deck is no exception, though its sticks tend to hold up well compared to Joy-Cons based on user reports from Reddit communities.
Quick Fixes: Start Here Before Anything Else
These three quick fixes solve the majority of Steam Deck stick drift cases. Try them in order before you move on to cleaning or replacement. Each one takes under five minutes and costs nothing.
Step 1: Restart Your Steam Deck
This sounds too simple, but a surprising number of drift issues are temporary software glitches rather than hardware problems. A full restart clears the calibration cache and forces the system to re-read stick positions fresh.
Press the Steam button, navigate to Power, and select Restart. Do not just use Sleep mode. You want a complete power cycle. Once the Deck boots back up, test your sticks in a game or in the calibration menu.
If the drift is gone after a restart, you were dealing with a software hiccup. If it comes back after a few hours or days, move on to Step 2.
Step 2: Recalibrate Your Thumbsticks in Desktop Mode
Recalibration tells your Steam Deck to relearn the center position of each stick. This is one of the most effective fixes for drift, and many Steam Deck owners do not even know it exists because it is buried in Desktop Mode.
Here is how to recalibrate your sticks:
1. Press the Steam button and go to Power, then select Switch to Desktop Mode.
2. Once in Desktop Mode, open the application launcher (the KDE start menu equivalent at the bottom left).
3. Find the Konsole terminal app. You can search for it by typing “konsole.”
4. In the Konsole terminal, type the following command exactly: flatpak –user override –filesystem=/home/deck/.local/share/ –command=sh com.valvesoftware.Steam -c “steam steam://resetcontrollercalibration”
Alternatively, some users report success with the simpler command: steam steam://resetcontrollercalibration
5. Switch back to Game Mode (from Desktop Mode, use the Return to Gaming Mode shortcut on the desktop).
6. Go to Settings, then Controller, and run the calibration routine by moving your sticks in full circles and clicking the L3 and R3 buttons when prompted.
After recalibration, test your sticks in a game. Many users on r/SteamDeck report this alone fixes drift that has been bothering them for weeks.
Step 3: Increase the Deadzone in Game Mode
If recalibration reduced but did not eliminate your drift, adjusting the deadzone is your next move. The deadzone is a small area around the center of the stick where input is ignored. Increasing it means the stick has to move further from center before the Deck registers movement.
Here is the key part most guides skip: the specific values. In the Steam Deck Controller settings, the default deadzone value is typically around 4000 to 5400 for each axis. If you are experiencing drift, try increasing the deadzone gradually.
Start at 5400 and test. If drift persists, bump it to 8000. Still drifting? Try 12000. The maximum useful range is around 18000, though going that high can make the sticks feel unresponsive in fast-paced games.
To adjust the deadzone:
1. Press the Steam button and go to Settings.
2. Select Controller, then Edit Layout (or Calibration for global settings).
3. Look for the Dead Zone settings for both Left Stick and Right Stick.
4. Increase the values incrementally and test in-game between each change.
Be careful not to go too high. A deadzone of 18000 means a large portion of your stick range does nothing, which can make precise aiming difficult in shooters. Find the lowest value that eliminates your drift. For most users, somewhere between 5400 and 12000 does the trick.
This is a workaround, not a permanent fix. The drift is still there technically, but the deadzone masks it. If the drift worsens over time and you keep needing to increase the deadzone, you will eventually need to clean or replace the joystick.
How to Clean Your Thumbsticks (Fix Drift Without Opening the Deck)
If software solutions did not fully solve your drift, the next step is cleaning. Dust, skin oils, and debris can build up inside the joystick mechanism and interfere with the potentiometer contacts. Cleaning can buy you weeks or months of drift-free gaming.
You do not need to open your Steam Deck for either of these methods. Both are external cleaning approaches.
Method A: Compressed Air
This is the gentlest cleaning method and should be your first attempt. You will need a can of compressed air with a straw attachment.
1. Turn off your Steam Deck completely (do not just put it to sleep).
2. Attach the straw to the compressed air nozzle.
3. Pull the thumbstick upward gently to expose the gap between the stick base and the Deck shell.
4. Insert the straw tip into that gap at an angle.
5. Give 3 to 4 short bursts of air while slowly rotating the stick in full circles.
6. Repeat for the other stick if needed.
7. Wait 30 seconds for any condensation to evaporate, then turn the Deck back on and test.
Do not shake the can while spraying, as this can spray liquid propellant into your device. Keep the can upright.
Method B: Contact Cleaner or Isopropyl Alcohol
If compressed air did not work, a contact cleaner can dissolve grime on the potentiometer contacts. Based on recommendations from r/SteamDeck users, WD-40 Specialist Electrical Contact Cleaner or 90 percent or higher isopropyl alcohol work well.
Do not use regular WD-40. That is a lubricant and will make things worse. You need the electrical contact cleaner variant specifically.
1. Turn off your Steam Deck completely.
2. Pull the thumbstick upward to expose the gap.
3. Spray a very small amount (one short burst) of contact cleaner into the gap around the base of the stick while rotating it.
4. Rotate the stick in full circles 10 to 15 times to distribute the cleaner inside the mechanism.
5. Let it dry completely for at least 5 to 10 minutes before turning the Deck on.
6. Once dry, recalibrate the sticks using the Desktop Mode method from Step 2 above.
The recalibration after cleaning is important. The contact cleaner can temporarily change the electrical properties of the potentiometer, so you want the Deck to relearn the center position.
Many Reddit users report this combination of cleaning followed by recalibration fixes drift for months at a time. If the drift returns within a few days or weeks, the potentiometer is likely worn beyond what cleaning can fix, and you should consider replacement.
Clean, Replace, or RMA? Your Decision Guide
One of the most common questions on r/SteamDeck is whether to attempt a self-repair or send the device back to Valve. The right answer depends on three factors: warranty status, severity of drift, and your comfort level with DIY electronics repair.
Try cleaning first if: The drift is mild, started recently, or comes and goes. You have not tried recalibration yet. Your device is out of warranty.
Go for RMA if: Your Steam Deck is still under warranty (Valve offers a 1-year limited warranty on LCD models and 1 year on OLED models). The drift appeared within the first few months of ownership. You are not comfortable opening electronics.
Replace the joysticks yourself if: Your device is out of warranty, cleaning no longer helps, and you are comfortable with a screwdriver. A replacement joystick module costs roughly $15 to $25, compared to professional repair fees.
Upgrade to Hall Effect sticks if: You are already opening the device to replace a worn joystick and want a permanent solution that will never develop potentiometer-based drift again. This makes sense if you plan to keep your Steam Deck for years.
Steam Support is generally responsive for warranty claims, according to multiple user reports. If your device is under warranty, there is no reason to open it yourself and risk voiding that coverage.
How to Replace or Upgrade Your Joysticks
If cleaning and software fixes are not enough, it is time to consider replacing the joystick hardware. This section covers what you need to know before you pick up a screwdriver.
Identifying Type A vs Type B Modules
This is the step that trips up the most people. Steam Deck joysticks come in two variants, confusingly called Type A and Type B. You need to identify which type your specific Deck uses before ordering replacement parts.
The module type is printed on the joystick assembly itself. To check, you need to open your Deck and look at the label on the thumbstick module. It will say either MEDA (Type A) or MHDA (Type B).
If you order the wrong type, the connector will not match and the module will not fit. There is no way to tell from the outside which type your Deck uses without opening it. Some retailers sell a kit with both types included to avoid this problem.
The Steam Deck LCD and Steam Deck OLED use different joystick assemblies. OLED models have a slightly different internal layout, so make sure you buy parts specifically labeled for your model.
Hall Effect Joysticks: The Permanent Fix
If you are replacing your joysticks anyway, consider upgrading to Hall Effect sticks. This is the most popular upgrade in the Steam Deck community, and for good reason.
Hall Effect joysticks use magnets and magnetic sensors to detect stick position instead of potentiometers. A small magnet is attached to the stick mechanism, and a Hall Effect sensor detects changes in the magnetic field as the stick moves. Because there is no physical contact between moving parts in the sensing mechanism, there is no wear and tear on the sensor itself.
This means Hall Effect sticks cannot develop the type of drift caused by potentiometer wear. The most popular option is the GuliKit Hall Effect joystick module, which is a solderless, drop-in replacement for the original Steam Deck sticks.
GuliKit has a strong reputation in the handheld gaming community. Their Hall Effect sticks are internally calibratable and use the same Alps-based mounting system as the original Steam Deck sticks, so installation does not require soldering.
However, consider whether you actually need Hall Effect sticks. If your original sticks work fine after cleaning and you are not experiencing drift, there is no functional benefit to upgrading. As Retro Handhelds noted in their guide, many users upgrade unnecessarily. Hall Effect sticks make the most sense when you are already replacing a worn module.
Warranty and RMA: Your Options
Before opening your Steam Deck, check your warranty status. Valve covers manufacturing defects under their limited warranty, and stick drift can qualify if it is not caused by user damage.
To file an RMA, go to the Steam Support page, select your Steam Deck, and describe the issue. Valve typically responds within 1 to 2 business days. Based on user reports from r/SteamDeck, Valve has been replacing entire Steam Deck units or sending replacement joystick modules for drift issues under warranty.
If you open your Deck and damage something internally, that damage is not covered. This is why I always recommend trying the RMA route first if your device is under warranty. Save the DIY repair for when you have nothing to lose.
Opening your Steam Deck does not automatically void your warranty, but any damage you cause during disassembly is your responsibility. Be honest with Steam Support about what you have tried.
Steam Deck OLED: Stick Drift Specifics
The Steam Deck OLED uses the same type of potentiometer-based joysticks as the LCD model, which means it is susceptible to the same drift issues. However, there are a few OLED-specific things to know.
The OLED model has a slightly different internal layout, which means replacement parts are not interchangeable between LCD and OLED. When ordering replacement or Hall Effect joystick modules, you must select the OLED-specific version. GuliKit makes separate OLED and LCD versions of their Hall Effect sticks.
Some users report that the OLED model’s joysticks feel slightly different in terms of tension and click responsiveness. This is likely due to minor manufacturing variations rather than a fundamental design change. The drift troubleshooting steps are identical for both models.
The recalibration process, deadzone adjustment, and cleaning methods work the same way on OLED and LCD units. If anything, the OLED model benefits even more from early intervention since replacement parts are slightly less common than LCD parts.
If you are buying replacement modules for an OLED Deck, double-check the product listing specifically mentions OLED compatibility. Installing LCD modules in an OLED Deck will not work due to the different internal dimensions.
How to Prevent Stick Drift on Your Steam Deck
Prevention is the one area where most guides fall short, but it is actually the most useful information for Steam Deck owners who have not developed drift yet. Here are practical steps to extend the life of your joysticks.
Keep dust and debris away. Store your Steam Deck in a carrying case when not in use. Dust settling into the joystick gap is a leading cause of premature drift. A case takes two seconds to close and saves months of joystick life.
Avoid eating while gaming. Crumbs, oils, and food residue around the joystick base accelerate contamination of the internal mechanism. This is the most common advice given on r/SteamDeck when someone asks about early drift.
Do not press the sticks excessively hard. Clicking L3 and R3 (pushing the stick down) puts lateral stress on the potentiometer wiper. Use a gentle touch when sprinting or crouching in games that map those actions to stick clicks.
Keep your hands clean. Skin oils transfer to the stick surface and can work their way into the mechanism over time. Wash your hands before long gaming sessions if possible.
Avoid extreme temperatures and humidity. The potentiometer contacts can corrode faster in humid environments. Do not leave your Deck in a hot car or a damp basement.
Use a stick drift protector. Some users apply thin silicone joystick covers that create a seal around the stick base, preventing dust from entering. These are inexpensive and do not affect gameplay feel.
Following these habits can push the lifespan of your Steam Deck sticks well past the 6-month mark where many users first report drift. Based on community feedback, heavy users who skip these precautions often see drift within 4 to 6 months, while careful users report stick life of 18 months or more.
Frequently Asked Questions
Is stick drift actually fixable?
Yes, stick drift is fixable in most cases. Start with a restart and recalibration, which solve many temporary software-related drift issues. If that does not work, cleaning the joystick with compressed air or electrical contact cleaner often resolves debris-related drift. For permanently worn potentiometers, replacing the joystick module or upgrading to Hall Effect sticks provides a definitive fix.
Can you fix stick drift on a Steam Deck?
Yes, you can fix stick drift on a Steam Deck using several methods. The most effective approach is recalibrating the thumbsticks in Desktop Mode using Konsole, then adjusting the deadzone values in Game Mode if needed. Cleaning with compressed air or contact cleaner addresses debris-related drift. If the potentiometer is worn out, replacing the joystick module or upgrading to GuliKit Hall Effect sticks provides a permanent solution.
How do you permanently fix stick drift?
The only permanent fix for potentiometer-based stick drift is replacing the joystick module with a Hall Effect joystick. Hall Effect sticks use magnetic sensors instead of physical contacts, so the sensing mechanism cannot wear out. GuliKit makes solderless drop-in Hall Effect modules for both Steam Deck LCD and OLED models. For drift caused by debris rather than wear, thorough cleaning followed by recalibration can provide long-lasting results.
Is Steam Deck stick drift covered under warranty?
Yes, stick drift can be covered under Valve’s limited warranty if the issue is a manufacturing defect rather than user damage. Contact Steam Support through your account page to file an RMA. Based on user reports from Reddit, Valve has been responsive to drift claims and may send replacement parts or replace the entire unit. Try the RMA route before opening your device, as damage caused during self-repair is not covered.
How common is stick drift on the Steam Deck?
Stick drift on the Steam Deck is less common than on Nintendo Switch Joy-Cons but still affects a noticeable number of users. Reddit users on r/SteamDeck most commonly report drift appearing after 6 or more months of heavy use. The Steam Deck uses standard potentiometer-based joysticks, which are inherently susceptible to wear over time. Proper care and preventive habits can significantly extend joystick lifespan.
Wrapping Up: Your Steam Deck Stick Drift Game Plan
Knowing how to fix stick drift on a Steam Deck comes down to working through a simple progression: restart, recalibrate, adjust deadzone, clean, and replace. Most drift problems are resolved somewhere in steps one through three without spending a dime.
Start with a full restart. If that does not help, recalibrate in Desktop Mode using the Konsole terminal. Bump your deadzone to 5400 and increase incrementally if needed. Clean with compressed air or contact cleaner if the drift persists. And if all else fails, consider Hall Effect joystick upgrades from GuliKit for a permanent fix that eliminates potentiometer wear entirely.
If your device is still under warranty, contact Steam Support before opening anything. Valve has been good about handling drift claims, and there is no reason to risk voiding your coverage for a fix they may provide for free.
Take care of your sticks with proper storage and clean hands, and you can push your joystick lifespan well past the point where most users first experience drift. Your Steam Deck is an investment worth protecting.