
You turn on your smart TV, hear the startup chime, catch the audio from your favorite show, but the screen stays completely black. Sound familiar? This is one of the most reported TV issues across repair forums, and the good news is that most cases are fixable without buying a new television.
In this guide, I will walk you through how to fix a smart TV with a black screen but sound still works, covering everything from a simple 60-second power cycle all the way to advanced internal component diagnosis. I have pulled together insights from repair technicians, forum communities like r/TVRepairHelp, and hands-on troubleshooting experience to give you a complete roadmap.
Most of the time, this problem comes down to one of three things: a software glitch, a loose connection, or a backlight failure. By the end of this guide, you will know exactly which one you are dealing with and what to do about it.
Quick Diagnosis: Is It Hardware or Software?
Before diving into fixes, take 30 seconds to narrow down the problem. This saves you from trying every solution blindly and helps you focus on the right category immediately.
Here is a quick decision path I use:
If the screen flickers briefly at startup then goes black: This points to a backlight failure or power supply issue. The backlight illuminates the LCD panel from behind, and when LED strips fail, you get audio with no visible picture.
If the screen never shows anything at all: Could be a backlight failure, a T-Con board problem (the board that drives the display), or a loose internal ribbon cable connection.
If the screen goes black intermittently: Usually a software glitch, overheating issue, or a failing HDMI handshake between your TV and external device.
If only one app (like YouTube TV) shows a black screen: This is almost certainly a software or app issue, not a hardware problem. Try a different app to confirm.
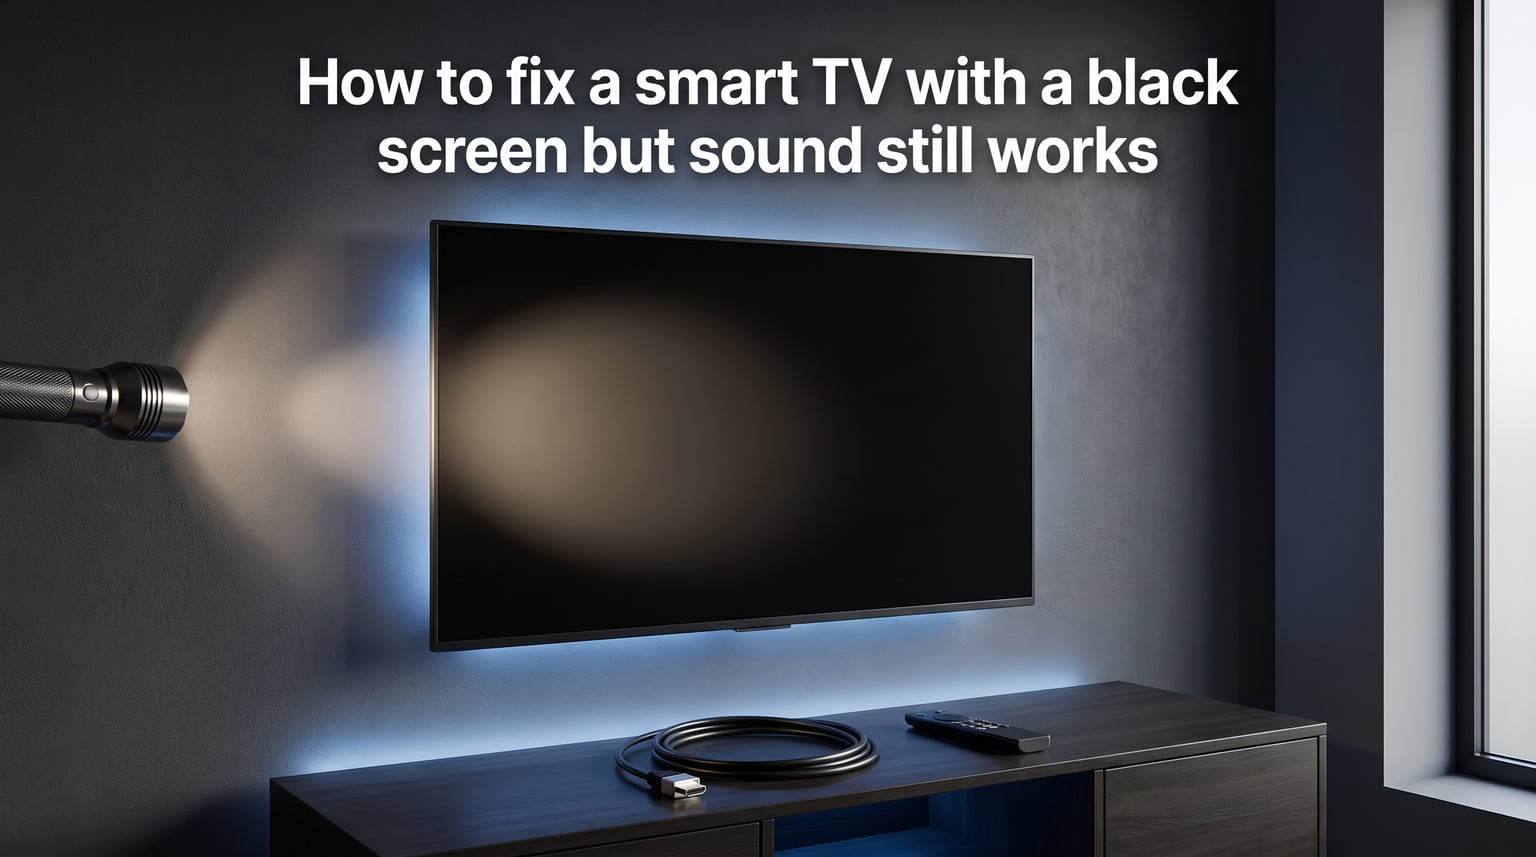
To quickly confirm whether your backlight is the culprit, do the flashlight test (covered in detail in Step 5 below). If you can faintly see the image when shining a light at the screen, your LCD panel is fine and the backlight needs attention.
Step 1: Power Cycle Your TV (The 60-Second Fix)
The power cycle is the single most effective first step, and it fixes the black screen issue roughly 30 to 40 percent of the time based on community reports. The reason it works is simple: it drains residual charge from capacitors and forces a clean restart of the TV software, clearing temporary glitches.
Here is the exact process I recommend:
1. Turn off the TV using the remote or the power button on the unit itself.
2. Unplug the power cord directly from the wall outlet. Do not just turn it off with the remote, as that leaves the TV in standby mode with power still flowing to internal components.
3. Wait a full 60 seconds. If you want to be thorough, wait 2 minutes. During this time, residual charge drains from the capacitors on the power supply board.
4. While the TV is unplugged, press and hold the physical power button on the TV (not the remote) for 30 seconds. This helps discharge any remaining voltage.
5. Plug the TV back in and turn it on.
If the picture comes back, you are back in business. However, if this fix only works temporarily and the black screen returns after hours or days, you are likely dealing with a failing component that needs further diagnosis. As one Reddit user in r/TVRepairHelp noted, a temporary power cycle fix often signals a backlight or power supply board that is on its way out.
Step 2: Check All Cable Connections
Loose or faulty cable connections are the second most common cause of a black screen with sound. The leading culprit is a degraded HDMI handshake between your TV and whatever is plugged into it.
Start with these checks:
Inspect your HDMI cables: Unplug each HDMI cable from both the TV end and the source device end. Look for bent pins, corrosion, or physical damage. Reconnect firmly until you feel the click.
Try a different HDMI port: Plug your device into a different HDMI input on the TV. If the picture comes back on a different port, the original HDMI port may be damaged on the main board.
Swap the HDMI cable: HDMI cables go bad more often than people think. Try a known working cable from another device. I have seen cables that look perfectly fine on the outside fail internally.
Check your source device: Plug your streaming box, game console, or cable box into a different TV if possible. If it shows a black screen there too, the problem is your source device, not the TV.
Verify the correct input is selected: It sounds obvious, but press the Source or Input button on your remote and cycle through each input. Sometimes a software update or power outage resets the active input to a port with nothing connected.
Also check the power cable connection at the back of the TV. A loose AC connection can cause intermittent power delivery that affects the backlight specifically.
Step 3: Check Brightness and Display Settings
Sometimes the TV backlight is not broken, it is just turned way down. Certain settings can make the screen appear completely black while audio continues playing normally.
Energy Saving Mode: Many smart TVs have an energy saving or eco mode that can aggressively dim or shut off the backlight. If your TV has been through a software update recently, this setting may have reset to a default that dims the screen to near-zero.
To check this without seeing the screen, use the remote to navigate by memory or use the TV companion app on your phone. Samsung, LG, and Roku all offer smartphone apps that mirror the remote and can display settings on your phone.
Brightness Level: If someone accidentally set brightness to zero, the screen will look black in a well-lit room. Try using the remote to increase brightness while shining a flashlight at the screen to see if any change occurs.
Sleep Mode or Power Saving: Some TVs enter a display-off mode that keeps audio running. Press any button on the remote to wake the display. Samsung TVs specifically have a feature called Eco Sensor that dims the screen in low light conditions.
Picture Mode Reset: If you can access the TV menu (even on another input or using the flashlight trick from Step 5), try resetting the picture settings to factory defaults. Corrupted picture profiles can cause extreme dimming.
Step 4: Factory Reset Without a Picture
If settings adjustments did not work and you suspect a software corruption issue, a factory reset is your next step. The challenge is doing this when you cannot see the screen. Here is how to reset major TV brands blind.
Samsung TV factory reset without picture: With the TV on, press and hold the Exit button on your remote for 10 to 15 seconds until a prompt appears (you will not see it). Press the Up arrow, then press Enter. Wait 30 seconds and the TV will restart reset.
LG TV factory reset without picture: Press the Settings (gear) button on the remote. Navigate to All Settings by pressing Down several times and pressing Enter. Go to General, then System, then Reset to Initial Settings. Alternatively, hold the Settings button on the remote until the settings menu appears, then enter the code on screen.
Vizio TV factory reset without picture: Press Menu on the remote. Press the Down arrow 6 times, then press Enter. Press Down once more, then Enter to confirm the system reset. The TV will restart.
Roku TV factory reset without picture: Locate the physical reset button on the back or bottom of the TV (a small pinhole). Use a paperclip to press and hold the reset button for 20 seconds while the TV is on. The TV will restart factory fresh.
Sony TV factory reset without picture: Press Home on the remote. Navigate to Settings, then System Settings, then General Setup, then Factory Settings. Use the directional pad and Enter to confirm.
Keep in mind that a factory reset erases all your apps, login information, and custom settings. You will need to set the TV up again as if it were new.
Step 5: The Flashlight Backlight Test
This is the single most important diagnostic step if the earlier fixes did not resolve your issue. The flashlight test tells you definitively whether your backlight has failed or whether the problem lies elsewhere.
Here is how to do it step by step:
1. Turn on your TV and tune to a channel or play content so you can hear audio.
2. Turn off or dim all lights in the room. You need near-total darkness for this test to work.
3. Take a bright flashlight and hold it about 1 to 2 inches from the TV screen.
4. Move the flashlight slowly across the screen while looking closely at the surface.
5. If you can faintly see the image behind the glass, your LCD panel and T-Con board are working correctly. The problem is the backlight system.
6. If you see absolutely nothing even with the flashlight, the issue is likely the T-Con board, main board, or the LCD panel itself.
This test works because LCD panels work by blocking and filtering light from the backlight behind them. Remove the backlight and the panel still processes the image, it just has nothing to illuminate it. Your flashlight temporarily serves as the backlight, making the faint image visible.
If the flashlight test confirms backlight failure, you have a clear path forward. LED backlight strips can be replaced, and replacement kits are available for most major brands. The repair typically costs between $50 and $150 in parts depending on the TV size and model.
Advanced Fixes: Internal Component Diagnosis
If the basic steps and flashlight test point to an internal hardware failure, you have a decision to make. Some repairs are straightforward for someone comfortable with a screwdriver, while others require specialized tools and experience.
Important Safety Warning: Opening a TV involves exposure to potentially dangerous voltage. Even unplugged, capacitors inside the power supply can hold a charge for hours. Never touch exposed circuit boards or solder joints without first allowing the TV to sit unplugged for at least 2 hours. If you are not comfortable working with electronics, stop here and call a professional.
Here is a breakdown of the internal components that could be causing your black screen:
The Power Supply Board: This board converts wall power into the various voltages the TV needs. If it fails to deliver the correct voltage to the backlight system, you get a black screen with sound. Symptoms include a backlight that flickers on at startup then dies. You can test the output voltage with a multimeter by checking the labeled pins on the backlight connector (often marked as 12V, 24V, or similar). If the voltage reads significantly lower than the label indicates, the power supply board needs replacement.
The Main Board: The main board handles signal processing, audio, and communication with other boards. A failing main board can produce audio normally while failing to send the correct display signal to the T-Con board. Symptoms include HDMI ports that stop working or a TV that takes abnormally long to boot.
The T-Con Board (Timing Control Board): This board takes the signal from the main board and converts it into the instructions that drive individual pixels on the LCD panel. A failing T-Con board can cause a completely black screen, vertical lines, or half-screen display issues. T-Con board replacement is one of the easier internal fixes, as the board is typically connected by one or two ribbon cables and held in place with screws.
Ribbon Cable Connections: The flat, flexible cables that connect the T-Con board to the LCD panel can work loose over time due to thermal expansion and vibration. Reseating these cables (unplugging and plugging them back in carefully) is a free fix that works surprisingly often. Be extremely gentle, as these cables are fragile and the connectors are small.
LED Backlight Strips: If your flashlight test confirmed backlight failure, the LED strips behind the panel need replacement. This is the most labor-intensive fix because it requires removing the LCD panel from the frame to access the strips behind it. Replacement strips cost $30 to $100 depending on the TV model. The job takes 1 to 3 hours for someone experienced.
Tools needed for internal diagnosis: A Phillips screwdriver set, a multimeter for voltage testing, a flashlight, needle-nose pliers for ribbon cable connectors, and a clean workspace large enough to lay the TV face-down safely.
Brand-Specific Fixes (Samsung, LG, Vizio, Roku, Sony)
Different TV brands have quirks that affect troubleshooting. Here are brand-specific tips I have gathered from repair forums and hands-on experience.
Samsung TV Black Screen Fixes: Samsung TVs have a known issue with backlight failure on models from certain production years. Before anything else, try the Samsung-specific reset: hold the power button on the remote until the TV restarts (about 5 seconds), then immediately hold the Mute button for 10 seconds. Samsung also has a feature called Anynet+ (HDMI-CEC) that can cause black screens when a connected device sends a bad signal. Try disabling Anynet+ in the settings if you can access them.
LG TV Black Screen Fixes: LG webOS TVs sometimes get stuck in a display-off state after a software update. Try this: unplug the TV, hold the physical power button for 30 seconds, then plug it back in while still holding the button. Release after the LG logo appears. LG also offers the ThinQ app for smartphones that can mirror the TV display, letting you navigate settings on your phone.
Vizio TV Black Screen Fixes: Vizio TVs are particularly prone to power supply board failures that cause black screens. The signature symptom is a backlight that turns on for half a second at startup then shuts off. Press and hold the Input button on the side of the TV for 10 seconds to trigger a forced input cycle, which sometimes clears the issue. Vizio also recommends unplugging for 2 full minutes minimum.
Roku TV and TCL Black Screen Fixes: Roku TVs (including TCL, Hisense, and onn models with Roku built in) have a specific black screen bug tied to software updates. The fix is a system restart: press the Home button 5 times, press the Up arrow once, press the Rewind button twice, then press the Fast Forward button twice. This triggers a hidden system restart without needing the screen. Multiple users in r/Roku confirm this sequence resolves software-caused black screens.
Sony TV Black Screen Fixes: Sony Bravia TVs have a dedicated reset button sequence. Hold the Power and Volume Down buttons simultaneously on the remote or TV unit for 5 seconds. The TV will restart. Sony models also have a Timer feature that can blank the display, so check if a timer indicator light is on at the bottom of the TV.
Repair vs Replace: Cost Breakdown
One of the biggest questions I see in forums is whether to fix the TV or buy a new one. The answer depends on the failed component, the age of the TV, and the cost of parts versus a replacement.
T-Con board replacement: $25 to $60 for the part, 1 hour of labor. Worth doing yourself if you are comfortable opening the TV.
Power supply board replacement: $40 to $80 for the part, 1 hour of labor. Also a reasonable DIY fix.
LED backlight strip replacement: $30 to $100 for parts, 2 to 3 hours of labor. More complex due to panel removal, but doable with patience and a guide.
Main board replacement: $50 to $120 for the part, 1 to 2 hours of labor. Straightforward swap.
Professional repair service: Typically $150 to $400 including parts and labor, depending on the component and your location.
LCD panel replacement: If the panel itself is cracked or the backlight test shows nothing, the panel is the most expensive part of the TV. Replacement panels often cost 60 to 80 percent of a new TV price. In this case, replacing the entire TV is usually the better financial decision.
As a general rule: if your TV is under 4 years old and the repair costs less than half the price of a comparable new TV, repair makes sense. If the TV is older than 5 years or the repair approaches the cost of new, replacement is usually the smarter move. Also check your warranty, many TV brands offer 1-year manufacturer warranties and some credit cards extend coverage up to 2 years.
YouTube TV App-Specific Black Screen Fix
If your black screen only happens when using the YouTube TV app (or any specific streaming app), the issue is software, not hardware. Here is how to fix it.
First, force-close the app and reopen it. On most smart TVs, you can do this by navigating to the app in your app list, pressing and holding the select button, and choosing Close or Force Stop.
If that does not work, clear the app cache. On Samsung TVs, go to Settings, then Support, then Device Care, then Manage Storage, and clear the YouTube TV cache. On Roku, remove the channel by highlighting it, pressing the Star button, and selecting Remove Channel, then re-add it from the Channel Store.
Check for app updates and system firmware updates. Outdated firmware is a common cause of app-specific display issues. Go to Settings, then System or Support, then Software Update on most TVs.
Users on r/youtubetv report that a full TV restart (unplug for 60 seconds, plug back in) followed by uninstalling and reinstalling the YouTube TV app resolves this issue in most cases.
Frequently Asked Questions
Can a TV be fixed if the screen goes black?
Yes, in most cases a TV with a black screen can be fixed. The most common cause is backlight failure, which is repairable by replacing LED strips for $30 to $100 in parts. Other fixable causes include power supply board failures, T-Con board issues, loose cable connections, and software glitches. The only scenario where repair is not worthwhile is if the LCD panel itself is cracked or permanently damaged, as replacement panels cost nearly as much as a new TV.
How to reset smart TV when screen is black?
To reset a smart TV with a black screen, use the physical reset button on the TV (usually a pinhole on the back or bottom) and hold it with a paperclip for 20 seconds while the TV is on. Alternatively, use the remote to enter the reset sequence by memory: on Samsung, hold the Exit button for 15 seconds then press Up and Enter; on Roku, use the hidden sequence of Home 5 times, Up once, Rewind twice, Fast Forward twice; on LG, hold Settings until the menu appears then navigate to Reset. The TV will restart factory fresh.
What to do when your Sony TV turns on but the screen is black?
When a Sony Bravia TV turns on but shows a black screen, hold the Power and Volume Down buttons simultaneously for 5 seconds to force a restart. If that does not work, unplug the TV for 2 minutes, hold the power button for 30 seconds while unplugged, then plug it back in. Check if the Timer indicator light is on at the bottom of the TV, as the Timer feature can blank the display. If the flashlight test shows a faint image, the backlight needs replacement.
How do I reset my TV without a picture?
To reset a TV without seeing the screen, use the physical reset pinhole button on the back or bottom edge of the TV. Hold it with a paperclip for 15 to 20 seconds while the TV is powered on. The TV will power cycle and restart to factory settings. You can also use the TV companion app on your smartphone (Samsung SmartThings, LG ThinQ, Roku app) to mirror the remote and navigate the reset menu on your phone screen.
Conclusion
Figuring out how to fix a smart TV with a black screen but sound still works is a process of elimination, and most cases are solvable. Start with the power cycle, check your cables, try the settings fixes, and then run the flashlight test to determine if the backlight is the problem.
If the flashlight test confirms backlight failure and your TV is under 5 years old, a backlight strip replacement or professional repair is almost always worth the cost. If the LCD panel itself is damaged, replacement is the more practical choice.
The key takeaway: do not throw out your TV before trying the flashlight test. That single diagnostic step tells you more about the health of your television than any other step in this guide, and it takes less than 2 minutes. Grab a flashlight, dim the lights, and find out if your TV has plenty of life left in it.