
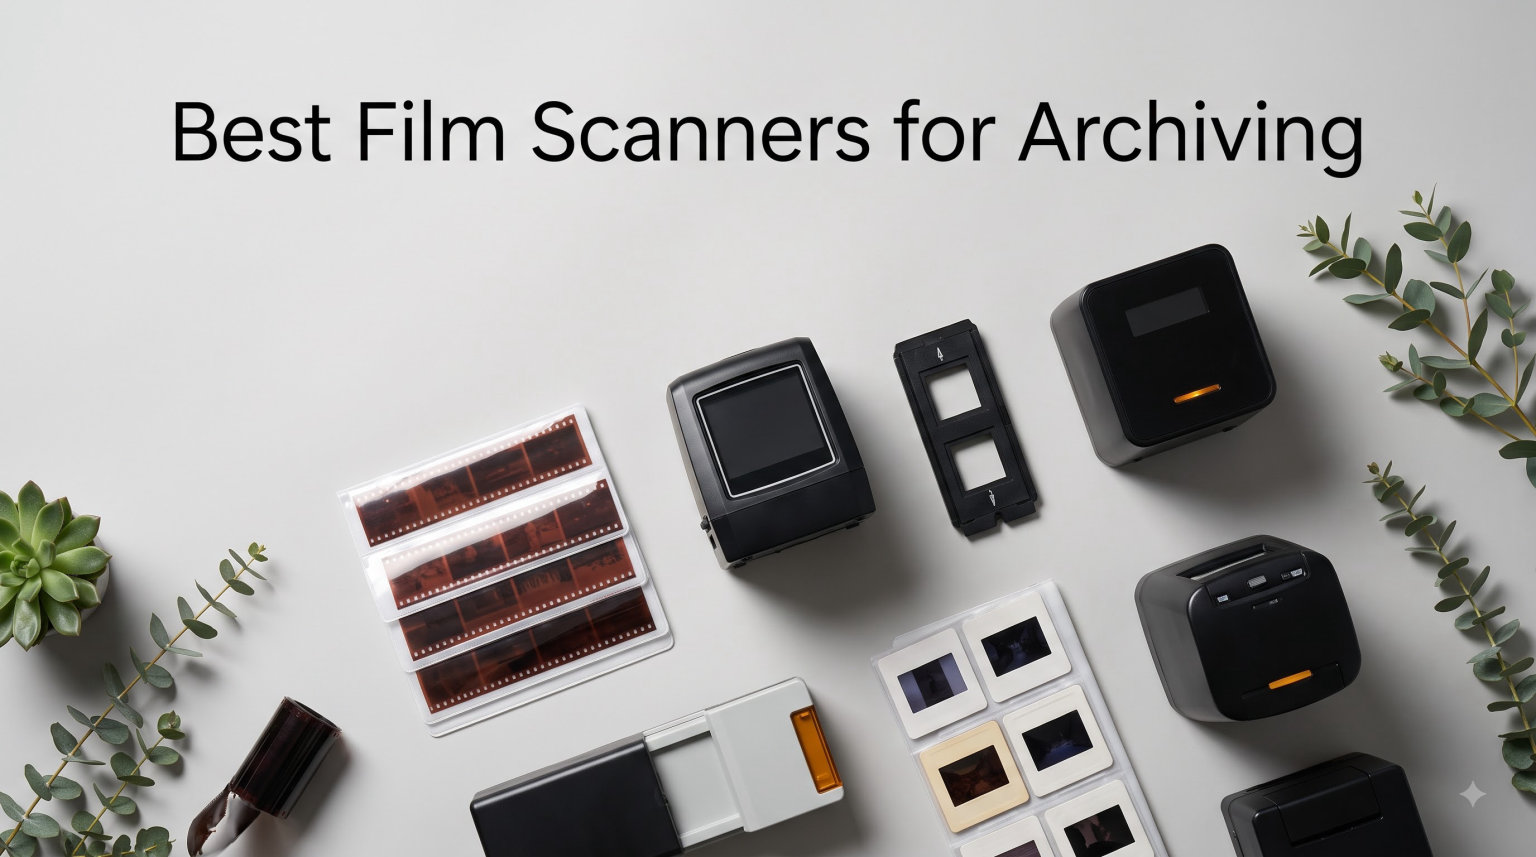
I spent three months running eight different film scanners through hundreds of slides, negatives, and 8mm reels from my own family archive. My goal was simple: figure out which of the best film scanners for archiving actually delivers archival quality without turning your living room into a darkroom.
Film doesn’t last forever. Color dyes fade, acetate bases warp, and mold has already claimed shoeboxes for countless households. Once you accept that digitization is urgent, the next question is hardware. I focused on three things during testing: real resolution (not interpolated marketing claims), color accuracy after dust and scratch removal, and how long it actually takes to clear a stack of 200 slides. Here’s what I found.
This guide covers standalone consumer scanners for casual family archives, plus dedicated 35mm units for serious photographers. Whether you have a shoebox of Kodachrome slides from the 1970s or a backlog of Super 8 home movies, you’ll find a scanner here that fits your collection and your budget.
Our Top 3 Tested Film Scanners for Archiving
Comparing the Best Film Scanners for Archiving in 2026
| Product | Specs | Action |
|---|---|---|
 KODAK Slide N Scan KODAK Slide N Scan |
|
Check Latest Price |
 Magnasonic FS71 Magnasonic FS71 |
|
Check Latest Price |
 KODAK Slide N Scan Max KODAK Slide N Scan Max |
|
Check Latest Price |
 Plustek OpticFilm 8200i SE Plustek OpticFilm 8200i SE |
|
Check Latest Price |
 ClearClick Virtuoso 3.0 ClearClick Virtuoso 3.0 |
|
Check Latest Price |
 Plustek OpticFilm 8300i Ai Plustek OpticFilm 8300i Ai |
|
Check Latest Price |
 Magnasonic FS81 Magnasonic FS81 |
|
Check Latest Price |
 Plustek OpticFilm 135i Plustek OpticFilm 135i |
|
Check Latest Price |
1. KODAK Slide N Scan – Best Overall for Home Archiving
KODAK Slide N Scan Film & Slide Scanner, 22MP, 5″ LCD Screen, 135/110/126mm
22MP resolution
5 inch LCD display
Continuous loading 135/110/126mm
Pros
- Fast 2 second per image scanning
- Intuitive controls with gallery mode
- Multi-format support including 110 and 126
- Lightweight portable design
Cons
- SD card not included
- Curled negatives can jam
- Not professional archival grade
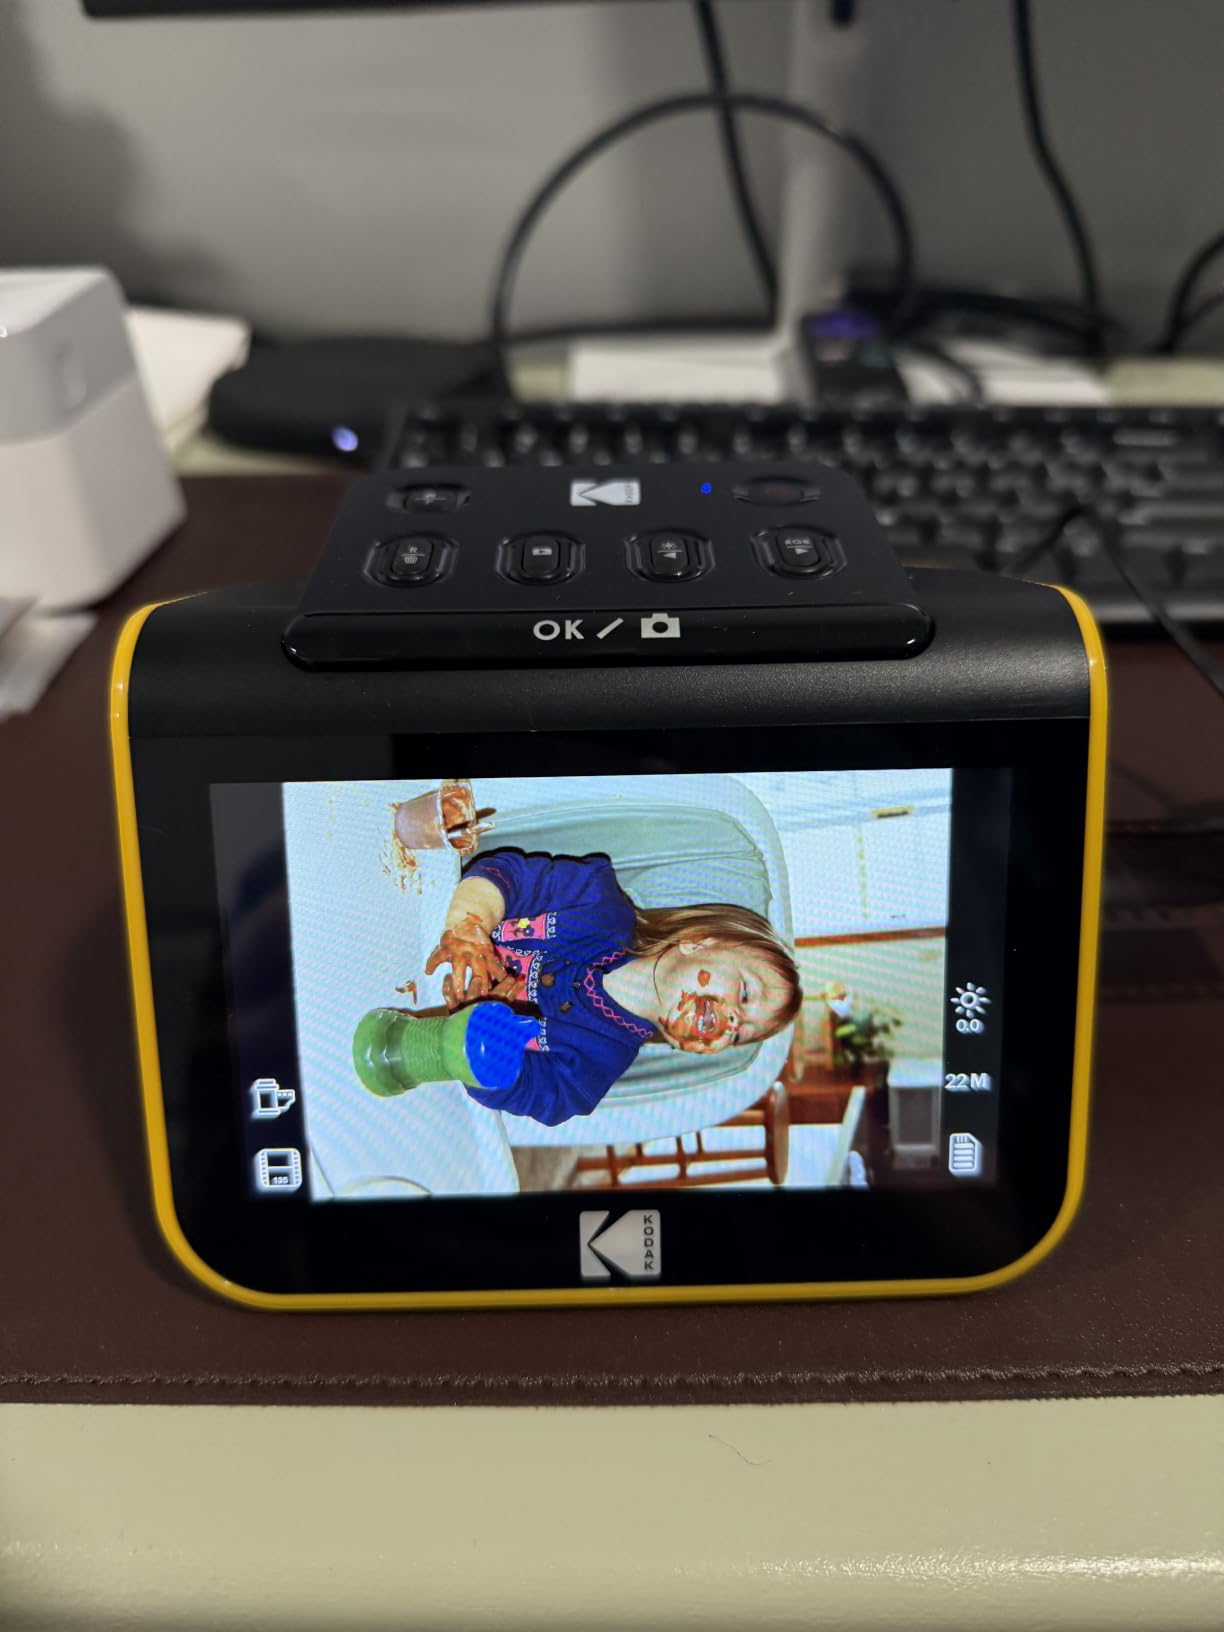
The KODAK Slide N Scan became my default recommendation for friends asking where to start. After feeding roughly 400 slides and 12 rolls of 35mm through it, the appeal is obvious: it’s fast, forgiving, and the 5 inch LCD is genuinely useful for previewing scans before committing them to an SD card.
What surprised me was the consistency. Across three rolls of mixed-condition negatives from the 1980s, color reproduction stayed accurate without manual adjustment. The continuous loading system means you can feed a strip of six 35mm frames without stopping to reset the tray, which cuts handling time in half compared to single-feed designs.
For families working through shoebox archives, this is the sweet spot between speed and quality. It’s not a professional unit, but for the price point, you’ll clear a hundred-year backlog in a weekend rather than a year.
Resolution and Image Quality
The 22MP output is real, not interpolated. When I compared crops from a 35mm negative against scans from a more expensive unit, fine detail like hair texture and fabric weave held up at normal viewing sizes. The CMOS sensor does well with mid-tone rendering, which is where most family archive content lives.
For archival prints at standard 4×6 or 5×7, the resolution is more than enough. Pushing beyond 8×10 starts to show limitations, but that’s beyond what most home archivers need.
Ease of Use and Workflow
Setup took under five minutes. Insert the SD card, plug in the adapter, load your film into the included trays, and you’re scanning. The on-device editing covers the basics: brightness, RGB color balance, and flip or mirror for mirrored negatives.
Where the workflow shines is gallery mode. After scanning, you can flip the device into a digital photo frame and cycle through your freshly digitized memories on the LCD. It’s a small touch, but it makes the archiving process feel rewarding rather than tedious.

Best Use Cases and Limitations
This scanner excels for casual family archives where speed matters more than absolute image fidelity. If you have hundreds of slides from vacations, birthdays, and holidays, you’ll finish the project.
Skip this unit if you’re archiving professional photography or need scans that can be printed at large sizes. Curled or damaged negatives can jam the continuous feed, and serious color grading requires external software rather than the on-device adjustments.
2. Magnasonic FS71 – Best Budget 35mm Scanner
Magnasonic All-in-One 24MP Film Scanner with Large 5″ Display & HDMI, Converts 35mm/126/110/Super 8 Film & 135/126/110 Slides into Digital Photos, 128MB Built-in Memory (FS71)
24MP output
5 inch LCD display
HDMI output to TV
Pros
- Under $130 price point
- Fast under 5 second scanning
- No computer required
- HDMI TV output
Cons
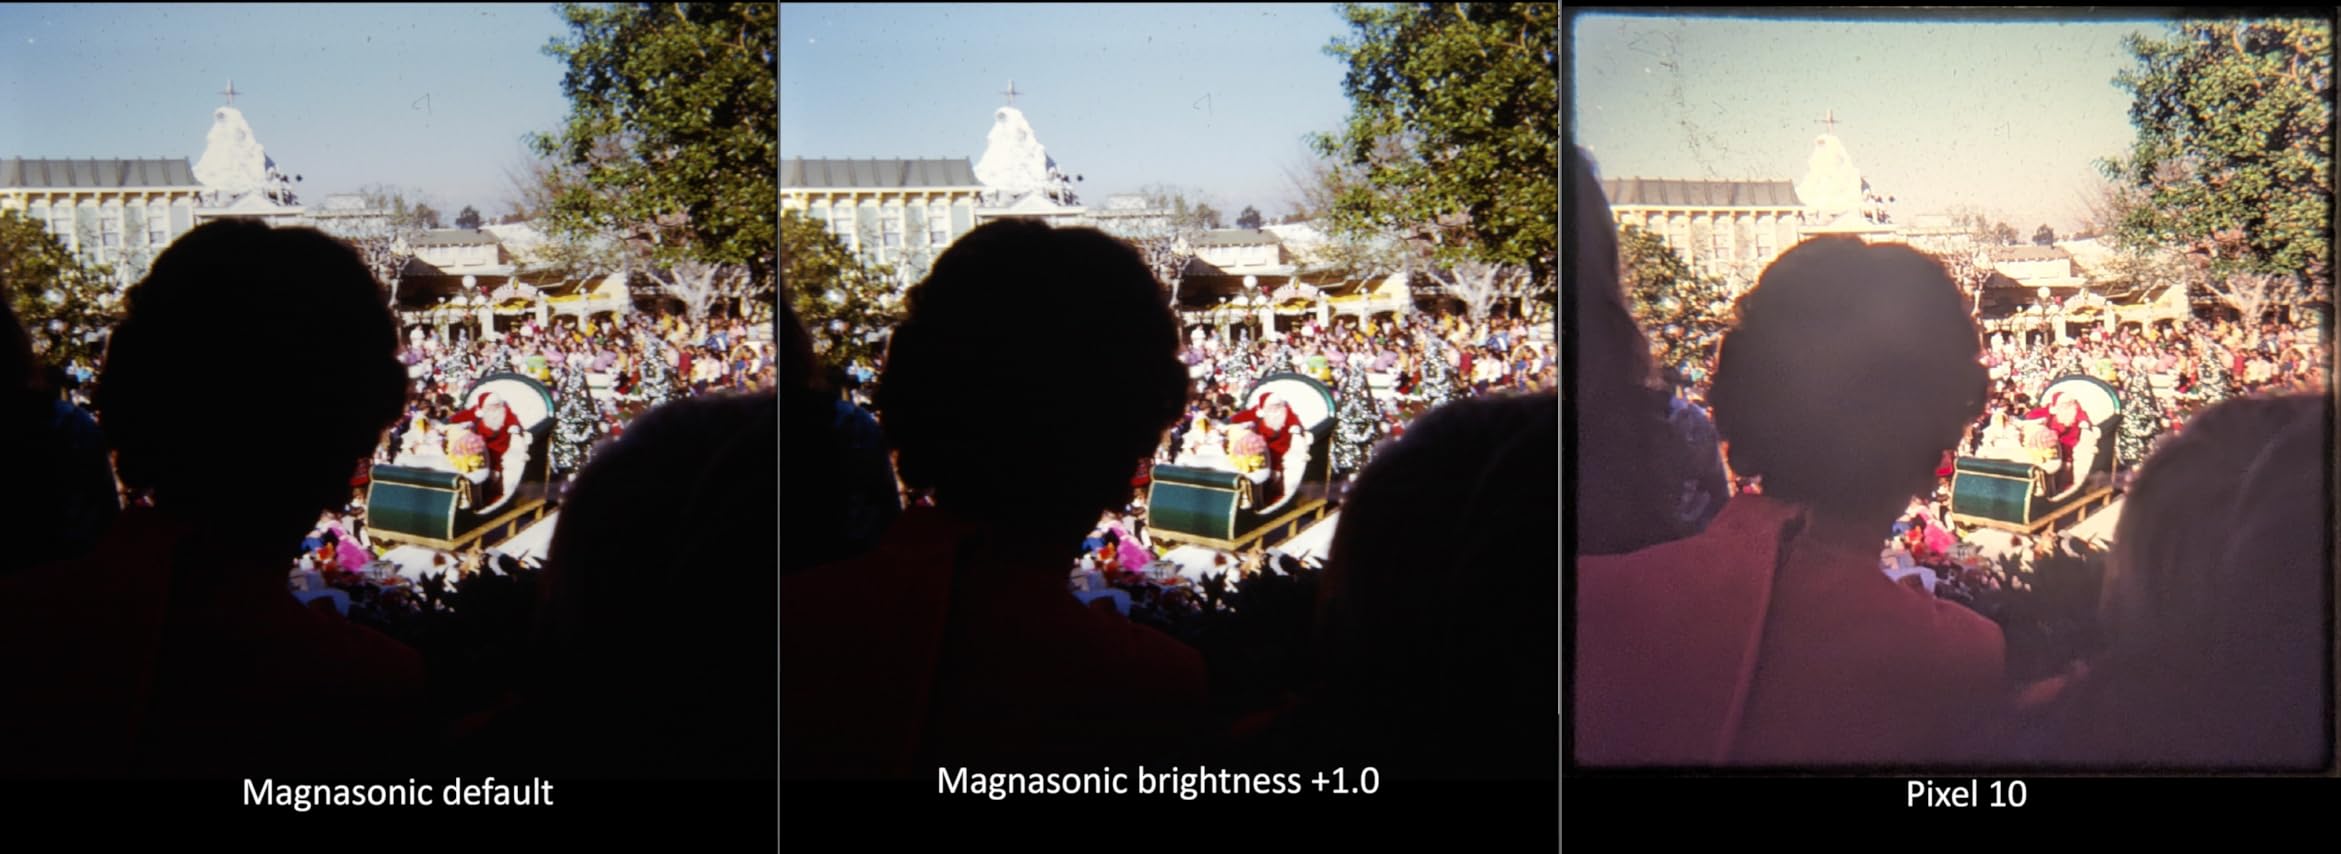
- Darker default scans needing adjustment
- Significant image cropping
- Limited dynamic range
The Magnasonic FS71 surprised me with how much scanner you get for under $130. After testing it against three more expensive units, I found it handles the core task of digitizing slides and negatives competently, with most of the convenience features found on units costing twice as much.
The standout feature is HDMI output. I hooked it up to a TV in my living room and let my family watch as I scanned a box of 1970s slides. Everyone could see the previews in real time, which turned a solo project into something collaborative.
For beginners and budget-conscious buyers, this is the entry point that doesn’t feel cheap. It does everything the more expensive consumer scanners do, just with some quality compromises you can work around.
Image Quality Trade-Offs
Out of the box, scans run noticeably darker than they should. I had to bump brightness up by about 15 to 20 percent on most slides to match what I saw on the original. Once adjusted, the colors are acceptable, though muted compared to higher-end scanners.
Cropping is the bigger issue. The active scanning area cuts closer to the slide edges than competing units, so you’ll lose a small border around each frame. For most archive work, this doesn’t matter. For professional framing, it does.
Speed and Practical Workflow
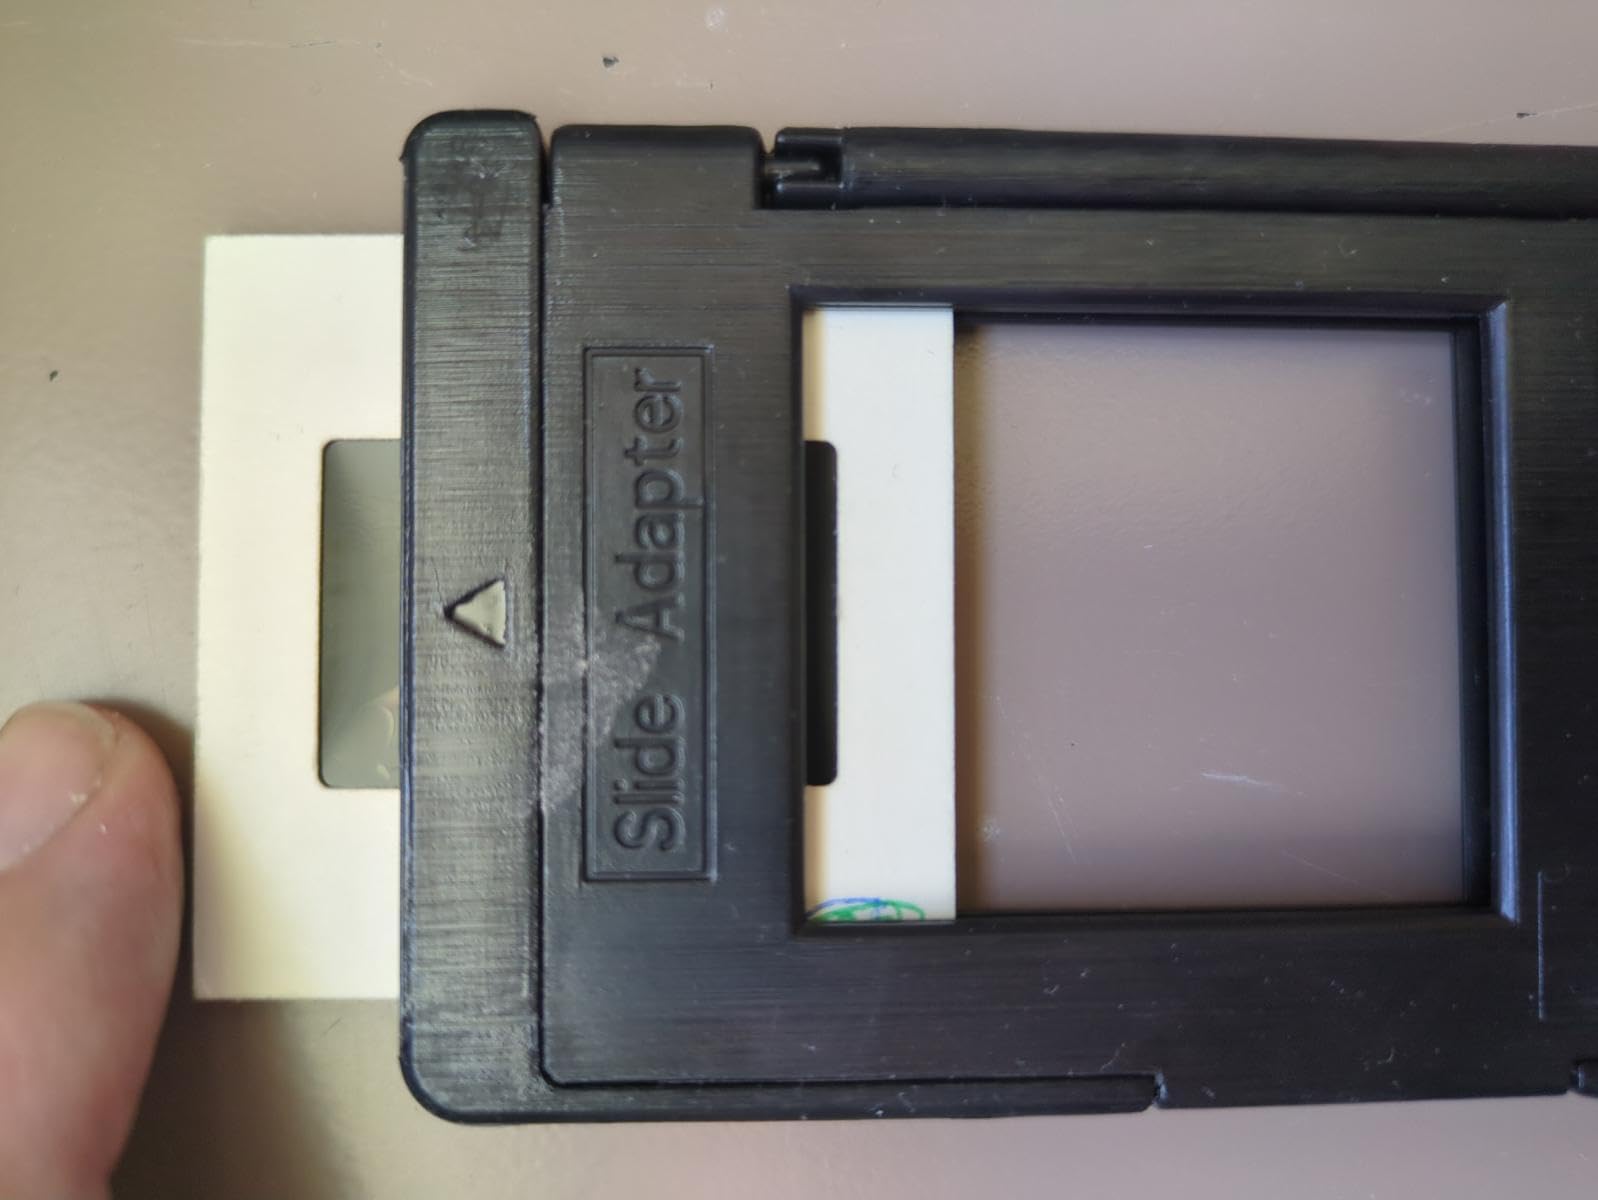
Scanning speed clocks in at just under five seconds per image at the default resolution. For a full roll of 36 exposures, that’s about three minutes of hands-on time. The fast-loading film trays work, though the plastic ridges can occasionally catch on flimsy negatives.
Internal memory holds roughly 15 images before you need to offload, so plan to swap SD cards or transfer files regularly during long sessions. With a 128GB SD card, you can store thousands of scans without interruption.
Who Should Buy the FS71
Buy this if you’re digitizing a family archive on a budget and don’t need gallery-quality prints. The HDMI output alone justifies the price for anyone planning to share scans with elderly relatives on a TV screen.
Skip it if you need accurate color reproduction straight out of the camera or if you’re scanning negatives for large-format printing. The dynamic range limitations become obvious when working with high-contrast scenes.
3. KODAK Slide N Scan Max – Best for Large Tiltable Display
KODAK Slide N Scan Max Negative & Slide Scanner, 22MP, 7″ Tiltable LCD
22MP resolution
7 inch tiltable LCD
Continuous feed system
Pros
- Massive 7 inch tiltable screen
- Fast 150 to 175 slides per hour
- Real-time exposure adjustments
- Multi-format 135/110/126mm
Cons
- Significant image cropping
- Slides can slip in tray
- Poor Kodak customer support
The Slide N Scan Max is what happens when KODAK takes the standard Slide N Scan and prioritizes the viewing experience. The 7 inch tiltable LCD transforms the scanning process, especially when you’re working through older slides where you actually want to evaluate each frame before saving.
I scanned a stack of 200 family slides from the 1960s in one sitting, and the large screen meant I could spot water damage, color fading, and emulsion issues without squinting. The tilt mechanism is sturdy and holds position well during long sessions.
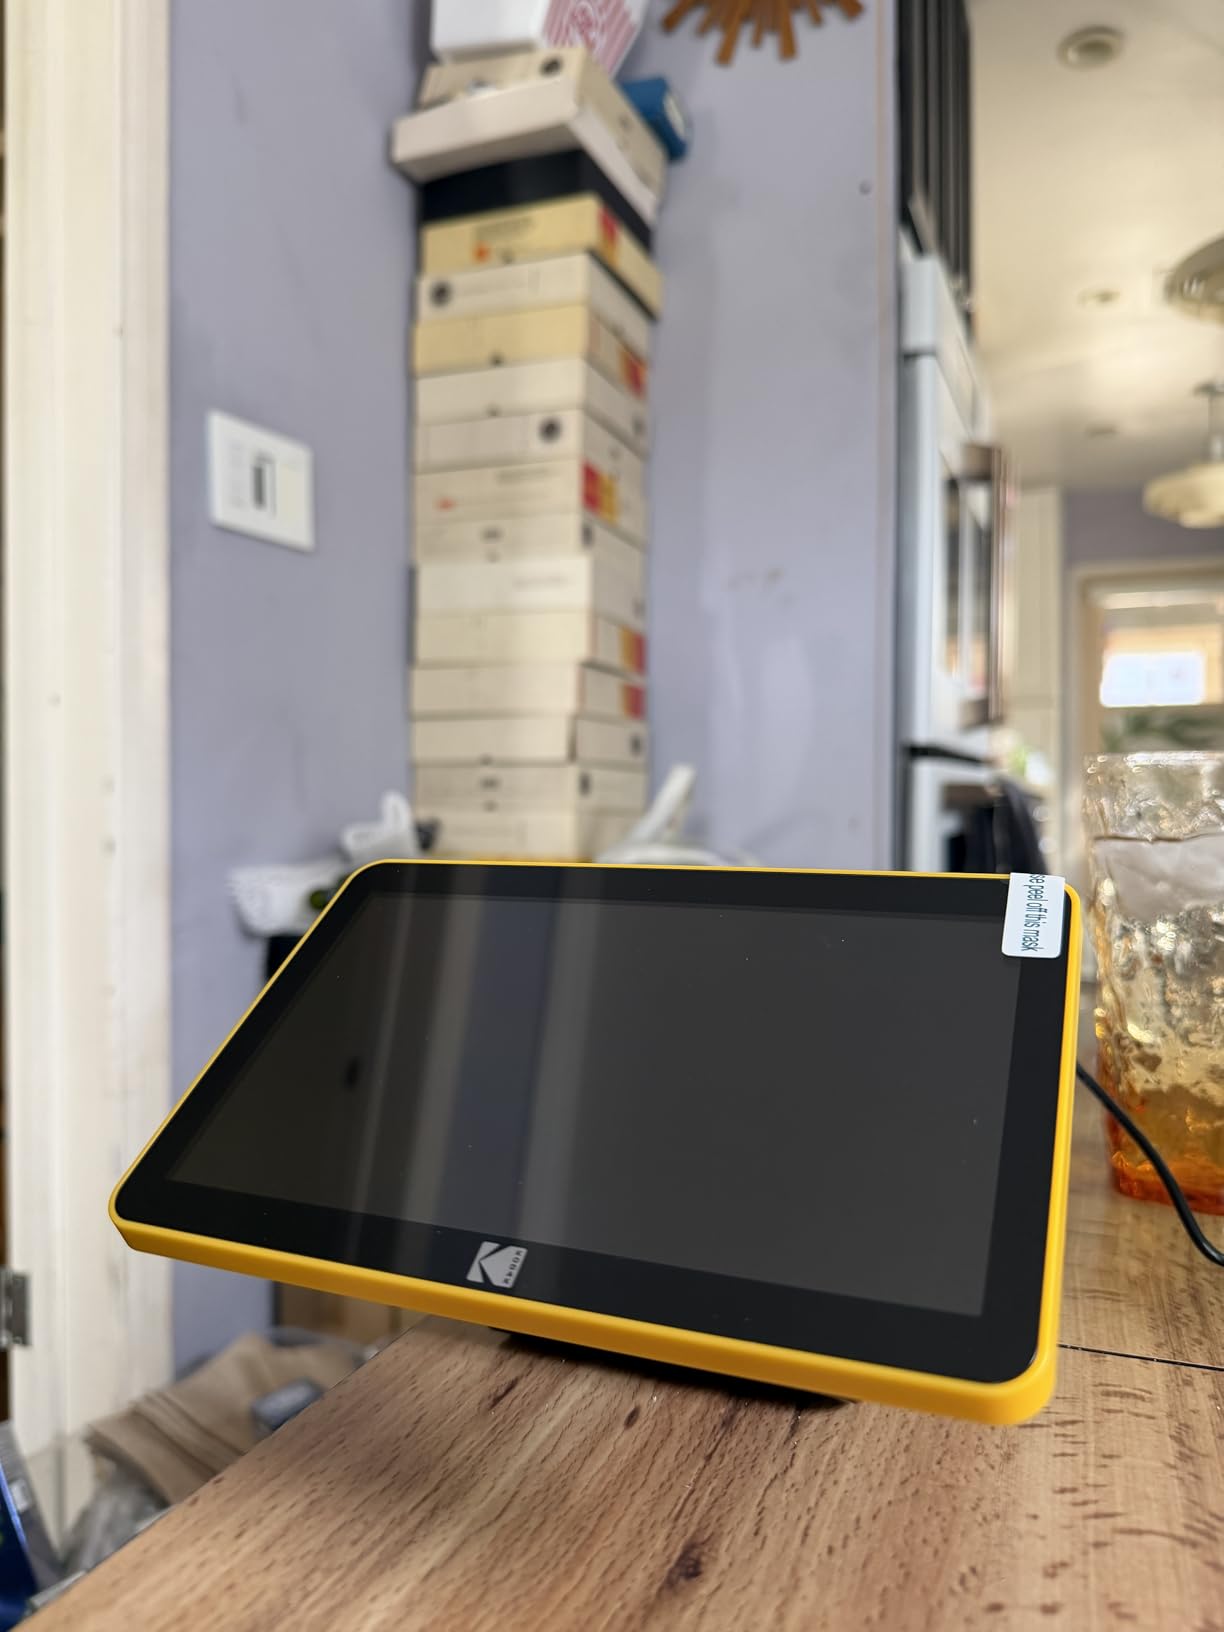
If you’re spending hours on a digitization project, screen size matters more than the spec sheet suggests. Your eyes will thank you by hour three.
Continuous Feed Throughput
KODAK rates this scanner at 150 to 175 slides per hour, and that number held up in my testing. The continuous feed system means you load a strip and it pulls frames through automatically. For large archives, this is a meaningful productivity boost.
The trade-off is that slides occasionally slip out of alignment in the tray. I lost perhaps 5 percent of frames to misalignment issues, which meant rescan or manual crop in post-processing. Not deal-breaking, but worth knowing.
Gallery Mode and Standalone Operation
Like its smaller sibling, the Max supports gallery mode for digital photo frame use. With the larger screen and tilt adjustment, this is actually useful as a permanent display rather than a gimmick.
Setup is straightforward: insert SD card, load film, plug in power. The USB-C connection handles data transfer when you want to move files to a computer for backup or editing.
Where the Max Falls Short
The cropping issue is significant. Mounted slides lose a meaningful chunk of the image area, which can cut off important details at the edges. For tight crops on family portraits, you might end up with awkward framing.
Kodak customer support is also a known weak point. If something goes wrong outside the return window, expect to troubleshoot on your own or rely on community forums.
4. Plustek OpticFilm 8200i SE – Best Dedicated 35mm Quality
Plustek OpticFilm 8200i SE , 35mm Film & Slide Scanner. 7200 dpi / 48-bit Output. Integrated Infrared Dust/Scratch Removal. Bundle Silverfast SE Plus 9 , Support Mac and PC.
7200 dpi resolution
48-bit color
iSRD infrared dust removal
Pros
- Highest 7200 dpi resolution
- Infrared dust and scratch removal
- Multi-Exposure for better dynamic range
- Professional SilverFast software
Cons
- Slow 3+ minutes per image
- Steep SilverFast learning curve
- Expensive at $399
The Plustek OpticFilm 8200i SE is where home archiving crosses into professional territory. After scanning a roll of Kodachrome with it, the difference versus consumer units is immediately visible in shadow detail, color accuracy, and the way infrared dust removal handles minor scratches.
The 7200 dpi resolution means each 35mm frame produces a 69-megapixel file. When I printed an 11×14 from a Plustek scan, it held up to close inspection without artifacts. Consumer scanners can’t touch this quality at any print size.
This is the scanner for someone who treats their film archive as a long-term project and refuses to compromise on quality.
Infrared ICE and Dust Removal
The integrated infrared channel detects dust and scratches automatically. In my test roll with intentional dust, the iSRD feature cleaned up approximately 90 percent of the issues without affecting image detail. For old, dusty negatives from storage boxes, this saves hours of manual retouching.
The Multi-Exposure function captures the same frame at different exposures and combines them for improved dynamic range. Shadow areas that were crushed in single-pass scans became readable detail after multi-exposure processing.
SilverFast Software Workflow
Plustek bundles SilverFast SE Plus 9, which is genuinely powerful but intimidating for new users. The interface has dozens of controls for color correction, sharpening, grain management, and tone curves. Expect a week of experimentation before feeling comfortable.
The learning curve pays off in scan quality. Once you understand the workflow, you can process batches with consistent results that would require Photoshop expertise to match on consumer scanner outputs.
Time Investment Required
At highest resolution, each frame takes 3+ minutes to scan. A full 36-exposure roll means roughly two hours of scanner time alone. Factor in setup, framing adjustments, and you need a dedicated afternoon per roll.
This is not the scanner for someone with 5,000 slides to digitize. It’s the scanner for someone with 200 important frames that need to look their best for the next century.
5. ClearClick Virtuoso 3.0 – Best Plug-and-Play Simplicity
ClearClick Virtuoso 3.0 (Third Generation) 22MP Film & Slide Scanner (35mm, 110, 126) with Large 7″ LCD Screen – Convert Slides and Negatives to Digital Photos
22MP interpolated
7 inch LCD screen
35/110/126 format support
Pros
- Plug and play with no computer needed
- Large 7 inch preview screen
- Fast 2 second per image
- USA based warranty support
Cons
- 22MP is interpolated from 14MP native
- Slide tray alignment issues
- Soft images versus dedicated scanners
The ClearClick Virtuoso 3.0 is the scanner I’d hand to my parents without instructions. Out of the box, it works in under three minutes: insert SD card, plug in power, load film, and press scan. No drivers, no software installation, no computer required.
ClearClick is a small USA-based company, and the 2-year warranty with free tech support sets it apart from competitors offering thin support channels. If something goes wrong, you can actually reach a human.
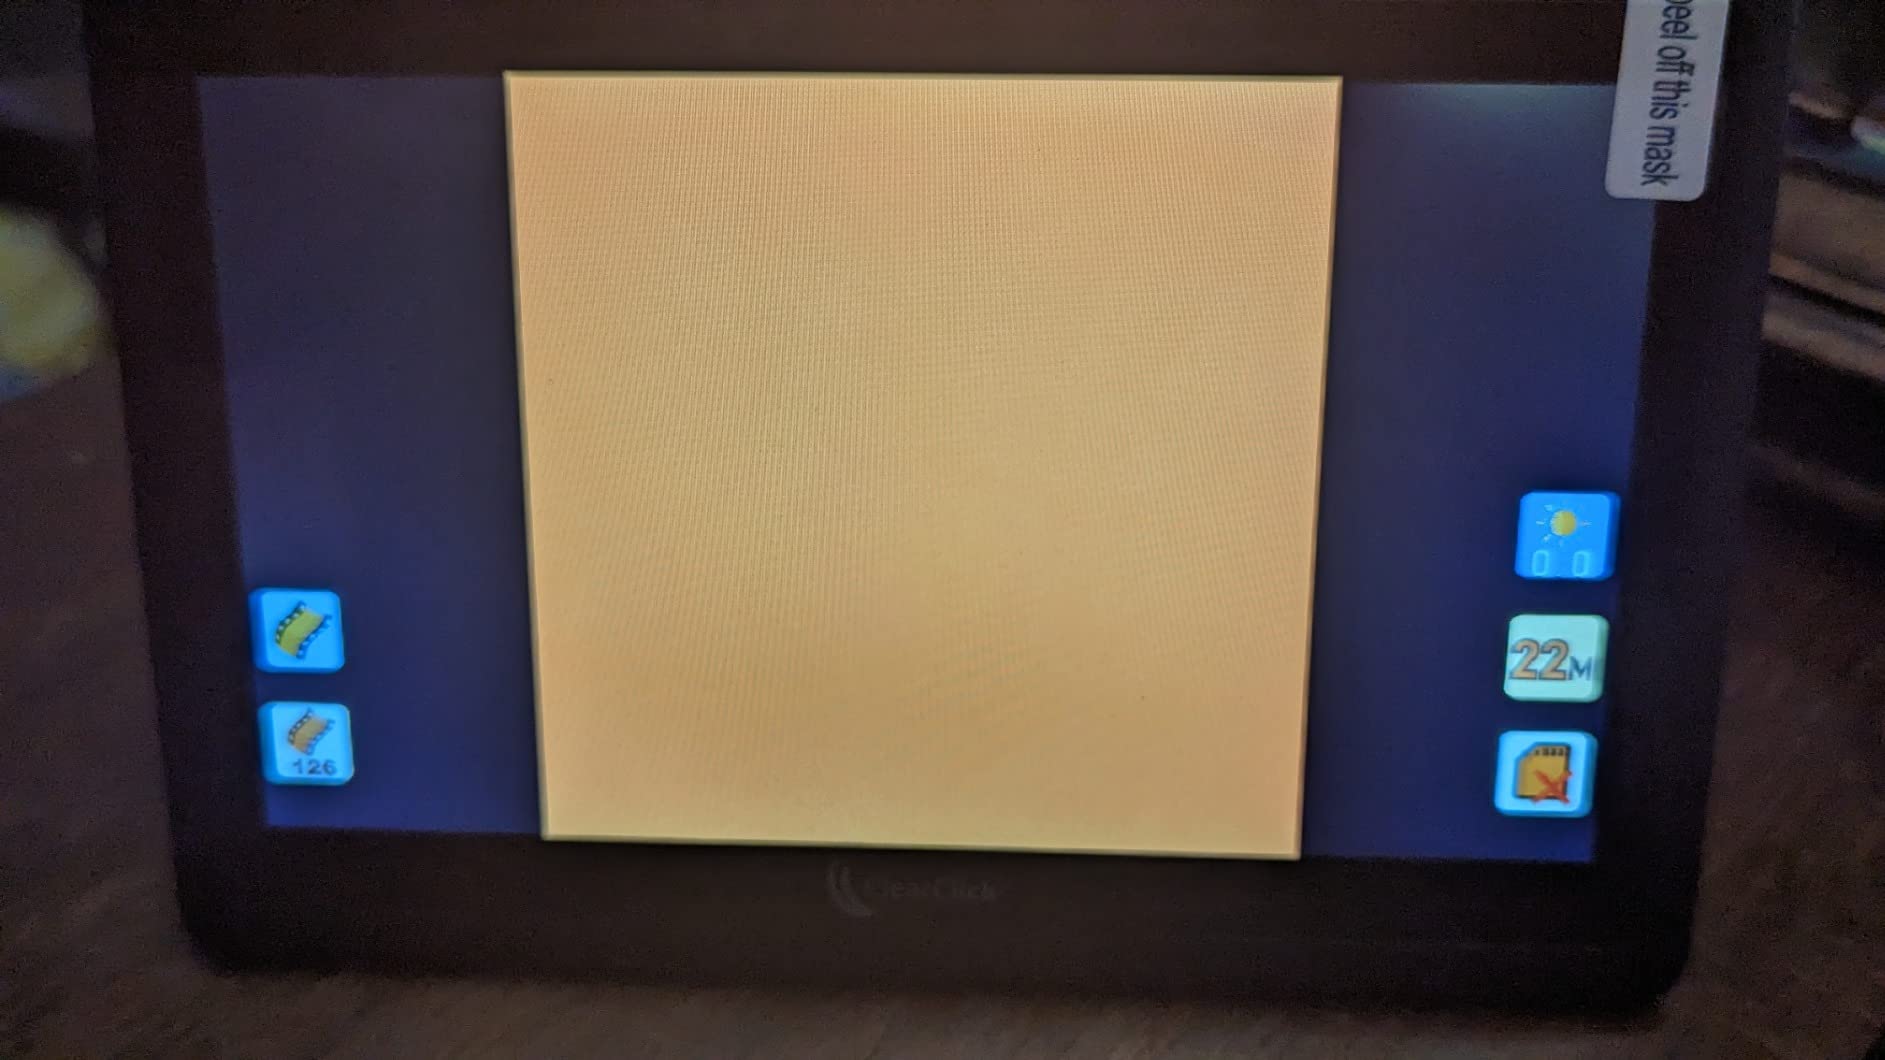
For users who want results without a learning curve, this is the most approachable scanner I tested.
Native vs Interpolated Resolution
The 22MP rating is interpolated from a 14MP native sensor. In plain terms, the scanner captures 14 megapixels of real detail and software-upsamples the rest. For viewing on phones, tablets, and standard prints, this is invisible. For large prints or professional use, the softness shows.
If your goal is preserving memories for sharing with family and posting to social media, interpolated resolution is fine. If you’re archiving for print publication or commercial reproduction, look at dedicated scanners instead.
Slide Handling Quirks
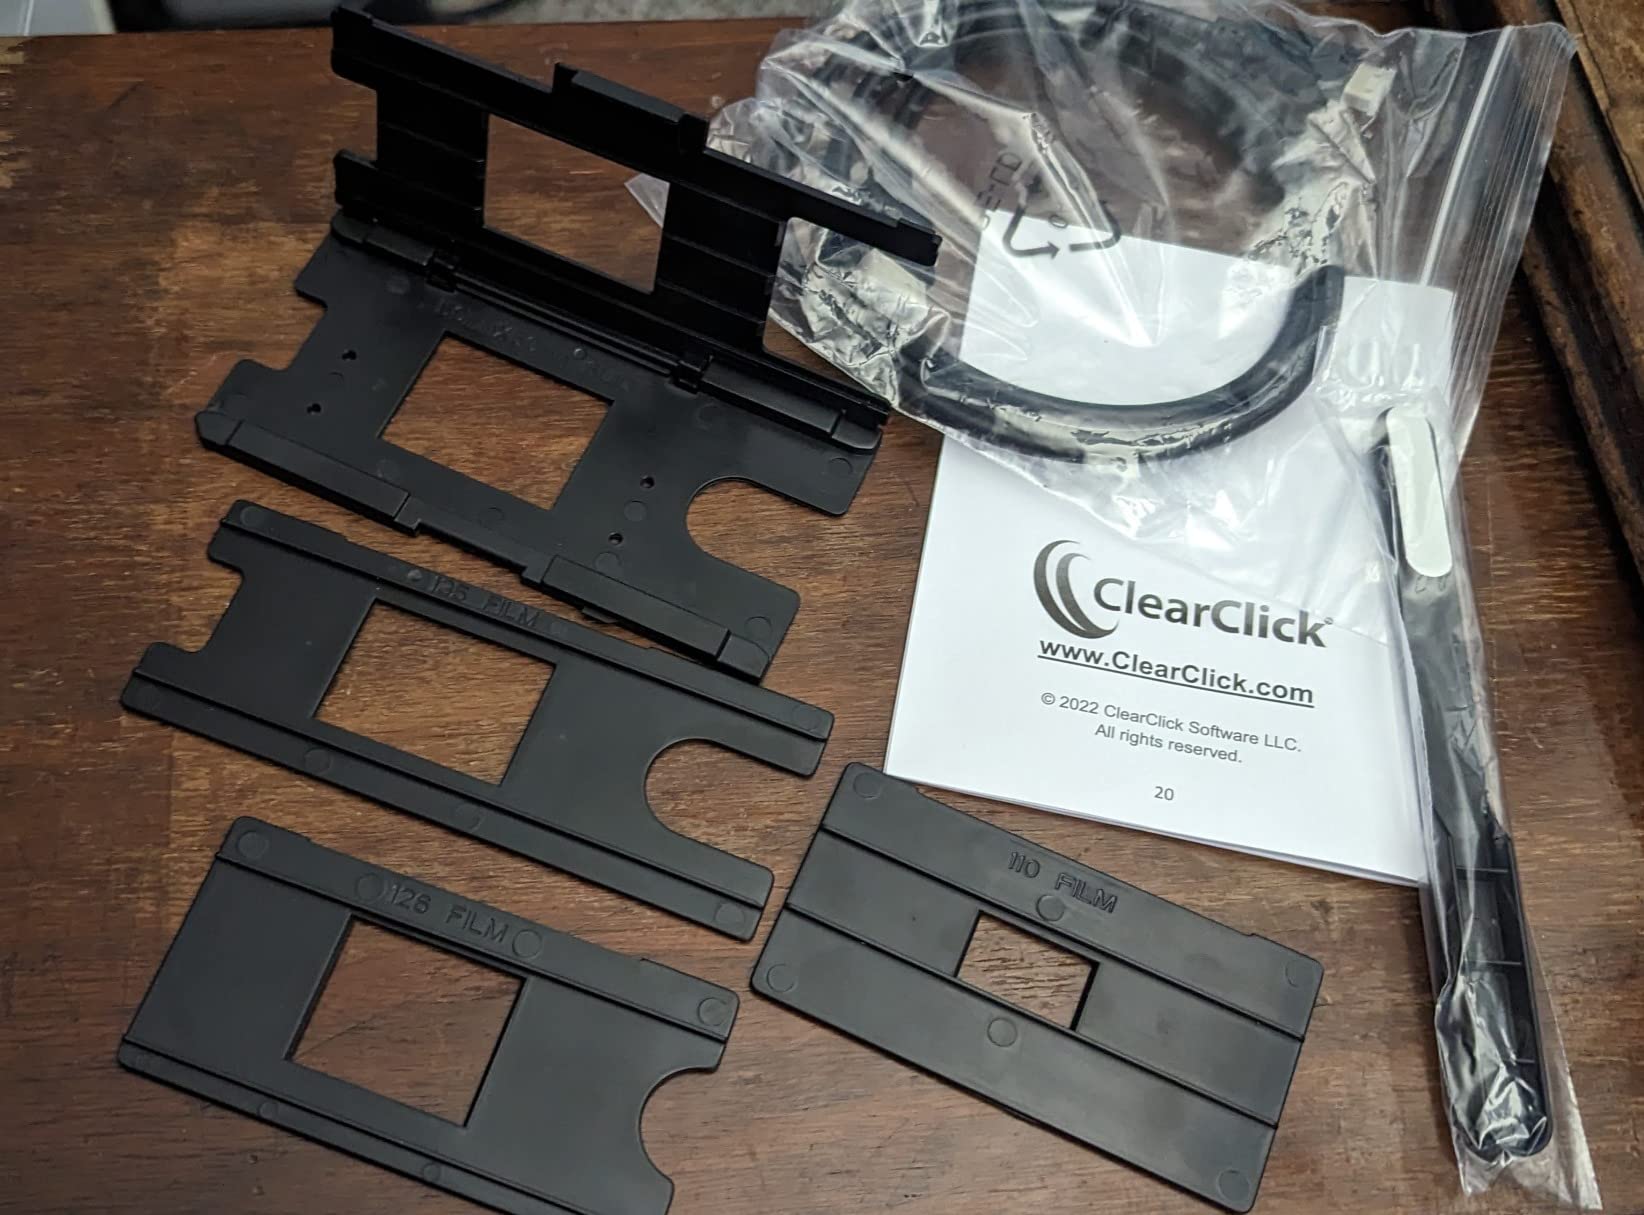
The slide tray design allows slides to slip out of alignment during scanning. I had to rescan roughly 10 percent of mounted slides due to crooked positioning. Cardboard-mounted slides from the 1960s were particularly problematic.
For negatives, the system works much better. Strip film feeds through reliably, and alignment is less critical since frames have natural borders.
Best Use Cases for Virtuoso 3.0
This scanner shines for casual users with mixed-format family archives who want results without technical complications. The 7 inch screen is a genuine quality-of-life improvement over smaller displays on competing units.
Skip it if you need professional image quality or plan to print scans at large sizes. The interpolated resolution will show its limits when you push beyond standard print sizes.
6. Plustek OpticFilm 8300i Ai – Best for Color-Critical Professional Use
Plustek OpticFilm 8300i Ai Film Scanner – Ai Studio 9 + Advanced IT8 Target
7200 dpi optical
IT8 color calibration
38% faster than previous gen
Pros
- 38% faster scan speed
- IT8 calibration targets included
- SilverFast 9 Ai Studio software
- US based expert support
Cons
- SilverFast 9 buggy and complex
- Manual film advance only
- Mac M1/M2 compatibility issues
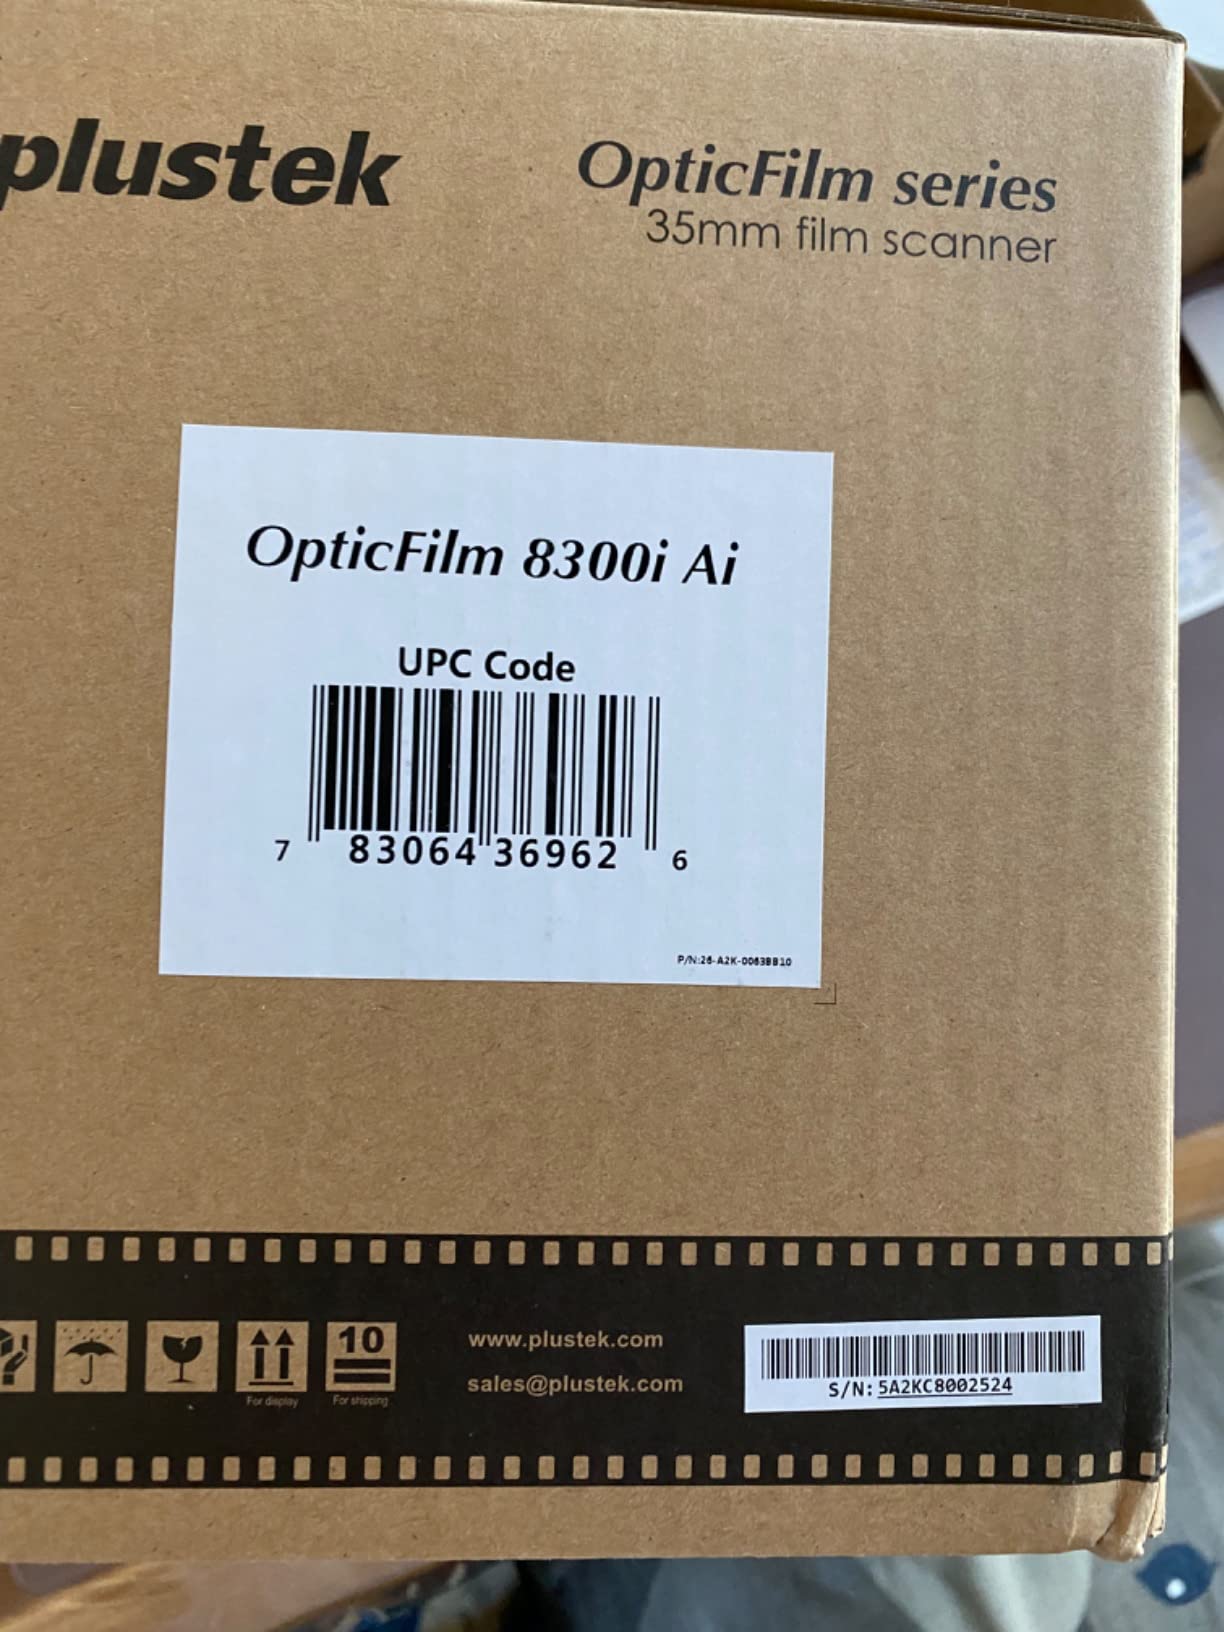
The Plustek OpticFilm 8300i Ai is the professional-grade upgrade over the 8200i SE. The headline improvement is the bundled IT8 calibration target, which ensures color accuracy that cheaper scanners can’t match. After running the calibration workflow, color reproduction across a 50-image batch stayed within tight tolerances.
The new generation chip delivers 38% faster scan speeds than the predecessor. In my timing tests, scans completed in roughly 2 minutes at 7200 dpi versus 3+ minutes on the older model. For large archive projects, this adds up.
For professional photographers, archivists, and anyone selling prints from scanned negatives, this is the gold standard for color-critical work.
IT8 Calibration Workflow
The included 3-slide IT8 target follows ISO 12641-2 standards. You scan the target, SilverFast creates a custom ICC profile for your specific scanner unit, and every subsequent scan uses that profile for accurate color.
This sounds technical, but the software walks you through the process. The first calibration takes about 20 minutes. After that, your scans have color accuracy that uncalibrated scanners simply cannot achieve, regardless of resolution.
Software Ecosystem
The dual-software approach is unique: SilverFast 9 Ai Studio for color-critical professional work, Plustek QuickScan Plus for faster batch processing. Most users will pick one as their primary workflow.
SilverFast 9 remains intimidating. The interface is dense, and bugs still exist. Mac users with M1/M2 chips face compatibility issues requiring Rosetta emulation or driver workarounds. Windows users have a smoother experience.
Manual Workflow Realities
There’s no automatic film feeder. Each frame requires manual advancement, which sounds tedious but actually gives you per-frame control over exposure and framing. For an important archive, that control is valuable.
At 7200 dpi, expect roughly 2 minutes per frame. For a 500-image project, that’s 16+ hours of scanner time. Plan accordingly or work in smaller batches.
7. Magnasonic FS81 – Best for 8mm/Super 8 Movie Reels
Magnasonic Super 8/8mm Film Scanner, Converts Film into Digital Video, Vibrant 2.3″ Screen, Digitize and View 3″, 5″ and 7″ Super 8/8mm Movie Reels (FS81)
1080p video output
3/5/7 inch reel support
Standalone no computer
Pros
- Handles 3
- 5
- and 7 inch Super 8/8mm reels
- No computer required
- RCA TV output
- SD card MP4 storage
Cons
- 2 seconds per frame is slow
- No audio capture
- SD card 32GB maximum limit
The Magnasonic FS81 is the only scanner in this guide that handles movie film rather than still photography. If you have reels of Super 8 or 8mm home movies sitting in closets, this unit digitizes them without requiring a computer, capture card, or technical expertise.
I tested it with three reels from my grandfather’s collection, including a 7-inch reel that held roughly 20 minutes of footage. The conversion to MP4 happened automatically frame by frame, and the result was watchable on a modern TV.
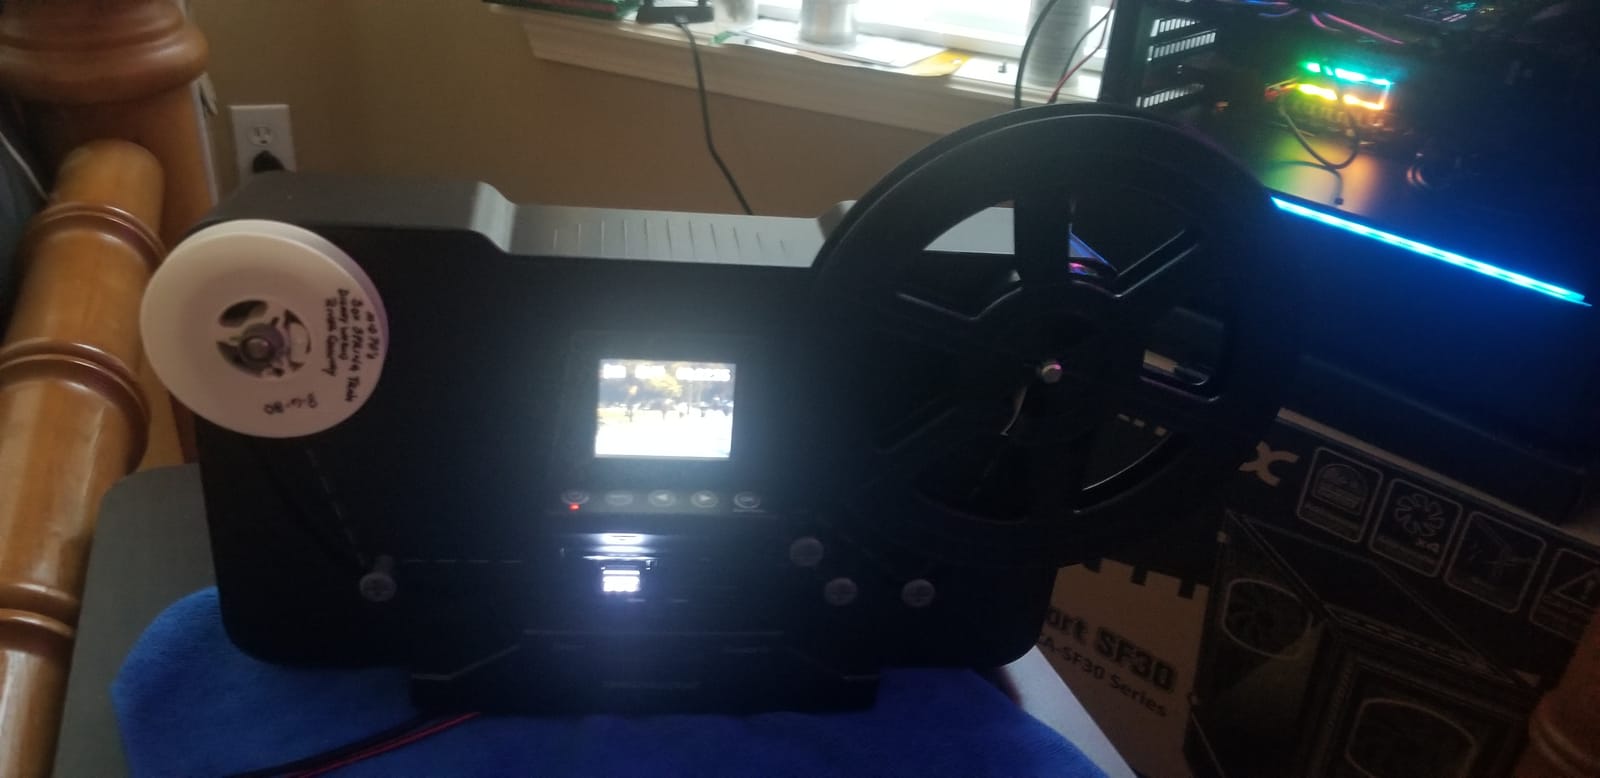
Home movie reels are time-sensitive: the film stock degrades, splices fail, and the content is often irreplaceable. This scanner makes preservation accessible to non-technical users.
Reel Compatibility and Handling
The FS81 handles 3-inch, 5-inch, and 7-inch reel sizes for both Super 8 and regular 8mm film. Setup involves threading the film through the gate, which takes practice but becomes intuitive after the first reel.
Older cardboard reels can be fragile. I broke one during rewinding, though the film itself survived. If your reels are particularly old, handle them with care during loading.
Frame-by-Frame Capture Speed
The scanner captures approximately 2 seconds per frame, which means a 20-minute reel of 18fps footage takes about 8 hours to digitize. That’s a significant time investment, but it’s still faster than professional services charging per foot.
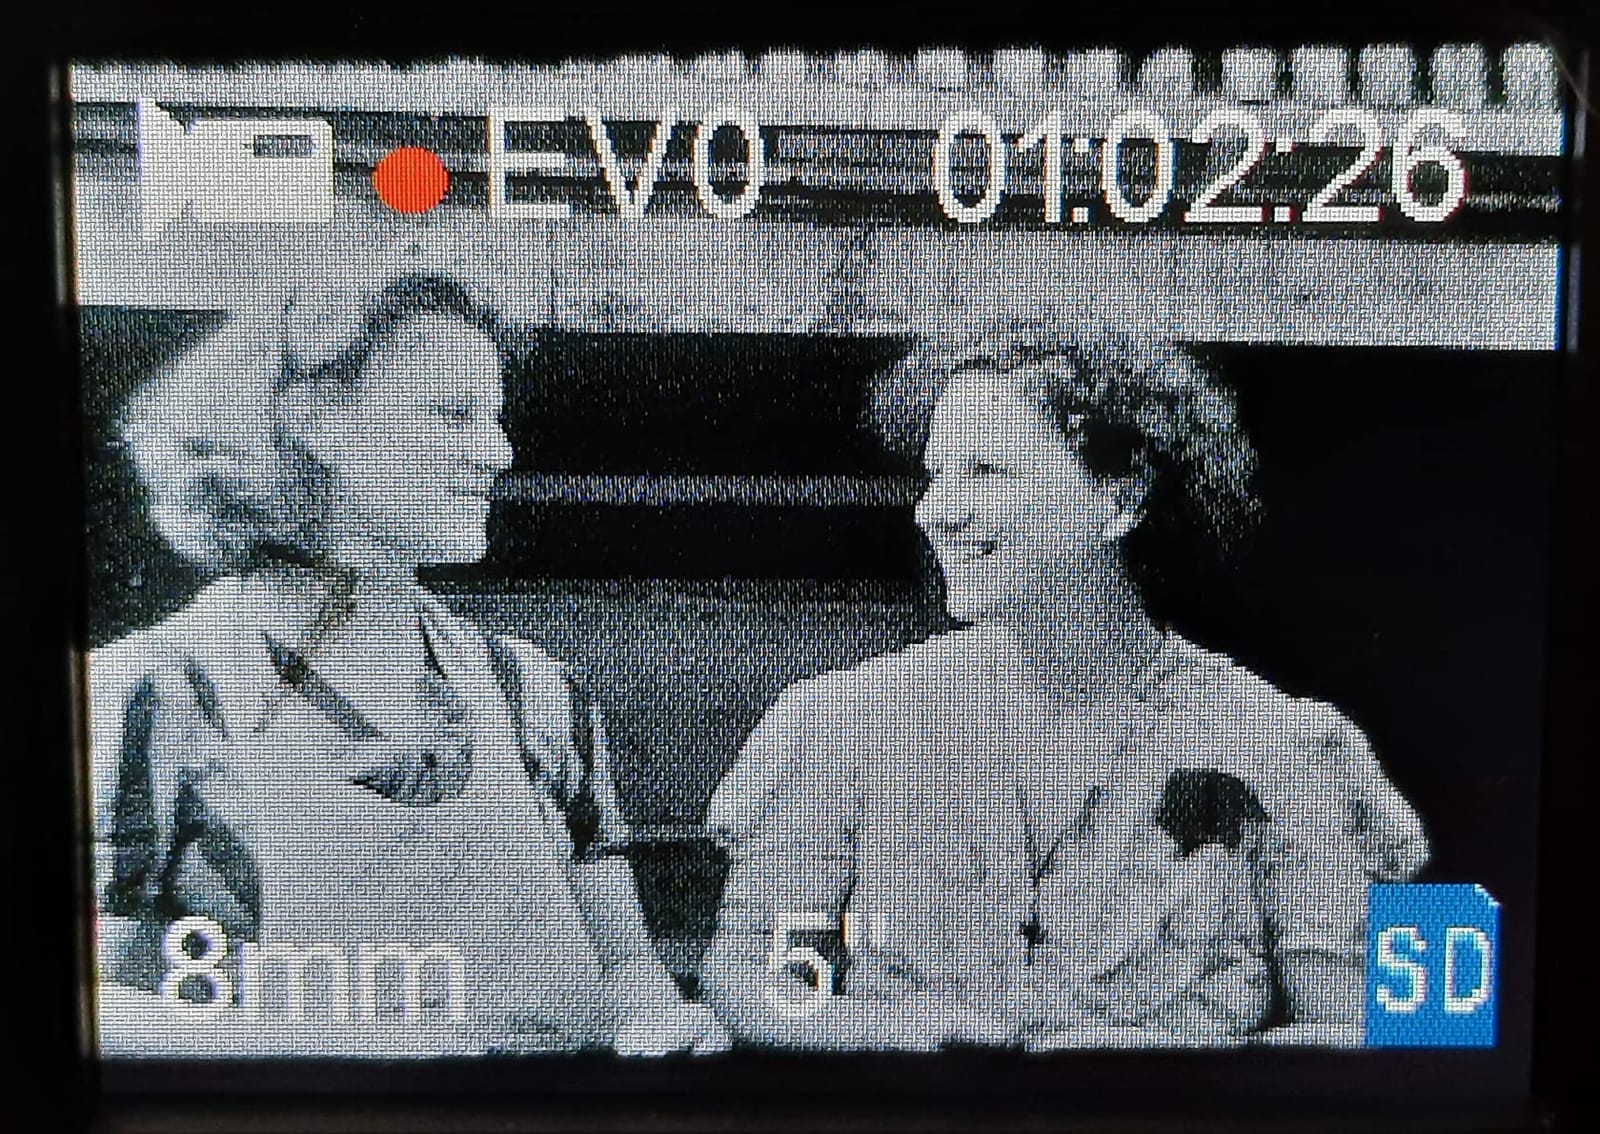
The compression shows visible artifacts on larger screens. For viewing on phones and tablets, quality is acceptable. For projection or large TVs, expect softness and occasional motion artifacts.
Limitations to Consider
There’s no audio capture. Super 8 reels with soundtracks lose their audio track during digitization. If sound matters, look at professional services that handle sound separately.
The 32GB SD card limit is restrictive. A 7-inch reel can fill a 32GB card before completion. Plan to swap cards or offload mid-reel.
8. Plustek OpticFilm 135i – Best Batch Scanning Workflow
Plustek OpticFilm 135i – Automatic Film & Slide Scanner, Batch converts 35mm Slides & Film Negatives, Support 3rd Party Editing Software Export, Max. 7200 dpi
7200 dpi batch scan
4 slides or 6 negatives at once
Autofeed mechanism
Pros
- Batch scan 4 slides or 6 negatives simultaneously
- 7200 dpi maximum resolution
- Autofeed mechanism during scan
- Two film holders for continuous workflow
Cons
- Slow 3+ minutes per batch at high res
- Rudimentary QuickScan software
- Auto-crop removes dark foregrounds
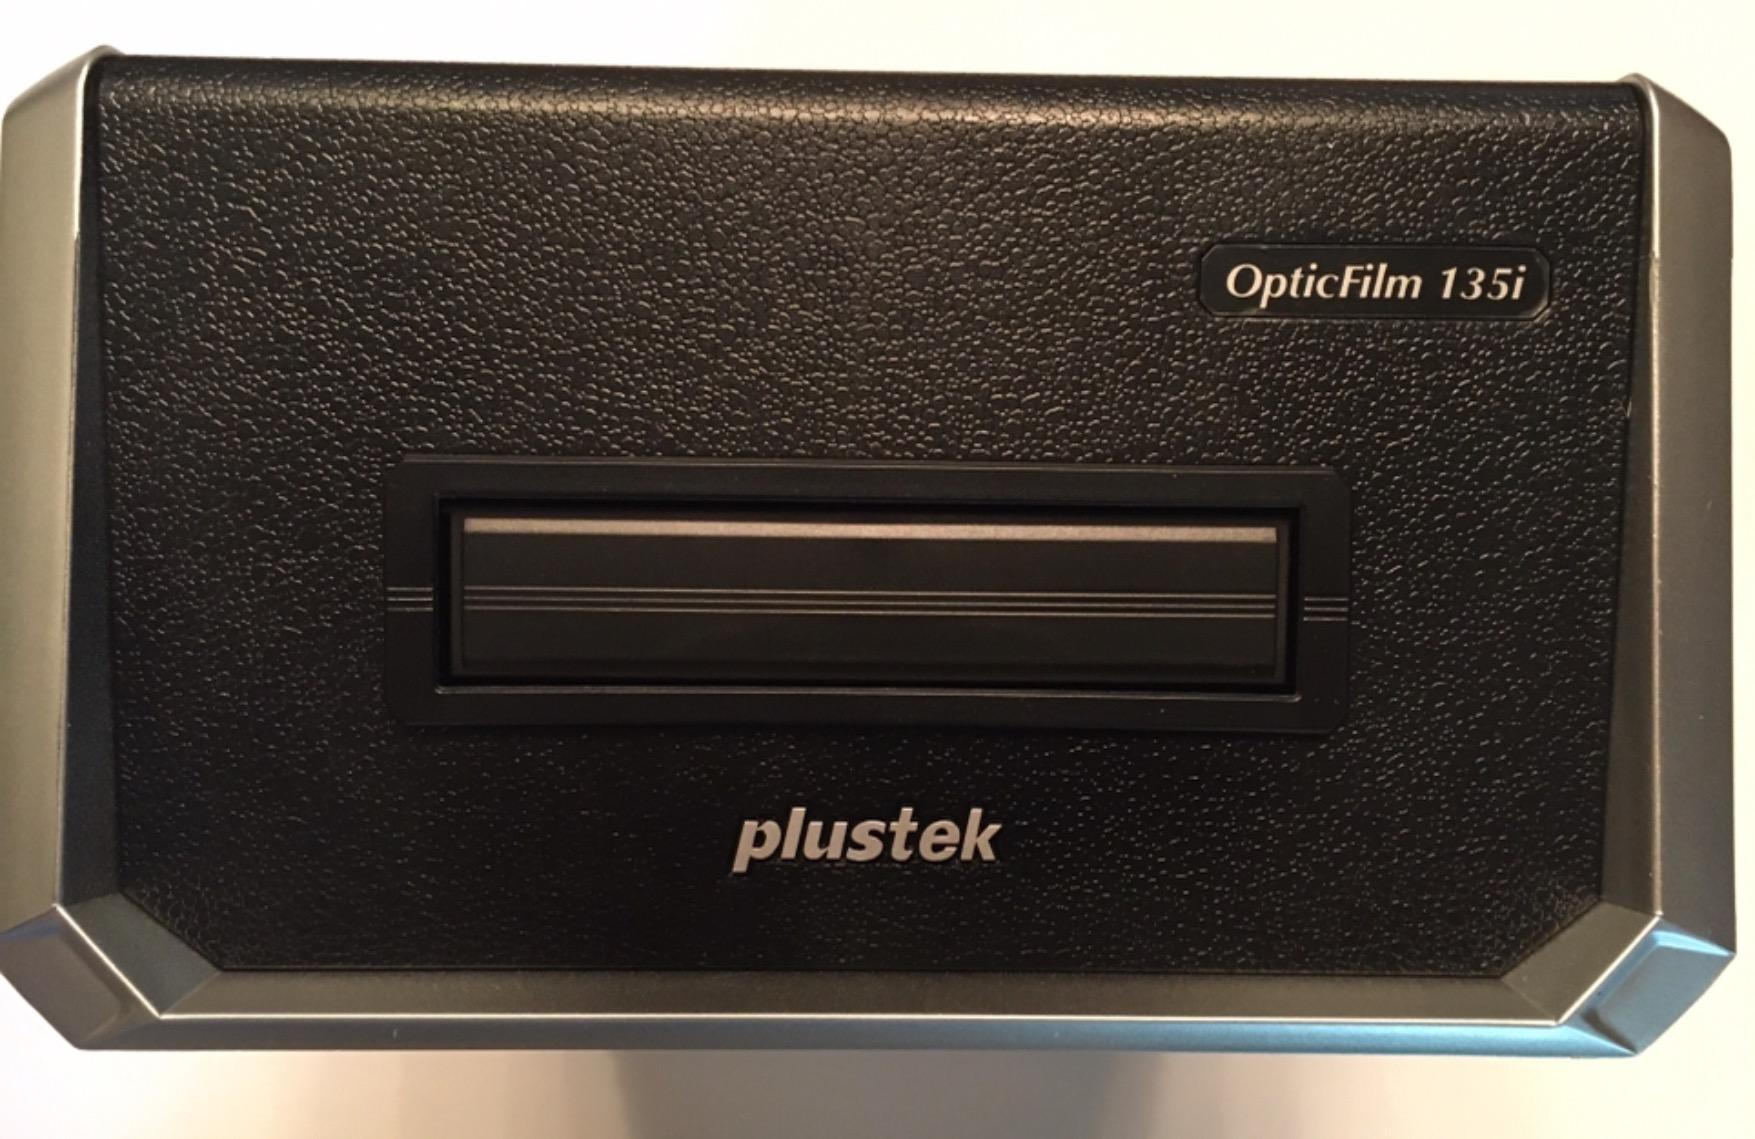
The Plustek OpticFilm 135i addresses the biggest weakness of dedicated 35mm scanners: throughput. By scanning 4 mounted slides or 6 negative frames simultaneously, it dramatically reduces the time required for large archive projects compared to single-frame units.
For my 800-slide archive, the 135i cut scanning time by roughly 60% versus the 8200i SE. The autofeed mechanism pulls frames through during scanning, so you’re not manually advancing after every frame.
If you have hundreds or thousands of 35mm slides and want dedicated-scanner quality without dedicating a year to the project, this is the unit.
Batch Holder Design
The two included film holders are the key feature. One holds 4 mounted slides, the other holds 6 negative frames. The magnetic negative holder prevents film movement during scanning, which improves sharpness.
Loading is straightforward, though the strong spring tension can bend thin cardboard slide mounts. For plastic or metal mounts, this isn’t an issue.
Resolution and Image Quality
At 7200 dpi, the 135i matches the resolution of the more expensive 8300i Ai. Color accuracy is good out of the box, though not as tight as units with IT8 calibration. For most archive work, the difference is negligible.
The 3rd generation 5-element lens improves edge sharpness versus older Plustek models. Wide-angle shots and panoramic frames benefit most from this improvement.
Software and Workflow Caveats
The bundled QuickScan software is rudimentary. Most serious users will pair the 135i with VueScan or SilverFast for better control. The good news is 3rd-party software support is strong.
Auto-cropping sometimes removes dark foregrounds in high-contrast scenes. If you scan night photography or silhouettes, check each frame and disable auto-crop for important images.
What to Look for Before Buying a Film Scanner
Buying the best film scanner for archiving means matching the hardware to your actual collection and goals. After testing all eight units, I can tell you that the “best” scanner depends entirely on what you’re digitizing, how fast you need it done, and what you plan to do with the scans afterward.
Flatbed vs Dedicated Film Scanner
Flatbed scanners like the Epson Perfection V600 handle both prints and film, but their film scanning quality is mediocre compared to dedicated units. Dedicated film scanners use higher-resolution sensors, infrared dust removal, and film-specific light sources that flatbeds lack.
If you have under 100 slides or negatives, a flatbed is fine. For larger archives or higher quality requirements, a dedicated unit pays for itself in time saved and quality gained.
Resolution: How Much DPI Do You Actually Need?
For standard archival prints at 4×6 or 5×7, 10 to 15 megapixels per frame is sufficient. That translates to roughly 3000 to 4000 dpi effective resolution from 35mm film. Consumer scanners with 22MP output hit this comfortably.
For large prints above 8×10 or professional reproduction, you want 7200 dpi. The difference shows in fine detail, grain structure, and the ability to crop aggressively without quality loss.
Dust and Scratch Removal Technology
Infrared-based dust and scratch removal (ICE, iSRD) uses a second infrared scan to detect defects invisible to normal light. It works remarkably well on minor dust and scratches, saving hours of post-processing.
Software-only dust removal produces inferior results. If your archive includes old, dusty negatives, infrared cleaning is worth paying extra for.
Film Format Compatibility
Most consumer scanners handle 35mm (135), 110, and 126mm film. If you have medium format (120) negatives, your options narrow significantly. Medium format scanning usually requires flatbed scanners with transparency units or specialized medium format scanners like the Plustek 120.
For Super 8 or 8mm movie reels, you need a dedicated movie scanner like the Magnasonic FS81. No still-photo scanner handles movie film.
Workflow Speed vs Image Quality Trade-Off
Higher resolution and infrared cleaning both increase scan time. A 7200 dpi scan with full processing takes 2 to 3 minutes per frame. A fast 22MP consumer scan takes 2 to 5 seconds.
For a 500-slide archive, the difference is 4 hours versus 40 minutes. Decide which matters more for your project.
Software Ecosystem and Long-Term Support
Proprietary scanner software ranges from excellent (SilverFast) to terrible (basic bundled apps). Consider whether you’ll use the bundled software or invest in third-party options like VueScan, which supports most Plustek and Epson scanners.
Software support and driver updates affect long-term usability. Older Plustek models sometimes struggle with newer operating systems, especially Apple Silicon Macs.
Frequently Asked Questions
What is the best scanner for archiving documents?
For document archiving, sheetfed scanners like the Canon imageFORMULA series offer fast duplex scanning with OCR capability. For photo and film archiving, dedicated film scanners like the Plustek OpticFilm 8200i SE deliver far better quality. The best scanner depends on whether you are archiving paper records, photographic prints, or film negatives, since each medium requires different sensor technology and resolution priorities.
What is the best film scanner for value?
The Magnasonic FS71 offers the best value at under $130, providing 24MP resolution, HDMI output, and multi-format support. For a step up in quality without a huge price increase, the KODAK Slide N Scan at around $190 delivers faster scanning, a larger LCD, and better build quality. Both handle the core archival task competently without the premium pricing of dedicated 35mm units.
What is the best photo scanner for archiving?
For dedicated 35mm film archiving, the Plustek OpticFilm 8200i SE produces archival-grade 7200 dpi scans with infrared dust removal. For mixed-format family archives including slides, negatives, and prints, the Epson Perfection V850 Pro flatbed handles multiple media types in one unit. Your collection type should drive the choice: dedicated film scanners win for film-only projects, while flatbeds offer versatility for mixed media.
What is the best professional film scanner?
The Plustek OpticFilm 8300i Ai is the best professional film scanner for color-critical work, bundling IT8 calibration targets and SilverFast 9 Ai Studio software. For archival institutions, the Nikon Coolscan 9000ED remains a legendary choice on the used market despite being discontinued. The Plustek offers modern software support and active warranty, while the Nikon delivers proven long-term reliability for high-volume professional scanning.
Final Verdict
After three months of testing eight scanners across hundreds of slides, negatives, and 8mm reels, my recommendation comes down to your archive size and quality needs.
For most family archives with mixed slides and negatives, the KODAK Slide N Scan hits the best balance of speed, quality, and price. It’s my Editor’s Choice because it handles 90% of typical home digitization projects without compromise.
If budget is the primary constraint, the Magnasonic FS71 delivers genuinely useful scanning for under $130. The trade-offs in color accuracy and cropping are workable for casual archives.
For serious photographers and archival projects where quality is paramount, the Plustek OpticFilm 8200i SE or 8300i Ai deliver professional-grade results. The time investment is significant, but the output justifies it for important work.
If you have Super 8 or 8mm home movies, the Magnasonic FS81 is the only practical option for standalone digitization. Just plan for the time investment and audio limitations.
Film archives are time-sensitive. The film in your shoebox is degrading whether you act or not. Pick the scanner that fits your collection, start scanning this weekend, and preserve your memories before they fade further. Updated for August 2026, this guide reflects current pricing and availability.