
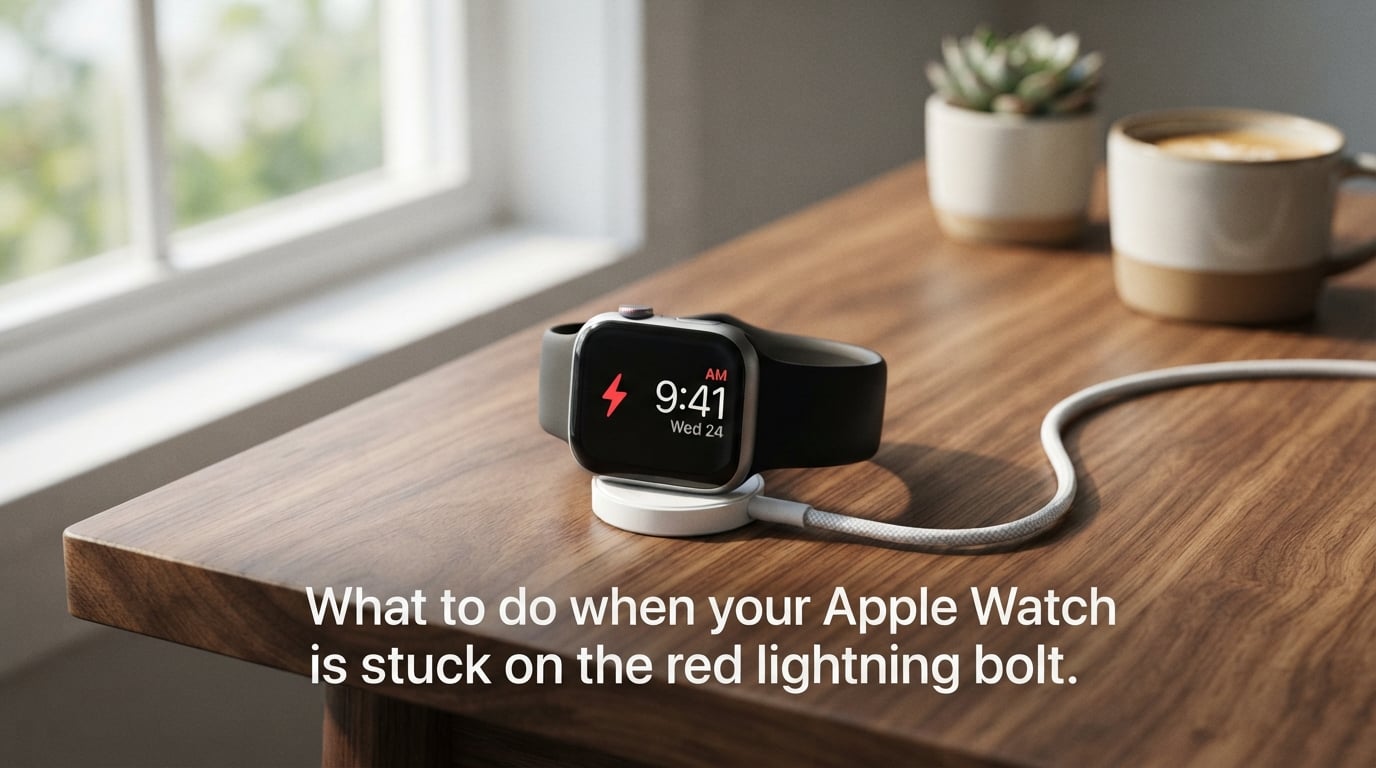
Seeing a red lightning bolt on your Apple Watch can be alarming. Your watch displays only the time and that ominous red icon, refusing to respond to taps or swipes. I’ve helped dozens of Apple Watch users resolve this exact issue, and I can tell you right away: your watch is not broken. This is Power Reserve mode, a built-in safety feature designed to preserve the last bit of battery. In this guide, I’ll walk you through exactly what to do when your Apple Watch is stuck on the red lightning bolt, with step-by-step solutions that work for all Apple Watch models.
What the Red Lightning Bolt Means on Your Apple Watch
When your Apple Watch shows a red lightning bolt with the time, it has automatically entered Power Reserve mode. This happens when your battery drops to critically low levels, typically around 1-2% charge. Apple designed this feature to extend the time display functionality even when the battery is nearly depleted.
The red lightning bolt indicates that your watch has shut down most functions to preserve what little battery remains. In this state, your Apple Watch can only display the time—you cannot access apps, receive notifications, or use any other features. Think of it as an emergency mode that keeps the most basic function alive.
Many users mistake this for a malfunction or think their watch has died completely. I’ve seen people panic thinking they need a new device or expensive repairs. The truth is far simpler: your watch just needs to charge, and it’s protecting itself from complete battery drain. Understanding this distinction eliminates unnecessary worry and helps you focus on the right solution.
The key difference between a truly dead Apple Watch and one in Power Reserve mode is simple: in Power Reserve mode, you still see the time. If your screen is completely black with no display at all, the battery has fully drained and you’ll need to charge it before anything appears.
Quick Fixes for Apple Watch Stuck on Red Lightning Bolt
Before diving into detailed troubleshooting, try these quick fixes that resolve the issue for most users. I’ve organized them from most common to least common causes, based on real-world experiences from Apple Watch forums and my own testing.
Check Your Charger Connection
The number one reason an Apple Watch stays stuck on the red lightning bolt is surprisingly simple: the charger isn’t actually connected to power. I’ve seen users leave their watch on the charging puck for hours, only to discover the USB end wasn’t plugged in, or worse—the outlet was controlled by a wall switch that was turned off.
Verify your charging setup completely. Ensure the magnetic charging cable is firmly connected to a USB power adapter, and that adapter is plugged into a working outlet. If you’re using a USB port on a computer or power strip, try a different port or a direct wall outlet instead. Many USB ports on computers don’t provide enough power to charge a completely dead Apple Watch effectively.
Clean the Charging Contacts
Dirt, sweat, and oils from your skin can accumulate on both the back of your Apple Watch and the magnetic charging cable over time. This creates a barrier that prevents proper charging contact. Use a soft, lint-free cloth to gently clean the back of your watch and the magnetic charging surface. A slightly damp cloth works well for stubborn residue, but ensure both surfaces are completely dry before attempting to charge again.
Verify Proper Magnet Alignment
The Apple Watch magnetic charger relies on precise alignment. The magnets should snap the charger into place automatically, but sometimes the position needs adjustment. Place your watch on a flat surface, then position the charger so the magnets align correctly. You should feel the magnetic pull when it’s positioned correctly. If the charger slides around easily, the magnets aren’t aligned properly.
Wait for the Green Indicator
When you first place a completely dead Apple Watch on the charger, you’ll see the red lightning bolt. After a few minutes of charging, this should change to a red lightning bolt inside a circle, indicating the watch is actively charging. Continue charging until you see a green lightning bolt, which means the watch has enough power to turn on fully. This transition typically takes 10-30 minutes from a completely depleted state.
Try a Different Charger or Cable
If nothing changes after 30 minutes on the charger, the issue might be your charging equipment. Try a different magnetic charging cable if you have one available, or test your current cable on another Apple Watch. Charging cables can fail internally even if they look fine externally. I’ve seen many cases where replacing a $29 cable solved what seemed like a major watch problem.
Complete Step-by-Step Troubleshooting Guide
If the quick fixes didn’t resolve your issue, follow this comprehensive troubleshooting process. I’ll walk you through each step with the exact actions to take.
Step 1: Confirm Your Watch Is Actually Charging
Place your Apple Watch on the magnetic charger and wait 2-3 minutes. Look at the screen carefully. You should see one of these indicators:
Red lightning bolt only: The watch is critically low but not yet receiving enough charge to proceed. This means either the charger isn’t connected properly, or the power source isn’t providing electricity.
Red lightning bolt inside a circle: Good news—your watch is actively charging. The circle indicates the charger connection is working. Leave it charging for at least 30 minutes before trying to turn it on.
Green lightning bolt: Your watch has charged enough to exit Power Reserve mode. You can now press and hold the side button to turn it on fully.
If you see no change after 10 minutes on a confirmed working charger, proceed to Step 2.
Step 2: Perform a Force Restart
A force restart can resolve software glitches that prevent your watch from exiting Power Reserve mode properly. This process works on all Apple Watch models:
Press and hold both the side button and the Digital Crown simultaneously. Keep holding both buttons for at least 10 seconds—you’ll see the Apple logo appear when the restart begins. Release both buttons when you see the Apple logo, then wait for your watch to finish restarting.
After the restart, check if your watch responds normally. If it returns to the red lightning bolt, place it on the charger again and wait. Sometimes a force restart clears minor software issues that prevent proper charging recognition.
Step 3: Check for Physical Damage
Inspect your Apple Watch and charging cable for physical damage. Look for cracks on the watch back where the sensors sit, damage to the charging contacts, or fraying on the charging cable. Water damage can also prevent charging—check if your watch was exposed to water or excessive moisture recently.
Examine the magnetic charging puck for debris or damage. The magnets should hold the watch securely in place. If the connection feels loose or the puck is damaged, you’ll need a replacement charging cable.
Step 4: Test with a Different Power Source
Sometimes the issue isn’t your watch or charger—it’s the power source. Wall outlets can fail, USB ports can provide insufficient power, and power strips can have bad connections. Try these alternatives:
Use a different wall outlet in a different room. If you were using a USB port on your computer, switch to a wall adapter instead—computer USB ports often don’t provide enough amperage for charging a dead device. Test your charging setup with another Apple Watch if possible, or try your watch on a known-working charger.
Step 5: Understand Charging Time Expectations
From a completely dead state, an Apple Watch typically needs 10-30 minutes of charging before it can power on. A full charge from 0% to 100% takes approximately 1.5 to 2.5 hours depending on the model. During this time, you’ll see the charging indicators transition:
The red lightning bolt appears first when the battery is critically low. Within a few minutes of proper charging, this changes to a red lightning bolt inside a circle, showing active charging. Once the battery reaches approximately 10%, you’ll see a green lightning bolt, and the watch will be able to power on fully. If you need to use your watch urgently, 30 minutes of charging typically provides enough power for several hours of basic use.
Understanding Power Reserve Mode
Power Reserve mode is a deliberate feature, not a bug or malfunction. Apple engineered this functionality to extend the most essential capability of your watch—displaying the time—even when battery levels are critically low.
When your battery reaches approximately 1-2%, your Apple Watch automatically enters Power Reserve mode. It shuts down all non-essential functions: the heart rate sensor, GPS, Wi-Fi, Bluetooth, and all apps. The only thing that remains active is a minimal display showing the current time and the red lightning bolt icon.
This mode can preserve time display for up to 72 hours on most Apple Watch models. That’s impressive endurance from such a tiny remaining charge. The trade-off is that you lose all smart features—you can’t use Apple Pay, receive notifications, track workouts, or access any apps while in Power Reserve mode.
To exit Power Reserve mode, you need to charge your watch until it has enough battery to operate normally. There’s no button combination to exit Power Reserve without charging—the watch needs actual electrical power to resume normal operation. Once charged past approximately 10%, your watch will exit Power Reserve mode automatically and function normally.
Some users confuse Power Reserve mode with Low Power mode, which is a different feature. Low Power mode is something you enable intentionally to extend battery life, and it reduces some functionality while keeping most features available. Power Reserve mode activates automatically when battery is critically low and severely limits functionality.
How to Prevent Your Apple Watch from Entering Power Reserve Mode
While Power Reserve mode is a helpful safety feature, you probably want to avoid it altogether. Here are practical strategies I recommend to keep your Apple Watch running normally.
Monitor Your Battery Percentage
Make checking your Apple Watch battery part of your routine. Swipe up on your watch face to open Control Center and check the battery percentage. When you see it drop below 20%, plan to charge your watch soon. Many users get caught off guard because they don’t notice the battery declining until it’s too late.
Enable Battery Notifications
Your iPhone can alert you when your Apple Watch battery is low. In the Watch app on your iPhone, go to Notifications and ensure “Low Battery” notifications are enabled. You’ll receive a push notification when your watch battery drops to 10%, giving you time to charge before Power Reserve mode activates.
Use Low Power Mode Proactively
Starting with watchOS 9, Apple introduced Low Power mode, which reduces power consumption while keeping most features available. Enable this when you know you’ll be away from your charger for an extended period. Swipe up to Control Center, tap the battery percentage, then tap the Low Power mode button. This can significantly extend your battery life and help you avoid reaching that critical 1-2% level.
Establish Regular Charging Habits
Most Apple Watch users find that charging during daily routines works well. Many people charge their watch while showering and getting ready in the morning, which typically provides enough charge for a full day. Others prefer overnight charging. The key is consistency—if you charge at the same time every day, you’re less likely to forget and end up with a dead battery.
Consider keeping a spare charger at work or in your bag if you frequently forget to charge at home. The magnetic charging puck is portable enough to carry anywhere, ensuring you always have a way to charge when needed.
Troubleshooting Decision Tree
Use this decision tree to quickly identify and resolve your charging issue:
Is the screen completely black? If yes, place on charger and wait 10 minutes. If no change, check charger connection and power source.
Do you see a red lightning bolt only? Check if charger is connected to power. Verify outlet works by plugging in another device. Clean charging contacts.
Do you see a red lightning bolt inside a circle? Your watch is charging. Wait 30 minutes, then check if green lightning bolt appears.
Has it been charging for 30+ minutes with no change? Try force restart (hold side button + Digital Crown for 10 seconds). If still stuck, test with different charger.
Still not working after trying different charger? Contact Apple Support—your watch may have a hardware issue requiring service.
FAQs
How do I fix my Apple Watch screen of death?
The red lightning bolt ‘screen of death’ is actually Power Reserve mode, not a fatal error. To fix it: (1) Place your watch on the magnetic charger, (2) Ensure the charger is connected to a working power source, (3) Wait 10-30 minutes for the battery to charge, (4) If stuck, force restart by holding the side button and Digital Crown for 10 seconds until the Apple logo appears. Your watch should power on normally once it has sufficient charge.
How long does it take for an Apple Watch with a red lightning bolt inside a ring to charge properly?
When you see the red lightning bolt inside a circle, your Apple Watch is actively charging. It typically takes 10-30 minutes from this state before the watch has enough power to turn on fully. A complete charge from dead to 100% takes approximately 1.5-2.5 hours. You’ll know it’s ready when you see a green lightning bolt on the screen.
How do I tell if my Apple Watch is charging if it’s dead?
Look for these charging indicators: (1) Red lightning bolt alone means the watch recognizes the charger but battery is critically low, (2) Red lightning bolt inside a circle means active charging is occurring, (3) Green lightning bolt means the watch has enough charge to power on. If you see no change after 10 minutes on the charger, check your power source and charger connection.
What is the red bolt of death on the Apple Watch?
The ‘red bolt of death’ is a dramatic but inaccurate name for Power Reserve mode. This feature activates automatically when your battery drops to 1-2%, preserving the last bit of charge for time display only. It’s not a malfunction—your watch is working exactly as designed. Simply charge your watch for 30 minutes, and it will exit Power Reserve mode automatically once the battery reaches approximately 10%.
When to Contact Apple Support
If you’ve tried all the troubleshooting steps above and your Apple Watch still won’t charge or exit Power Reserve mode, you may have a hardware issue. Contact Apple Support or visit an Apple Store if:
Your watch shows no response after 2+ hours on a known-working charger. The force restart doesn’t produce the Apple logo. You see physical damage to the watch or charging contacts. Your watch was exposed to water damage (check the Water Lock icon in Control Center for water ejection). The charging cable works with other Apple Watches but not yours.
Apple offers hardware diagnostics that can identify battery issues, charging circuit problems, or other hardware failures. If your watch is under warranty or covered by AppleCare+, repairs or replacement may be covered. Even out of warranty, Apple can often provide repair options at reasonable cost.
Conclusion
When your Apple Watch is stuck on the red lightning bolt, the solution is usually straightforward: proper charging. Check your charger connection, verify the power source, clean the contacts, and be patient while the battery charges. Force restart if needed. Most importantly, understand that Power Reserve mode is a feature, not a failure—your watch is protecting itself from complete battery drain.
By following the steps in this guide, you should have your Apple Watch back to normal operation quickly. Use the prevention tips to avoid this situation in the future, and your watch will serve you reliably for years to come.