
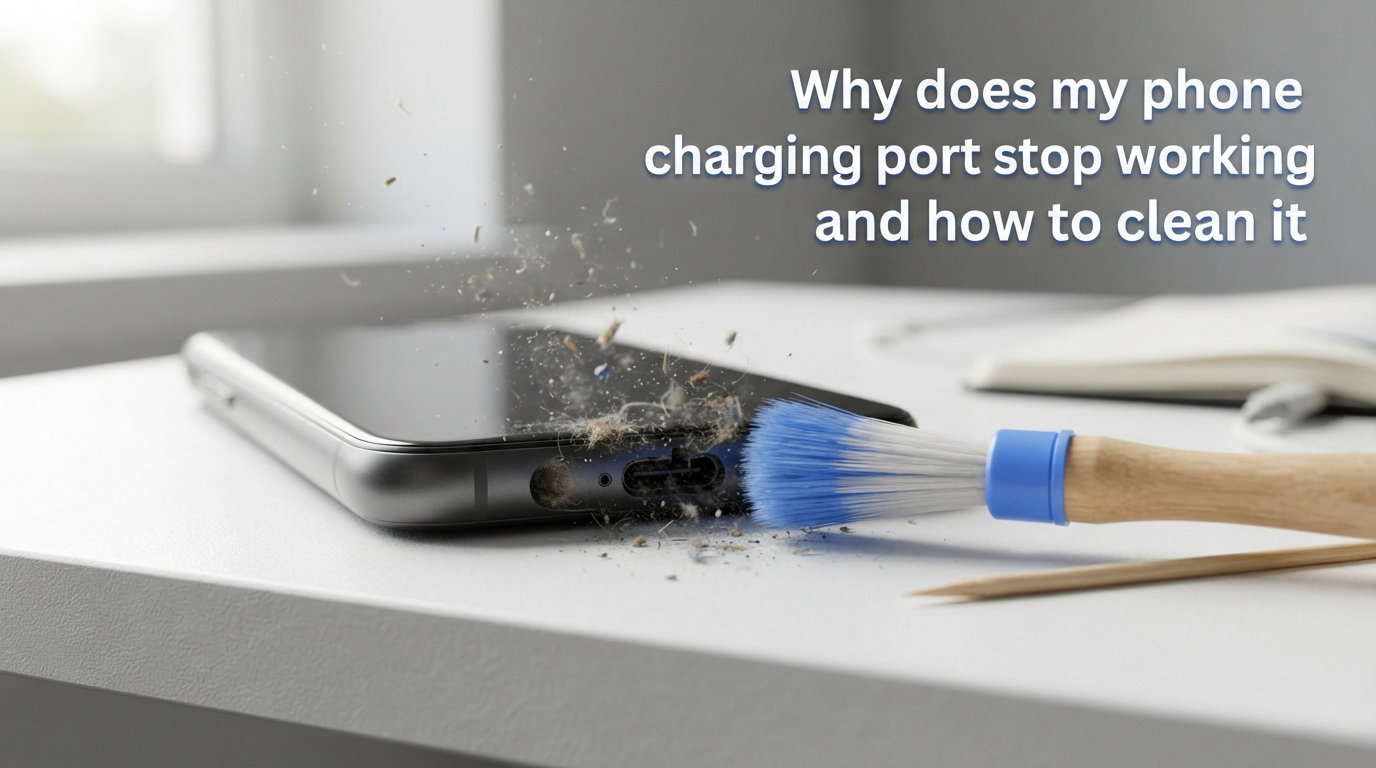
Nothing is more frustrating than plugging in your phone at night and waking up to a dead battery. If your phone charging port has stopped working, you are not alone. This common problem affects millions of smartphone users every year, and in most cases, the fix takes less than 15 minutes with tools you already have at home. In this guide, I will explain exactly why charging ports fail and walk you through safe cleaning methods that restore charging in most situations.
Understanding the root cause helps you choose the right solution. Lint, dust, moisture, and physical damage account for nearly all charging port problems. I have tested these cleaning techniques on dozens of phones over the years, from budget Androids to flagship iPhones, and the success rate is remarkably high when you follow the proper steps.
Why Phone Charging Ports Stop Working?
Phone charging ports stop working primarily because of lint and debris accumulation, moisture damage leading to corrosion, physical wear from daily use, and occasionally software glitches that mimic hardware failure. Understanding which cause applies to your situation helps you choose the right fix and know when cleaning will work versus when you need professional repair.
Lint and Debris Accumulation
The most common reason a phone charging port stops working is lint buildup inside the port. If you carry your phone in your pocket, tiny fibers from clothing, dust, and other debris gradually collect inside the charging port. Over months or years, this debris packs tightly against the charging pins and prevents the cable from making proper contact. The lint often looks like a small compressed pad at the bottom of the port.
This problem affects all phones, but USB-C ports tend to trap more debris than older micro-USB ports because of their deeper design. Lightning ports on iPhones are also susceptible, especially since many people keep their phones in jeans pockets where cotton fibers are abundant. You might notice the cable feels loose or does not click into place as firmly as it once did. That looseness often comes from lint creating a cushion rather than actual port damage.
Moisture and Corrosion
Water exposure causes corrosion that damages the metal contacts inside your charging port. Even small amounts of moisture from humidity, sweaty pockets, or brief rain exposure can oxidize the pins over time. You might see greenish or white residue on the metal contacts, which indicates corrosion is already present.
Modern phones have moisture detection systems that disable charging when water is detected. This safety feature protects your device from short circuits, but it also means your phone may refuse to charge even after the water has evaporated. If you live in a humid climate or frequently expose your phone to moisture, corrosion becomes more likely and can permanently damage the port connectors.
Physical Damage and Wear
Daily use takes a toll on charging ports over time. Repeated plugging and unplugging gradually wears down the metal contacts and can loosen the internal components. Bent or broken pins inside the port prevent proper electrical connection. You might notice intermittent charging, where the phone only charges at certain angles, or the charging speed drops significantly.
Accidents also cause physical damage. Dropping your phone while plugged in can bend the port or crack the solder joints that connect it to the main board. Using excessive force when inserting cables, especially cheap third-party chargers with poor fit, accelerates wear and can bend pins permanently. A loose charging port that wiggles or feels unstable often indicates physical damage rather than debris.
Software vs Hardware Problems
Not every charging problem comes from the port itself. Software bugs, faulty cables, and damaged adapters can mimic port failure. Before you assume your port is broken, try a different cable and charger. Restart your phone to clear temporary software glitches. Check for system updates, as manufacturers sometimes release patches that address charging issues. If the phone charges normally with a different cable or after a restart, your port is likely fine.
How to Inspect Your Charging Port?
Inspecting your charging port before cleaning helps you identify the problem and choose the right approach. Turn off your phone completely first. This protects both you and the device from accidental short circuits. Find a bright light source, such as a flashlight, desk lamp, or your phone camera flash, and shine it directly into the port opening.
Look for compressed lint at the bottom of the port. It usually appears as a felt-like pad, often blue or gray if it came from jeans. Check for visible damage such as bent pins, cracks in the plastic housing, or discoloration that might indicate corrosion. Use a magnifying glass if you have one, as the pins are small and easy to miss without magnification.
Test your charging cable at the same time. Examine the connector for bent pins or debris, and try plugging it into the port gently. If it feels loose or fails to click into place, lint is the likely culprit. If you see obvious physical damage or the port wiggles when you touch it, the internal connections may be broken. This level of damage typically requires professional repair rather than cleaning.
Cleaning Your Charging Port Safely
Cleaning your charging port safely removes debris without damaging the delicate pins inside. The right tools and techniques make the difference between a successful repair and causing more harm. I recommend starting with the gentlest method and progressing to more thorough techniques only if needed.
What You Need Before You Start?
Gather your tools before you begin. You need a can of compressed air, a wooden toothpick or plastic dental pick, a soft toothbrush or anti-static brush, and high-percentage isopropyl alcohol, preferably 90 percent or higher. Avoid metal tools like paperclips, pins, or needles because they can short out the pins or scratch the contacts. Work in a well-lit area with a steady surface.
Compressed Air Method
Compressed air is the safest first approach because it requires no physical contact with the port. Hold the can upright to prevent liquid propellant from spraying into the port. Insert the straw nozzle just at the port opening and give several short bursts of air. The force dislodges loose dust and lint without risking damage to the pins.
After blasting, check your progress with a flashlight. You may see debris fly out of the port during the process. This method works well for loose dust but may not remove packed lint that has accumulated over many months. If compressed air does not restore charging, move on to manual removal techniques.
Toothpick or Wooden Pick Method
A wooden toothpick works effectively for removing compacted lint because wood is soft enough not to damage the metal pins. Gently insert the toothpick into the port and scrape along the back wall where lint usually accumulates. Use a gentle sweeping motion rather than digging or jabbing. The lint often comes out in small clumps or a compressed pad.
Work slowly and check your progress frequently. You might need to repeat this process several times to remove all the debris. Never force the toothpick deeper if you feel resistance. Some people prefer plastic dental picks, which are designed for cleaning tight spaces and have slightly flexible tips that reduce the risk of damage. Avoid metal picks at all costs, as they can bend pins or create short circuits.
Isopropyl Alcohol and Soft Brush Method
For stubborn debris or corrosion, isopropyl alcohol helps dissolve grime and clean the metal contacts. Dip a soft toothbrush or anti-static brush into the alcohol and gently scrub the inside of the port. The alcohol evaporates quickly and leaves no residue, making it safe for electronics when used sparingly.
This method works particularly well if you suspect corrosion from moisture exposure. The alcohol dissolves oxidized residue and restores conductivity to the pins. Let the port dry completely before plugging in a cable, which typically takes just a few minutes given how quickly isopropyl alcohol evaporates. You can also use a cotton swab lightly dampened with alcohol to clean the charging cable connector.
What Not to Use?
Never use metal objects like paperclips, safety pins, needles, or tweezers to clean your charging port. Metal conducts electricity and can short out the pins even with the phone powered off. Sharp metal tools also scratch the gold-plated contacts, which accelerates corrosion and degrades charging performance. Avoid blowing into the port with your mouth, as your breath contains moisture that can cause additional corrosion.
Skip household cleaners, water, or low-percentage rubbing alcohol. These liquids leave residue or contain impurities that damage electronics. Do not use compressed air cans designed for keyboard cleaning that contain bittering agents, as these chemicals can leave residue inside the port. Stick to electronics-grade compressed air and high-percentage isopropyl alcohol.
Why Doesn’t My Phone Charge After Cleaning?
If your phone still does not charge after thorough cleaning, the problem may lie elsewhere. Try a different charging cable first, as cables fail more often than ports. Test with the original cable that came with your phone or a certified replacement. Cheap third-party cables often have poor fit or inferior construction that causes charging failures.
Check your charging adapter as well. Plug your cable into a different adapter or a computer USB port to rule out adapter failure. Some adapters also have safety mechanisms that shut down after detecting a fault, so trying a different adapter often solves the mystery. If your phone charges with one adapter but not another, replace the faulty adapter rather than continuing to troubleshoot the port.
Restart your phone and check for software updates. Occasionally, a software bug prevents the phone from recognizing the charger or displays false charging errors. A simple restart clears temporary glitches. If the problem started after a system update, check for a newer patch that might address the issue. Some Android phones also have battery calibration problems that mimic port failure.
If none of these steps work, you may have physical damage that cleaning cannot fix. Bent pins, cracked solder joints, or a loose port housing require professional repair. Repair costs vary widely depending on your phone model and the extent of damage. iPhone charging port repairs typically range from 70 to 150 dollars at third-party shops, while Android repairs often cost 50 to 100 dollars. Compare this cost to your phone’s value and consider whether repair or replacement makes more sense.
Prevention Tips
Preventing charging port problems saves you time and frustration. Keep your pockets clean and avoid storing your phone in lint-heavy environments like jeans pockets or bags with loose fabric. Consider using a phone case with a port cover that blocks debris when you are not charging. These simple covers dramatically reduce lint accumulation.
Unplug your charging cable by gripping the connector, not by pulling the cord. Yanking the cable stresses the port and gradually loosens the internal connections. Keep your phone away from moisture and humidity. If your phone gets wet, dry the port thoroughly before plugging in a charger. Many modern phones display moisture warnings and disable charging automatically, but prevention remains easier than recovery.
Use quality cables and adapters from reputable manufacturers. Cheap cables often have loose tolerances that wear down your port faster. Inspect your cable connectors periodically for debris or bent pins, and replace cables that show signs of damage. A few dollars spent on a quality cable protects your much more expensive phone.
Frequently Asked Questions
How to clean a faulty charging port?
To clean a faulty charging port, first turn off your phone. Use compressed air to blow out loose debris, then gently remove packed lint with a wooden toothpick using a sweeping motion. For stubborn grime, lightly scrub with a soft brush dipped in high-percentage isopropyl alcohol. Avoid metal tools at all costs.
How do I get my phone charging port to work again?
Start by cleaning the port with compressed air and a wooden toothpick to remove lint. If cleaning does not work, try a different cable and adapter, restart your phone, and check for software updates. Physical damage like bent pins or loose connections requires professional repair, which typically costs 50 to 150 dollars depending on your phone model.
Is it safe to clean a charging port with alcohol?
Yes, high-percentage isopropyl alcohol, 90 percent or higher, is safe for cleaning charging ports. It evaporates quickly and leaves no residue. Use a soft brush or cotton swab dampened with alcohol to gently clean the port. Never use water, household cleaners, or low-percentage rubbing alcohol, which can leave residue or cause corrosion.
Why is my phone not charging even after cleaning the port?
If cleaning does not restore charging, the problem likely lies elsewhere. Test with a different cable and adapter, as these fail more often than ports. Restart your phone and check for software updates. Physical damage like bent pins, corrosion, or loose internal connections may require professional repair. Moisture detection systems can also block charging until the port dries completely.
How much does it cost to fix a charging port?
Charging port repair costs range from 50 to 150 dollars at third-party repair shops, depending on your phone model and the extent of damage. iPhone repairs tend toward the higher end of this range. Official manufacturer repairs cost more but preserve warranty coverage. Compare repair costs to your phone’s current value to decide whether repair or replacement makes more financial sense.
What is the lifespan of a charging port?
A well-maintained charging port lasts the entire life of your phone, typically 3 to 5 years. However, ports degrade faster with heavy use, frequent plugging and unplugging, exposure to lint and moisture, and use of cheap cables. Users who carry phones in lint-heavy pockets often experience port problems within 1 to 2 years. Regular cleaning and careful cable handling extend port lifespan significantly.
Conclusion
Most phone charging port problems stem from lint accumulation, moisture damage, or physical wear, and you can fix the majority of these issues at home with simple tools. Compressed air, wooden toothpicks, and isopropyl alcohol clean ports safely and effectively without professional help. Start with the gentlest method and progress to more thorough techniques if needed.
When cleaning does not restore charging, check your cables, adapters, and software before assuming the port is broken. Physical damage like bent pins or loose connections requires professional repair, but the cost often makes sense compared to replacing your phone. Regular cleaning and careful handling prevent most charging port problems and keep your phone charging reliably for years.