
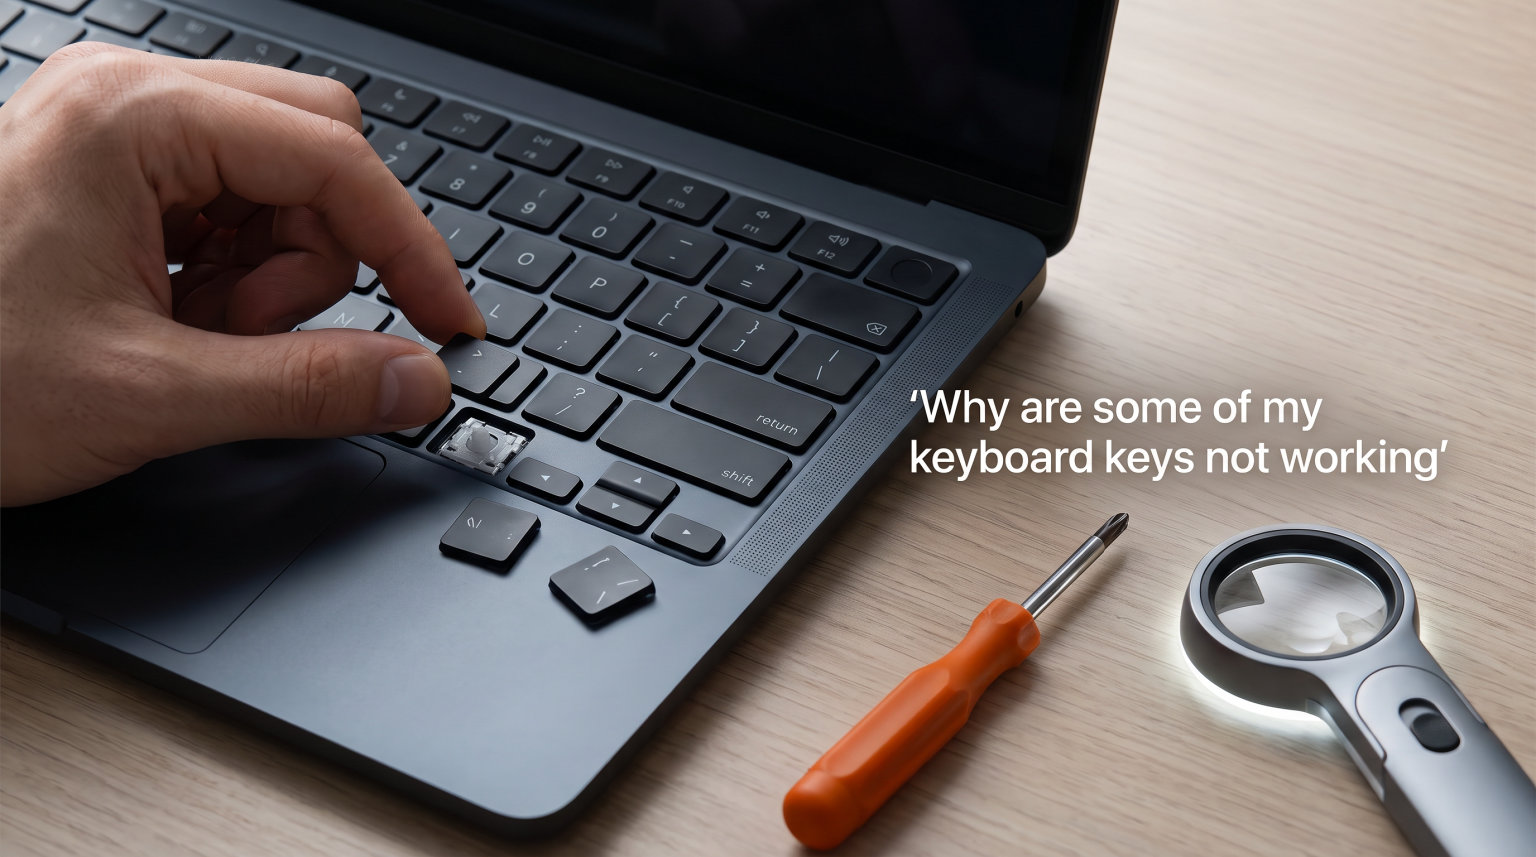
Nothing halts your workflow faster than pressing a key and getting zero response. You type a sentence, hit the spacebar, and nothing happens. Or maybe a cluster of letters like P, I, O, R, and U suddenly refuses to register while everything else works fine. If you are wondering why some of your keyboard keys are not working, you are dealing with one of the most common computer issues users face in 2026.
The good news is that most keyboard problems are fixable without buying replacement hardware. Our team has tested and documented every major cause of unresponsive keys, from software glitches to physical debris lodged under keycaps. This guide walks you through a clear diagnostic process so you can identify the root cause and apply the right fix.
We will cover software solutions like driver updates and accessibility settings, hardware fixes like cleaning and cable inspection, laptop-specific steps, and when to accept that a replacement is necessary. By the end, you will know exactly what to do when keyboard keys stop working.
Quick Diagnosis: Is It a Hardware or Software Problem?
Before trying random fixes, you need to determine whether your keyboard keys not working is caused by a software issue or a hardware failure. This single step saves hours of wasted effort because it tells you which category of fixes to focus on.
The fastest way to figure this out is to test your keyboard outside of Windows. If the keys work in one environment but not another, the problem is software-related. If they fail everywhere, you are looking at a hardware issue.
Test With an External Keyboard
If you are on a laptop, plug in a USB or Bluetooth keyboard. If the external keyboard works perfectly, your laptop keyboard has a hardware problem. If the external keyboard also has the same keys not working, the issue is software-based and affects your operating system.
This test takes 30 seconds and eliminates half the possible causes immediately. I always start here because it prevents people from spending hours reinstalling drivers when the real problem is a damaged ribbon cable.
Test Your Keys in BIOS or UEFI
Restart your computer and enter the BIOS or UEFI setup screen (usually by pressing F2, F10, F12, or Delete during startup). Once inside BIOS, try typing the affected keys. BIOS runs independently of Windows, so if your keys work here but not in Windows, you have a software problem. If they fail in BIOS too, the keyboard hardware itself is damaged.
This is the most reliable diagnostic test available because it completely removes the operating system from the equation. I recommend this test for anyone dealing with intermittent key failures where keys sometimes work and sometimes do not.
Use the On-Screen Keyboard
Windows includes a built-in On-Screen Keyboard that lets you click keys with your mouse. Open it by searching “On-Screen Keyboard” in the Start menu. While this does not test your physical keys, it serves as a temporary workaround so you can keep working while troubleshooting.
You can also use it to test whether specific characters register at all in Windows. If the On-Screen Keyboard types a letter your physical keyboard cannot, that confirms the physical key is the problem.
Software Fixes for Keyboard Keys Not Working
Software issues account for a large percentage of keyboard problems. Outdated drivers, misconfigured accessibility settings, and interfering applications can all cause keys to stop responding. Work through these fixes in order, starting with the simplest.
Step 1: Restart Your Computer
It sounds obvious, but a simple restart resolves roughly 30 percent of keyboard issues. Temporary glitches in the operating system can cause the keyboard driver to stop communicating properly. A fresh reboot clears these glitches and reloads all drivers from scratch.
If your keyboard works immediately after a restart but stops again later, a background application or process is likely interfering. Note that down because it points you toward the clean boot fix covered later in this guide.
Step 2: Check Filter Keys and Sticky Keys Settings
Windows has accessibility features called Filter Keys and Sticky Keys that can silently cause keyboard keys not working issues. Filter Keys, in particular, tells Windows to ignore brief or repeated keystrokes. If this gets turned on accidentally, your keyboard will feel broken when it is actually fine.
Here is how to check and disable these features on Windows 10 and Windows 11:
1. Open Settings by pressing Windows key + I (or search “Settings” in the Start menu).
2. Go to Accessibility (called “Ease of Access” in Windows 10).
3. Scroll down to the Keyboard section.
4. Make sure Filter Keys is turned Off. If it is On, toggle it off and test your keys.
5. Make sure Sticky Keys is also turned Off unless you intentionally use it.
This fix surprises a lot of people. On Reddit’s tech support forums, users frequently report that Filter Keys was the culprit all along after days of frustration. A keyboard shortcut (holding the right Shift key for 8 seconds) can accidentally enable Filter Keys, which is why it turns on without warning.
Step 3: Run the Windows Keyboard Troubleshooter
Windows includes a built-in troubleshooter that can detect and automatically fix common keyboard problems. It checks driver status, identifies conflicts, and applies basic corrections.
To run it on Windows 11: Go to Settings > System > Troubleshoot > Other troubleshooters > Keyboard > Run. On Windows 10: Settings > Update and Security > Troubleshoot > Additional troubleshooters > Keyboard > Run the troubleshooter.
The troubleshooter takes about one minute to complete. Follow any on-screen prompts it gives you. It may recommend driver updates or settings changes that resolve the issue automatically.
Step 4: Update or Reinstall Keyboard Drivers
Corrupted or outdated keyboard drivers are one of the leading causes of unresponsive keys. The keyboard driver is the software bridge between your physical keyboard and Windows. When it becomes damaged, certain keys may stop registering even though the hardware works fine.
Here is how to reinstall your keyboard driver through Device Manager:
1. Right-click the Start button and select Device Manager.
2. Expand the Keyboards section by clicking the arrow next to it.
3. Right-click your keyboard device and select Uninstall device.
4. If prompted, check the box that says “Delete the driver software for this device” (Windows 10 only).
5. Restart your computer. Windows will automatically reinstall a fresh keyboard driver on boot.
After the restart, test your keys. If the problem persists, try updating the driver instead. Right-click the keyboard in Device Manager, select Update driver, and choose “Search automatically for drivers.” Windows will search for and install the latest compatible driver.
For laptop users, I also recommend checking your manufacturer’s website (Dell, HP, Lenovo, MSI) for keyboard-specific drivers. Some brands use custom keyboard drivers that Windows Update does not always carry.
Step 5: Perform a Clean Boot to Identify Interfering Apps
Third-party applications can interfere with keyboard input. On Microsoft’s community forums, one user discovered that Statistica software was causing specific keys to stop working. Another user found that their graphics tablet driver was conflicting with keyboard input. These are real cases where background software was the hidden culprit.
A clean boot starts Windows with only essential services and drivers. If your keyboard works in clean boot but not in normal mode, a third-party application is causing the problem.
Here is how to perform a clean boot:
1. Press Windows key + R, type msconfig, and press Enter.
2. Go to the Services tab.
3. Check the box at the bottom that says “Hide all Microsoft services” so you do not disable critical system services.
4. Click Disable all to turn off all third-party services.
5. Go to the Startup tab and click Open Task Manager.
6. Disable each startup item by right-clicking and selecting Disable.
7. Close Task Manager, click OK in the System Configuration window, and restart your computer.
Test your keyboard after the restart. If the keys work, re-enable services in small batches until the problem returns. The last service you enabled before the issue came back is the one causing interference.
Step 6: Run SFC and DISM Commands
Corrupted Windows system files can cause keyboard malfunctions. The System File Checker (SFC) and Deployment Image Servicing and Management (DISM) tools scan for and repair corrupted system files that may be affecting keyboard drivers.
To run these commands:
1. Search for “cmd” in the Start menu, right-click Command Prompt, and select Run as administrator.
2. Type sfc /scannow and press Enter. Wait for the scan to complete (usually 5 to 15 minutes).
3. If SFC finds and fixes errors, restart your computer and test the keyboard.
4. If the problem persists, run DISM by typing DISM /Online /Cleanup-Image /RestoreHealth and pressing Enter.
5. Restart your computer after the DISM command finishes.
These commands repair the Windows system files that keyboard drivers depend on. Users on Microsoft’s Q&A forums report success with this method when standard driver reinstall did not work.
Hardware Fixes: Cleaning and Connections
When software fixes do not resolve the issue, the problem is physical. Debris under keys, loose connections, and worn-out switches are the most common hardware causes. These fixes require careful handling but can save you the cost of a replacement keyboard.
Clean Debris Under the Keys
Dust, crumbs, hair, and skin oils accumulate under keycaps over time. This buildup prevents the rubber dome or mechanical switch beneath the key from making proper contact. Cleaning is the single most effective hardware fix for unresponsive keys.
For basic cleaning without removing keycaps:
1. Turn off and unplug your computer (or shut down your laptop).
2. Hold the keyboard upside down and gently shake it to dislodge loose debris.
3. Use compressed air to blow out particles. Spray between the keys in short bursts at an angle.
4. Use a soft brush or cotton swab lightly dampened with isopropyl alcohol to clean around the edges of stuck keys.
For deeper cleaning on external keyboards, you can carefully remove individual keycaps using a keycap puller or a flat tool. Clean the switch mechanism underneath with compressed air and alcohol. Laptop keyboards are more delicate, so I do not recommend removing laptop keycaps unless you are experienced.
Reddit users on r/techsupport frequently confirm that cleaning resolved their keyboard issues. One user reported that pressing keys hard or repeatedly made them work intermittently, which is a classic sign of debris blocking the contact point.
Check USB Ports and Wireless Connections
If you are using an external keyboard, the problem might be the connection rather than the keyboard itself. USB ports can fail or loosen over time, causing intermittent keyboard dropouts.
Try these steps for external and wireless keyboards:
1. Unplug the keyboard and plug it into a different USB port. Use a port directly on the motherboard (back of a desktop tower) rather than a front panel or hub.
2. For wireless keyboards, replace the batteries with fresh ones. Low battery power causes keys to drop out unpredictably.
3. For Bluetooth keyboards, unpair and re-pair the device. Go to Settings > Bluetooth and devices, remove the keyboard, then pair it again.
4. For USB dongle-based wireless keyboards, try plugging the dongle into a different port. The dongle itself can also fail, so test with a spare if available.
I have seen cases where plugging a keyboard into a USB hub caused certain keys to stop registering. Moving the keyboard to a direct USB port resolved it immediately because the hub was not providing enough power.
Inspect the Ribbon Cable (Laptop Keyboards)
Laptop keyboards connect to the motherboard through a flat, delicate ribbon cable. Over time, heat, vibration, and normal use can loosen this connection. A loose ribbon cable causes keys to stop working in clusters or across the entire keyboard.
Inspecting the ribbon cable requires opening your laptop, which voids some warranties. If your laptop is under warranty, contact the manufacturer instead. For those comfortable with hardware:
1. Shut down the laptop completely and disconnect the battery.
2. Remove the keyboard assembly following your laptop model’s service manual.
3. Locate the ribbon cable connecting the keyboard to the motherboard.
4. Gently release the latch, remove the cable, and reseat it firmly.
5. Close the latch, reassemble the laptop, and test.
This fix works when keys fail in specific clusters, like an entire row or column. The ribbon cable has traces for different key groups, so a partially disconnected cable knocks out specific zones.
Laptop-Specific Keyboard Troubleshooting
Laptop keyboards present unique challenges because they are integrated into the device. You cannot simply swap them for testing. However, laptop manufacturers include diagnostic tools and keyboard-specific features that can help identify and fix problems.
Perform a Hard Reset
A hard reset drains residual electrical charge from the laptop’s components and can resolve keyboard glitches caused by power management issues. The process varies slightly by brand but follows the same general steps.
For most laptops:
1. Shut down the laptop completely.
2. Disconnect the power adapter and all external devices.
3. Remove the battery if it is removable (skip this step for laptops with non-removable batteries).
4. Press and hold the power button for 30 to 60 seconds.
5. Reconnect the battery and power adapter, then turn the laptop on.
This resets the hardware state without affecting your files or settings. Dell, HP, and Lenovo all recommend hard resets as a first step for keyboard issues.
Check for a Keyboard Lock Function
Many laptops have a keyboard lock feature triggered by an Fn key combination. This is designed to prevent accidental typing when the laptop is used as a tablet or during cleaning. If you accidentally pressed this combination, your entire keyboard would appear dead.
Common keyboard lock shortcuts include Fn + F6, Fn + F11, or Fn + a specific lock key. Check your laptop’s manual for the exact combination. Some laptops also have a physical keyboard lock button on the side or front edge.
Brand-Specific Considerations
Different laptop brands have their own diagnostic tools and common issues:
For Dell laptops: Run the built-in Dell SupportAssist diagnostic tool. It includes a specific keyboard test that checks every key individually. Access it by searching “SupportAssist” in the Start menu.
For HP laptops: Use HP PC Hardware Diagnostics by pressing F2 during startup. Navigate to Component Tests > Keyboard and run the interactive test. This tool identifies exactly which keys are failing at the hardware level.
For Lenovo laptops: Lenovo Vantage includes a keyboard diagnostic tool. Lenovo also publishes model-specific troubleshooting guides on their support site that address known keyboard issues for specific laptop models.
For MSI laptops: MSI users on Reddit frequently report keyboard firmware issues. Check the MSI support site for keyboard firmware updates specific to your laptop model.
When to Consider Keyboard Replacement
If you have tried every software and hardware fix and specific keys still do not work, the keyboard itself has likely failed. Keyboard membrane damage, broken switches, and corroded traces are not repairable at home.
Laptop keyboard replacements typically cost between $40 and $100 for the part, plus labor if you use a repair service. External keyboard replacements start at around $15 for a basic model. Consider the age of your device when deciding whether repair or replacement makes more sense.
When to Seek Professional Repair
Sometimes no amount of DIY troubleshooting will fix the problem. Knowing when to stop and seek professional help saves time and prevents further damage.
Seek professional repair if any of the following apply to your situation. Your keys do not work in BIOS or during startup, meaning the hardware has definitively failed. You spilled liquid on the keyboard, which causes corrosion that worsens over time. The ribbon cable or connector is visibly damaged. Or your laptop is under warranty and opening it would void coverage.
Liquid spills deserve special attention because they cause progressive damage. Even if your keyboard works initially after a spill, corrosion can develop over weeks or months and cause keys to fail gradually. If you spilled anything on your keyboard, professional cleaning within the first 48 hours gives the best chance of preventing long-term damage.
For warranty repairs, contact your manufacturer’s support directly. Dell, HP, Lenovo, and Apple all offer keyboard replacement under warranty if the failure is not caused by user damage.
How to Prevent Keyboard Keys From Stopping Working
Prevention is always easier than repair. A few simple habits extend keyboard life significantly and reduce the likelihood of keys failing.
Clean your keyboard monthly using compressed air and a soft brush. This prevents debris buildup that causes keys to stick or stop registering. Keep food and drinks away from your keyboard, or use a keyboard cover if you must eat near your computer.
Update your keyboard drivers quarterly by checking Device Manager or your manufacturer’s website. Keep Windows updated so system files that drivers depend on stay healthy. And avoid installing untrusted software that might interfere with keyboard input.
Why Are Some of My Keyboard Keys Not Working?
Keyboard keys not working is typically caused by software glitches, driver problems, accessibility settings like Filter Keys, or physical issues like debris and damaged components. The key to solving it is diagnosing whether the problem is hardware or software first, then applying targeted fixes in order from simplest to most advanced.
Start with a restart and accessibility settings check. Move on to driver reinstallation and a clean boot if needed. For hardware issues, clean the keys thoroughly and check connections. If nothing works, test in BIOS to confirm hardware failure and consider professional repair or replacement.
The most important takeaway: do not skip the diagnostic step. Knowing whether your problem is hardware or software saves you from wasting time on fixes that cannot possibly work. Test in BIOS or with an external keyboard first, then follow the appropriate fix path in this guide.
Frequently Asked Questions
How to fix unresponsive keys on keyboard?
To fix unresponsive keys, first restart your computer. Then check Settings u0026gt; Accessibility u0026gt; Keyboard and make sure Filter Keys and Sticky Keys are turned off. If that does not work, open Device Manager, uninstall the keyboard driver, and restart so Windows reinstalls it. Run the Windows Keyboard Troubleshooter from Settings u0026gt; System u0026gt; Troubleshoot for automatic detection and repair.
How to fix keyboard not typing certain keys?
If only certain keys are not typing, plug in an external keyboard to test whether the issue is hardware or software. If the external keyboard works fine, clean under the affected keys with compressed air. If the issue is software-based, reinstall the keyboard driver in Device Manager and check for Filter Keys in accessibility settings. Test the keys in BIOS to confirm whether the hardware itself is damaged.
How do I unfreeze my keyboard keys?
To unfreeze keyboard keys, first restart your computer to clear temporary glitches. Check if a keyboard lock function was triggered via an Fn key combination (common on laptops). Go to Settings u0026gt; Accessibility u0026gt; Keyboard and disable Filter Keys and Sticky Keys. If the keyboard is still frozen, perform a clean boot to check if a third-party application is blocking keyboard input.
How do I reset my keyboard keys?
To reset your keyboard, open Device Manager by right-clicking the Start button. Expand the Keyboards section, right-click your keyboard, and select Uninstall device. Restart your computer so Windows automatically reinstalls a fresh keyboard driver. You can also reset keyboard settings by going to Settings u0026gt; Accessibility u0026gt; Keyboard and turning all accessibility features off, then back to their defaults.