
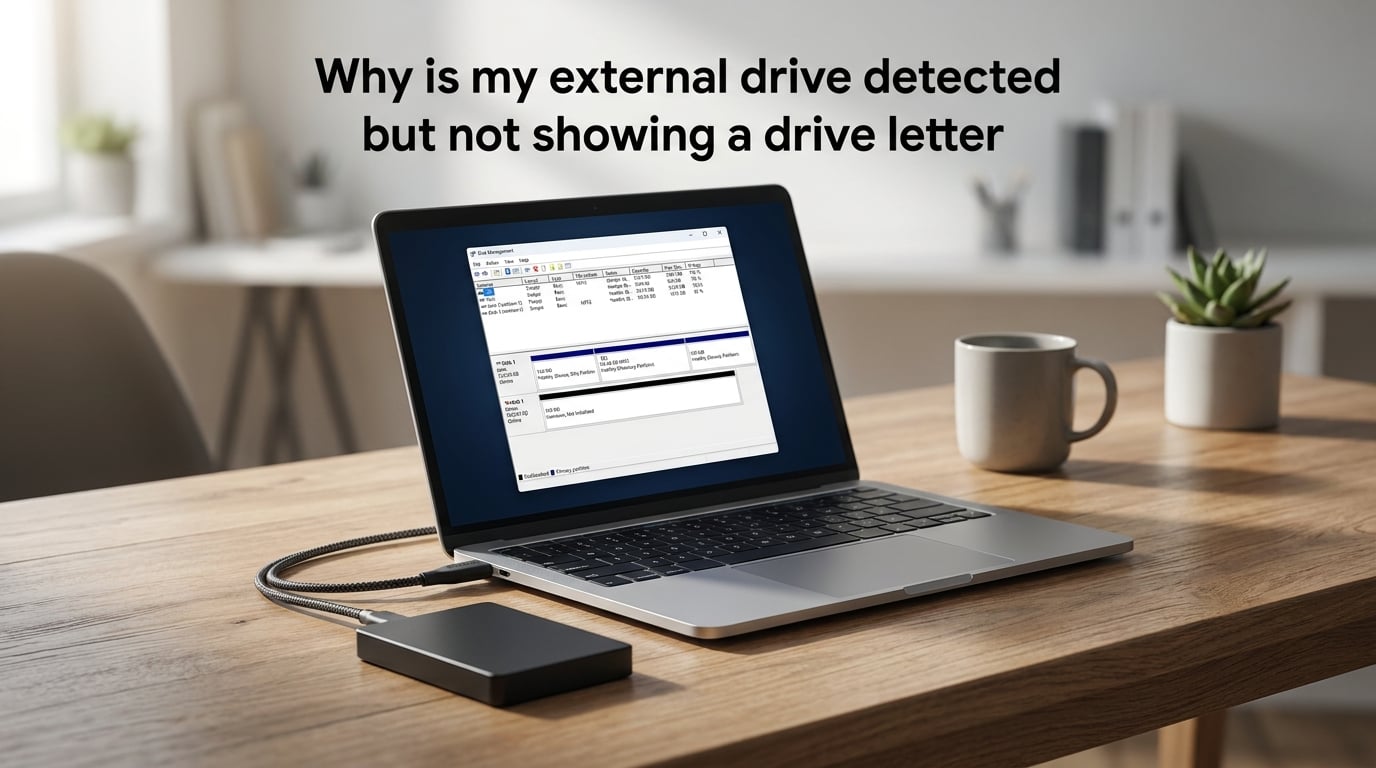
You plug in your external hard drive, hear the familiar Windows connection chime, and the drive light turns on. But when you open File Explorer, the drive is nowhere to be found. Sound familiar? This is one of the most frustrating storage issues Windows users encounter, and it happens more often than you might think.
When your external drive is detected but not showing a drive letter, Windows recognizes the hardware at a low level but hasn’t assigned a letter (like D: or E:) to the volume. Without that letter, File Explorer simply ignores the drive and refuses to display it. The good news is that this is almost always fixable without losing any data.
In this guide, I’ll walk you through exactly why this happens and give you step-by-step solutions to get your drive back. I’ve spent years troubleshooting this exact issue across hundreds of systems, and the fixes below cover every scenario I’ve encountered. Whether you’re on Windows 10 or Windows 11, the process is the same.
You’ll learn how to use Disk Management to assign a drive letter manually, fix an offline drive, deal with greyed-out options, and handle advanced situations like RAW file systems and driver error codes. Let’s get your data accessible again.
Why Windows Needs Drive Letters to Show Your Drive?
Drive letters are Windows’ way of giving each storage volume a recognizable name so you can find it in File Explorer. Think of a drive letter as an address for your data. Without that address, Windows knows the drive exists at the system level but has no way to present it to you in the file browser.
When you connect an external drive, Windows is supposed to automatically assign the next available letter to it. This auto-assignment happens through a service called Mount Manager. Most of the time, it works silently in the background and your drive appears within seconds.
But several things can interrupt this process. The drive may have a signature conflict with an internal drive. It might be marked as offline. The partition table could be damaged. Or the auto-mount feature might have been disabled by another application or a Windows update gone wrong.
Here’s the key point: a drive can be physically connected, electrically powered, and visible in Disk Management without ever appearing in File Explorer. The missing link is always the drive letter assignment. Once you manually assign one, the drive typically appears immediately.
Some users confuse detection with accessibility. Detection means Windows sees the hardware. Accessibility means you can read and write files. Drive letters bridge that gap, and without them, you’re stuck with a detected-but-inaccessible drive.
Common Reasons Your External Drive Has No Drive Letter
Understanding the root cause helps you pick the right fix. Here are the most common reasons your external drive is detected but not showing a drive letter, based on what I see most frequently.
Drive letter conflict: If your external drive was previously assigned a letter that’s now taken by an internal drive, Windows won’t display the external. This commonly happens when you connect a drive that was last used on another computer where it had a different letter assignment.
Offline status: Sometimes Disk Management marks a drive as Offline. This usually happens due to a signature collision, where two drives have the same disk signature. Windows prevents access to avoid confusion, and no drive letter gets assigned until you bring the drive online.
Unallocated space: If the drive shows up as a block of unallocated space with no partitions, there’s no volume to assign a letter to. This can happen on brand-new drives or after a partition table corruption event.
RAW file system: When the file system metadata is corrupted, Windows displays the drive as RAW instead of NTFS or FAT32. A RAW drive won’t receive a drive letter automatically because Windows can’t read its format.
Auto-mount disabled: Some disk management tools or scripts disable the auto-mount feature. When this happens, Windows stops automatically assigning letters to newly connected drives. You can re-enable it using DiskPart.
Unsafe ejection damage: Pulling a drive out without safely ejecting can corrupt the file system or partition table. I’ve seen this happen countless times on Reddit’s r/techsupport, where users report a family member yanking a drive while it was actively writing data.
Driver or firmware issues: Outdated or corrupted USB drivers can prevent proper drive letter assignment. Device Manager error codes like Code 10 or Code 28 are telltale signs that the driver layer is the problem, not the drive itself.
Quick Fixes to Try First
Before diving into Disk Management, try these simple hardware fixes. They resolve a surprising number of detection problems and take less than two minutes each.
Try a different USB port: Move the drive to a different port, preferably on the back of the computer if you’re using a desktop. Front panel ports and USB hubs sometimes don’t provide enough power for external drives. A direct motherboard USB port is always the most reliable connection.
Try a different cable: USB cables fail more often than people realize. A cable that worked yesterday might have developed an internal break. Swap in a known-good cable of the same type and see if the drive appears with a letter.
Try a different computer: If you have access to another PC, plug the drive in there. If it shows up normally, the problem is with your computer’s drivers or settings, not the drive. If it fails on both machines, the drive itself may have a hardware issue.
Here’s a quick decision tree I recommend following: Start with a different port, then try a different cable, then test on another computer. Each step narrows down whether the issue is hardware or software. If the drive works on another computer, come back here and move on to the Disk Management solution below.
Also make sure the drive is getting enough power. Some larger external drives need a dedicated power adapter in addition to the USB connection. If the drive sounds like it’s struggling to spin up, that’s a power issue, not a drive letter issue.
How to Assign a Drive Letter Using Disk Management?
This is the primary fix and the one that resolves the majority of cases. Disk Management is a built-in Windows utility that lets you control how drives are configured. Here’s the exact step-by-step process I use to assign a drive letter.
Step 1: Press Windows key + X on your keyboard. This opens the Power User menu. From the list, select Disk Management. You can also press Windows key + R, type diskmgmt.msc, and press Enter to open it directly.
Step 2: In the Disk Management window, look at the list of drives in the lower pane. Each disk is labeled Disk 0, Disk 1, Disk 2, and so on. Find your external drive by matching the storage capacity. For example, if your drive is 2TB, look for a disk that shows approximately 1863 GB of space.
Step 3: Once you’ve identified your external drive, check if it has a drive letter displayed next to the partition. If the partition shows a letter like D: or E:, but the drive still doesn’t appear in File Explorer, the issue might be different (check the Offline section below). If there’s no letter at all, continue to the next step.
Step 4: Right-click on the partition (the blue bar area, not the disk label) and select Change Drive Letter and Paths from the context menu. A small dialog box will appear.
Step 5: In the Change Drive Letter and Paths dialog, click the Add button. If a letter is already assigned but you want to change it, click Change instead. For drives with no letter at all, Add is what you need.
Step 6: Select the option Assign the following drive letter. A dropdown will show available letters that aren’t currently in use. Pick any letter you like; I usually recommend something in the middle of the alphabet like E: or F: to avoid conflicts with future internal drive additions.
Step 7: Click OK to confirm. Windows may show a warning that some programs that rely on drive letters might not work correctly. This is generally not a concern for external drives, so click Yes to proceed.
Step 8: Open File Explorer and check if your drive now appears. It should show up immediately under This PC with the letter you just assigned. If it doesn’t, try refreshing File Explorer by pressing F5 or closing and reopening the window.
That’s the core fix. I’ve used this exact sequence hundreds of times, and it works in roughly 70 to 80 percent of cases where the drive shows up in Disk Management but not File Explorer. If the option to add a drive letter is greyed out, move on to the next section.
One important note: be very careful in Disk Management to select the correct drive. Choosing the wrong disk and accidentally formatting or modifying it could destroy data on your internal drive. Always verify the capacity matches before making any changes.
How to Fix an Offline Drive?
Sometimes your external drive shows up in Disk Management but is marked as Offline. When a drive is offline, Windows refuses to interact with it at all, which means no drive letter gets assigned. This is a common issue that many troubleshooting guides gloss over.
Offline status usually happens because of a signature collision. Every disk in Windows has a unique identifier called a disk signature. If two drives have the same signature (which can happen after cloning or imaging a drive), Windows takes one of them offline to prevent data corruption.
To bring an offline drive online: Open Disk Management using Windows + X. Locate the disk marked Offline in the left column where it says Disk 0, Disk 1, etc. Right-click on the disk label itself (not the partition area) and select Online from the context menu. Windows will assign a new signature to the drive and bring it online.
Once the drive is online, Windows should automatically assign a drive letter. If it doesn’t, follow the Disk Management steps in the previous section to assign one manually.
If the drive keeps going offline every time you reconnect it, there may be a deeper issue with the drive’s firmware or the USB controller. Try updating your USB drivers through Device Manager. In rare cases, persistent offline status can indicate the drive’s controller board is failing.
You might also see a message saying The disk is offline because of a policy set by an administrator. This happens when the SAN (Storage Area Network) policy is set to offline all shared disks. To fix this, open Command Prompt as Administrator, type diskpart, then type san and press Enter. If the policy reads Offline Shared, type san policy=OnlineAll and press Enter. Exit DiskPart and reconnect your drive.
What to Do When Change Drive Letter Is Greyed Out?
This is one of the most common complaints I see in forums. You right-click the drive in Disk Management, but the Change Drive Letter and Paths option is greyed out and unclickable. Here’s why and how to fix it.
The option is greyed out when there’s no valid volume to assign a letter to. This usually means the drive’s partition is missing, the file system is RAW, or the disk hasn’t been initialized yet. All of these scenarios require a different approach.
If the space shows as Unallocated: The partition has been deleted or was never created. Right-click the unallocated space and select New Simple Volume. Follow the wizard to create a partition, assign a letter, and format it. Warning: if this is a drive that previously had data, do not create a new volume. Use data recovery software instead to recover files first.
If the drive shows as RAW: The file system metadata is damaged. Windows can’t read what format the drive uses, so it won’t assign a letter. You can try running CHKDSK by opening Command Prompt as Administrator and typing chkdsk X: /f /r (replace X with the drive number from Disk Management). If CHKDSK fails, you’ll need data recovery software before reformatting.
If the disk shows as Not Initialized: Right-click the disk label and select Initialize Disk. Choose GPT (GUID Partition Table) for drives larger than 2TB or MBR for smaller drives. After initialization, create a new volume and assign a letter. Again, this will erase data, so only do this on new or blank drives.
If the partition is marked as a system or reserved partition: Some drives have hidden EFI or recovery partitions that can’t be assigned letters through the normal interface. These partitions are meant to stay hidden. If you’re trying to access a data partition on the same drive, make sure you’re clicking the right partition.
Advanced Troubleshooting: Device Manager and Error Codes
If Disk Management doesn’t even see your drive, the problem is likely at the driver level. Device Manager is where you’ll find the answers. Here’s how to use it for this specific issue.
Open Device Manager by pressing Windows key + X and selecting Device Manager from the menu. Expand the Disk Drives section. Your external drive should appear here even if it doesn’t show in Disk Management. If it has a yellow exclamation mark next to it, there’s a driver problem.
Code 10 error: This error means the device cannot start. It’s often caused by outdated or corrupted drivers. Right-click the drive, select Update Driver, and choose Search automatically for drivers. If that doesn’t work, select Uninstall Device, then disconnect and reconnect the drive so Windows reinstalls the driver from scratch.
Code 28 error: This means drivers are not installed for the device. Windows doesn’t know how to communicate with the drive. Visit the manufacturer’s website to download the correct driver, or let Windows Update search for it automatically. After installing the driver, reconnect the drive.
If your drive doesn’t appear in Device Manager at all, there may be a USB controller problem. Scroll down to Universal Serial Bus controllers in Device Manager. Look for any entries with yellow exclamation marks. Right-click and uninstall any problematic USB controllers, then restart your computer. Windows will reinstall them automatically on boot.
Sometimes third-party antivirus or security software can block drive letter assignment. If you’re running security software that includes device control features, check its settings to make sure it isn’t blocking removable storage. Temporarily disabling the security software and reconnecting the drive is a quick way to test this.
Another advanced fix is re-enabling auto-mount through DiskPart. Open Command Prompt as Administrator and type diskpart. Then type automount and press Enter. If it says auto-mount is disabled, type automount enable and press Enter. Type exit to close DiskPart, then reconnect your external drive. This single command has saved me multiple times when nothing else worked.
Data Recovery: What to Do Before Formatting
Before you reformat, initialize, or delete any partitions, stop and think about your data. If the drive contains files you need, do not format it. Formatting will erase everything. I cannot stress this enough because I’ve seen too many people lose irreplaceable photos and documents by clicking Format in a moment of frustration.
If your drive shows as RAW or unallocated but previously had data, the files are likely still on the disk. They’re just not accessible through Windows normally. Data recovery software can scan the drive at a low level and reconstruct the file system enough to pull your files off.
There are several reputable data recovery tools available. Recuva is a free option that works well for basic recovery. For more serious situations, tools like EaseUS Data Recovery Wizard or Disk Drill offer deeper scanning capabilities. Run the recovery software, scan the external drive, and save recovered files to a different drive (never save recovered data back to the same disk).
If the drive is making clicking, beeping, or grinding sounds, stop using it immediately. These sounds indicate a mechanical failure, typically a head crash or motor problem. No amount of software troubleshooting will fix this. Power off the drive and contact a professional data recovery service. Continuing to run a mechanically failing drive will cause more damage and reduce recovery chances.
For drives that are simply not assigning a letter but show as Healthy in Disk Management, there’s usually no need for data recovery at all. Assigning a drive letter through the steps above will give you instant access to all your files without any risk.
Frequently Asked Questions
Why is my external hard drive detected but not showing up?
Your external hard drive is detected but not showing up because Windows hasn’t assigned a drive letter to it. This happens due to letter conflicts, offline status, file system corruption, or disabled auto-mount. Open Disk Management (Windows key + X), right-click the drive, select Change Drive Letter and Paths, click Add, and choose an available letter.
How to fix external hard disk detected but not opening issue?
To fix an external hard disk that is detected but not opening, first try a different USB port and cable. Then open Disk Management, locate the drive, right-click the partition, and select Change Drive Letter and Paths. Click Add, assign a new letter, and click OK. If the drive is offline, right-click the disk label and select Online. For RAW drives, run CHKDSK or use data recovery software before reformatting.
How do I get my PC to recognize an external hard drive?
To get your PC to recognize an external hard drive, try these steps in order: use a different USB port (preferably on the back of a desktop), replace the USB cable, test the drive on another computer, open Device Manager to check for driver errors, and use Disk Management to assign a drive letter. If the drive appears in Device Manager with a yellow icon, update or reinstall the USB drivers.
How to fix an undetected external drive?
To fix an undetected external drive, start with hardware checks: try different ports, cables, and computers. If the drive appears in Disk Management without a letter, assign one manually. If it shows as Offline, right-click and select Online. If it shows as Unallocated or RAW, the file system may be damaged, so use data recovery software before attempting any format. For drives not showing anywhere, reinstall USB drivers through Device Manager.
Conclusion
When your external drive is detected but not showing a drive letter, the solution almost always lives in Disk Management. Assigning a drive letter through the Change Drive Letter and Paths dialog fixes the majority of cases in under two minutes. For more stubborn situations, bringing an offline drive online, re-enabling auto-mount through DiskPart, or addressing driver issues in Device Manager will get you the rest of the way.
Always try the hardware basics first: different port, different cable, different computer. And never format a drive with data you need until you’ve exhausted all other options. If this guide helped you recover access to your drive, make it a habit to safely eject external drives going forward to prevent the issue from recurring. Your data is worth the extra click.