
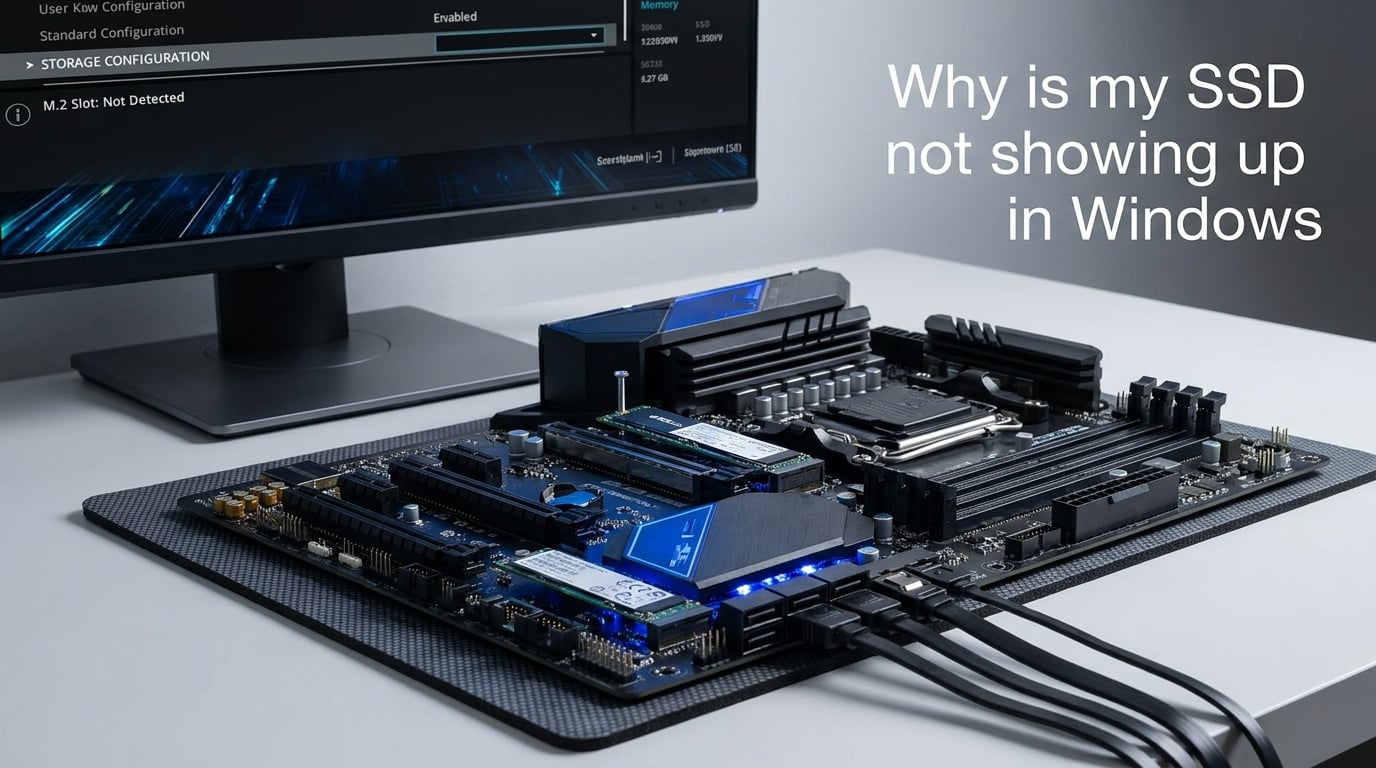
You just installed a brand-new SSD, closed up your PC case, booted into Windows, and the drive is nowhere to be found. Sound familiar? This is one of the most common issues PC builders and upgraders face, and the good news is that fixing an SSD not showing up in Windows is usually straightforward once you know where to look.
When your SSD is not showing up in Windows, the problem typically falls into one of two categories: Windows does not see the drive at all, or the drive appears in Disk Management but not in File Explorer. Each scenario points to different root causes and requires a different fix.
In this guide, I will walk you through every reason your SSD might not be detected, from loose cables and BIOS settings to uninitialized disks and driver conflicts. I have helped dozens of people troubleshoot this exact issue on Reddit’s r/buildapc community, and the solutions below cover every scenario I have encountered.
Quick Diagnostic: Where Does Your SSD Show Up?
Before diving into fixes, you need to figure out whether your system recognizes the SSD at the hardware level. This determines which troubleshooting path you should follow.
Restart your computer and enter the BIOS or UEFI by pressing F2, Del, F12, or Esc (the key varies by manufacturer) during startup. Look for your SSD under Storage, SATA Configuration, or M.2 slots. Then boot into Windows, open Disk Management by right-clicking the Start button and selecting “Disk Management,” and check whether the drive appears there.
If the SSD shows in BIOS but not in Windows: The hardware connection is fine. Your problem is software-related, most likely an uninitialized disk, missing drive letter, or driver issue. Skip to Step 3 below.
If the SSD does not show in BIOS or Disk Management: You likely have a physical connection problem, a BIOS configuration issue, or a faulty drive. Start with Step 1 below and work through each fix in order.
If the SSD shows in Disk Management as “Unallocated” or “Not Initialized”: This is completely normal for a brand-new drive. Head straight to Step 3 to initialize and format it.
Why Is My SSD Not Showing Up? Common Causes
Understanding the root cause of an SSD not showing up in Windows saves you from trial-and-error frustration. Here are the most frequent culprits I see:
Uninitialized or unformatted disk: New SSDs ship without any partition table or file system. Windows cannot display a drive in File Explorer until you initialize and format it. This is the single most common reason a new SSD not showing up confuses users.
Physical connection problems: A loose SATA cable, an improperly seated M.2 drive, or a faulty port can prevent detection entirely. SATA cables can wiggle loose during transport, and M.2 drives sometimes need a firmer press to click into place.
BIOS or UEFI settings: Disabled SATA ports, incorrect SATA controller modes (IDE instead of AHCI), or M.2 slots sharing PCIe lanes with other components can hide your SSD from the operating system.
Missing or outdated drivers: Windows 10 and 11 include generic storage drivers, but some motherboards require specific storage controller drivers. This is especially common during Windows installation, where the setup screen simply says no drives were found.
Storage Spaces conflict: If you have used Windows Storage Spaces in the past, it may have automatically claimed your new drive as part of a storage pool. The SSD will not appear in Disk Management until you remove it from the pool.
Fast startup interference: Windows fast startup feature can prevent secondary drives from being detected after waking from sleep. This is a sneaky issue that only a few people talk about, but it causes real frustration for users who shut down and restart expecting their drive to appear.
How to Fix SSD Not Showing Up in Windows: Step-by-Step
Follow these steps in order. Most SSD detection issues are resolved by Step 3 or 4. I have arranged these from simplest to most advanced so you do not waste time on complex fixes when a cable reseat would have solved the problem.
Step 1: Check Physical Connections
Power off your computer completely and unplug it from the wall. Open your case and verify every connection to the SSD.
For SATA SSDs, check both the SATA data cable (the thinner cable connecting to the motherboard) and the SATA power cable (coming from the power supply). Disconnect and reconnect each cable firmly. Try a different SATA port on the motherboard, since individual ports can fail or be disabled in BIOS. Swap the SATA data cable with a known-good one if you have a spare.
For M.2 SSDs, unscrew the retention screw, gently remove the drive, and reseat it. The drive should sit flat against the motherboard with the gold contacts fully inserted into the slot. You may need to press down slightly on the far end while securing the screw. Some users do not push the M.2 drive far enough into the slot for it to make proper contact.
If you are using an NVMe M.2 drive, verify that your motherboard supports NVMe in that specific slot. Some M.2 slots only support SATA M.2 drives, and some slots share PCIe lanes with SATA ports, meaning populating one can disable the other.
Step 2: Verify BIOS/UEFI Detection
Restart your PC and enter BIOS by pressing the appropriate key during startup. Common keys are F2 for Dell and Lenovo, Del for custom builds and ASUS, F12 for HP, and Esc for some Acer models.
Navigate to the Storage, SATA, or NVMe configuration section. The exact menu name varies by motherboard manufacturer. Look for a list of connected drives and confirm whether your SSD appears.
If the drive does not show in BIOS, check the following settings:
Make sure the SATA port your drive is connected to is enabled. Some motherboards disable specific ports by default or when M.2 slots are populated. Look for an option like “SATA Mode” and ensure it is set to AHCI rather than IDE or RAID. AHCI is the modern standard and works with virtually all SSDs.
If your motherboard has multiple M.2 slots and you are using a SATA M.2 drive, check whether the slot you chose supports SATA M.2 drives. Some slots only accept NVMe drives, and this distinction is rarely obvious without reading the motherboard manual.
Save changes and exit BIOS (usually F10). If the drive now shows in BIOS, boot into Windows and check Disk Management.
Step 3: Initialize the SSD in Disk Management
This is the fix that resolves the majority of new SSD not showing up cases. A brand-new SSD has no partition table, no file system, and no drive letter. Windows Disk Management is where you prepare it for use.
Right-click the Start button and select “Disk Management.” If a popup appears asking you to initialize a new disk, select GPT (GUID Partition Table) and click OK. GPT is the modern standard and supports drives larger than 2TB.
If no popup appears, look at the bottom half of the Disk Management window. Your new SSD will likely show up as “Disk 1” or “Disk 2” with a black bar labeled “Unallocated” or marked as “Unknown” and “Not Initialized.”
Right-click the disk label (where it says “Disk 1 – Not Initialized”) and select “Initialize Disk.” Choose GPT for modern systems (Windows 10 and 11) or MBR if you are running a very old legacy system. GPT is the right choice for virtually all users in 2026.
After initialization, right-click the unallocated space and select “New Simple Volume.” Follow the wizard to assign the entire disk space as a new partition, choose NTFS as the file system, and give it a drive letter. Once complete, your SSD will appear in File Explorer and be ready for use.
Step 4: Assign or Change the Drive Letter
Sometimes Windows detects the SSD and assigns it a partition, but the drive letter conflicts with an existing network drive or another device. The SSD exists in Disk Management but refuses to appear in File Explorer.
Open Disk Management and locate your SSD. If it has a partition but no drive letter, right-click the partition and select “Change Drive Letter and Paths.” Click “Add” and assign an available letter like D, E, or F. Avoid letters that are commonly used by network drives.
If the drive already has a letter assigned, try removing it and adding a different one. This forces Windows to refresh the drive listing and can resolve phantom conflicts where a drive was mapped and then became unavailable.
Step 5: Update Storage Controller Drivers
Outdated or missing storage controller drivers can prevent Windows from detecting connected drives. This issue is particularly common with newer motherboards using Intel’s VMD (Volume Management Device) or AMD’s RAID controllers.
Open Device Manager by right-clicking the Start button. Expand “Storage controllers” and look for any devices with a yellow exclamation mark. Right-click each storage controller and select “Update driver,” then choose “Search automatically for drivers.”
If Windows does not find an updated driver, visit your motherboard manufacturer’s website and download the latest chipset and storage controller drivers for your specific model. Intel users should check for Intel Rapid Storage Technology (RST) drivers, and AMD users should look for SATA or RAID controller drivers.
Install the drivers, restart your computer, and check whether the SSD now appears in Disk Management.
Step 6: Check and Change SATA Mode Settings
If your SSD was working fine and suddenly stopped showing up after a BIOS update or settings change, the SATA controller mode may have been switched. This is one of the most overlooked causes of an SSD not detected after a system change.
Enter BIOS and find the SATA Mode setting. If it is set to RAID or IDE, change it to AHCI. AHCI is the correct mode for individual SSDs on most systems. RAID mode is only needed if you are running a multi-drive RAID array, and IDE mode is an outdated legacy setting that can cause detection problems with modern SSDs.
If you are currently running Windows in RAID mode because your boot drive requires it, switching to AHCI may cause a blue screen on boot. In that case, you need to enable AHCI in Windows Safe Mode first, then switch the BIOS setting. Boot into Safe Mode (hold Shift while clicking Restart), let Windows load, then restart normally and change the BIOS setting.
Some users on Reddit’s r/buildapc community have reported that Intel RST was the hidden culprit. Switching from RST to AHCI mode immediately made their SSD visible in Windows after weeks of frustration.
Step 7: Resolve Storage Spaces and Disk Conflicts
If none of the above steps worked and your drive shows in BIOS but not in Disk Management, Windows Storage Spaces may have claimed your drive. This is a niche issue that most troubleshooting guides completely miss, but I have seen it affect multiple users.
Open the Start menu, search for “Storage Spaces,” and open the Storage Spaces control panel. Look for any storage pools that include your missing drive. If you find one, click “Change settings,” then remove the drive from the pool. After removal, the drive should appear in Disk Management as an uninitialized disk ready for setup.
Also check the Disk Management window for any drives marked as “Foreign.” Right-click a foreign disk and select “Import Foreign Disk” to bring it online. This happens when a drive was previously part of a dynamic disk group on another Windows installation.
Understanding SSD Types and Connection Requirements
Different SSD types connect to your system in different ways, and understanding these differences helps you troubleshoot more effectively. The SSD not showing up issue can vary significantly depending on what type of drive you have.
SATA SSDs (2.5-inch) connect using standard SATA data and power cables. They are the easiest to install and troubleshoot because the connections are simple and the cables are visible. If a SATA SSD is not showing up, the problem is almost always a loose cable, disabled port, or uninitialized disk.
M.2 SATA SSDs slot directly into the motherboard without cables. They use the same SATA protocol as 2.5-inch SATA SSDs but in a smaller form factor. The catch is that not every M.2 slot supports SATA M.2 drives. Some slots only accept NVMe drives, and using one can disable a nearby SATA port because they share PCIe lanes.
M.2 NVMe SSDs use the PCIe interface for dramatically faster speeds. They require a motherboard with NVMe-compatible M.2 slots. If an NVMe SSD is not showing up, check that your motherboard BIOS supports booting from NVMe (if it is your boot drive) and that the M.2 slot is configured for NVMe operation in BIOS.
One important detail many builders miss: some motherboards share lanes between M.2 slots and SATA ports. Populating an M.2 NVMe slot can disable SATA ports 5 and 6, for example. If your SATA SSD suddenly disappears after installing an M.2 drive, check whether the M.2 slot is sharing lanes with the SATA port you were using. Moving the SATA cable to a different port resolves this immediately.
Advanced Troubleshooting for Persistent Issues
If you have worked through all seven steps and your SSD is still not showing up, these advanced solutions address less common but well-documented causes.
Fix SSD Not Detected During Windows Installation
If the Windows setup screen says it cannot find any drives, your installation media probably lacks the necessary storage drivers. This is extremely common with newer Intel and AMD motherboards that use RAID or VMD controllers by default.
Download the appropriate storage driver from your motherboard manufacturer’s website on another computer. Extract the driver files to a USB flash drive. On the Windows setup screen, click “Load Driver,” insert the USB drive, and browse for the driver. Once loaded, your SSD should appear in the list of available installation targets.
Alternatively, enter BIOS and switch the SATA mode from RAID to AHCI. This allows Windows to detect the drive using built-in drivers. You can switch back to RAID after installation if needed, though AHCI works fine for most users.
Disable Fast Startup
Windows fast startup is a hybrid sleep mode that can prevent secondary drives from being detected after a shutdown. If your SSD appears after a full restart but not after a normal shutdown, fast startup is likely the cause.
Open Control Panel, go to Power Options, and click “Choose what the power buttons do.” Click “Change settings that are currently unavailable” and uncheck “Turn on fast startup.” Save changes and restart your computer. This fix has helped multiple users on tech support forums who could not understand why their drive appeared intermittently.
Switch from Intel RST to AHCI Mode
Intel Rapid Storage Technology (RST) can prevent SSDs from showing up in Windows, especially on laptops and pre-built systems from Dell, HP, and Lenovo. The RST driver manages storage differently than standard AHCI, and this can hide drives from Disk Management.
To switch safely, open Registry Editor and navigate to HKEY_LOCAL_MACHINESYSTEMCurrentControlSetServicesstorahci. Change the Start value from 3 to 0. Restart, enter BIOS, and change SATA mode to AHCI. Boot into Windows, which will install AHCI drivers automatically, and your SSD should appear.
Test the Drive in Another System
If nothing works, test the SSD in a different computer or use an external USB enclosure. If the drive shows up in another system, the problem is with your motherboard, cables, or BIOS configuration. If it does not show up anywhere, the drive itself may be faulty and you should contact the manufacturer for warranty replacement.
Data Recovery Options for an Undetected SSD
If your SSD contains important data and suddenly stopped being detected, do not panic. Do not attempt to initialize or format the drive, as this can overwrite your data. Connect the drive to another computer using a USB enclosure or adapter, and check whether it appears as a RAW drive in Disk Management.
If the drive shows as RAW, use data recovery software like TestDisk, Recuva, or Disk Drill to scan for and recover files before formatting. For drives that do not appear in any system, professional data recovery services are your best option, though they can be expensive.
SSDs have a limited number of write cycles, and a drive that has reached end of life may stop responding entirely. Check the manufacturer’s warranty status using the serial number on their website. Most Samsung, WD, and Crucial SSDs carry 3 to 5 year warranties.
Frequently Asked Questions
Why is my PC not detecting my SSD?
Your PC may not detect your SSD due to a loose cable connection, disabled SATA port in BIOS, uninitialized disk, missing storage controller driver, or a conflict with Storage Spaces. Start by checking if the drive appears in BIOS, then verify physical connections, and initialize the disk in Windows Disk Management if it shows up as unallocated.
How to fix undetected SSD?
To fix an undetected SSD, follow these steps: 1) Reseat the SATA or M.2 connections, 2) Enter BIOS and verify the drive is listed with SATA mode set to AHCI, 3) Open Disk Management and initialize the disk as GPT, 4) Create a new simple volume with NTFS formatting, 5) Update storage controller drivers in Device Manager.
Why SSD doesn’t show up in Windows setup?
Windows setup may not detect your SSD if the installation media lacks the required storage controller drivers for your motherboard. Download the storage or RAID driver from your motherboard manufacturer’s website, extract it to a USB drive, click Load Driver during setup, and browse for the driver. Alternatively, switch SATA mode from RAID to AHCI in BIOS so Windows can use built-in drivers.
How to activate SSD in BIOS?
To activate an SSD in BIOS, restart your computer and press F2, Del, or F12 to enter BIOS. Navigate to the SATA or Storage configuration section. Ensure the SATA port connected to your SSD is enabled. Set the SATA mode to AHCI for standard SSD operation. If using an M.2 NVMe drive, confirm the slot is configured for NVMe. Save changes with F10 and exit.
Conclusion
An SSD not showing up in Windows is almost always fixable without replacing the drive. In most cases, simply initializing the disk in Disk Management or reseating a loose cable resolves the issue within minutes. The key is following the diagnostic path correctly: check BIOS first, then physical connections, then Windows settings.
If you have worked through all seven steps in this guide and your SSD still does not appear in any system, the drive itself may be faulty. Check your warranty status with the manufacturer, as most SSDs from Samsung, WD, Crucial, and Kingston carry coverage for three to five years. Do not attempt data recovery on a drive under warranty, as opening the enclosure can void your coverage.
Remember to always initialize new drives as GPT, use AHCI mode for SATA SSDs, and keep your storage controller drivers current. These three habits prevent the vast majority of SSD detection issues before they start.