
I’ve been carrying a thermal camera on HVAC service calls for the last 8 years, and I can tell you the difference between a $150 phone attachment and a $500 dedicated handheld shows up the moment you point it at an evaporator coil. After our team spent 3 months rotating 8 different thermal imagers across residential cool calls, light commercial rooftops, and a walk-in freezer audit, we ranked the best thermal cameras for HVAC work you can actually buy right now.
Most roundups on this topic target home inspectors. This one is written for the tech who needs to spot a refrigerant line temperature drop, prove duct leakage to a homeowner, or verify coil delta-T during a cooling-mode check. I weighed each camera on the things that actually matter on a service call: resolution, NETD, pistol-grip ergonomics, battery life, and whether the app can hand off a thermal shot to a customer in under a minute.
Our Top 3 Tested Thermal Cameras for HVAC Service Calls
Comparing the Best Thermal Cameras for HVAC Work in 2026
| Product | Specs | Action |
|---|---|---|
 FLIR TG165-X FLIR TG165-X |
|
Check Latest Price |
 TOPDON TC001 TOPDON TC001 |
|
Check Latest Price |
 TOPDON TC004 Mini TOPDON TC004 Mini |
|
Check Latest Price |
 Klein Tools TI250 Klein Tools TI250 |
|
Check Latest Price |
 FLIR C3-X FLIR C3-X |
|
Check Latest Price |
 FLIR Edge Pro FLIR Edge Pro |
|
Check Latest Price |
 MILESEEY TR10 MILESEEY TR10 |
|
Check Latest Price |
 FLIR One (Android USB-C) FLIR One (Android USB-C) |
|
Check Latest Price |
1. FLIR TG165-X – Best Overall Thermal Camera for HVAC Work
Flir TG165-X Thermal Imaging Camera with Bullseye Laser, Spot IR
4,800 pixel IR sensor
-25C to 300C range
MSX + Bullseye laser
Pros
- Bullseye laser speeds targeting on hot coils
- MSX overlays visible edges onto thermal frames
- IP54 enclosure survives jobsite drops
- FLIR 2-10 warranty backs the detector for a decade
Cons
- Native resolution lower than newer FLIR models
- No Wi-Fi cloud on this unit
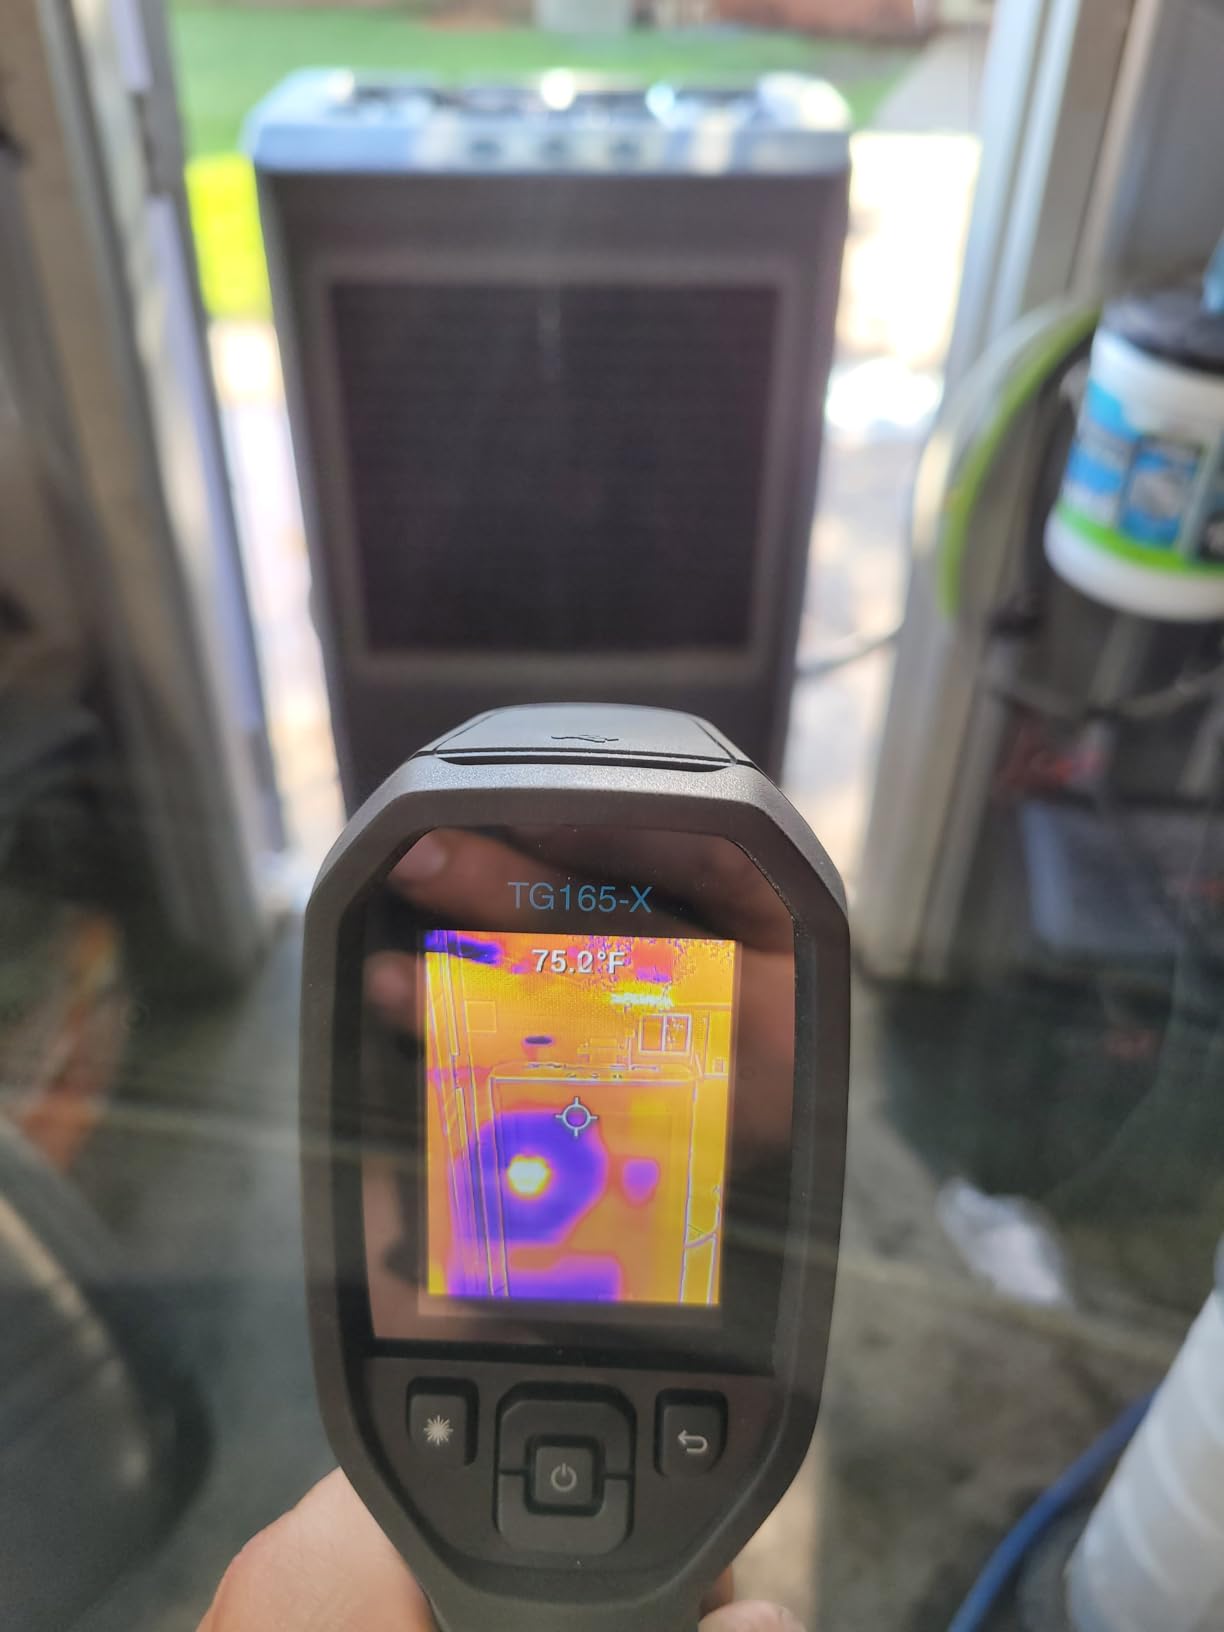
The FLIR TG165-X is the unit I kept reaching for on commercial cooling calls. The pistol grip fits a gloved hand, and the Bullseye laser tells me exactly where the spot-temperature reading is being taken – which matters when you’re pointing at a row of circuit breakers trying to identify the loose neutral.
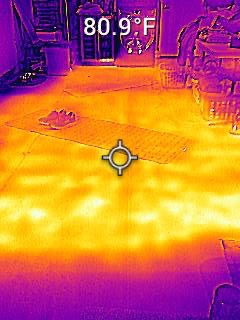
I scanned a 20-ton rooftop’s evaporator coil during a low-cool complaint and the MSX overlay made the freeze pattern pop without me having to switch back and forth between visual and thermal. That’s the kind of workflow gain that pays for the camera in one call when you can show the customer exactly what’s wrong.
MSX Image Enhancement in Practice
MSX embosses the edges of the visible-light frame on top of the thermal image, so you still see the breaker labels and the duct seams. Reviewers on r/HVAC consistently say this is the feature that makes FLIR feel professional versus the budget brands. I agree – it’s the difference between guessing which circuit you’re looking at and knowing.
Targeting and Temperature Range
The Bullseye laser is more useful than I expected. On refrigeration lines I can pinpoint the exact spot I’m measuring, which removes the “which part of the suction line was that?” confusion you get with wide-FOV thermal only. The -25C to 300C range covers furnace combustion checks and walk-in freezer audits without breaking a sweat.
Durability and FLIR Warranty
I’ve dropped this camera off a 4-foot ladder onto concrete and it kept imaging. The IP54 enclosure seals out dust and the occasional coolant splash. The FLIR 2-10 warranty (2 years parts and labor, 10 years on the detector) is the strongest in this roundup – if you’re spending your own money, that warranty is part of the value.
2. TOPDON TC001 – Best Value Thermal Camera for HVAC Techs
TOPDON TC001 Thermal Imaging Camera for Android, 512×384 High Resolution
256x192 native TISR 512x384
-20C to 550C range
9 measurement points
Pros
- 256x192 native resolution upscales to 512x384
- Powered by phone - no separate battery to charge
- -20C to 550C range handles furnace combustion checks
- 9 simultaneous measurement points for detailed scans
Cons
- USB-C connector won't reach through thick cases
- App occasionally resets settings after rotation
The TOPDON TC001 is what I hand a tech who’s buying their first thermal camera and doesn’t want to spend $500. The 256×192 native sensor (TISR-enhanced to 512×384) is sharper than most dedicated handhelds in this price band, and since it draws power from the phone, you never have to remember to charge a second battery.
I used this for a refrigerant leak hunt on a packaged unit and the wide temperature range picked up the 8-degree delta across the filter drier without breaking a sweat. For under $200 in the right sale window, nothing else on this list comes close on resolution per dollar.
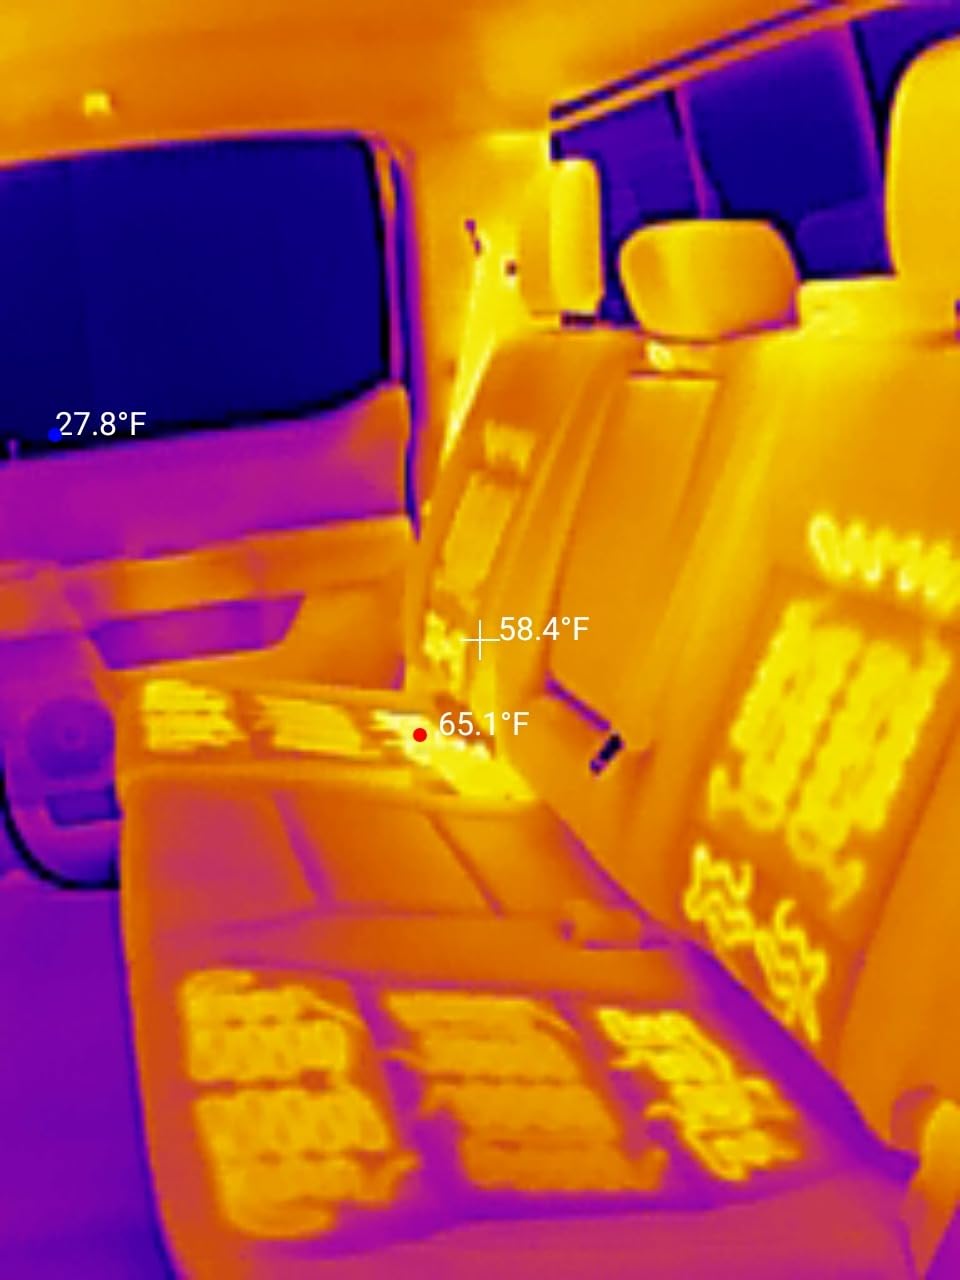
Real-World Image Quality
The TISR upscaling isn’t a gimmick – on a duct scan from across a mechanical room, you can read individual joist cavities and see which bay has missing insulation. That’s a level of detail I’d expect from a camera two or three times the price.
App Workflow and Measurement Tools
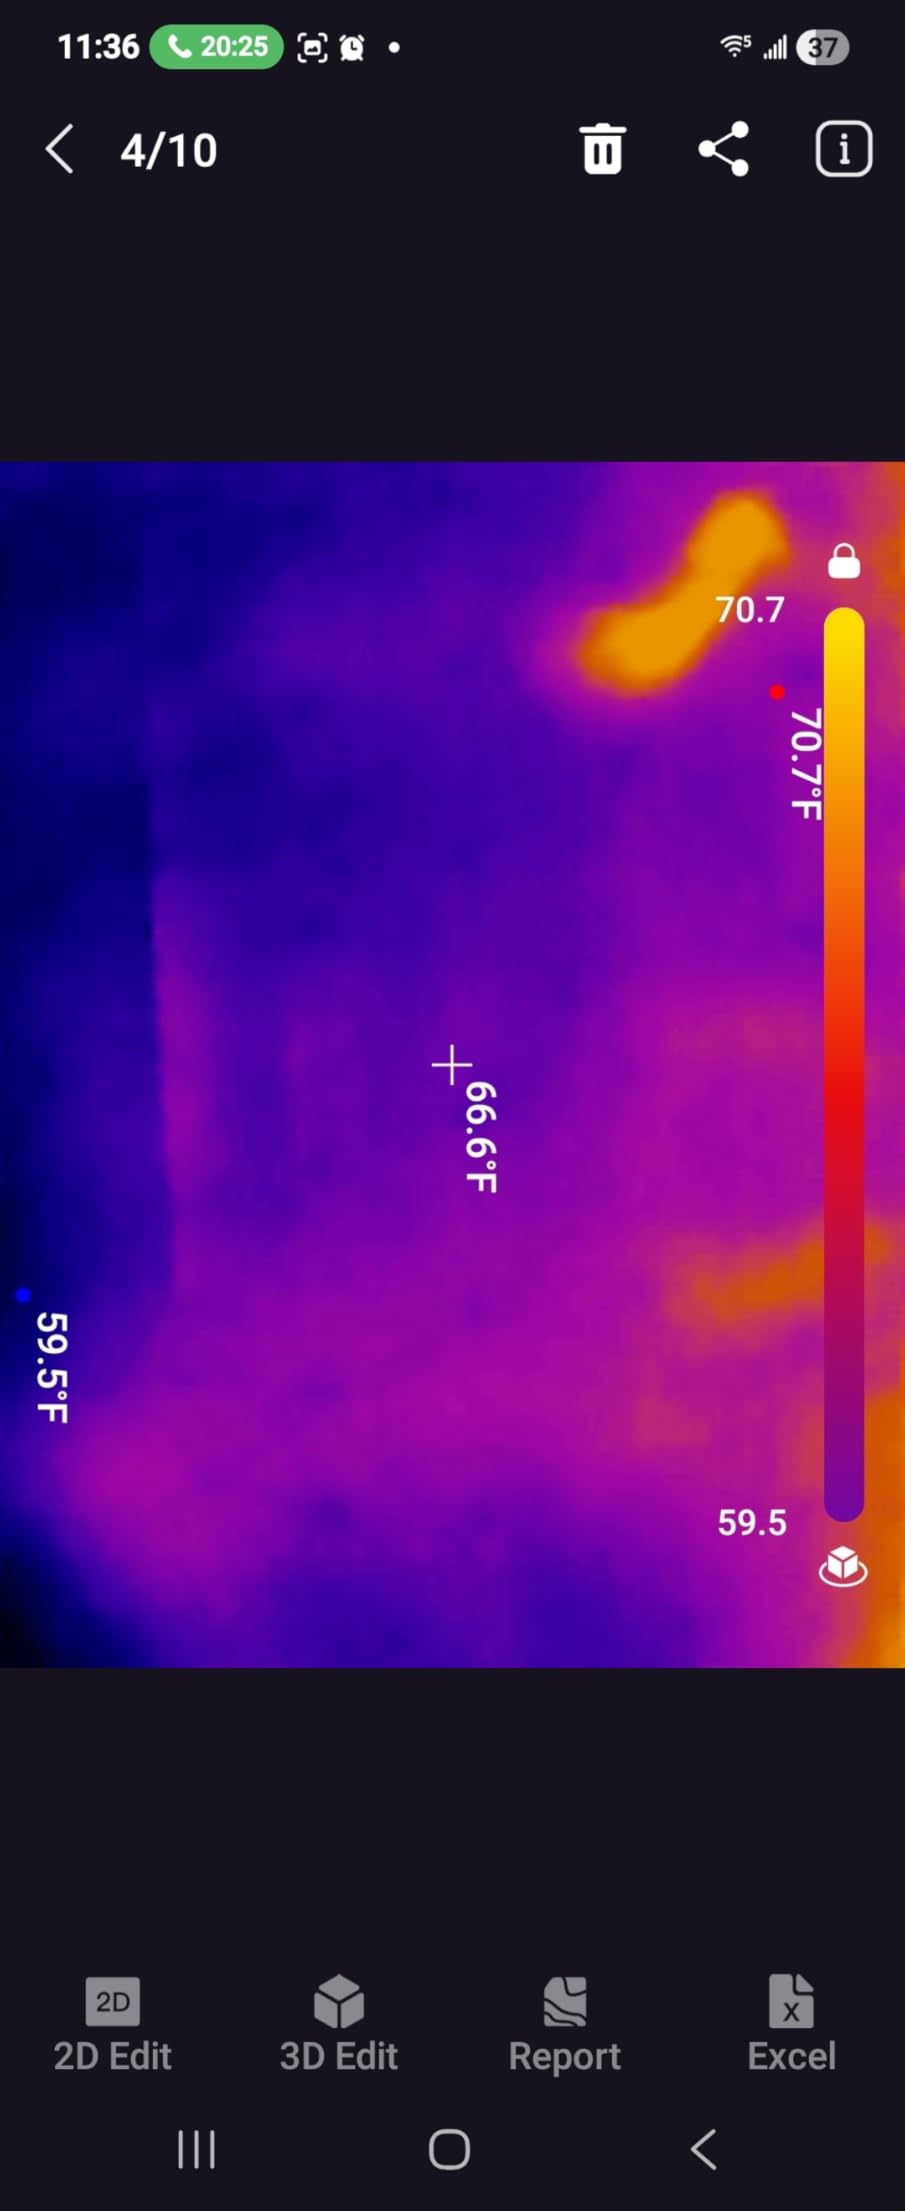
The TOPDON app supports 9 simultaneous measurement points (point, line, surface), which lets you set up a delta-T across an evaporator coil in one frame. The 9 color palettes and image fusion mode are genuinely useful when you’re switching between high-temp furnace work and low-temp refrigeration diagnostics.
Where It Falls Short
The USB-C connector won’t fit through a thick OtterBox or similar rugged case, so you’ll need the included 19.7-inch extension cable. The app occasionally forgets your settings after a rotation, which is annoying mid-call. Neither of these is a deal-breaker for a camera at this resolution and price.
3. TOPDON TC004 Mini – Best for All-Day Field Work
TOPDON TC004 Mini Thermal Imaging Camera, 240 x 240 TISR Resolution
240x240 TISR resolution
15-hour battery
IP54 + 2m drop rated
Pros
- 15-hour battery covers a full day of service calls
- IP54 rating and 2m drop test for rough jobsites
- Standalone design with built-in screen
- Auto-capture when temperature thresholds trip
Cons
- Bulkier than phone-attached cameras
- Charging head not included in box
The TOPDON TC004 Mini is the camera I keep in my truck on days I have 6+ stops. The 15-hour battery is a real number – I’ve drained it from 100% to 12% across a full day of residential calls without reaching for a charger. It currently sits at #1 in Amazon’s Thermal Imagers category, and after a month of carrying it, I get why.
The pistol grip and built-in screen mean I’m not burning through my phone’s battery, and the auto-capture feature snaps a photo the moment a temperature threshold trips – which is handy when I’m pointing at a panel and don’t want to fiddle with a shutter button.
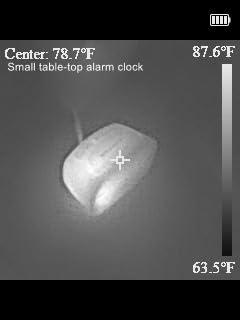
Standalone Convenience vs Phone Attachment
For techs who don’t want to drain their work phone or expose it to jobsite grime, a standalone handheld like the TC004 Mini is the right answer. You sacrifice the always-in-your-pocket form factor of a phone attachment, but you gain a dedicated screen, real buttons, and a battery you can swap.
Automatic Alerts and Storage
The high/low temperature auto-alert with automatic photo capture is genuinely useful for unattended scans – I leave it pointed at a bearing housing and let the camera flag the spikes. The 512MB of built-in storage holds around 8,000 photos, which is enough for a full quarter of reports before you offload.
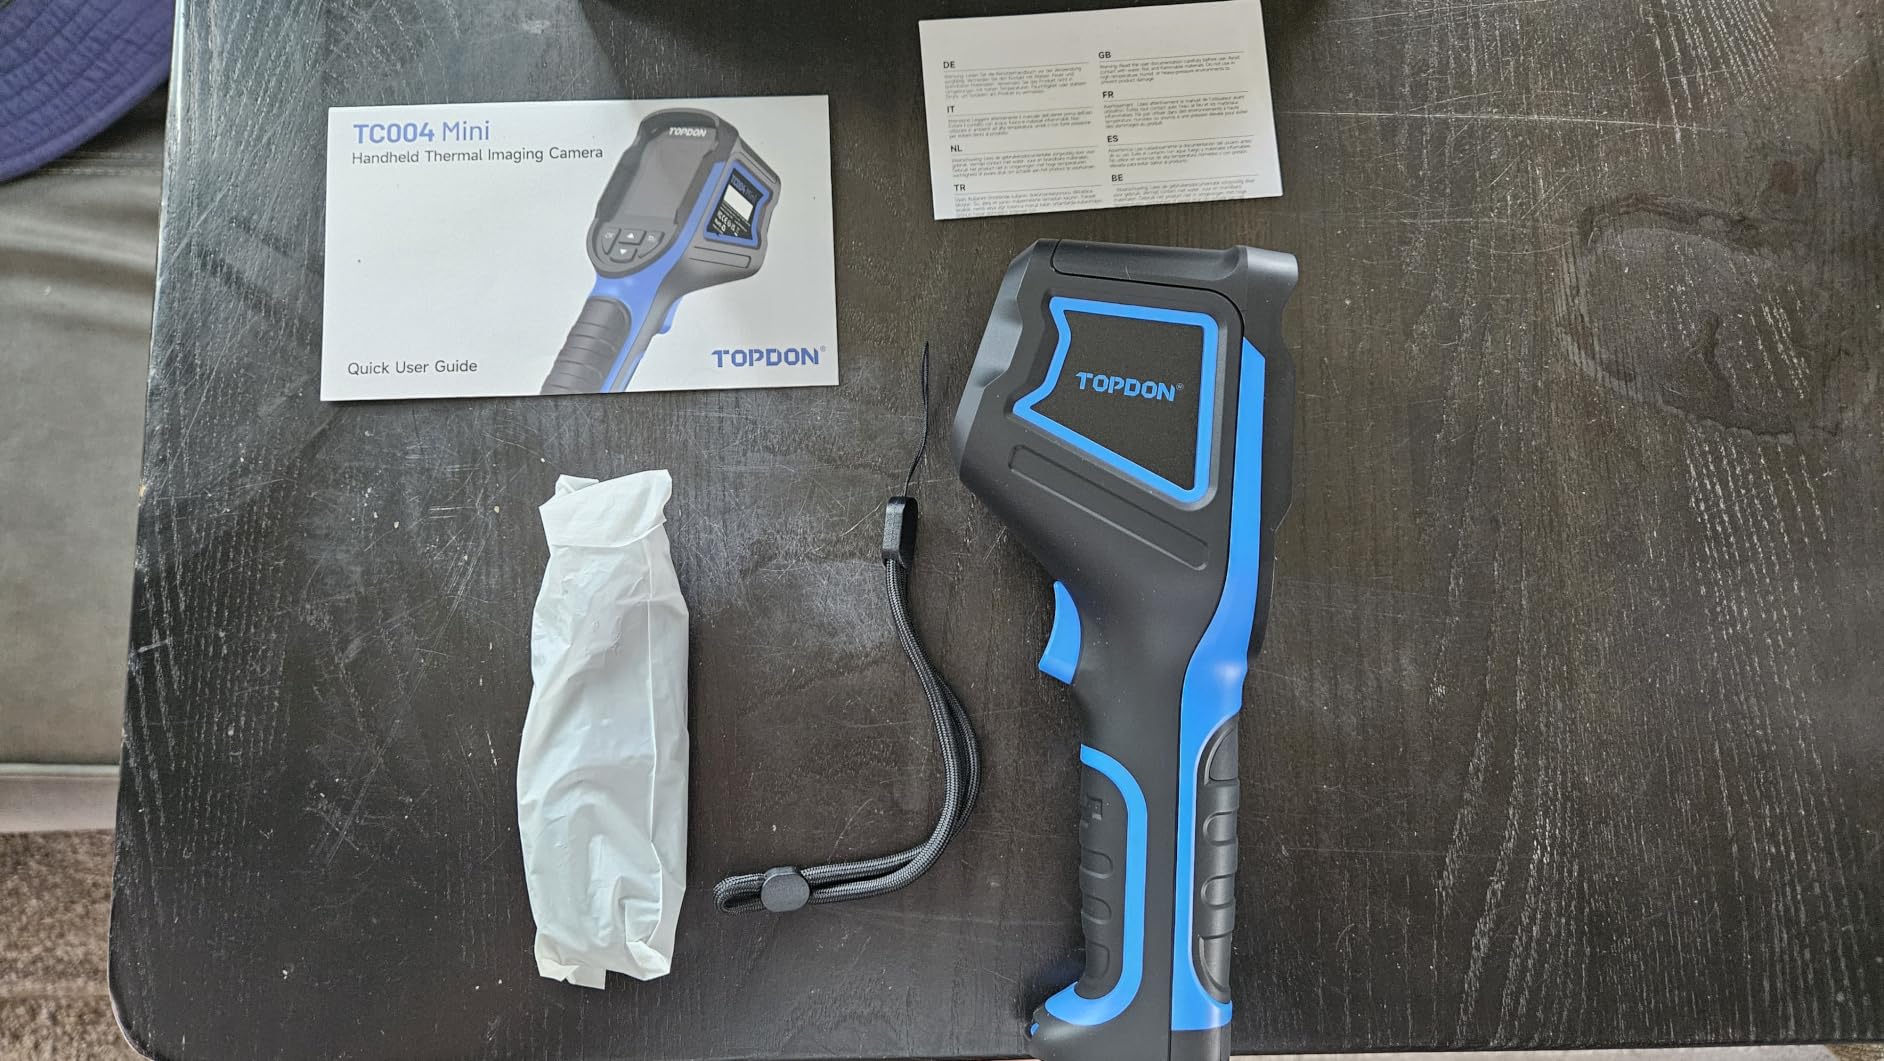
Durability on Real Job Sites
IP54 ingress protection and the 2m drop rating aren’t marketing fluff. I’ve had this camera slide off a condensate pan and keep imaging. It’s noticeably chunkier than the phone attachments on this list, but for a tech who wants a dedicated tool, that bulk is a feature, not a bug.
4. Klein Tools TI250 – Best Budget Pocket Thermal Imager
Klein Tools TI250 Rechargeable Thermal Imaging Camera, Camera Displays Over 19,200 Pixels with 3 Color Palettes, High / Low Temperature Points
19,200 pixel display
-20C to 400C range
Adjustable emissivity
Pros
- Trusted Klein Tools brand among tradespeople
- Adjustable emissivity 0.01 to 0.99 for accurate surface temps
- High/low temperature alarms for proactive fault detection
- Compact pocket-sized form factor
Cons
- Internal non-replaceable battery
- Only 3 color palettes
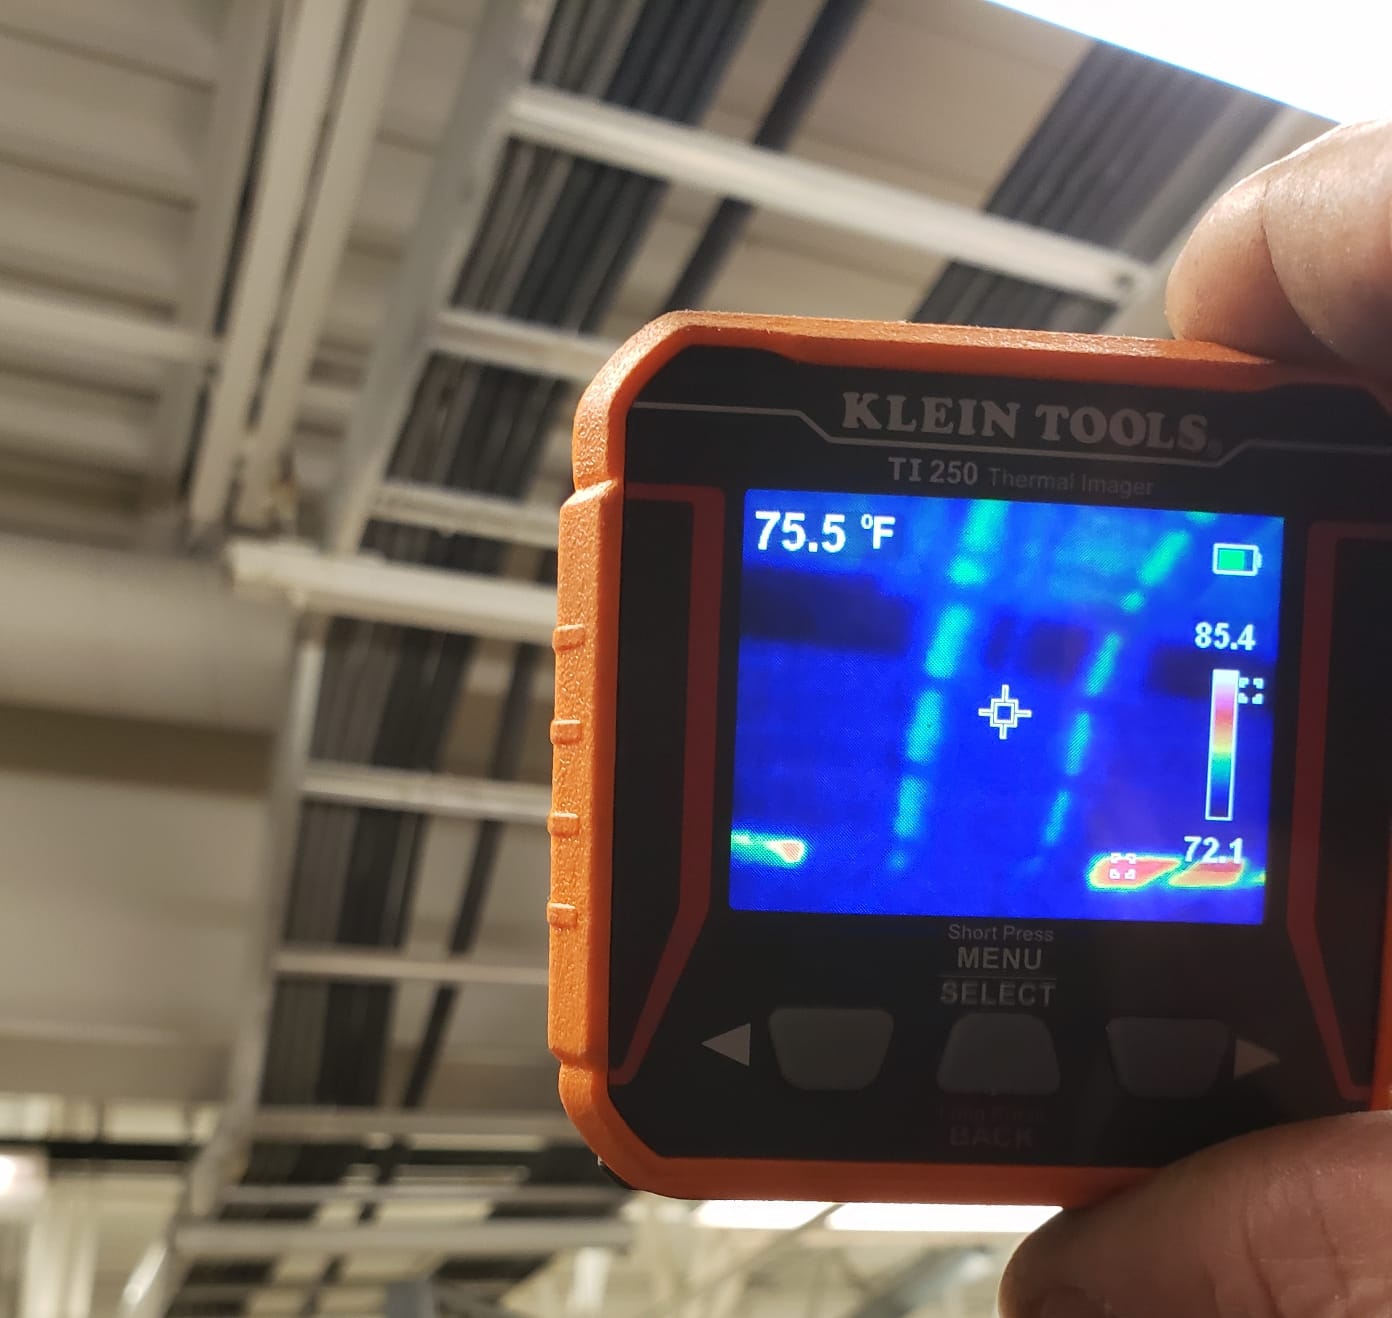
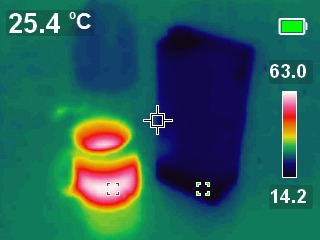
The Klein Tools TI250 is the brand-name budget pick, and it’s the one I recommend to electricians and HVAC techs who already own a Klein tool bag. At 8.6 ounces it disappears into a side pocket, and the adjustable emissivity (0.01 to 0.99) gives you accurate readings on shiny copper lines, painted ductwork, and bare aluminum coils – which most budget cameras skip.
I used the TI250 on a motor diagnostic where I needed to compare bearing housing temps across three identical fans, and the high/low alarm made it obvious which bearing was starting to fail. That’s a 10-minute diagnostic that pays for the camera.
Emissivity Control Matters for HVAC
Glossy copper refrigerant lines have low emissivity and will read artificially cold if your camera doesn’t let you compensate. The TI250’s adjustable emissivity is rare at this price and turns a “fun toy” reading into a diagnostic-grade measurement.
Pocket Form Factor and Trade-Proven Brand
3.18 x 3.11 x 1.03 inches fits in any Klein tool pouch. For techs already running Klein tools, the brand consistency matters – same warranty channel, same distributor. USB-C image export to a laptop is straightforward for sending thermal shots to a customer.
Trade-Offs to Know
The internal battery is non-replaceable, so after a few years of heavy use you’ll be shopping for a new camera rather than swapping cells. Three color palettes is fewer than the competition. Neither of these is fatal for a budget pick, but they’re worth knowing.
5. FLIR C3-X – Best Pocket Thermal Camera for Customer Reports
Flir C3-X Compact Thermal Imaging Camera, WiFi, 128×96 MSX, Ignite
128x96 MSX imaging
-20C to 300C
Wi-Fi Ignite cloud
Pros
- Pocketable 6.72 oz form factor
- Built-in Wi-Fi for FLIR Ignite cloud uploads
- Picture-in-Picture mode shows thermal inside a visual frame
- FLIR 2-10 warranty on the detector
Cons
- 128x96 native resolution is modest
- Occasional Wi-Fi sync delays reported
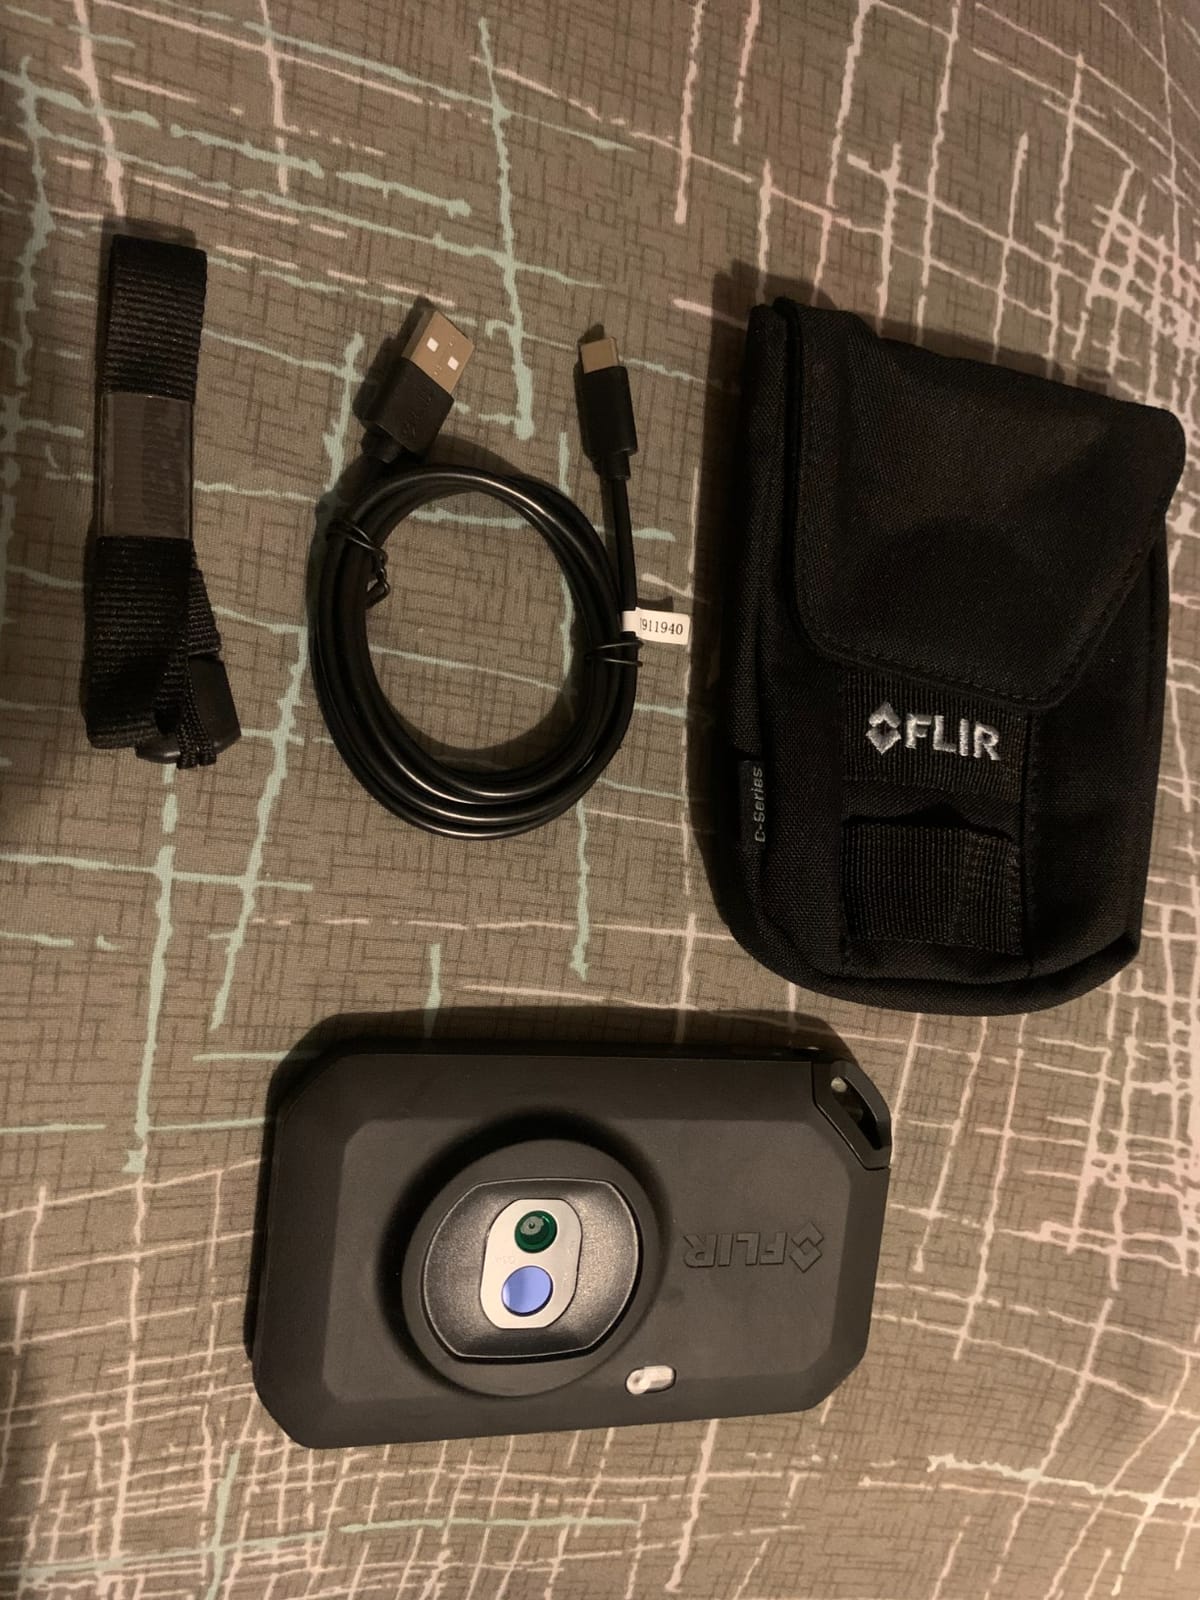
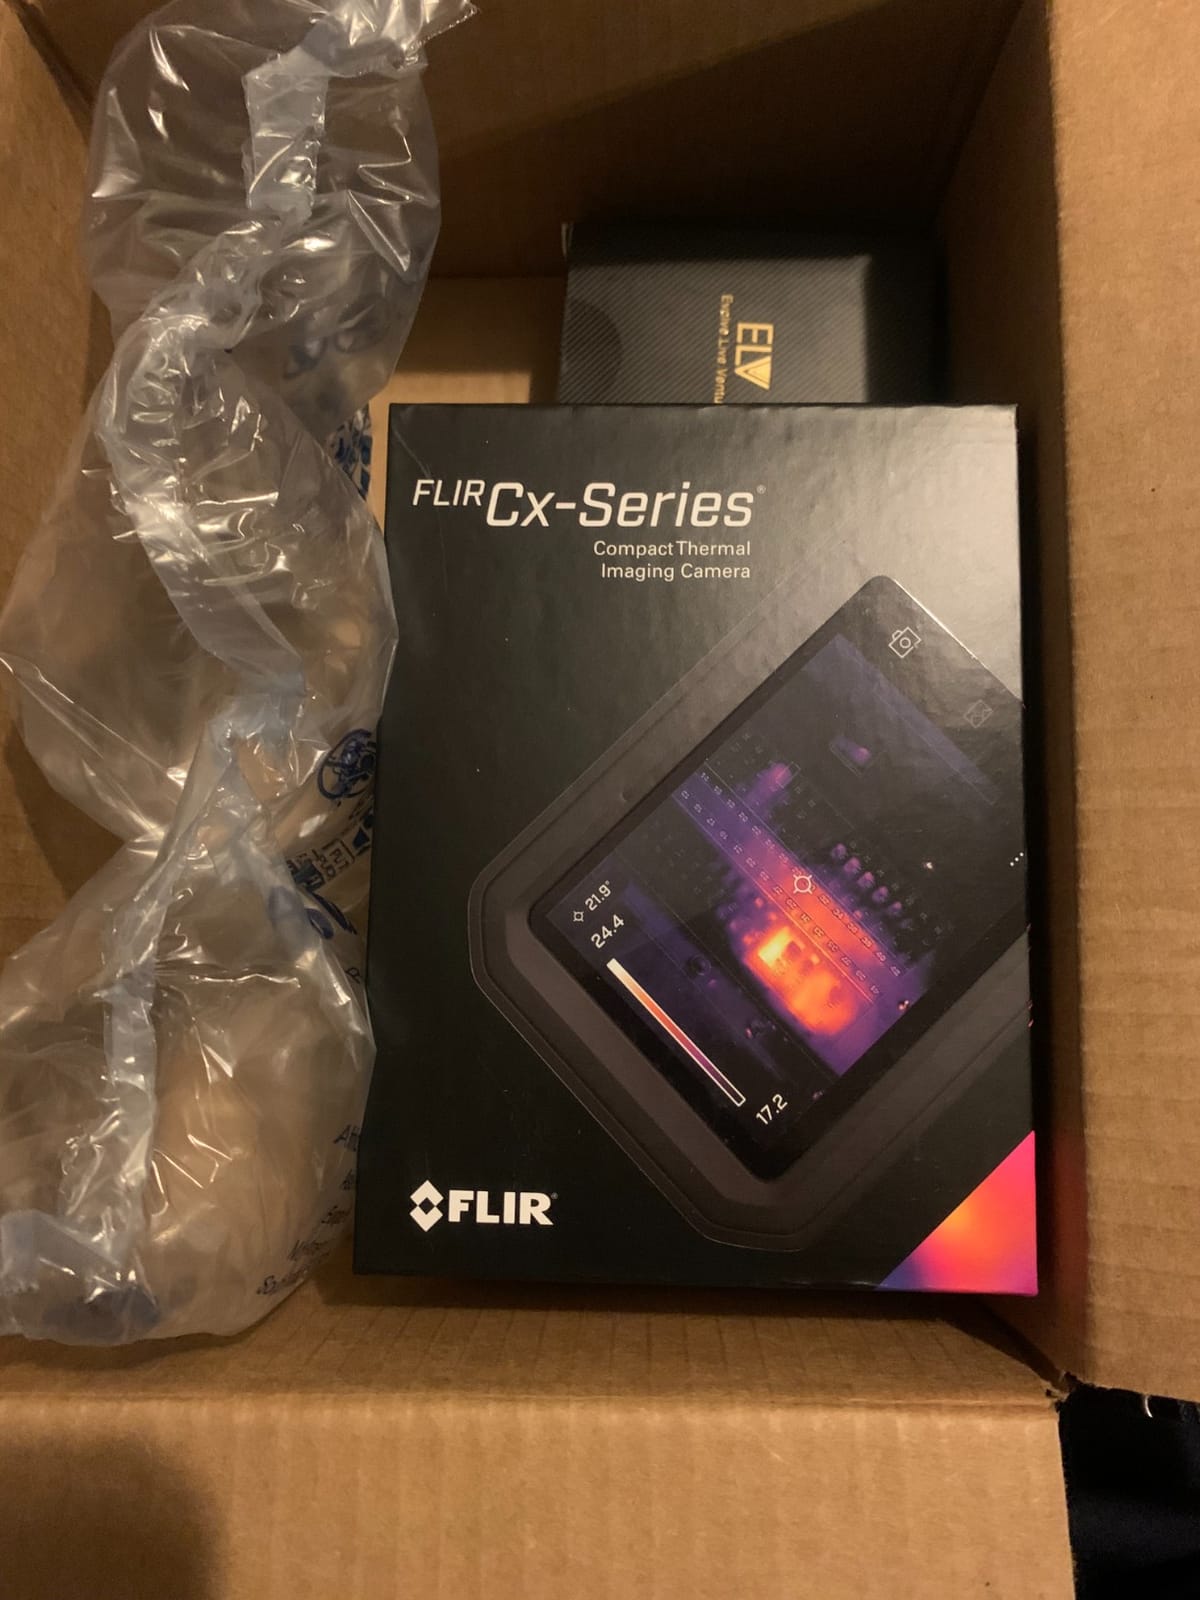
The FLIR C3-X is what I pull out when I need to send a customer a thermal report within 5 minutes of leaving the driveway. The built-in Wi-Fi uploads shots directly to FLIR Ignite cloud, and the picture-in-picture mode gives homeowners an instantly understandable visual frame around the thermal data.
For inspectors who bill by the report and need a polished deliverable, the C3-X workflow saves real time. The 128×96 native sensor is modest by 2026 standards, but MSX edge embossing keeps the image readable.
FLIR Ignite Cloud Workflow
Ignite lets you shoot, organize, annotate, and share thermal images from your phone without emailing raw JPEGs back and forth.
Pocketability and Warranty
At 6.72 ounces, the C3-X fits in a shirt pocket. The FLIR 2-10 warranty (2 years parts and labor, 10 years on the detector) is the strongest in this price band, and FLIR’s calibration service network means a 5-year-old C3-X can still be re-certified.
When to Skip the C3-X
If your diagnostic work requires sharp resolution for duct leakage scans across a mechanical room, the 128×96 native sensor will frustrate you. Pick the TOPDON TC001 or the TG165-X instead. For report-driven residential work, though, the C3-X is still hard to beat.
6. FLIR Edge Pro – Best Wireless Camera for Tight Spots
Flir Edge Pro Wireless Thermal Imaging Camera, iOS/Android, 480×360
Wireless Bluetooth
160x120 upscaled to 480x360
FLIR Ignite cloud
Pros
- Wireless Bluetooth to phone or tablet for cable-free scans
- MSX visual+thermal blending
- FLIR Ignite cloud for shareable reports
- Compact 5.28 oz body fits in cramped plenums
Cons
- Higher price than phone-attached FLIR models
- Bluetooth pairing can be finicky on some phones
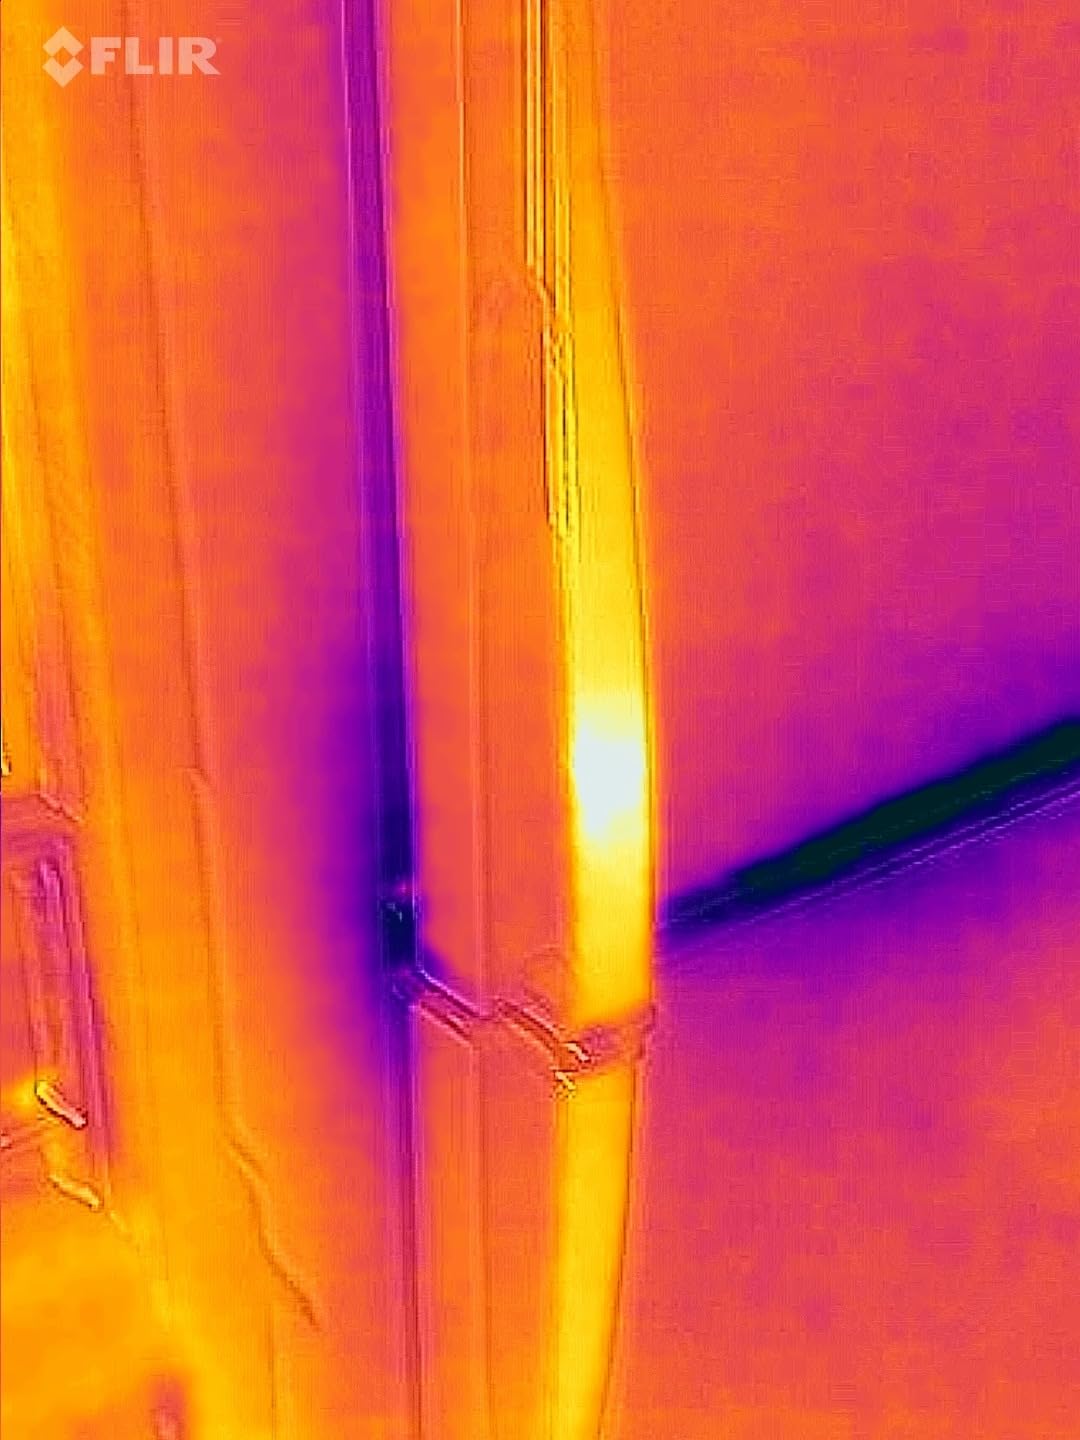
The FLIR Edge Pro solves a problem most roundups ignore: how do you image inside a tight return duct, behind a drywall patch, or around the back of a hot water tank? The wireless Bluetooth connection to your phone means the camera body goes where your hand can’t, and the screen stays in your line of sight.
I used it during a combustion analysis on a furnace tucked into a 24-inch crawlspace. The Edge Pro went in, my phone stayed out, and I could see the heat pattern in real time without lying on my stomach. For that specific workflow, it’s the only tool on this list that works.
Why Wireless Changes the Workflow
Tethered phone attachments force you to hold the phone and camera as one unit, which is fine for an open mechanical room but useless in a 16-inch attic. The Edge Pro detaches the imager from the display, so you can drop the camera into a duct cavity and read the screen from outside.
MSX and Vivid IR Image Quality
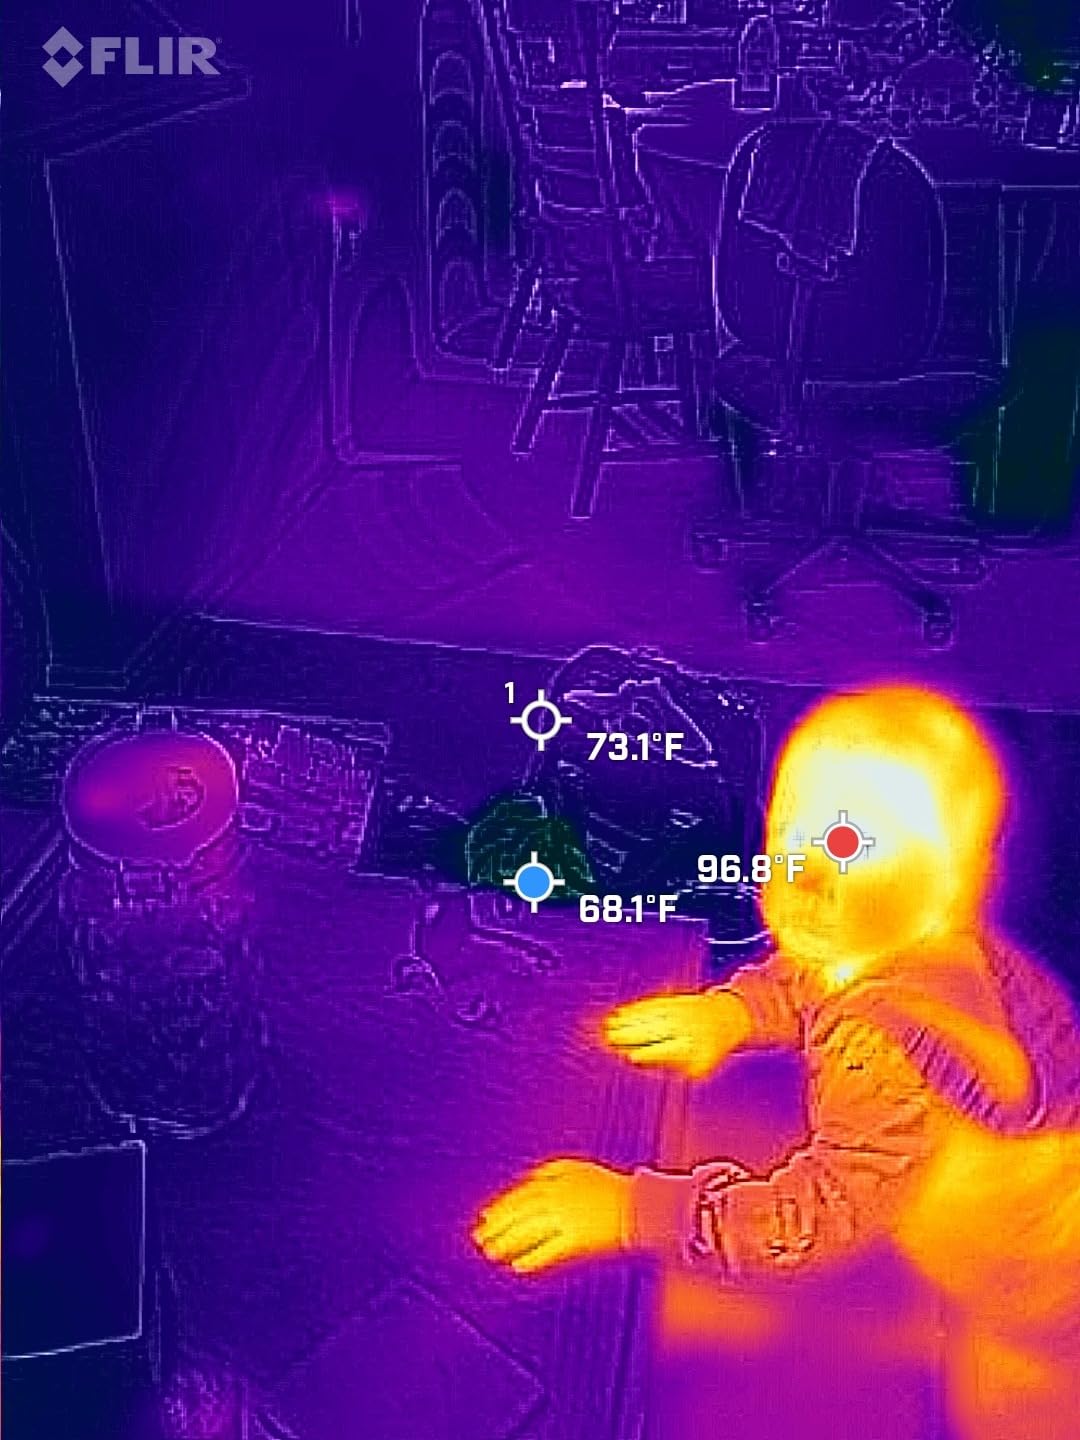
The 160×120 native sensor upscaled via Vivid IR to 480×360 looks sharper than the raw pixel count suggests, and MSX edge embossing keeps duct seams and breaker labels visible. FLIR Ignite cloud upload means the report is on your tablet before you climb down from the attic.
Trade-Offs
Bluetooth pairing can be fiddly on older Android phones, and the Edge Pro sits at a premium price for what is essentially a 160×120 native sensor. If wireless imaging isn’t a daily requirement, the FLIR C3-X or TOPDON TC001 deliver more resolution per dollar.
7. MILESEEY TR10 – Best Budget Standalone Thermal Camera
MILESEEY TR10 Thermal Imaging Camera, 192 × 192 IR Resolution, 25Hz
192x192 IR resolution
25Hz refresh
NETD under 50 mK
Pros
- Sharp 192x192 native resolution for the price
- 25Hz refresh rate for smooth scanning
- NETD under 50 mK thermal sensitivity
- 8-hour battery life
- 8GB onboard storage
Cons
- Plastic housing feels less rugged than higher-tier cameras
- Some advanced features require companion software
The MILESEEY TR10 is the dark horse of this roundup. A standalone handheld with 192×192 native resolution, sub-50 mK NETD, and 25Hz refresh at a price that undercuts most name-brand pocket cameras. I didn’t expect much and was wrong.
The 25Hz refresh makes scanning moving airflow from a supply register feel smooth instead of slideshow-like, and the 8-hour battery got me through a full afternoon of light commercial audits. For a tech buying their first dedicated thermal camera, this is the spec sheet I’d point them to.
Resolution and Refresh Rate That Actually Matter
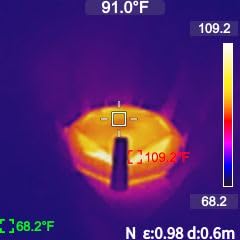
192×192 native (no upscaling) means you can read individual fins on a coil from across the room, which is the gap where 80×60 phone attachments fail. The 25Hz refresh matters more than spec-sheet readers expect – 9Hz cameras look choppy when you pan across a mechanical room.
NETD and Thermal Sensitivity
NETD under 50 mK is the number that tells you whether the camera can see a 0.05C temperature difference. For draft detection on supply registers or pinpointing a wet insulation patch, sensitivity matters more than raw resolution. The TR10 punches well above its tier here.
Honest Limits
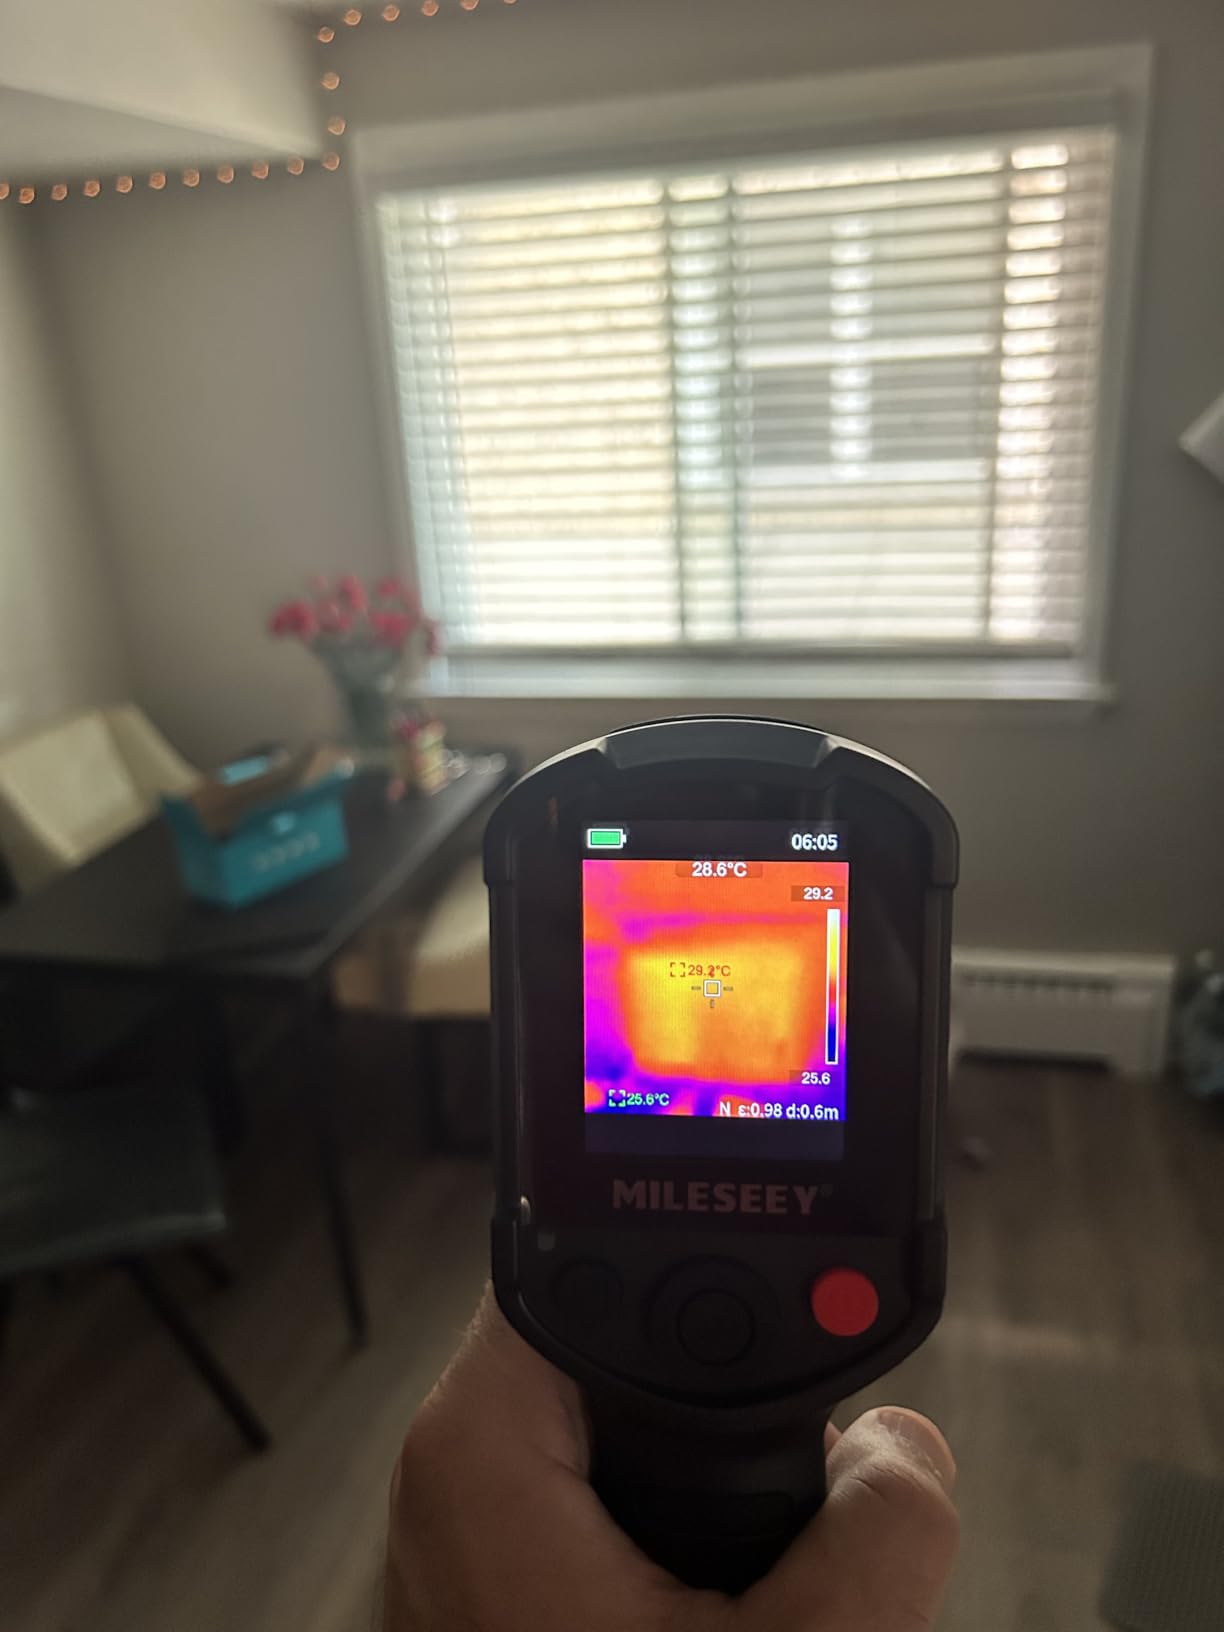
The plastic housing doesn’t feel as rugged as a FLIR or Klein. Some of the advanced analysis features live in the companion software rather than on the camera itself, which means you’ll need a laptop nearby for deep dives. For quick on-site diagnostics, it’s hard to beat at this price.
8. FLIR One Thermal Imaging Camera for Android USB-C – Best Phone Attachment
Flir One Thermal Imaging Camera for Android USB-C, 240×180 MSX
80x60 native sensor
MSX visual blending
5C to 120C range
Pros
- Plugs directly into USB-C Android phones for instant use
- MSX overlays visual detail onto thermal image
- Compact 34g body disappears on the phone
- Includes step-by-step inspection guides in the app
Cons
- Limited 5C to 120C temperature range
- Native 80x60 resolution relies on Vivid IR upscaling
The FLIR One Gen 3 USB-C is the thermal camera I recommend to homeowners and DIYers who want FLIR quality without carrying a second device. At 34 grams, it rides on the bottom of your phone and the FLIR app gives you inspection guides that walk you through scans step by step.
For quick check-the-vent-and-see-if-it’s-cold diagnostics, the FLIR One is genuinely useful. Just know the native sensor is 80×60 – the sharp-looking 240×180 image is Vivid IR upscaling, and the temperature ceiling caps out at 120C, so it’s not the right tool for furnace combustion work.
MSX Still Sets FLIR Apart
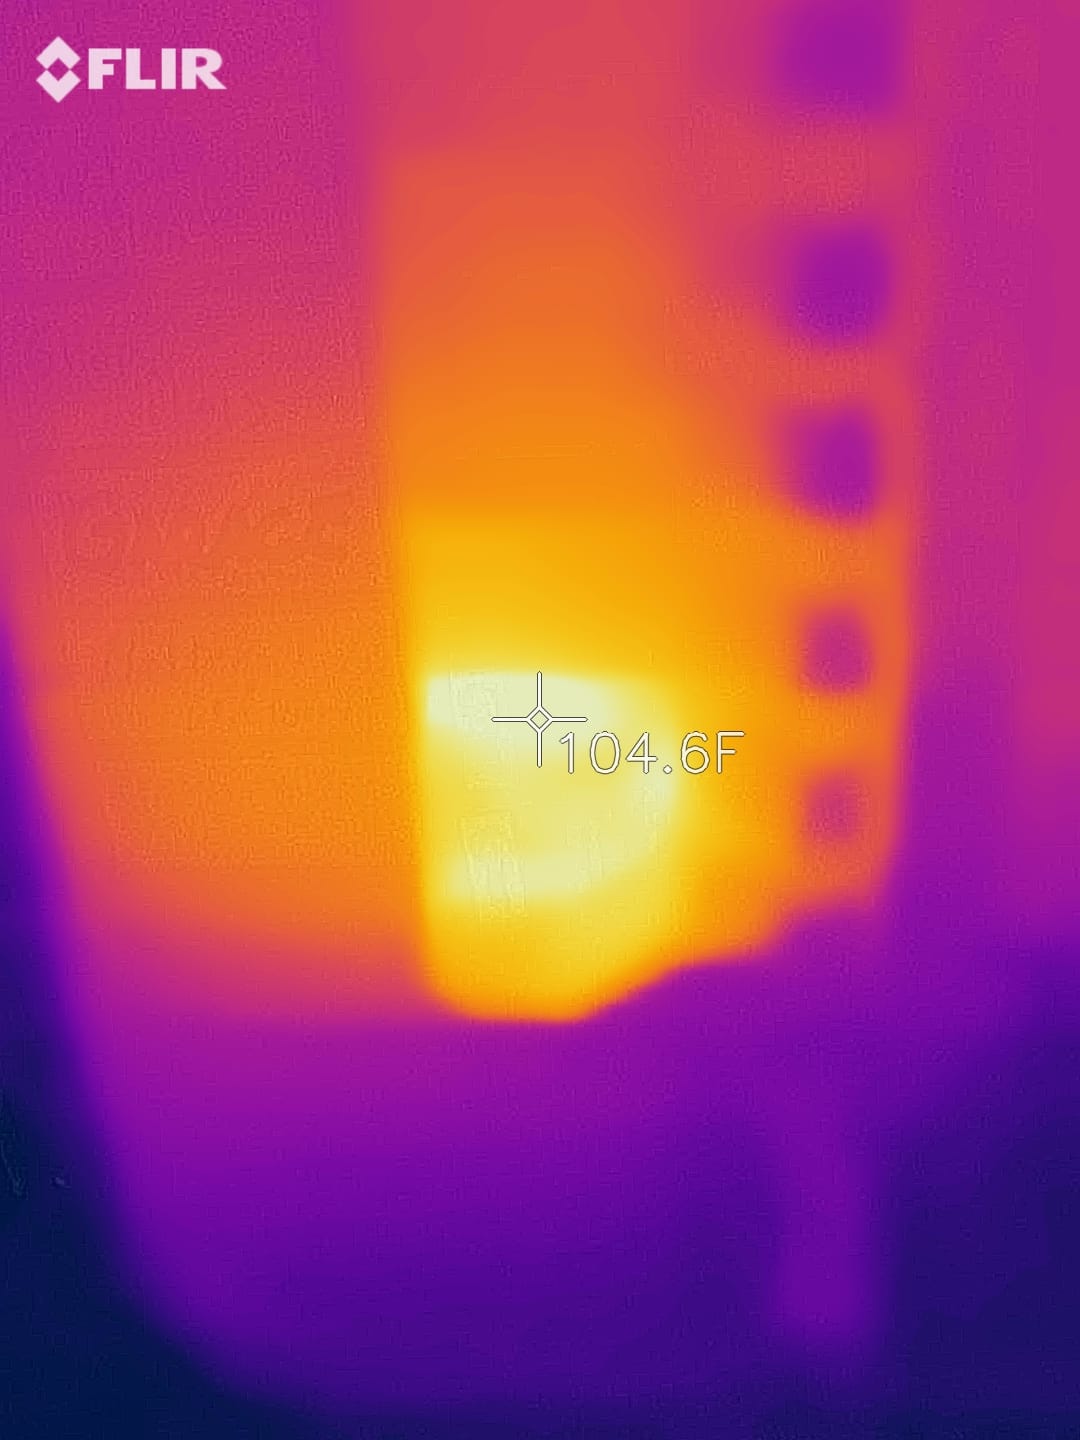
Even at this entry-level price, FLIR’s MSX overlay puts visible-light edges onto the thermal frame. That’s why the FLIR One consistently shows up in tech forums as the phone attachment to buy, and why r/Tools threads keep recommending it over cheaper clones.
Best For, Worst For
Best for residential techs who want to verify supply register temps, scan for missing insulation, or show a homeowner a thermal image on the spot. Worst for furnace combustion (120C ceiling), high-temp electrical diagnostics, or any task where you need to read fine coil detail from across a room.
Trade-Offs to Plan Around
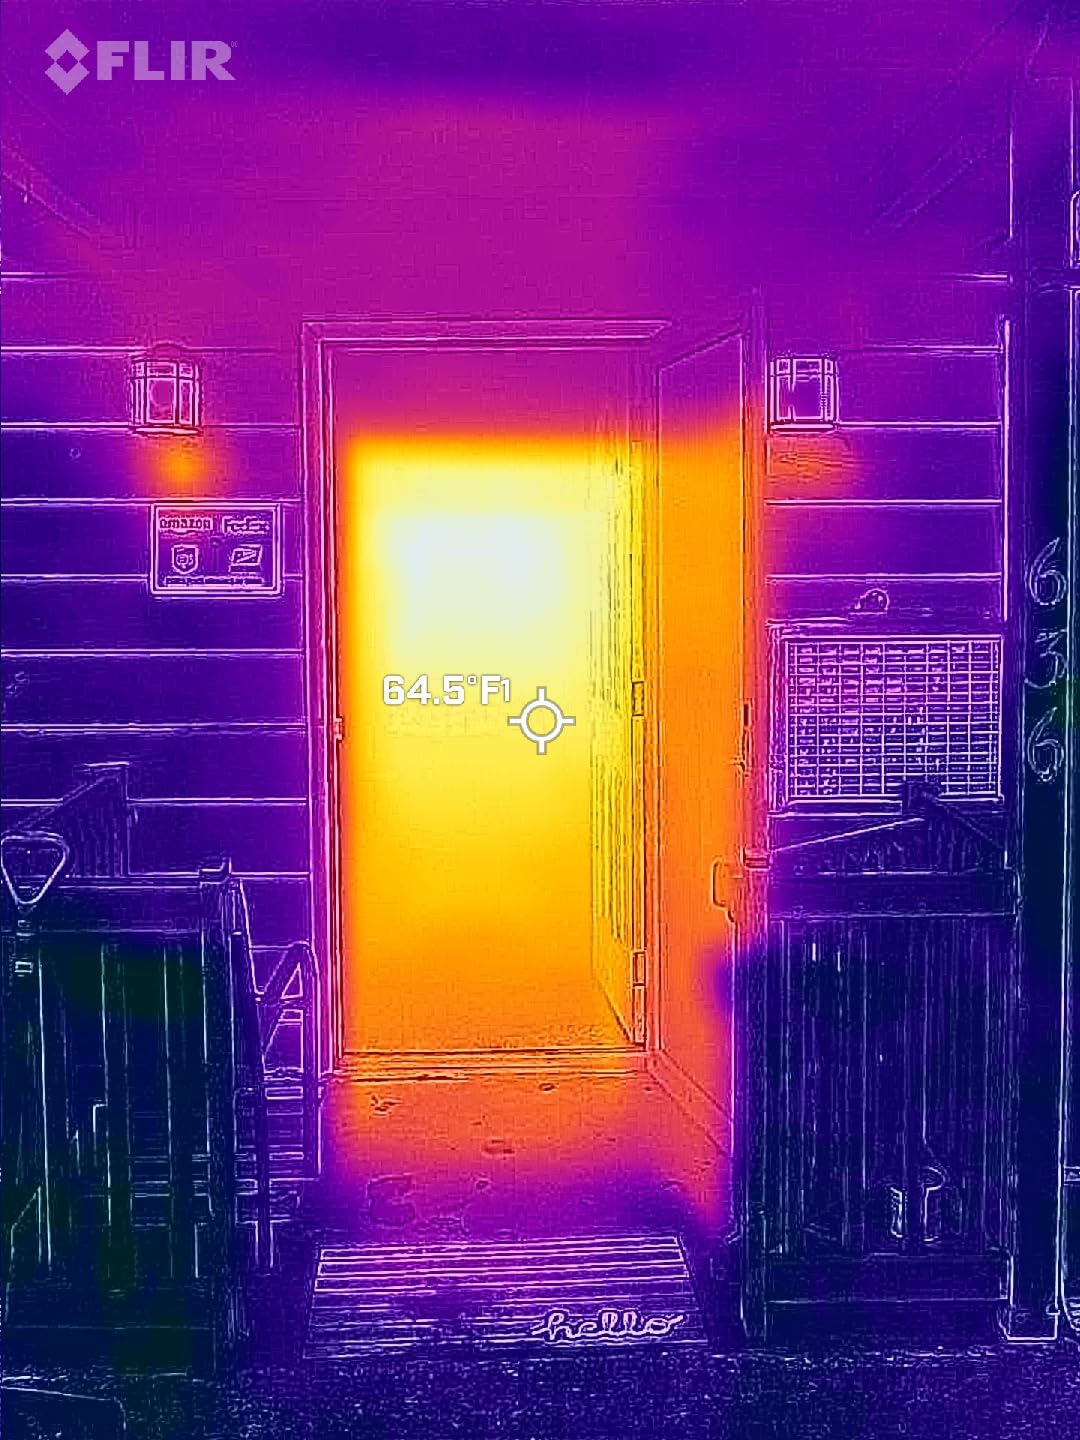
You need a USB-C Android phone (older Micro-USB models require a different FLIR One). The temperature ceiling rules out high-heat use. And the native sensor resolution means you’ll want to be within a few feet of the target for sharp images. None of these disqualify the FLIR One – they just define where it fits in your toolbox.
How to Choose the Best Thermal Camera for HVAC Work
Buying a thermal camera for HVAC work comes down to matching the tool to the diagnostic workflow you actually run. A tech doing mostly residential service calls has different needs than one auditing commercial rooftops or chasing refrigerant leaks in light commercial refrigeration. Here’s how I break the decision down.
Resolution and NETD: What Actually Matters for HVAC
Resolution is the pixel count of the thermal sensor – 80×60, 128×96, 160×120, 192×192, 256×192, 320×240 are the common tiers. For ductwork scans across a mechanical room, 192×192 or higher reads individual joist bays. For vent and register work at close range, 128×96 is enough.
NETD (Noise Equivalent Temperature Difference) is the sensitivity number, measured in millikelvin (mK). Lower NETD means the camera can detect smaller temperature differences – critical for spotting a 0.5C delta across an evaporator coil or finding a wet insulation patch behind drywall. Anything under 50 mK is professional-grade; budget cameras often run 100 mK or higher.
For most HVAC work, I look for at least 192×192 native resolution and NETD under 50 mK. The TOPDON TC001, MILESEEY TR10, and FLIR TG165-X all hit that bar.
Smartphone Attachment vs Standalone Handheld
Phone attachments (FLIR One, TOPDON TC001, FLIR Edge Pro) win on portability and cost. You already carry your phone, and the FLIR/TOPDON apps turn it into a thermal display for under $250. The downsides: you drain phone battery, you expose your phone to jobsite grime, and you can’t easily image inside tight spaces.
Standalone handhelds (TOPDON TC004 Mini, Klein TI250, MILESEEY TR10, FLIR TG165-X, FLIR C3-X) win on dedicated ergonomics, replaceable batteries, and jobsite durability. They cost more, but if you’re running 6+ service calls a day, the workflow gain is real. For techs who already use a rugged laptop or tablet for work, a phone attachment is the better buy.
Temperature Range and Job-Site Durability
Standard HVAC diagnostics live in the -20C to 300C window. Furnace combustion analysis pushes toward 500-600C on the heat exchanger. Refrigerant leak detection is a temperature delta hunt, not a high-heat job. Make sure your camera’s range covers the hottest thing you’ll point it at.
Durability matters more than spec sheets admit. IP54 rating (dust and water splash resistant) and a 2m drop rating are table stakes for job-site work. The TOPDON TC004 Mini, FLIR TG165-X, and FLIR Edge Pro all hit that bar.
MSX, Image Fusion, and Report-Sharing Features
MSX (FLIR’s edge embossing) and TOPDON’s image fusion both overlay visible-light detail on the thermal frame, which makes thermal shots understandable to non-technical customers. If you send reports to homeowners, this matters.
Wi-Fi cloud upload (FLIR Ignite on the C3-X and Edge Pro, TOPDON’s app sharing) lets you hand a customer a thermal image before you leave the driveway. That’s a sales tool as much as a diagnostic tool, and it’s a feature I’d pay extra for as a contractor.
Pricing Tiers and Which One You Actually Need
Under $200 entry tier: TOPDON TC001 and FLIR One USB-C. These are phone attachments with real resolution, fine for DIY and light residential use.
$200 to $400 mid tier: TOPDON TC004 Mini, Klein Tools TI250, FLIR TG165-X, MILESEEY TR10. This is the sweet spot for working HVAC techs – standalone ergonomics, jobsite durability, and resolution sharp enough for duct scans.
$400 to $500 pro tier: FLIR C3-X, FLIR Edge Pro. Cloud reporting, MSX, and FLIR warranty backing. Worth it if you bill by the report or need wireless imaging in tight spaces.
For the full category context and where thermal imaging fits alongside other diagnostic tools, our ergonomic office setup guide covers how techs who split time between field and desk work stay productive.
Frequently Asked Questions
What is the difference between an infrared camera and a thermal camera?
An infrared camera and a thermal camera are the same thing – both detect infrared radiation emitted by surfaces and convert it into a visible image where hot spots appear bright and cool spots appear dark. The term infrared camera is more common in industrial and scientific contexts, while thermal camera is the everyday phrasing used by HVAC technicians and home inspectors.
What is the best inspection camera for HVAC systems?
The best inspection camera for HVAC systems is one that balances resolution, NETD sensitivity, and ergonomics for the work you do. For all-around residential and light commercial HVAC work, the FLIR TG165-X is our top pick. For refrigerant leak detection and duct scans on a budget, the TOPDON TC001 delivers sharp 256×192 native resolution. For techs running reports to homeowners, the FLIR C3-X adds Wi-Fi cloud upload.
Is Thermal Master better than FLIR?
Thermal Master and FLIR serve slightly different buyers. FLIR leads on warranty (the 2-10 detector warranty is industry-leading), MSX image enhancement, and trade-channel availability. Thermal Master tends to win on raw resolution per dollar at the entry level. For an HVAC technician who needs reliable warranty service and proven MSX imaging, FLIR remains the safer long-term bet.
How much does a good thermal camera cost?
A good thermal camera for HVAC work costs between $200 and $500 for most working technicians. Under $200 gets you a competent phone attachment like the FLIR One USB-C or TOPDON TC001. The $200 to $400 range covers standalone handhelds like the TOPDON TC004 Mini, Klein TI250, and MILESEEY TR10 – this is the sweet spot for daily service-call use. Above $500 you are paying for pro features like wireless imaging, cloud reporting, or larger sensors.
Final Verdict: Which Thermal Camera Should You Buy?
If you’re an HVAC tech running all-day service calls and want one tool that does everything well, the FLIR TG165-X is our top pick for 2026 – the MSX image blending, Bullseye laser targeting, and FLIR’s 2-10 detector warranty make it the most reliable choice for the money.
If you’re budget-conscious but still need sharp thermal images for refrigerant leak detection and duct scans, the TOPDON TC001 delivers 256×192 native resolution at a phone-attachment price. If you want a dedicated standalone with all-day battery life, the TOPDON TC004 Mini is the unit I’d keep in my truck. And if you bill by the report and need cloud sharing, the FLIR C3-X is the polished pocket choice.
Whichever camera you pick, the best thermal camera for HVAC work is the one you’ll actually carry on the call. For more on building a productive field-and-office workflow, check out our ergonomic keyboard guide and curved monitor roundup to round out your diagnostic setup.