
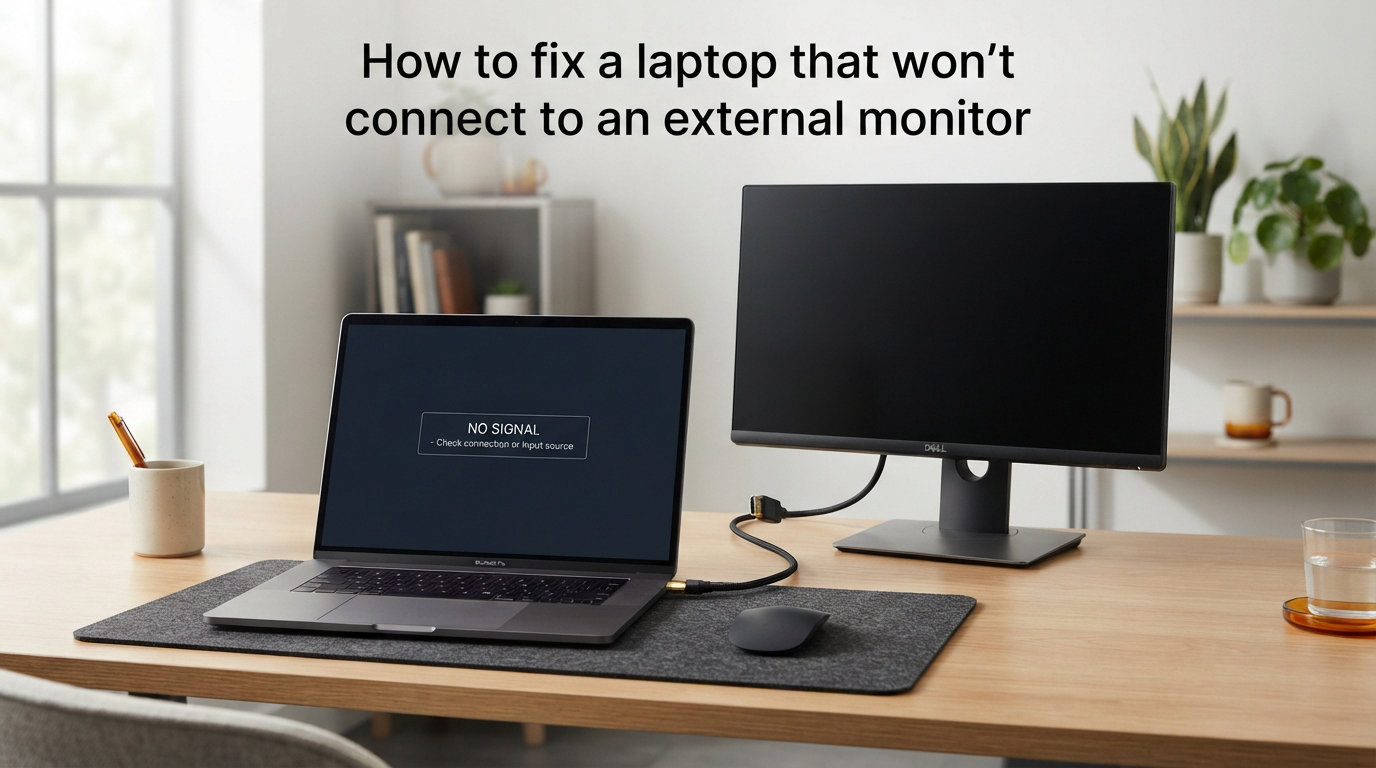
Nothing is more frustrating than connecting your laptop to an external monitor only to see that dreaded “no signal” message. Whether you’re setting up a home office, preparing for a presentation, or just want a larger screen for work, a laptop that won’t connect to an external monitor can bring your productivity to a halt. The good news is that most connection issues have simple fixes you can try yourself.
In this guide, we will walk you through how to fix a laptop that won’t connect to an external monitor, starting with the quickest checks and progressing to more advanced troubleshooting. By the end, you should have your second screen working properly.
Quick Checklist Before You Start
Before diving into complex troubleshooting, run through these quick checks. Many monitor connection problems have simple solutions that take less than a minute to fix.
Is the monitor powered on? This sounds obvious, but we have seen countless cases where the monitor was simply turned off or in sleep mode. Press the power button and look for any indicator lights.
Is the cable firmly connected at both ends? A loose cable is one of the most common causes of “no signal” errors. Disconnect and reconnect both ends of your HDMI, DisplayPort, or USB-C cable, making sure they click into place securely.
Is the monitor on the correct input source? Most monitors have multiple input ports. Use the monitor’s menu buttons to verify it’s set to HDMI, DisplayPort, or whatever connection type you are using.
Have you tried restarting your laptop? A simple restart can resolve temporary glitches with display detection. This resets the graphics driver and forces Windows or macOS to redetect connected displays.
Try the Windows graphics reset shortcut. Press Windows key + Ctrl + Shift + B simultaneously. This keyboard shortcut resets your graphics driver without restarting your laptop. You will hear a beep and your screen may flicker briefly, then the driver restarts and redetects connected displays.
Step 1: Verify Your Physical Connections
Hardware issues account for a surprising number of external monitor problems. Taking a few minutes to thoroughly check your physical setup can save you hours of software troubleshooting.
Inspect Your Cable
Look at your video cable for any visible damage. Bent pins on HDMI or DisplayPort connectors, frayed shielding, or kinks in the cable can all prevent a proper connection. If you see any damage, try a different cable.
We recommend testing with a known-good cable from another setup if possible. Many “broken” monitors turn out to just have faulty cables.
Check Your Ports
Examine the video ports on both your laptop and monitor. Dust, debris, or corrosion can interfere with the connection. Use compressed air to clean out any dust, and look for bent pins inside the ports.
If your laptop has multiple video outputs (for example, both HDMI and USB-C), try connecting through a different port. Some laptops have hybrid graphics where only certain ports connect to the dedicated GPU.
Try a Different Monitor or TV
If possible, connect your laptop to a different monitor or TV. This helps you determine whether the problem is with your laptop or the monitor. If your laptop connects fine to another display, the issue lies with your original monitor or its settings.
Step 2: Check Display Settings and Projection Mode
Sometimes your laptop detects the external monitor perfectly fine, but the display settings are configured incorrectly. Windows has a projection mode that determines how external displays behave.
Use the Windows Key + P Shortcut
The fastest way to check your projection settings is pressing Windows key + P. This opens a menu on the right side of your screen with four options:
PC screen only: Everything displays on your laptop screen, and the external monitor stays dark. If this is selected, your external monitor will not show anything.
Duplicate: Both screens show the same content at the same resolution. Choose this if you want identical displays.
Extend: This is the most common choice for productivity. Your external monitor becomes a second desktop, and you can drag windows between screens.
Second screen only: Your laptop screen turns off and everything displays on the external monitor. This is useful for closing your laptop and using just the external display.
Select “Extend” or “Duplicate” and wait a few seconds to see if your external monitor comes to life.
Force Windows to Detect the Monitor
If your monitor still is not showing up, force Windows to search for it manually:
Open Settings by pressing Windows key + I, then go to System > Display. Scroll down and click Detect next to “Multiple displays.” This forces Windows to scan for any connected displays that were not automatically recognized.
macOS Display Detection
On a Mac, go to System Settings > Displays. If your external monitor is not appearing, hold the Option key to reveal a “Detect Displays” button. Click it to force macOS to search for connected displays.
Step 3: Update, Roll Back, or Reinstall Display Drivers
Display driver issues are extremely common after Windows updates. A driver update can fix compatibility problems, but sometimes a new driver causes more problems than it solves. Here is how to handle driver troubleshooting.
Update Your Graphics Driver
Open Device Manager by right-clicking the Start button and selecting it from the menu. Expand the Display adapters section, right-click your graphics card, and select Update driver. Choose “Search automatically for drivers” and let Windows find the best driver.
For more reliable driver updates, we recommend downloading drivers directly from your GPU manufacturer:
NVIDIA: Go to nvidia.com and use their driver search tool.
AMD: Visit amd.com and download the Adrenalin software.
Intel: Head to intel.com and search for Intel Graphics drivers for your processor generation.
Manufacturer drivers are often newer and more stable than what Windows Update provides.
Roll Back a Problematic Driver
If your external monitor worked fine before a recent Windows update, the new driver might be the culprit. In Device Manager, right-click your graphics card and select Properties. Go to the Driver tab and click Roll Back Driver if the button is available.
This restores the previous driver version that was working correctly. You can also use System Restore to go back to a time before the update.
Completely Reinstall the Graphics Driver
Sometimes a clean reinstall is necessary. In Device Manager, right-click your graphics card and select Uninstall device. Check the box that says “Attempt to remove the driver for this device” if available, then click Uninstall.
Restart your laptop. Windows will automatically reinstall a basic display driver, after which you can install the latest driver from your GPU manufacturer.
For a truly clean install, use a tool like Display Driver Uninstaller (DDU) in Safe Mode to remove all traces of old drivers before installing fresh ones.
Step 4: Adjust Resolution and Refresh Rate
Sometimes your laptop sends a signal that your monitor cannot display. This typically happens when the resolution or refresh rate exceeds what the monitor supports, resulting in a black screen or “no signal” error.
Lower the Resolution
Go to Settings > System > Display and select your external monitor (if it appears). Under “Display resolution,” try selecting a lower resolution. For example, if you have a 4K monitor set to 3840 x 2160, try dropping to 1920 x 1080 first to see if the display works.
Reduce the Refresh Rate
Click Advanced display settings and look at the refresh rate. High refresh rate monitors (144Hz, 165Hz) sometimes struggle with certain cables. Try lowering it to 60Hz to see if that resolves the issue.
HDMI Version Mismatches
This is a common gotcha. If you are trying to run 4K at 60Hz over HDMI, you need at least HDMI 2.0. HDMI 1.4 maxes out at 4K 30Hz. If your laptop only has HDMI 1.4 and your monitor expects 4K 60Hz, you will get no signal or a degraded picture.
The fix is to lower your resolution or refresh rate to match what your cable and port can handle, or upgrade to an HDMI 2.0 or 2.1 cable.
USB-C and Docking Station Issues
USB-C connections introduce their own set of potential problems. Not all USB-C ports are created equal, which causes confusion for many users.
Understanding USB-C Alt Mode
Here is something many people do not realize: not every USB-C port can carry video. USB-C is just a connector shape. For video output, your laptop’s USB-C port must support USB-C Alt Mode (also called DisplayPort Alternate Mode).
Some USB-C ports only support data transfer and power delivery. If your laptop has multiple USB-C ports, check your manufacturer’s documentation to see which ones support video output. They are often marked with a display icon (a monitor symbol) or labeled “Thunderbolt.”
Thunderbolt vs Standard USB-C
Thunderbolt 3 and Thunderbolt 4 ports always support video output. If your laptop has Thunderbolt ports, they will work with Thunderbolt docks and most USB-C monitors. Standard USB-C ports may or may not support video, depending on the laptop manufacturer.
Powered Hubs and Docking Stations
If you are using a USB-C hub or docking station, it may need external power to pass video signals correctly. Unpowered hubs sometimes struggle to maintain a stable video connection, especially with high-resolution monitors.
Try connecting your dock’s power adapter, or connect your monitor directly to your laptop’s USB-C port to test if the dock is the problem.
Docking Station Firmware Updates
Many docking stations have their own firmware that needs occasional updates. Check your dock manufacturer’s website for firmware updates, especially if the dock worked fine previously but stopped connecting after a system update.
HDMI and DisplayPort Version Compatibility
Understanding cable and port versions can save you from a lot of frustration. Let me explain why your setup might be failing even though everything appears connected properly.
HDMI Versions Explained
HDMI 1.4: Supports 4K at 30Hz, or 1080p at 144Hz. If you need 4K at 60Hz, this version will not work.
HDMI 2.0: Supports 4K at 60Hz. This is the minimum version for smooth 4K output.
HDMI 2.1: Supports 4K at 120Hz or 8K at 60Hz. Required for high-end gaming monitors.
If your laptop has HDMI 1.4 and your 4K monitor is set to expect 60Hz, you will get no signal. The solution is to lower the refresh rate to 30Hz or use a different connection type.
DisplayPort Versions
DisplayPort has similar version differences. DisplayPort 1.2 supports 4K at 60Hz, while DisplayPort 1.4 supports 4K at 120Hz. Most modern DisplayPort cables are backward compatible, but older cables may not handle newer bandwidth requirements.
How to Identify Your Port Versions
Check your laptop’s specifications on the manufacturer’s website. Look for details about HDMI or DisplayPort versions. If the documentation does not specify, assume the lower version (HDMI 1.4 rather than 2.0) to be safe.
Use Your Monitor’s Built-In Diagnostics
Most monitors have a self-test or diagnostic mode that can help you determine if the monitor itself is working. This is an often-overlooked troubleshooting step.
Accessing the Self-Test
With the monitor disconnected from your laptop, turn it on. Many monitors display a “no signal” or self-test pattern when no input is detected. This confirms the monitor powers on and its display panel works.
For monitors with built-in diagnostic menus, access the on-screen display (OSD) using the buttons on the monitor. Look for options like “Self-Test,” “Factory Reset,” or “Diagnostics.”
What the Self-Test Tells You
If the self-test pattern appears on screen, your monitor is functioning correctly. The problem lies elsewhere in your cable, adapter, or laptop. If the self-test does not appear, your monitor may need service or replacement.
A factory reset of your monitor through the OSD menu can also resolve unusual configuration issues that prevent detection.
macOS-Specific Troubleshooting
If you are using a Mac, most of the above steps apply, but macOS has its own quirks and reset procedures worth knowing.
Detect Displays in macOS
Open System Settings > Displays. If your external monitor is not listed, hold the Option key on your keyboard. A “Detect Displays” button will appear. Click it to force macOS to search for connected displays.
Reset NVRAM and SMC
Mac computers store display settings in NVRAM (non-volatile RAM). Resetting NVRAM can resolve display detection issues:
Shut down your Mac. Turn it on and immediately press and hold Option + Command + P + R for about 20 seconds. Release the keys and let your Mac start normally.
For Intel Macs, you may also need to reset the SMC (System Management Controller). The process varies by Mac model, so check Apple’s support documentation for your specific machine.
Try Safe Mode
Booting into Safe Mode can help isolate software conflicts. On Apple Silicon Macs, shut down, then press and hold the power button until you see startup options. Select your startup disk, then hold Shift and click “Continue in Safe Mode.”
On Intel Macs, restart and hold Shift until you see the login window. If your external monitor works in Safe Mode, a third-party app or startup item is likely causing the conflict.
How to Fix a Laptop That Won’t Connect to an External Monitor: FAQ
Why is my laptop not detecting my external monitor?
Your laptop may not be detecting your external monitor due to a loose cable connection, incorrect input source on the monitor, outdated display drivers, or projection mode set to ‘PC screen only.’ Start by checking physical connections, pressing Windows key + P to verify projection settings, and running Windows’ Detect function in Display Settings.
How to fix laptop not connecting to monitor?
To fix a laptop not connecting to a monitor, follow these steps in order: 1) Check that the monitor is powered on and set to the correct input source. 2) Disconnect and reconnect the video cable firmly at both ends. 3) Press Windows key + P and select Extend or Duplicate. 4) Update or reinstall your graphics driver through Device Manager. 5) Try a different cable or port. 6) Lower the resolution and refresh rate settings.
Why won’t my laptop connect to another monitor?
Your laptop may not connect to another monitor if the USB-C port does not support Alt Mode for video output, the HDMI or DisplayPort version is incompatible with your monitor’s resolution and refresh rate, or the graphics driver is corrupted. It could also indicate a hardware failure in the video output port itself, which would require professional repair.
How to force laptop to display on external monitor?
To force your laptop to display on an external monitor, press Windows key + P and select ‘Second screen only’ or ‘Extend.’ You can also go to Settings u0026gt; System u0026gt; Display and click the Detect button under Multiple displays. On macOS, hold the Option key in System Settings u0026gt; Displays and click ‘Detect Displays.’ Using the Windows graphics driver reset shortcut (Windows + Ctrl + Shift + B) can also force a redetection of connected displays.
Conclusion
Learning how to fix a laptop that won’t connect to an external monitor is an essential skill for anyone who works with multiple displays. Start with the basics: check your power, cables, and input source, then use the Windows key + P shortcut to verify projection settings. From there, work through display detection, driver updates, and resolution adjustments.
Most connection issues stem from simple problems like loose cables or incorrect settings rather than hardware failure. USB-C users should verify their port supports Alt Mode, and everyone should check HDMI and DisplayPort version compatibility for high-resolution setups.
If none of these steps work and you have tested with different cables, monitors, and ports, the video output hardware on your laptop may need professional diagnosis. But in most cases, one of the solutions in this guide will get your external monitor working again.