
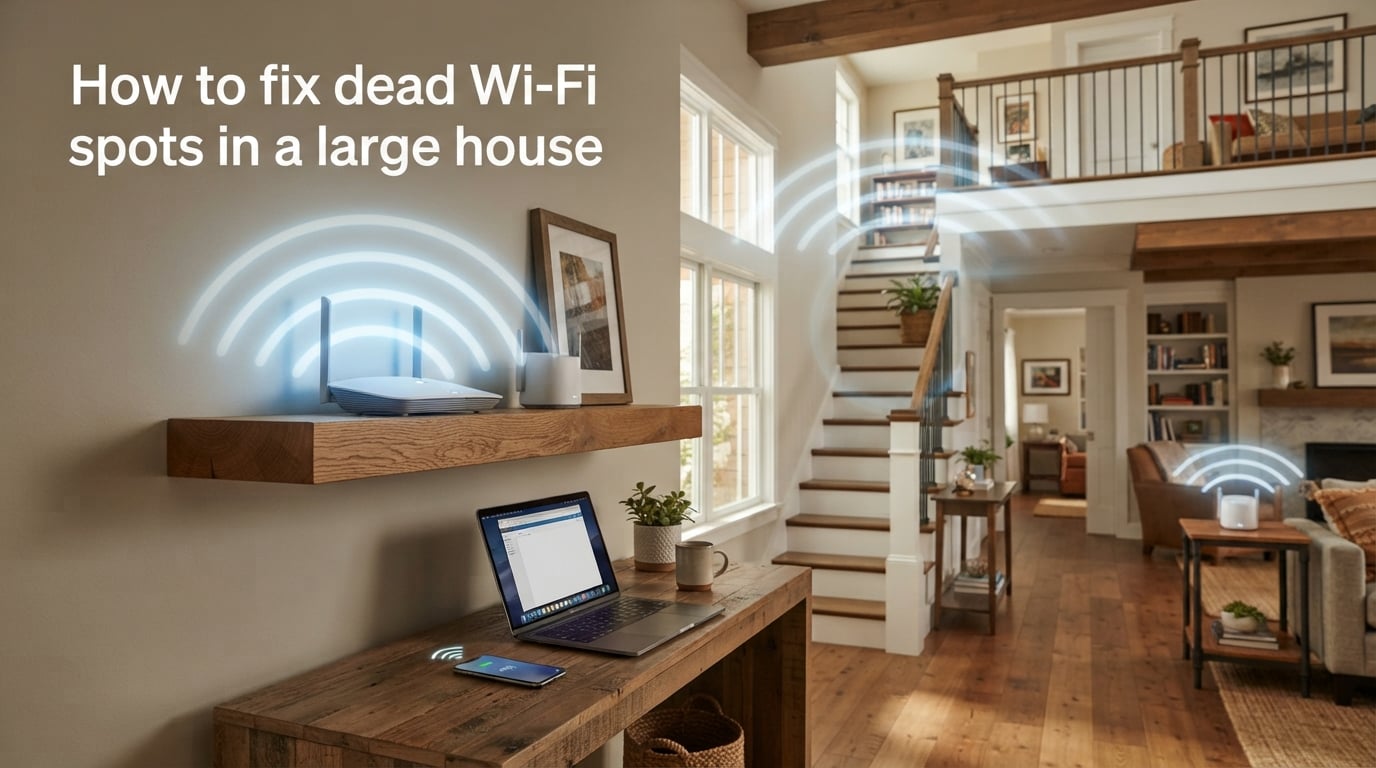
Dead Wi-Fi spots in a large house are frustrating, but they are usually fixable without calling a technician. The fastest way to fix dead Wi-Fi spots in a large house is to move your router to a central, elevated location, remove nearby sources of interference, and add a mesh network or Wi-Fi extender if the signal still cannot reach far rooms. In most cases, a combination of better router placement and the right hardware will give you strong, reliable coverage in every corner of your home.
Our team has helped homeowners troubleshoot coverage issues in everything from sprawling ranch houses to three-story Victorian homes with plaster walls. The same principles apply every time: diagnose before you spend, try free fixes first, and then invest in the right hardware for your specific layout. Below, I will walk you through the entire process step by step.
Whether you are dealing with a weak signal in a back bedroom, a basement that drops every video call, or a top floor that barely loads a webpage, this guide will help you understand exactly what is happening and how to fix it for good.
What Is a WiFi Dead Zone?
A WiFi dead zone is any area in your home where the wireless signal is too weak to maintain a reliable internet connection. Your phone or laptop may show one bar, disconnect repeatedly, or fail to load pages, videos, and apps altogether. Dead zones can also cause high latency, which means your video calls lag and your online games stutter even when they technically stay connected.
WiFi uses radio waves operating at specific frequencies to send data between your router and your devices. Those waves weaken as they travel through air over distance, and they weaken even more when they pass through solid materials like walls, floors, and furniture. In a small apartment, one router placed almost anywhere can usually cover every room. In a large house, especially one with multiple floors or thick walls, the signal has to travel too far and through too many obstacles to reach every corner.
Large homes create dead zones for three main reasons. First, the router is almost always installed wherever the internet line enters the house, which is typically a basement, garage, or exterior wall rather than the center of the home. Second, building materials such as concrete, brick, plaster, stone, and metal ductwork absorb or reflect WiFi signals, reducing their effective range. Third, interference from household appliances, neighboring networks, and even large bodies of water like fish tanks can further reduce signal strength.
Understanding these three factors is the foundation for every fix we discuss in this guide. When you know what is blocking your signal, you can choose the right solution instead of guessing.
How to Find WiFi Dead Zones in a Large House
Before you buy any new equipment, you need to know exactly where the weak spots are and how bad they are. Guessing leads to wasted money and extra hardware that still does not solve the problem. A proper diagnosis takes about 30 minutes and costs nothing.
Step 1: Walk Every Room With a Device
Start a video call or stream a video on your phone, tablet, or laptop. Walk slowly through each room, including hallways, bathrooms, basements, garages, and any outdoor areas where you want coverage. Pay attention to where the video starts buffering, the call quality drops, or the signal bars on your device decrease.
Take notes as you go. Write down each room and whether the signal was strong, medium, or weak. Do not forget closets and laundry rooms if you use smart devices there, and test the garage and backyard if those matter to you.
Step 2: Run Speed Tests in Multiple Locations
Use a free speed test tool such as fast.com, speedtest.net, or your internet provider’s built-in test. Measure download and upload speeds while standing right next to the router, then repeat the test in each room where you suspect a dead zone.
If your speed near the router is 300 Mbps but drops to 5 Mbps in a back bedroom, you have confirmed a dead zone. Run each test three times and average the results, because network traffic fluctuates from moment to moment. One test alone can be misleading.
Also test at different times of day. If your dead zones are worse in the evening, you may be dealing with interference from neighbors who are also streaming and gaming during peak hours.
Step 3: Use a WiFi Analyzer App
WiFi analyzer apps show signal strength in precise numbers rather than vague bars. The measurement is in decibels relative to a milliwatt, usually labeled dBm. The scale works in reverse: a lower negative number means a weaker signal. Look for a reading between -30 dBm, which is excellent, and -90 dBm, which is nearly unusable.
Anything below -70 dBm in rooms where you regularly use the internet is a problem worth fixing. Between -67 dBm and -70 dBm, you will notice buffering on video calls and slow page loads. Below -80 dBm, most devices will struggle to maintain any connection at all.
These apps also show which WiFi channels your neighbors are using. If everyone on your street is broadcasting on the same channel, switching to a less crowded one can improve your performance before you move any hardware or buy anything new.
Step 4: Draw a Simple Dead Zone Map
Sketch a rough floor plan of your home and mark each room as green for strong, yellow for medium, or red for weak signal. This map does two things. First, it shows you the pattern of your dead zones, which often reveals where the signal is being blocked. Second, it helps you decide whether a single extender can solve the problem or whether you need a multi-node mesh system.
Keep this map handy as you work through the fixes below. You will update it after each change to track whether your adjustments are actually improving coverage.
Quick Fixes for WiFi Dead Spots
Try these free or low-cost changes before spending any money on new equipment. In our experience, they solve a surprising number of coverage problems in large homes. Start with the easiest and work your way down the list.
Move the Router to a Central Location
This is the single most effective free fix. Place your router as close to the center of your home as possible, ideally on the middle floor. The goal is to give the signal the shortest possible path to every room. A router wedged into a corner means the signal has to travel twice as far to reach the opposite side of the house.
Avoid tucking the router into a closet, cabinet, or entertainment center. Enclosed spaces trap heat and block radio waves. Keep it out in the open where air can circulate and signals can radiate freely.
Elevation matters too. A router sitting on the floor behind a sofa is fighting physics. A router on a shelf or mounted high on a wall broadcasts much farther because the signal clears furniture and travels over obstacles instead of through them.
Point the Antennas Correctly
If your router has external antennas, their orientation directly affects coverage. WiFi signals radiate outward from the sides of an antenna, not from the tip. Position antennas vertically for better horizontal coverage across a single floor.
For multi-story homes, angle one antenna vertically and another horizontally. This helps the signal travel between floors. If all antennas point the same direction, you create a coverage gap either above or below the router.
Remove Physical Obstacles and Interference
Large metal objects are the most common hidden WiFi killers. Refrigerators, washing machines, furnaces, metal shelving units, mirrors with metallic backing, and even large aquariums can block or distort the signal. Microwaves, cordless phones, baby monitors, and Bluetooth devices all broadcast on frequencies that can interfere with WiFi.
Keep the router at least three to four feet away from any of these sources. If your router is on a kitchen counter next to the microwave, move it before you try anything else. Even a thick wooden cabinet door can reduce signal strength by 10 to 20 percent.
Switch Between 2.4 GHz and 5 GHz Bands
Most modern routers broadcast on two frequency bands simultaneously. The 2.4 GHz band travels farther and penetrates walls better, but it is slower and more prone to interference from neighboring networks and appliances. The 5 GHz band is significantly faster but has a shorter effective range.
If a far room has a weak 5 GHz signal, connect your device to the 2.4 GHz network instead. You will trade some speed for stability, but a stable 30 Mbps connection is far more useful than an unstable 200 Mbps one that keeps dropping.
Some routers combine both bands under a single network name and automatically steer devices. If your router does this, you can often log into the admin panel and split them into two separate names so you can choose manually.
Restart the Router and Update Firmware
A simple restart clears temporary memory issues and can restore lost coverage. Make a habit of restarting your router once a month. Do not just unplug it for five seconds; let it sit unplugged for at least 30 seconds so the capacitors fully discharge.
After restarting, log into the router’s admin panel and check for firmware updates. Manufacturers release updates that fix bugs, patch security vulnerabilities, and sometimes improve wireless range and stability. Many routers also have an auto-update option you can enable so you never fall behind.
Hardware Solutions: WiFi Extenders, Mesh Networks, and Powerline Adapters
If the quick fixes do not fully eliminate your dead zones, it is time to add hardware. There are four main categories of solutions, each with strengths and weaknesses depending on your house layout, construction type, and budget. I will cover each in detail.
WiFi Extenders and Repeaters
A WiFi extender picks up your existing wireless signal and rebroadcasts it to create a second coverage area. It is the cheapest way to push coverage into a single dead room or hallway. Prices are low and setup is usually as simple as pressing a WPS button on both devices.
The downside is performance. Most extenders use the same radio to receive and transmit, which cuts your effective speed in half. They also create a separate network name, which means your phone may cling to the weak router signal instead of switching to the extender as you walk between rooms.
Placement is critical. Put the extender halfway between the router and the dead zone, in a spot where it still receives a strong signal from the router. If it is too far from the router, it will repeat an already-weak signal and make things worse. If it is too close, it will not extend coverage far enough to matter.
Mesh WiFi Systems
A mesh system uses multiple units, called nodes or satellites, that work together as a single unified network. Unlike extenders, mesh nodes communicate with each other and intelligently route traffic through whichever path is fastest. This keeps speeds higher and avoids the handoff problems that plague traditional extenders.
Mesh systems are the best choice for large houses because they scale with your space. A two-pack covers most homes up to about 3,000 square feet. A three-pack handles homes up to 5,000 square feet or houses with challenging layouts. You can always add more nodes later if you discover new dead spots.
Place the main node where your internet enters the house, then position additional nodes toward the edges of your coverage area. Each node should be within range of at least one other node, but not so close that they overlap excessively. Most mesh systems include a mobile app that walks you through optimal placement.
Powerline Adapters
Powerline adapters, also called HomePlug adapters, send internet signals through your home’s existing electrical wiring. One adapter plugs into a wall outlet near the router and connects with an Ethernet cable. A second adapter plugs into an outlet in the dead zone and either provides an Ethernet port or broadcasts a new WiFi signal.
This solution works well in homes where WiFi cannot penetrate walls but the electrical wiring is modern and in good condition. It sidesteps the wall problem entirely by using wires that already run throughout the house. Performance depends on the age and quality of your wiring, and on whether both outlets are on the same electrical circuit.
One limitation to keep in mind: powerline adapters must plug directly into wall outlets, not power strips or surge protectors, because those devices filter out the high-frequency signals the adapters use.
Wired Access Points
If you have Ethernet cables running to different rooms, or if you are willing to run them, wired access points provide the most reliable coverage possible. They connect directly to your router via cable and broadcast a strong WiFi signal from their location without any speed loss from wireless hops.
This is the option I recommend whenever someone is willing to run cables or already has them installed in the walls. It consistently outperforms every wireless workaround in large homes. Many mesh systems also support wired backhaul, which means you connect the nodes to each other with Ethernet cables for maximum performance.
Comparison of WiFi Solutions
| Solution | Best For | Speed Impact | Ease of Setup | Typical Cost |
|---|---|---|---|---|
| WiFi Extender | Single dead room | Moderate to high loss | Very easy | Low |
| Mesh Network | Large or multi-story homes | Minimal loss | Moderate | Medium to high |
| Powerline Adapter | Thick walls, no Ethernet | Depends on wiring | Easy | Low to medium |
| Wired Access Point | Best performance | No wireless loss | Harder | Varies |
Router Settings That Eliminate WiFi Dead Zones
Modern routers have advanced settings that can improve coverage without moving a single piece of hardware. These tweaks take only a few minutes and often make a noticeable difference, especially in homes with lots of neighboring networks.
Change the WiFi Channel
Router channels work like lanes on a highway. When too many nearby routers use the same lane, traffic slows down for everyone. Use the WiFi analyzer app from your diagnosis step to find a less crowded channel, then set it manually in your router’s admin settings.
On the 2.4 GHz band, channels 1, 6, and 11 are the only ones that do not overlap with each other. If your neighbors are on channel 6, switch to 1 or 11. On the 5 GHz band, you usually have many more channels available and far less congestion, so channel switching is less often necessary.
Enable Band Steering
Band steering automatically pushes capable devices to the faster 5 GHz band while leaving older or distant devices on the 2.4 GHz band. This frees up the long-range band for devices that genuinely need the extra reach and prevents one slow device from dragging down the entire network.
If your router supports this feature, turn it on. If you prefer manual control, split the bands into two separate network names and assign each device to the band that works best in its location.
Update Router Firmware Regularly
Firmware updates do more than fix security holes. Manufacturers sometimes release updates that improve wireless drivers, fix connection stability bugs, and even add new features. Check your router manufacturer’s support page or the admin panel at least once every few months, or enable automatic updates if your router offers that option.
An outdated router can underperform by 20 to 30 percent compared to the same model running the latest firmware. This is one of the easiest wins available.
Adjust Transmit Power
Some routers let you adjust the transmit power, which controls how strongly the radio broadcasts. Increasing it can help the signal reach farther into the house. However, raising it too high can cause interference with your own network and generate excess heat, which actually reduces performance over time.
If your router has this setting, try medium-high first and test your dead zone map. Only increase to maximum if you see a clear improvement.
Turn On Quality of Service
Quality of Service, or QoS, lets you prioritize certain types of traffic over others. You can tell the router to give top priority to video calls, online gaming, and work applications while throttling background downloads and backups.
QoS does not extend your WiFi range, but it makes weak signals feel much more usable. When bandwidth is tight in a far room, your most important apps get what they need first instead of competing with every other device on the network.
Fixing Dead Spots in Multi-Story and Older Homes
Large houses are not all the same. A sprawling single-story ranch, a tall narrow townhouse, and a 100-year-old stone farmhouse each present different WiFi challenges. Understanding how your home’s construction affects signal is the key to choosing the right fix.
Thick Walls and Old Construction
Old homes built before the 1950s often have plaster and lath walls, which contain a layer of wood lath covered in multiple coats of plaster. Some also include chicken wire mesh inside the walls, which acts like a shield that blocks WiFi almost completely. Brick, stone, and solid concrete walls are even worse.
In one forum discussion on Reddit’s HomeNetworking community, a user living in a 100-year-old Berlin building with stone walls 40 to 60 centimeters thick reported that no single router could cover even half the apartment. The solution was a mesh system with nodes placed so they had line of sight through doorways, bypassing the walls entirely.
If your walls are the main obstacle, adding more router power will not help because the signal still has to pass through the same material. Instead, work around the walls by placing nodes or access points in each area that needs coverage. Let the signal travel through open doorways and hallways rather than through solid partitions.
Multi-Story Homes
WiFi signals spread outward horizontally more effectively than they travel vertically. Floors and ceilings contain dense materials like concrete, plywood, and insulation that absorb signal. If your router is in the basement, the top floor will struggle. If it is on the top floor, the basement will be nearly unreachable.
The best approach for a multi-story home is to place the main router on the middle floor and add a node or access point on each additional floor. Stagger their positions so they are not stacked directly above or below each other, which reduces interference between them.
Basements and Corner Rooms
Basements sit below the main living area and are often surrounded by concrete foundation walls and earth. This combination makes them some of the most stubborn dead zones in any home. Wireless extenders placed at the top of the basement stairs sometimes help, but a powerline adapter or a wired access point in the basement itself is more reliable.
Corner rooms at the far ends of the house are the other common problem area. They are far from the router and often have exterior walls that are thicker and denser than interior walls. A mesh node placed in the hallway between the router and the corner room can bridge that gap effectively.
Metal Ductwork and Appliances
Metal reflects WiFi signals the way a mirror reflects light. If your router sits near a furnace, HVAC ductwork, a refrigerator, a metal filing cabinet, or steel shelving, the signal may bounce in the wrong direction and create dead spots you would not expect.
Large metal appliances are particularly common in kitchens and laundry rooms, which are often where internet lines enter the house. Moving the router just a few feet away from these objects can eliminate dead spots instantly and for free.
Outdoor Coverage
If you want WiFi on a patio, deck, or pool area, exterior walls are your main obstacle. Stucco exteriors often contain metal mesh that blocks signals. Brick and stone siding also significantly reduce range. A weatherproof outdoor access point or a mesh node placed near a window facing the outdoor area is usually the best solution.
Frequently Asked Questions
How to fix WiFi dead zones in house?
Start by moving your router to a central, elevated location and removing nearby obstacles like metal appliances and thick furniture. Run speed tests in each room to confirm weak spots. If dead zones remain, add a WiFi extender for a single room or a mesh system for whole-home coverage.
Do WiFi extenders fix dead spots?
Yes, WiFi extenders can fix dead spots in a single room by rebroadcasting your existing signal. However, they often reduce speed by up to 50 percent because the extender must receive and retransmit data on the same radio channel. Mesh networks are a better choice for large homes with multiple dead zones.
How to fix a dead zone in a house?
First, diagnose the dead zone with speed tests and a WiFi analyzer app to measure signal strength in dBm. Then try repositioning your router, adjusting antennas, removing obstacles, and switching WiFi bands. If the problem persists, add an extender, mesh node, powerline adapter, or wired access point depending on your home layout.
What is a WiFi dead zone killer?
A WiFi dead zone killer is a marketing term for any device or setup that eliminates weak signal areas. The most reliable real-world solutions are mesh WiFi systems, wired access points, powerline adapters, and simply repositioning your existing router to a better location.
Why does my large house have so many dead spots?
Large houses have dead spots because the router is usually far from some rooms, walls and floors absorb the signal, and interference from appliances and neighboring networks reduces coverage. The larger the home and the thicker the walls, the more dead zones you will have without additional hardware.
Is mesh WiFi better than an extender for a large home?
Yes. Mesh WiFi is generally better for large homes because the nodes work together as one network and maintain higher speeds across multiple rooms. Extenders are cheaper and work for a single room, but they create a separate network and cut bandwidth in half.
How many mesh nodes do I need for a large house?
A two-pack of mesh nodes typically covers homes up to about 3,000 square feet. A three-pack handles homes up to 5,000 square feet or houses with challenging layouts like thick walls and multiple floors. You can always add more nodes later if you discover new dead spots after setup.
Can thick walls completely block WiFi?
Yes, certain materials can almost entirely block WiFi signals. Solid concrete, brick, stone, and plaster walls with metal mesh inside them are the worst offenders. In these cases, adding more router power rarely helps. Instead, use mesh nodes, powerline adapters, or wired access points to work around the walls.
Final Thoughts
Learning how to fix dead Wi-Fi spots in a large house starts with a simple diagnosis that costs nothing but 30 minutes of your time. Move your router to a central location, test every room with a speed test, remove sources of interference, and try switching WiFi bands. These free fixes alone resolve a large share of coverage complaints.
If the structure of your home still blocks the signal after those steps, invest in the right hardware for your specific layout. A mesh network is the most versatile solution for most large homes, while powerline adapters and wired access points are excellent alternatives for houses with especially thick walls or multiple stories. Whatever you choose, let your dead zone map guide the decision rather than guessing.
Start with the free fixes today. A few deliberate changes can turn a frustrating, patchy network into one that works reliably in every room of your home in 2026.