
Choosing a dial indicator for lathe setup is less about brand prestige and more about one question: which lathe job is this instrument going to do? I have spent years watching hobbyists buy a beautiful indicator, clamp it to a flimsy base, and then blame their spindle bearings for a needle that stutters.
That experience shaped everything in this roundup of the best dial indicators for lathe setup. Every pick below is matched to a specific setup task — centering a workpiece in a four-jaw chuck, checking spindle runout, dialing tool height to zero, or sweeping a shoulder with a test indicator. I read every listing, spec sheet and review pattern in the pool, and I flagged the failure modes machinists actually report rather than the ones a spec sheet promises.
The forums get this question constantly. On Hobby-Machinist, the consensus starter kit is one 0-1 inch indicator, one test indicator and one articulating-arm magnetic base — a good template, and roughly the shape of the list you will read below. A note before we start: an indicator is a comparison tool, not an absolute measuring instrument. It is at its best for zero-to-zero relative work.
Our Top 3 Dial Indicators for Lathe Setup in 2026
Qnkaa 0-1 inch Kit with Base
- 0-1 inch range at 0.001 inch
- 9 inch magnetic stand
- 22 test tips
- Fine adjustment knob

Neoteck Digital Indicator…
- 0.0005 inch resolution
- Inch and metric readout
- 176 lb pull base
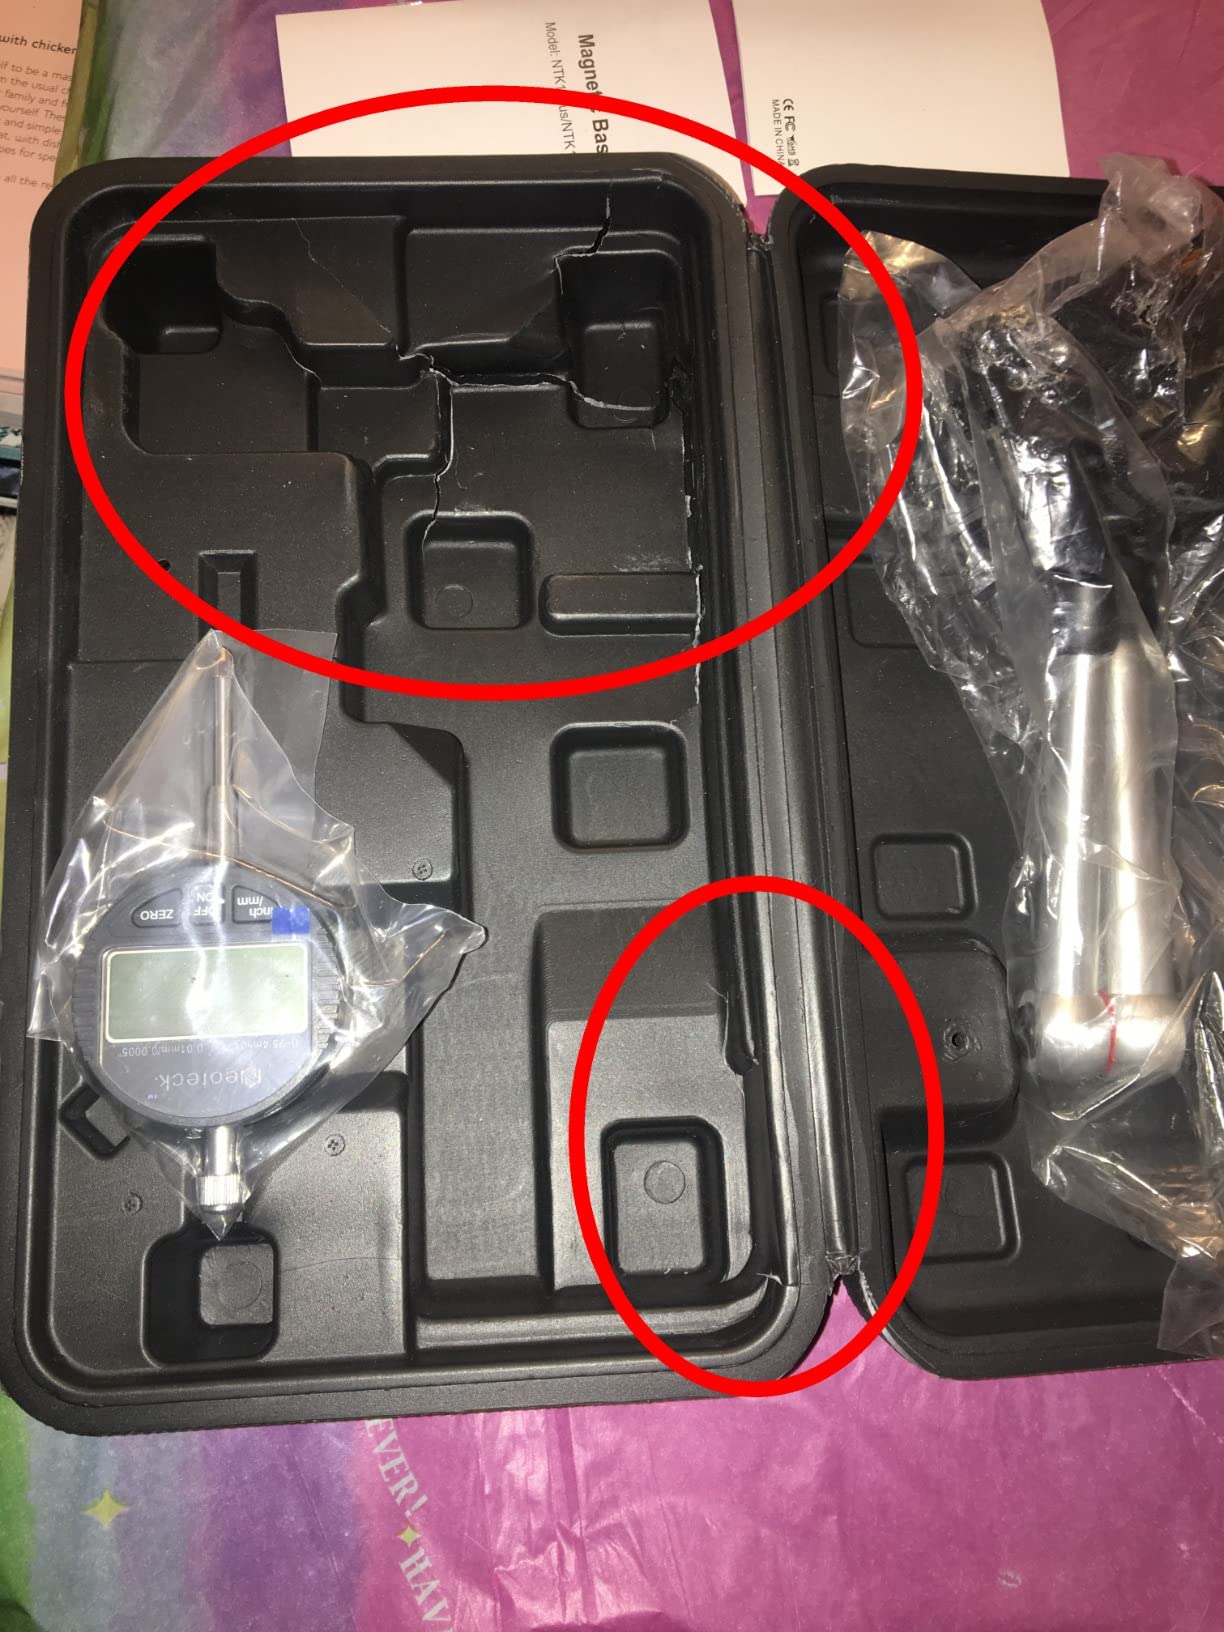
- Storage case
Clockwise Tools DIMR-0105
- 2 inch dial face
- 3/8 inch stem
- Carbide anvil ball
- Flat or lug back mounting
If you want one kit that covers the most lathe setup jobs out of the box, the Qnkaa combination is the safest starting point. The Neoteck digital set wins when you would rather read numbers than a needle, and the Clockwise Tools kit is the one I would hand to a machinist who needs an analog face and a base that does not drift.
Quick Overview: Every Indicator Side by Side in 2026
| Product | Specs | Action |
|---|---|---|
| Qnkaa 0-1 inch Kit with Base |
|
Check Latest Price |
| Neoteck Digital Indicator with Base |
|
Check Latest Price |
| Clockwise Tools 0-1 inch Kit |
|
Check Latest Price |
 Taytools Test Indicator and Base Taytools Test Indicator and Base |
|
Check Latest Price |
 Mitutoyo 513-402-10E Test Indicator Mitutoyo 513-402-10E Test Indicator |
|
Check Latest Price |
 HFS 0-1 inch Indicator, Lug Back HFS 0-1 inch Indicator, Lug Back |
|
Check Latest Price |
 Neoteck 0-1 inch Indicator, 176 lb Base Neoteck 0-1 inch Indicator, 176 lb Base |
|
Check Latest Price |
 Neoteck 0.03 inch Test Indicator Neoteck 0.03 inch Test Indicator |
|
Check Latest Price |
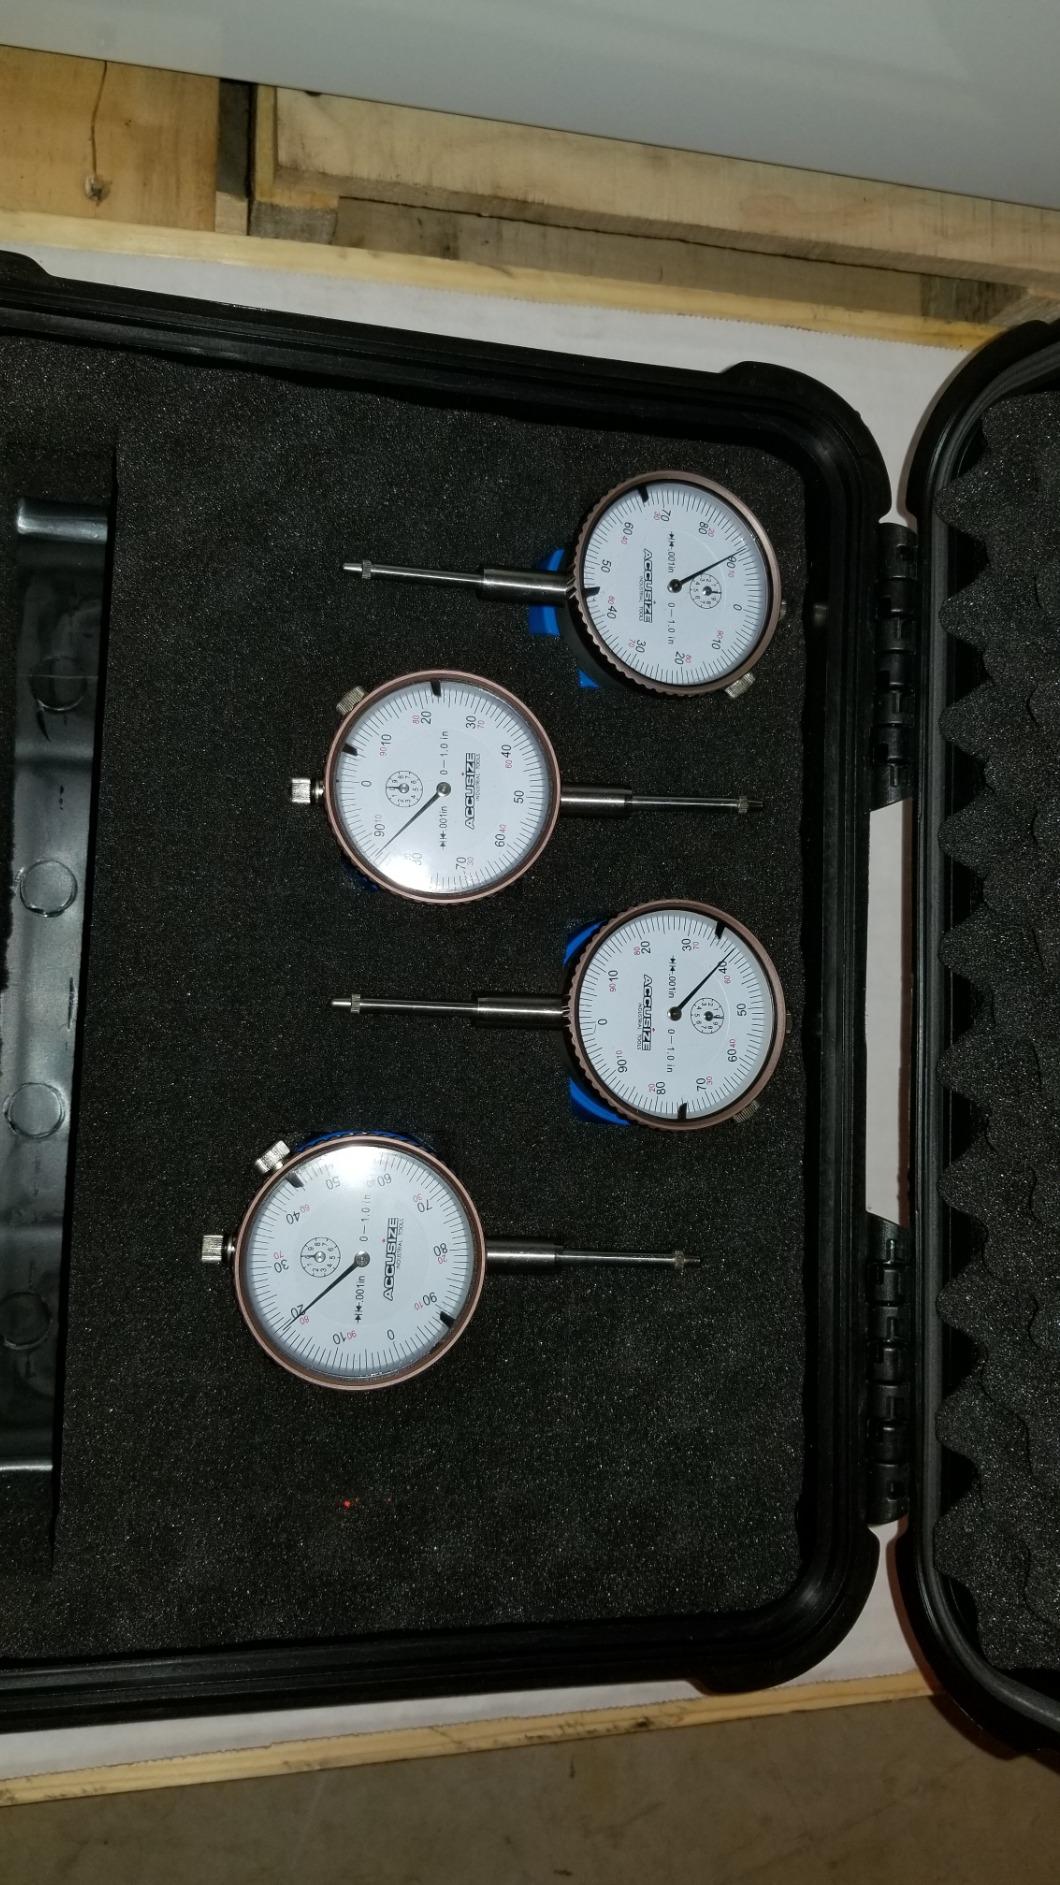
 Accusize AGD 2 Magnetic Back Indicator Accusize AGD 2 Magnetic Back Indicator |
|
Check Latest Price |
 WEN 10703 1 inch Indicator WEN 10703 1 inch Indicator |
|
Check Latest Price |
1. Qnkaa 0-1 inch Indicator with 9 inch Magnetic Base – The Complete First Setup Kit
Qnkaa Dial Indicator with Magnetic Base Holder 0-1″ Dial Gauge 0.001″
0-1 inch range
0.001 inch resolution
9 inch magnetic stand
22 test tips
Pros
- Indicator
- base and 22 tips in one box
- Fine adjustment knob for centering without disturbing the reading
- Two magnet faces with on and off control
- Wide review base across thousands of buyers
Cons
- Magnet pull drops on thin sheet metal
- Lug back needs the right holder for your tool post
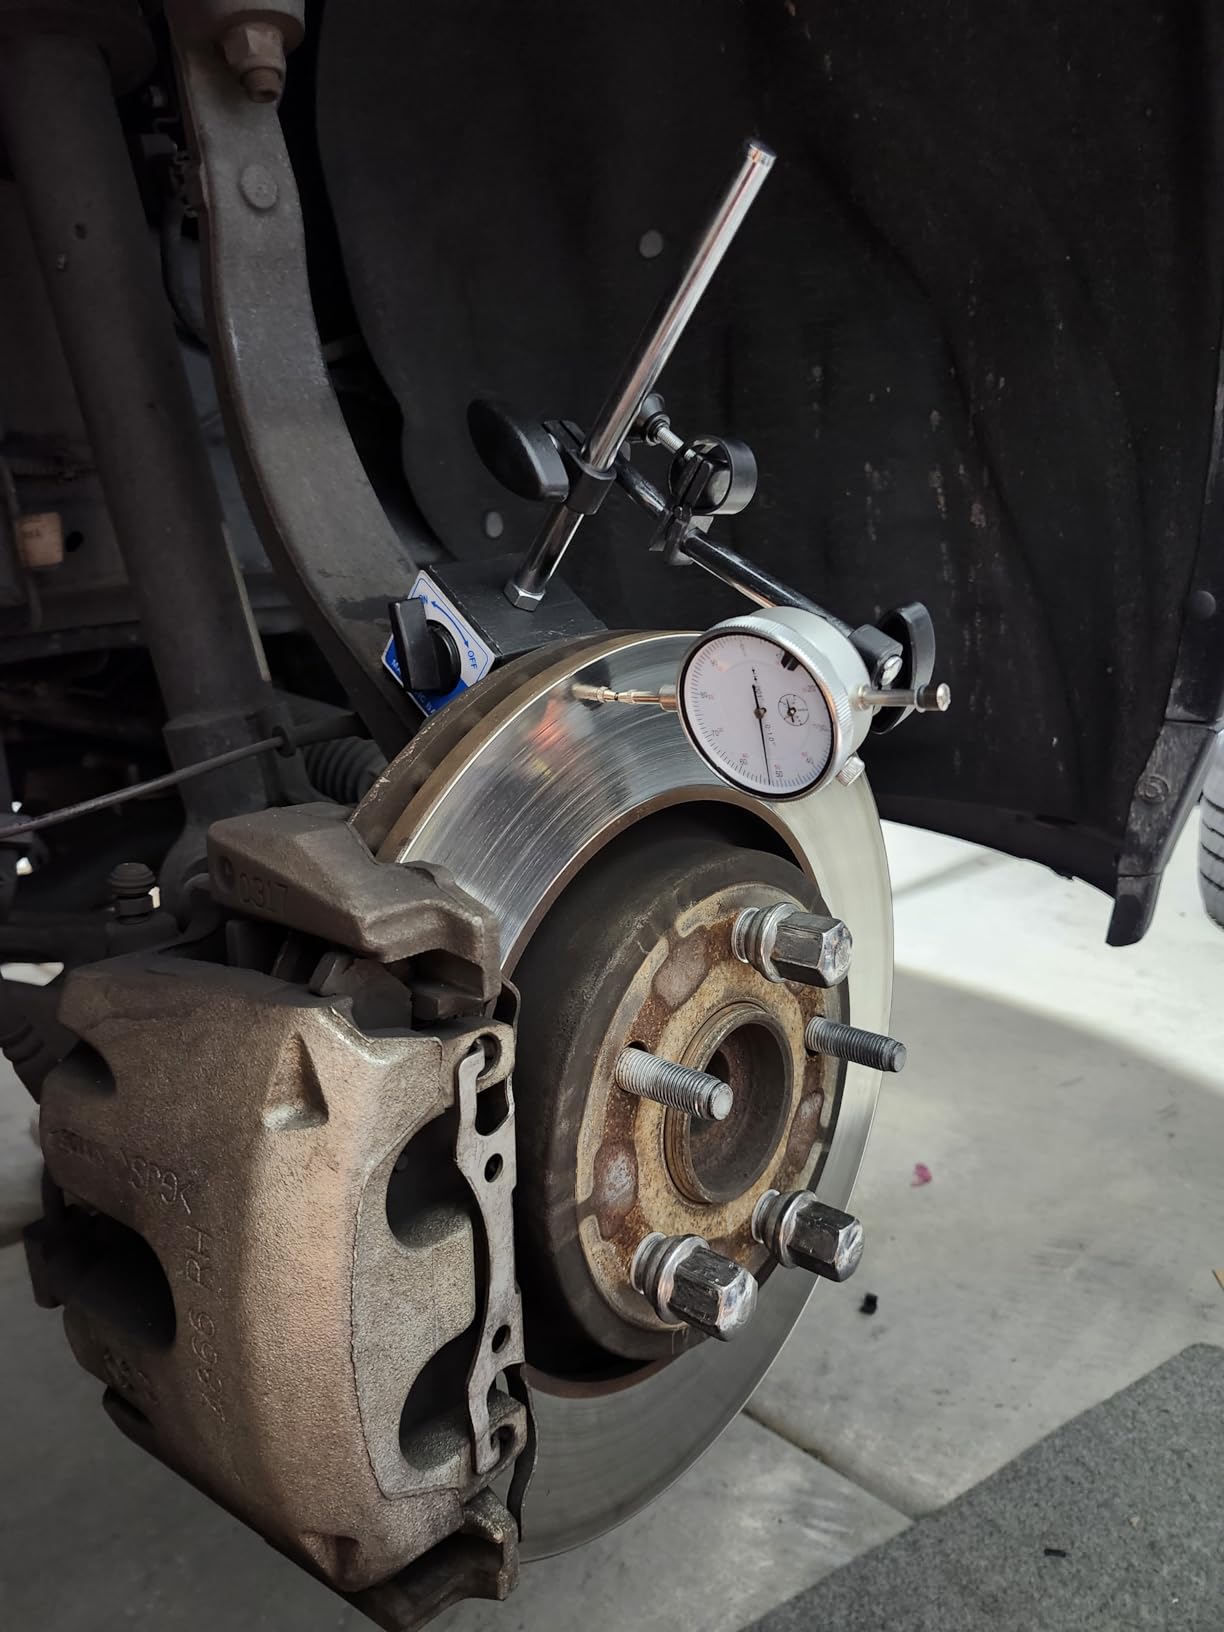
This is the kit I keep coming back to for a first lathe setup, because the failure mode is not the indicator — it is the missing base. Qnkaa bundles the gauge, a nine inch magnetic stand and 22 interchangeable tips in one package, which removes the most common reason an indicator ends up in a drawer.
On a small engine lathe it handles the whole setup sequence: indicating the chuck face, sweeping for spindle runout, and dialling tool height to zero on the tool post. The fine adjustment knob is the detail that matters most, letting you centre the needle without disturbing your reading.
Range and resolution for centering work
Zero to one inch of travel at 0.001 inch graduations is the practical sweet spot for a lathe. It covers a full indicator sweep for indicating a chuck, and it is readable enough to catch the slow drift of a spindle that is out of true.
The 9 inch stand and the knob that saves your reading
Two magnet faces with on and off control mean you can position the stand in two orientations without a fight. The fine adjustment knob shifts the whole stand in tiny increments, which is how you bring the needle to zero while the tip is still on the workpiece.
Flat back or lug back: check your tool post first
The indicator can mount flat against a tool post or through a lug hole of 1/4 inch (6.3mm). Before you buy, look at the holder you already own, because the lug size has to match or the indicator will not clamp in.
2. Neoteck Digital Dial Indicator with 176 lb Magnetic Base – Readings Without Parallax
Neoteck Digital Dial Indicator Gauge and Magnetic Base Set, Storage Case
0-1 inch range
0.0005 inch resolution
Inch and metric
176 lb base
Pros
- Digital readout removes needle parallax
- Switchable inch and metric
- Articulating base arms hold firmly
- Storage case included
- Rated for taper and runout work
Cons
- Replacement tips use a metric thread rather than the expected #4-40
- Zero button responds to finger pressure
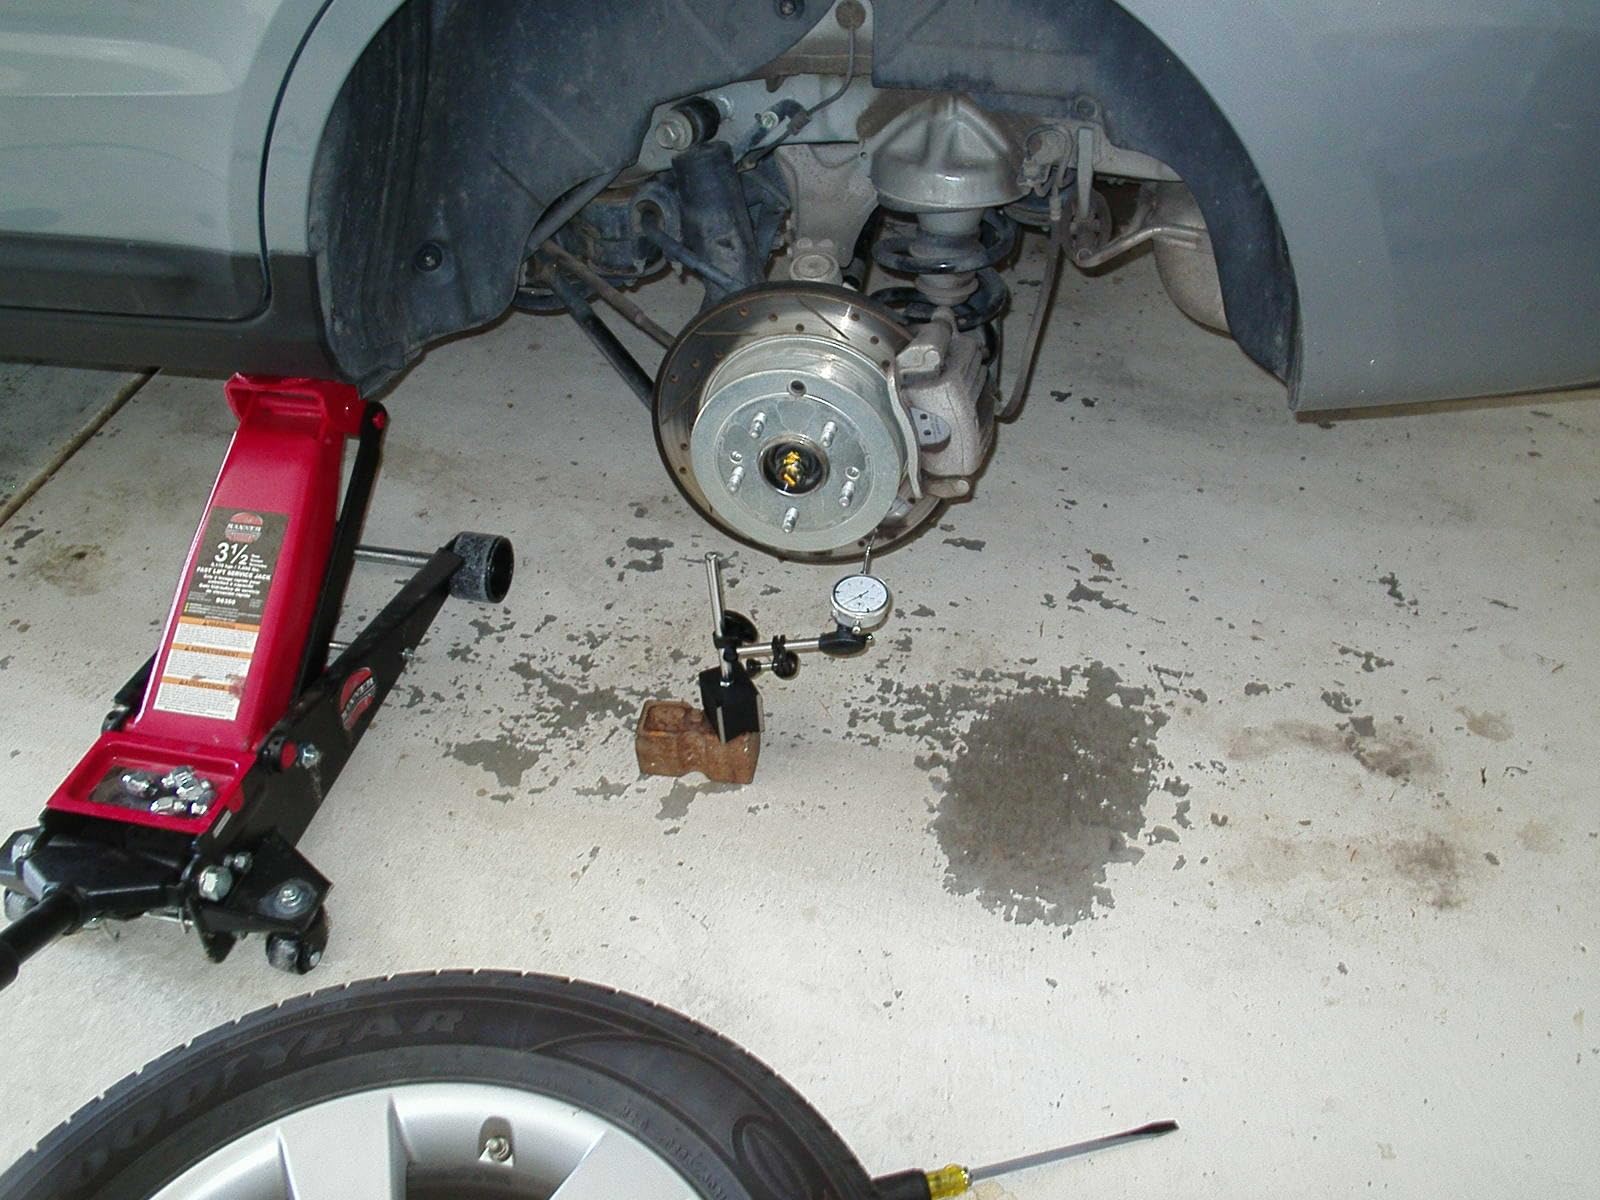
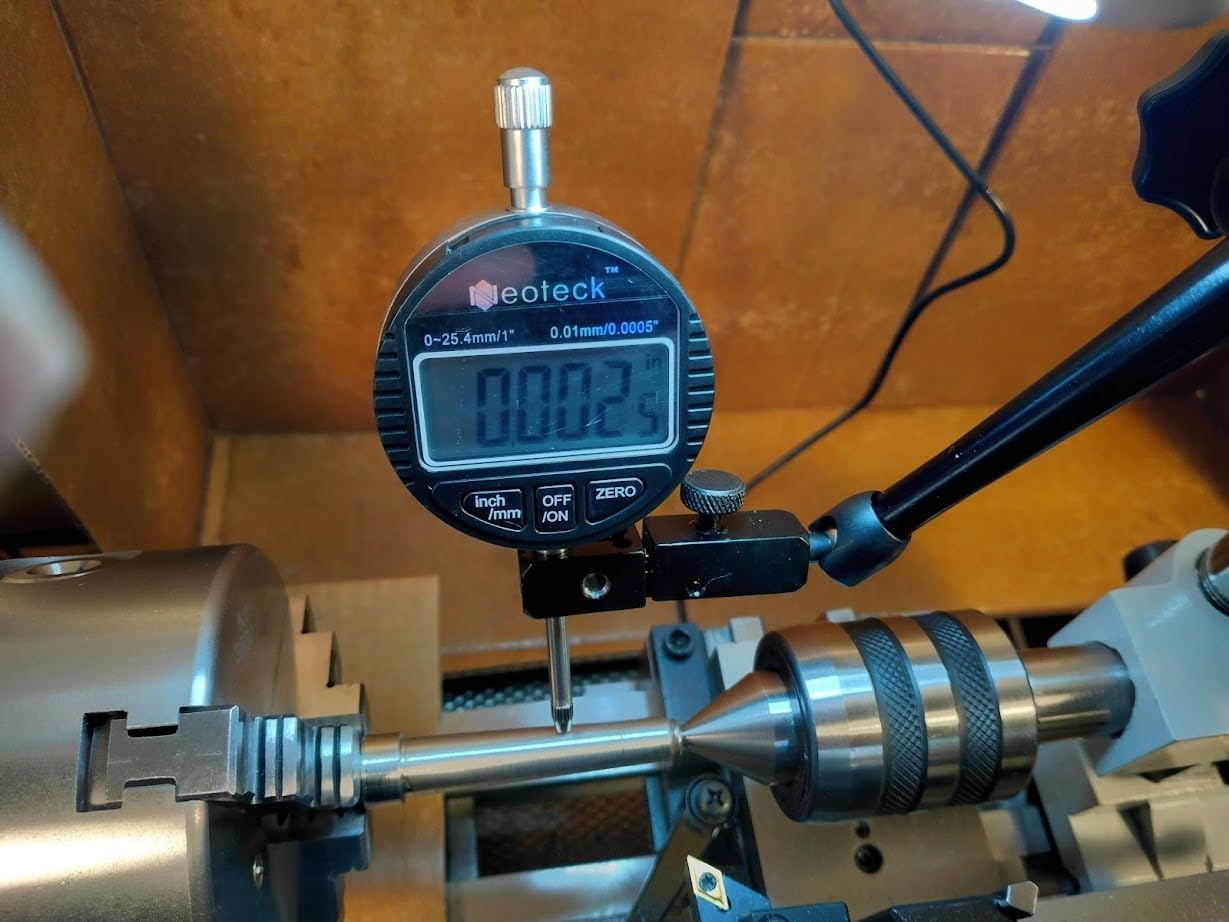
A digital face is the most underrated upgrade for a home shop. Every needle reading involves a tiny parallax error — reading the tip of the hand instead of the face plane — and on a lathe with coolant and chips flying, a number on a screen is simply easier to trust at a glance.
This set pairs a 0-1 inch digital indicator reading to 0.0005 inch with a magnetic base rated at 176 lbs of pull. In practice that combination handles runout checks on the chuck and taper turning without the indicator creeping between readings.
Digital readout and 0.0005 inch resolution
Zero to one inch of range at 0.0005 inch resolution is finer than most analog gauges in this list, and the display converts between inch and millimetres with a zero setting function. For a shop running both standards, that removes mental arithmetic from every comparison.
A 176 lb base with a long reach
The articulating arms on this base are long enough to reach the headstock and tailstock of a typical hobby lathe without a second stand, and the two magnet faces hold firmly once switched on. That reach is what lets you move from chuck centering to tool height zeroing without repacking the base each time.
Know your tip thread before you need a spare
The installed probe is a small stationary ball, and replacement tips use a metric thread rather than the expected #4-40. That is the one complaint I keep seeing, and it is worth checking against the spares you already own before you commit.
3. Clockwise Tools DIMR-0105 – The Analog All-Rounder for Daily Lathe Work
Clockwise Tools Dial Indicator with Magnetic Base Holder Stand, DIMR-0105 0-1 inch
0-1 inch range
2 inch dial face
3/8 inch stem
Flat or lug back
Pros
- Single knob arm lock makes setup fast
- Flat and lug back mounting options
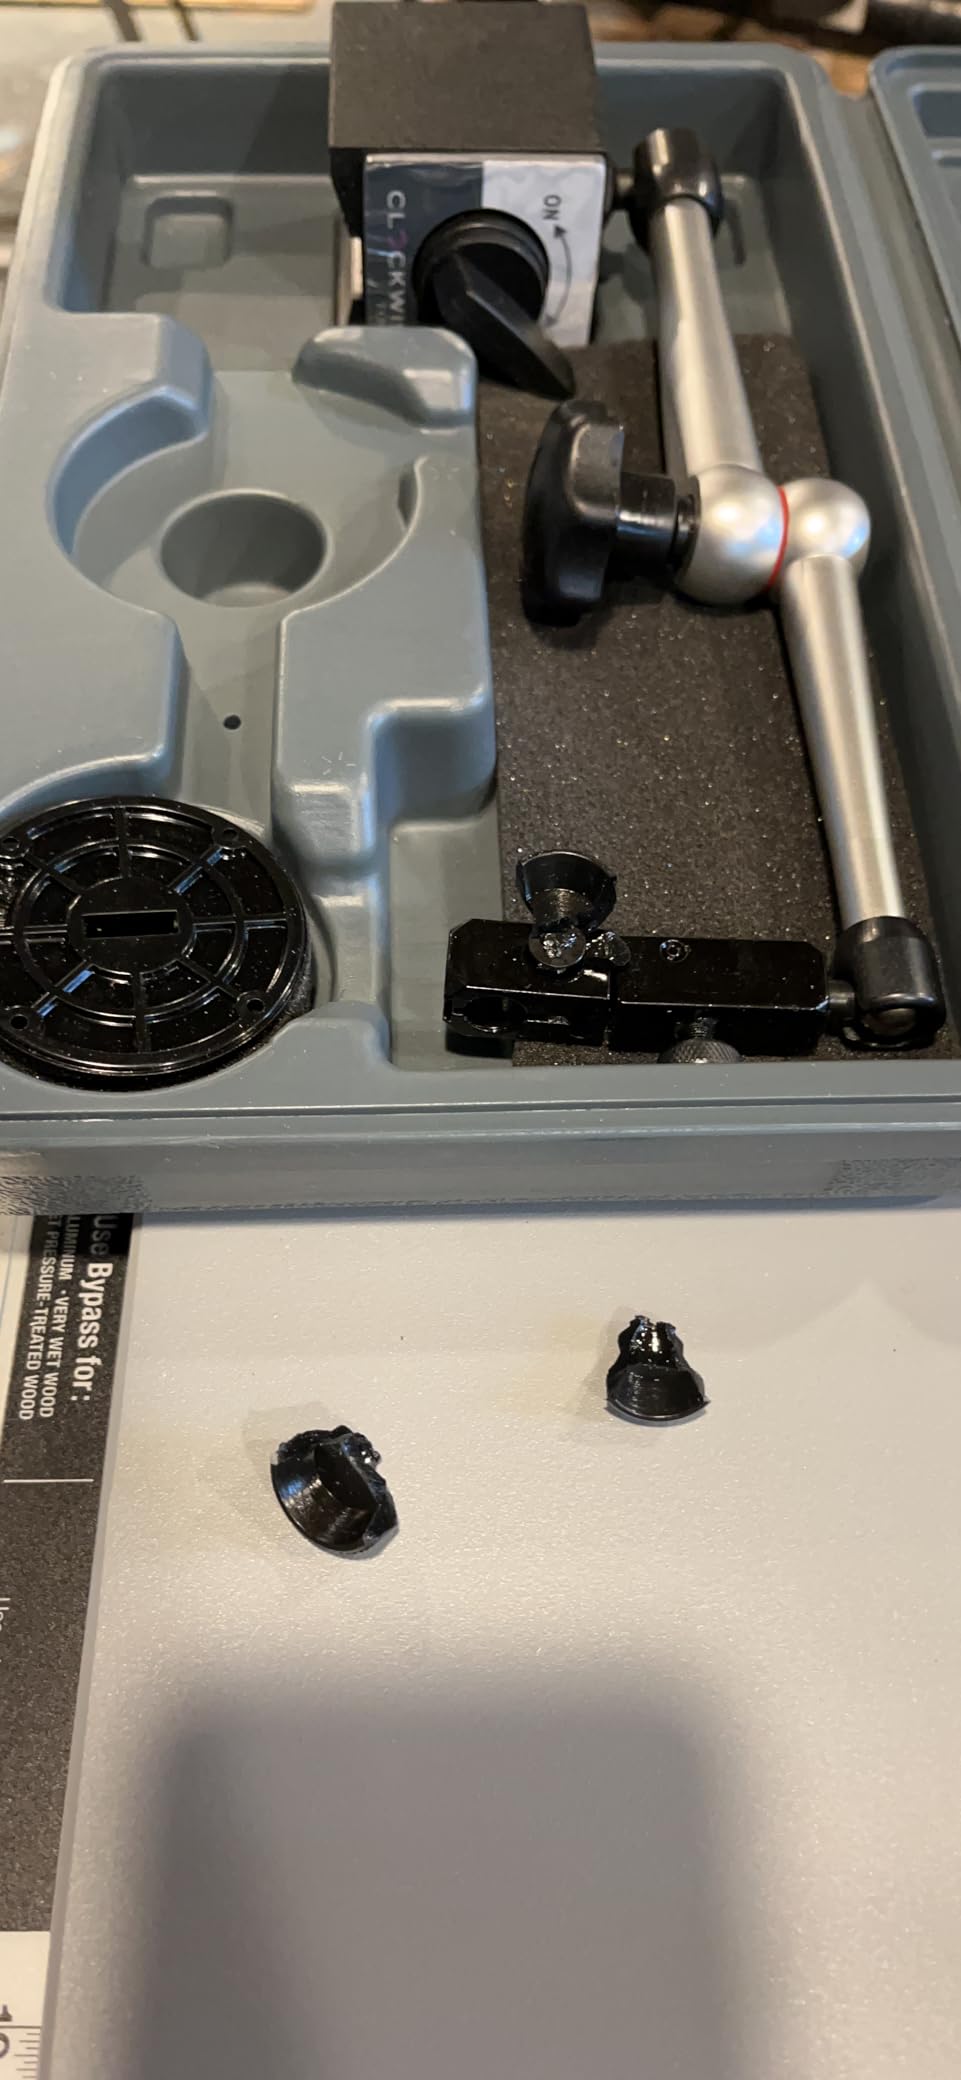
- Hard shell case
- Carbide anvil ball for repeated contact
- Fast replacement part support
Cons
- Arm action less smooth than a high end base
- Fine adjust knob at the arm end can push the arm off position
- Two similar small knobs are easy to confuse
Analog faces have one advantage over digital: you can see variation, not just a number. When a spindle has a slow beat per revolution, the sweeping hand shows you the shape of the error instead of a series of figures you have to interpret.
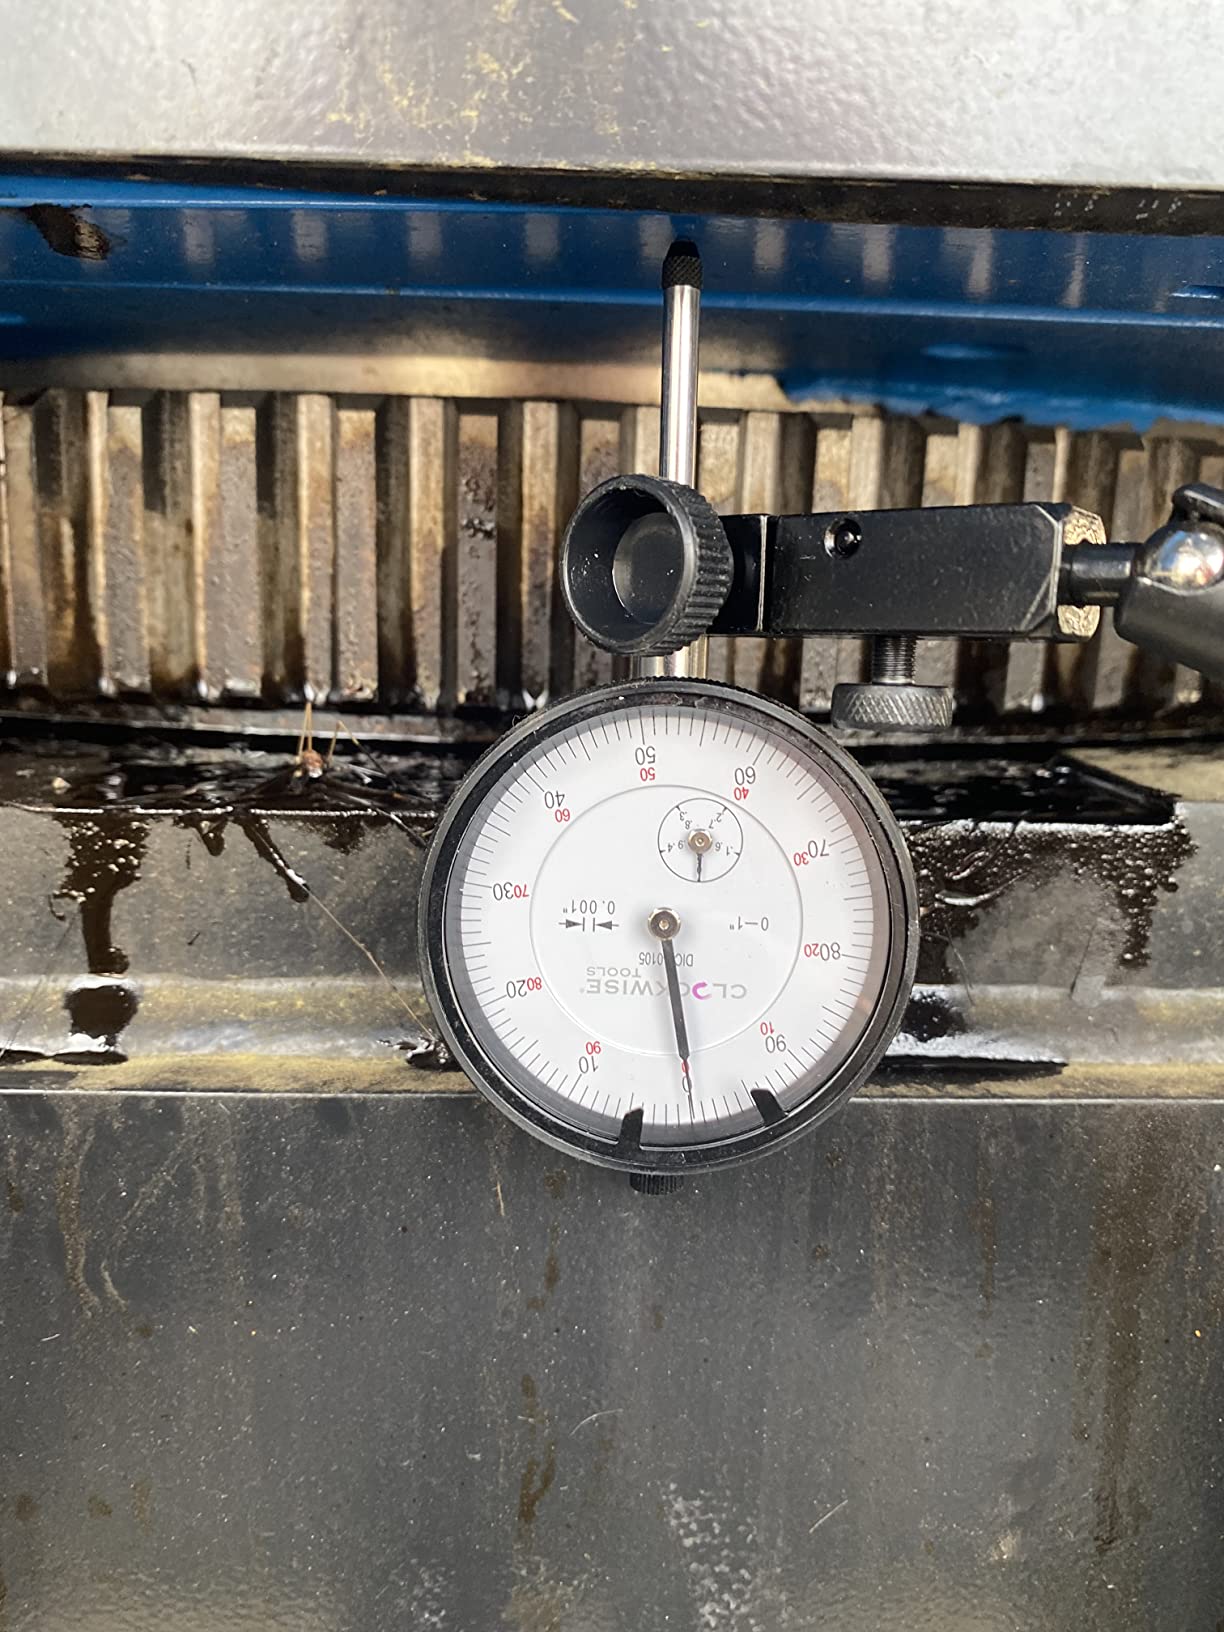
The DIMR-0105 is a two inch face, 0-1 inch range indicator with a single knob arm lock on the base, which makes mounting and repositioning quick on the lathe. It is the set I reach for when the work is daily rather than occasional, because repositioning is the slowest part of most indicator setups.
A 2 inch face you can read across the machine
The two inch dial with 0.001 inch graduations gives you finer visual resolution than a small face, and it is the size most machinists prefer for spotting variation during a cut. The 3/8 inch stem fits the standard holders already in most shops.
Carbide anvil ball and twist lock bezel
The contact point is a carbide anvil ball, which resists wear when you keep indicating the same chuck face over and over. The twist-and-lock bezel plus the anti-dust cap mean a zero setting holds through a shift in a dirty shop.
One knob to lock, two knobs to be careful with
The single knob arm lock is what makes this quick to set up, but the fine adjust knob at the end of the arm tends to push the arm off position when used hard. Owners also note the small perpendicular fine-tune knob is easy to confuse with the other and can be overtightened.
4. Taytools SAE Test Indicator with Fine Adjustment Base – Built for Chuck Centering
Taytools Magnetic Base with Fine Adjustment and SAE Dial Test Indicator (0.0005 Resolution, 1″ Travel, 0.001″ Accuracy) for Dial Test Indicator, Benchtop, Adult
1 inch travel
0.0005 inch resolution
0.001 inch accuracy
Adjustable base
Pros
- Fine adjustment knob centres the pointer without disturbing the reading
- Stable long term rating across 700+ reviews
- Base and indicator sold as a matched set
Cons
- Thin listing detail coverage
- Exact spindle and magnet specs need confirming from packaging
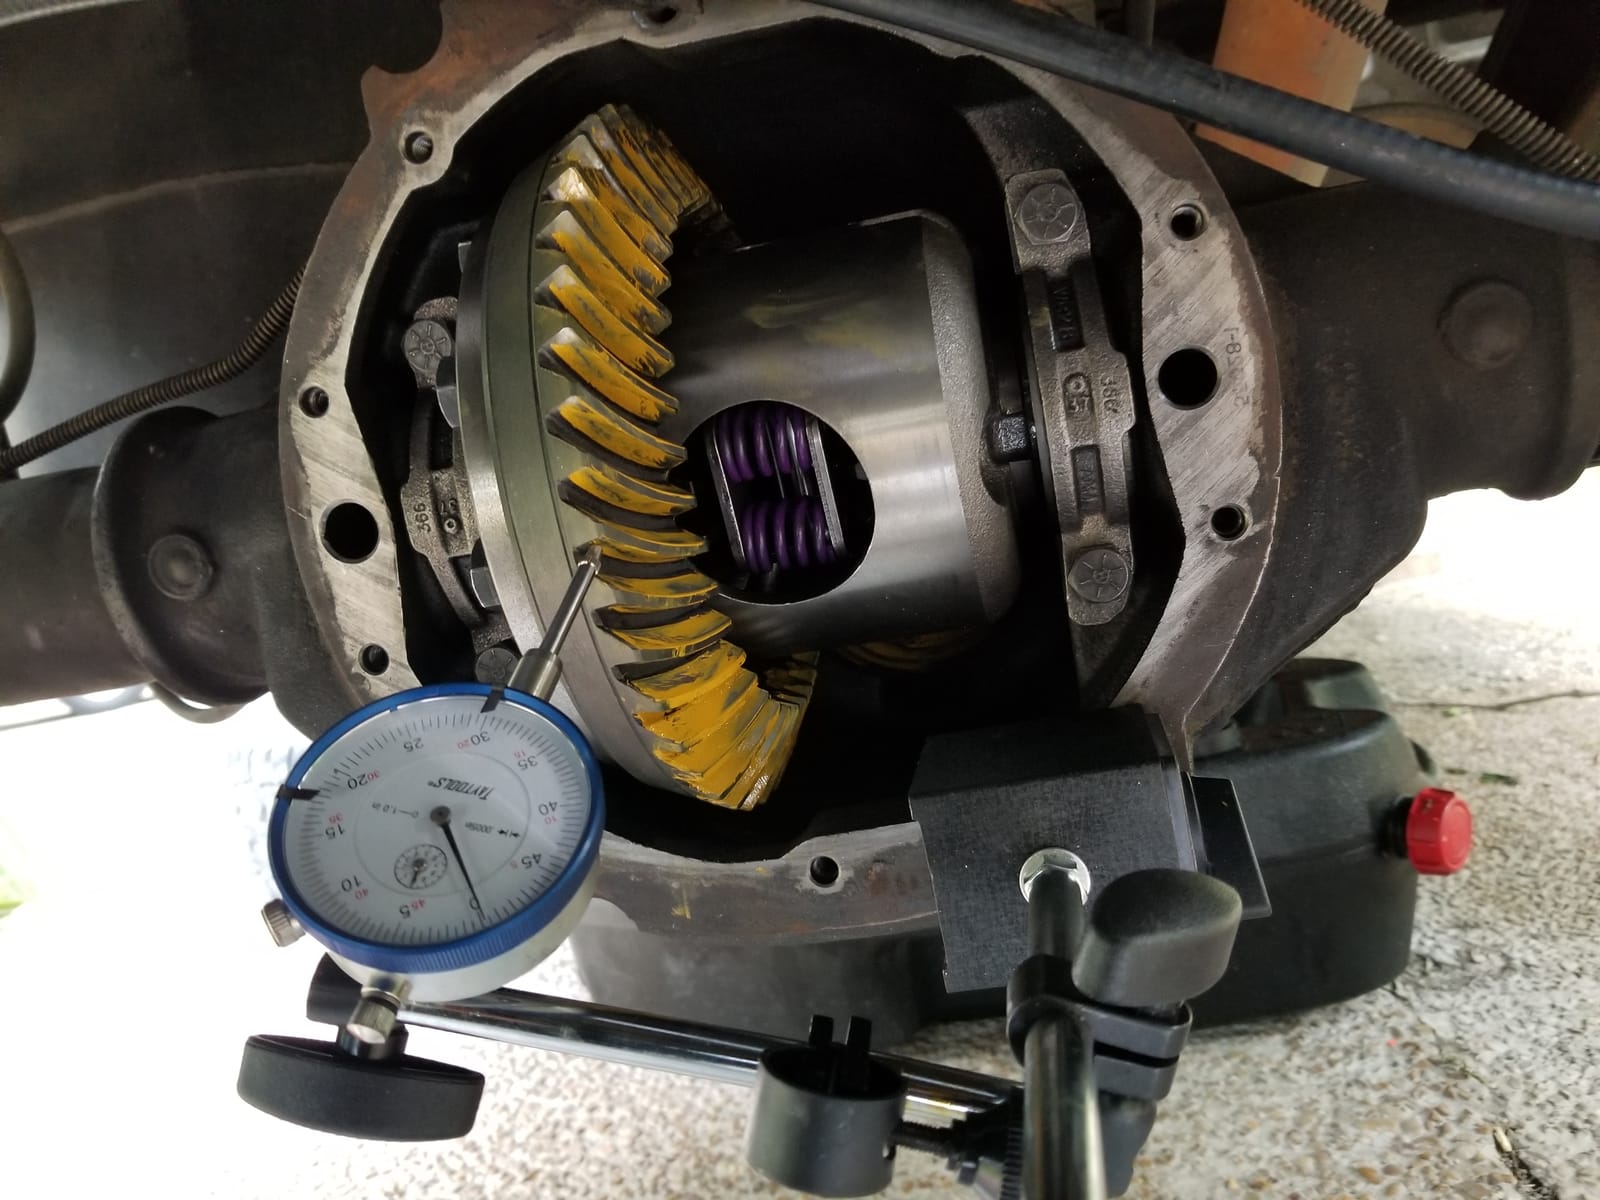
Centering a workpiece in a three or four jaw chuck is the single most common lathe setup job, and a test indicator is the right instrument for it. The lever action lets you swing the arm through an arc while the tip stays on the surface, and a swing that does not read the same twice tells you immediately which way to move the jaws.
This matched set pairs a one inch travel SAE test indicator with a magnetic base that has its own fine adjustment knob. That knob is the reason it earns its place: you walk the needle toward zero on the workpiece without taking your eyes off the dial.
Why a swinging arm suits chuck centering
On a plunger indicator the tip must stay aligned or the reading changes. A test indicator’s arm pivots, so you can align it to a chuck face or a shaft at an angle and still read the variation, which is exactly what jaw centering needs.
0.0005 inch resolution with 0.001 inch accuracy
Note the distinction: the resolution is 0.0005 inch, while the stated accuracy is 0.001 inch. Resolution is what the face can display; accuracy is how close the reading sits to true. For dial-in work the resolution is what you feel, the accuracy is what you trust.
The fine adjustment knob on the base
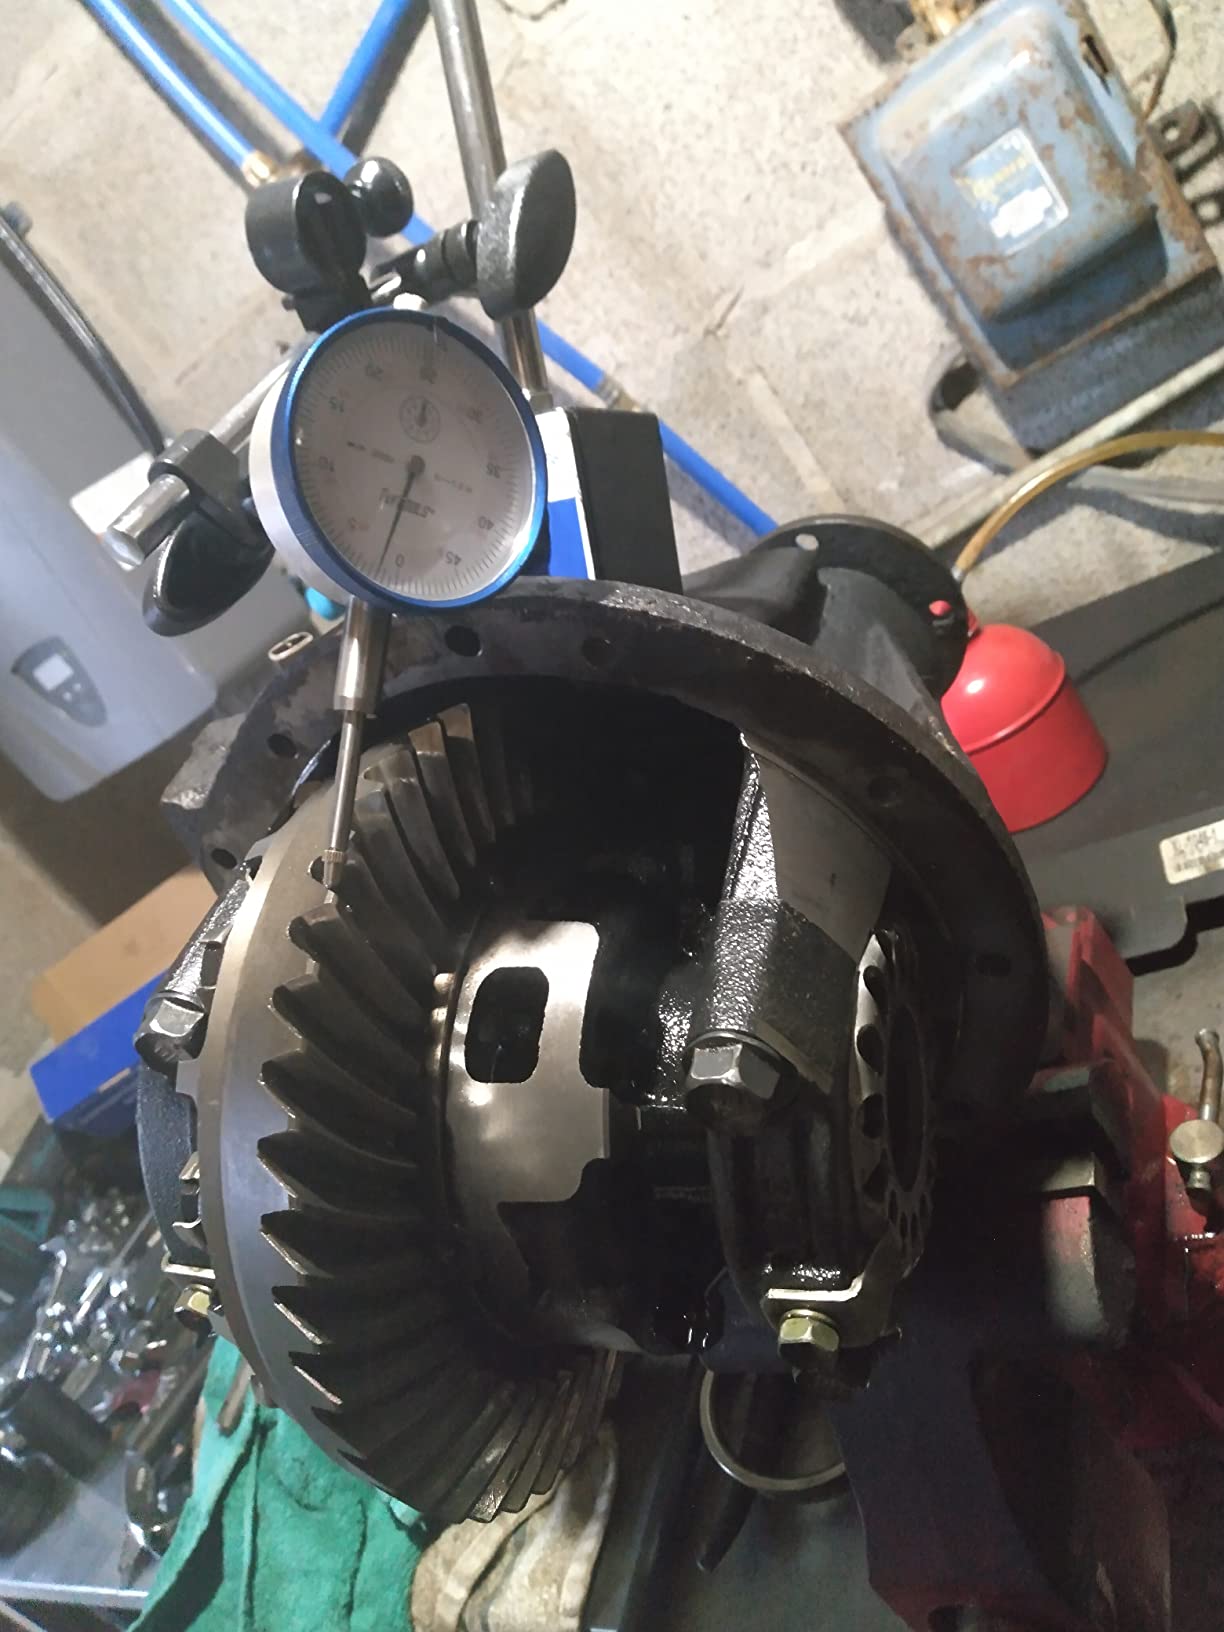
This is the detail the reviews single out. The knob on the base moves the whole assembly in small increments, so you can centre the pointer on a lathe center or a workpiece shoulder without disturbing the reading you just took.
5. Mitutoyo 513-402-10E – Traceable Accuracy for Alignment Work
Mitutoyo 513-402-10E DIAL TI, BAS, STD 0.03″, 0.0002″ Accuracy, 0.0005″, White
0.03 inch range
0.0005 inch graduations
0.0002 inch accuracy
Certified
Pros
- Highest rated in the group at 4.7 stars
- Inspection certificate with traceable bidirectional accuracy evaluation
- 0.0002 inch accuracy for fine alignment
- Impact resistant stainless steel build
Cons
- Bare indicator and standard base
- Extra styli or tips may be needed for a specific setup
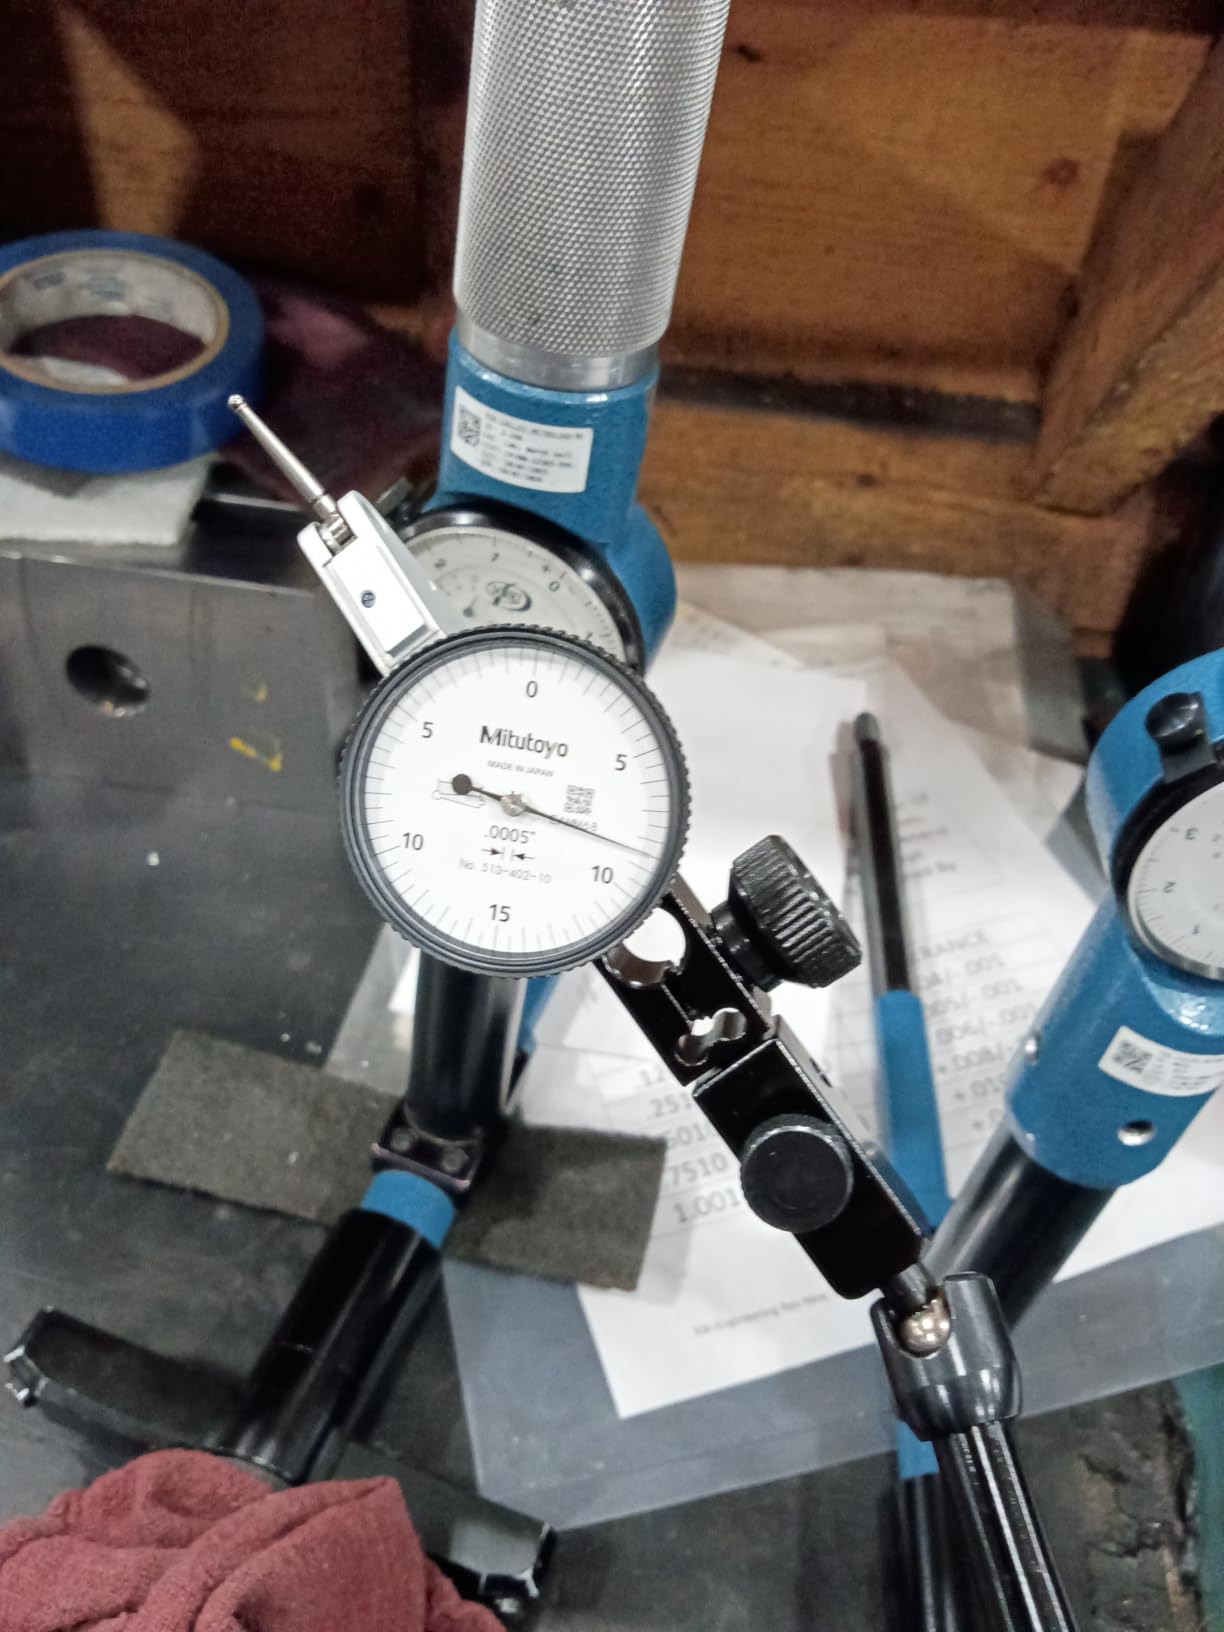
Mitutoyo is the pick when your setup work has to be defensible rather than merely good enough. This set ships with an inspection certificate carrying a traceable, bidirectional accuracy evaluation, which matters the moment someone asks whether your tailstock alignment was actually measured.
At 0.03 inch of range with 0.0005 inch graduations and 0.0002 inch stated accuracy, it is built for fine runout and alignment work rather than a full inch sweep. Owners typically buy it to match an existing shop standard.
0.03 inch range is short on purpose
The short travel is the correct design for alignment. A short, precise instrument has less gear train flex than a long-travel indicator, and a total sweep of 0.03 inch is far more than the few thousandths of misalignment you are chasing on a tailstock.
What the inspection certificate gives you
The certificate documents accuracy in both directions, which is how you know the reading is not flattering itself on approach and mean something different on the return stroke. It is a paper benefit until the day you need to prove a measurement.
Impact resistance for a working shop
The stainless steel body is described as built for impact resistance and durability in industrial environments. That matters because a dropped indicator is usually a scrapped indicator, and the case is included with the stem, nut and styli.
6. HFS 0-1 inch Indicator with 1/4 inch Lug Back – Drops Straight Into Most Tool Posts
HFS Dial Indicator, 0-1″ Range, 0.001″ Graduation, 1/4″ Lug Back
0-1 inch range
0.001 inch graduations
1/4 inch lug hole
3/8 inch stem
Pros
- 1/4 inch lug fits most American lathe tool posts
- Rotating bezel with lock for zeroing
- Interchangeable hardened contact point
- Low cost way to add a spare indicator
Cons
- Indicator only
- no magnetic base or holder in the box
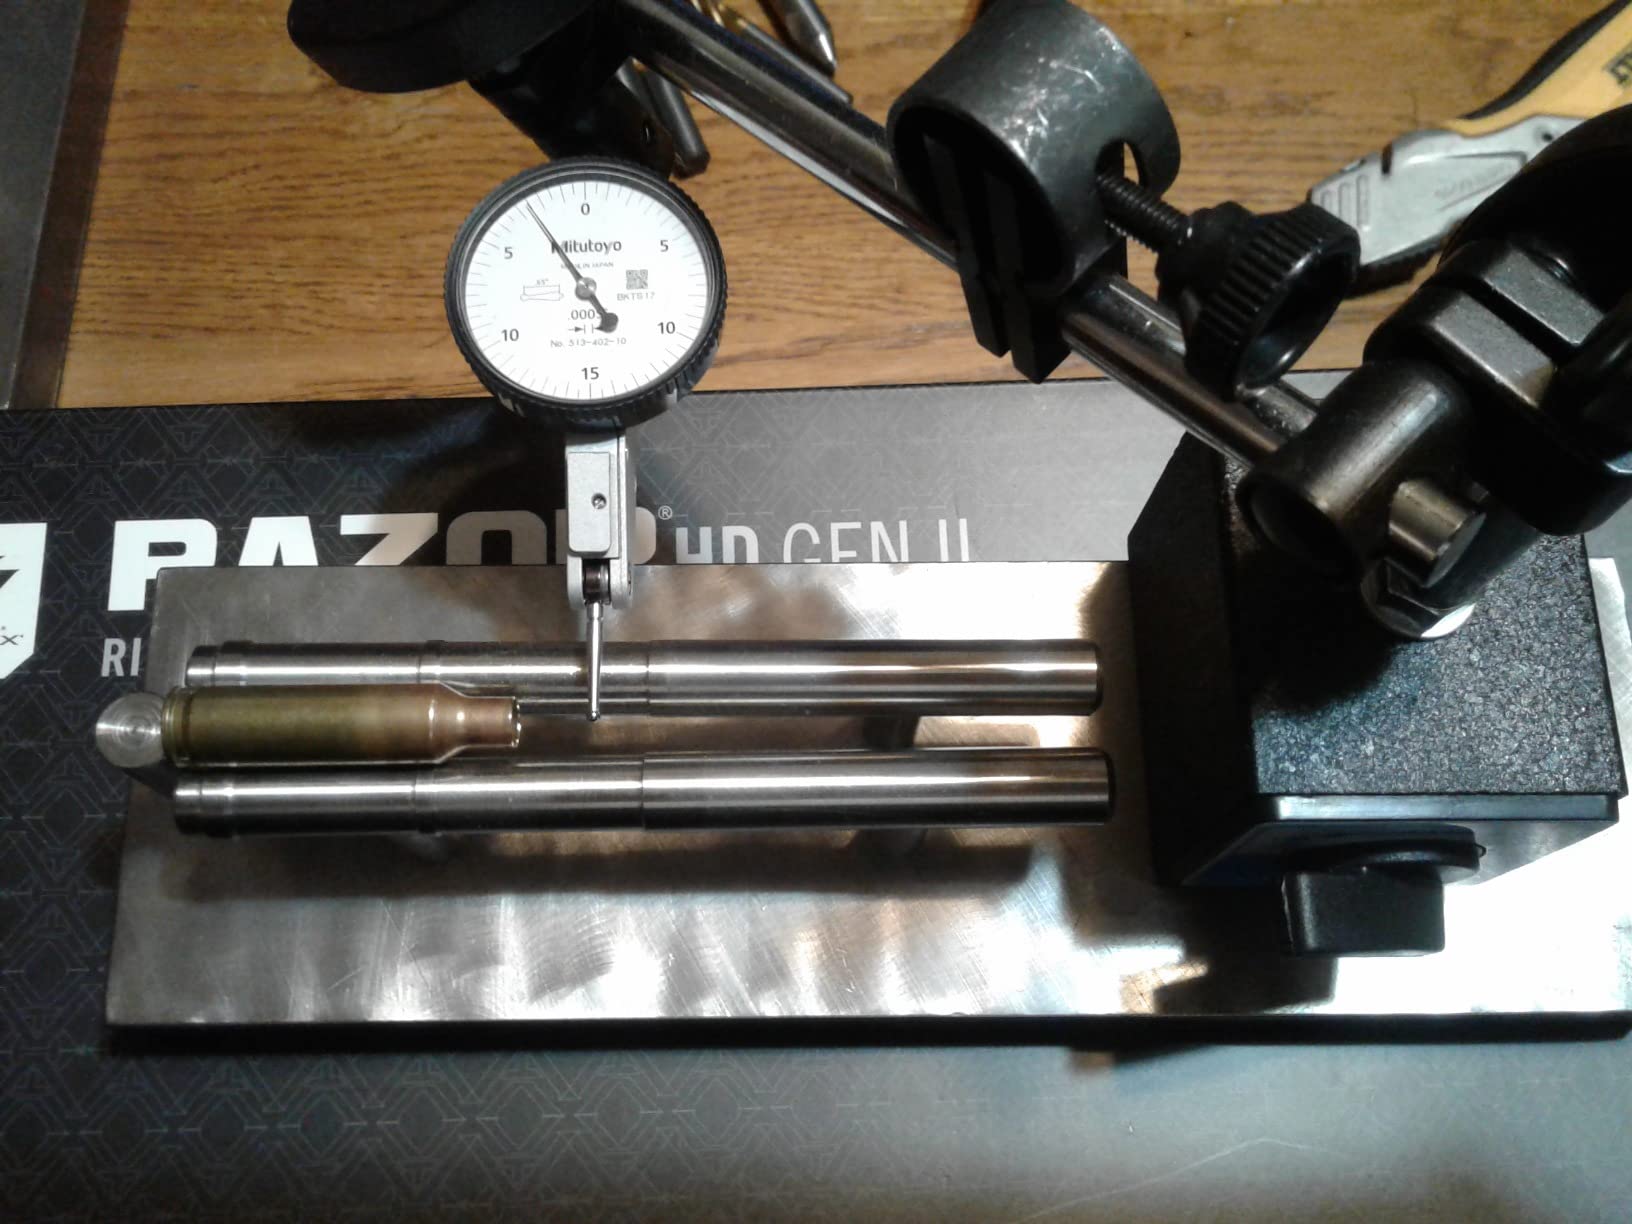
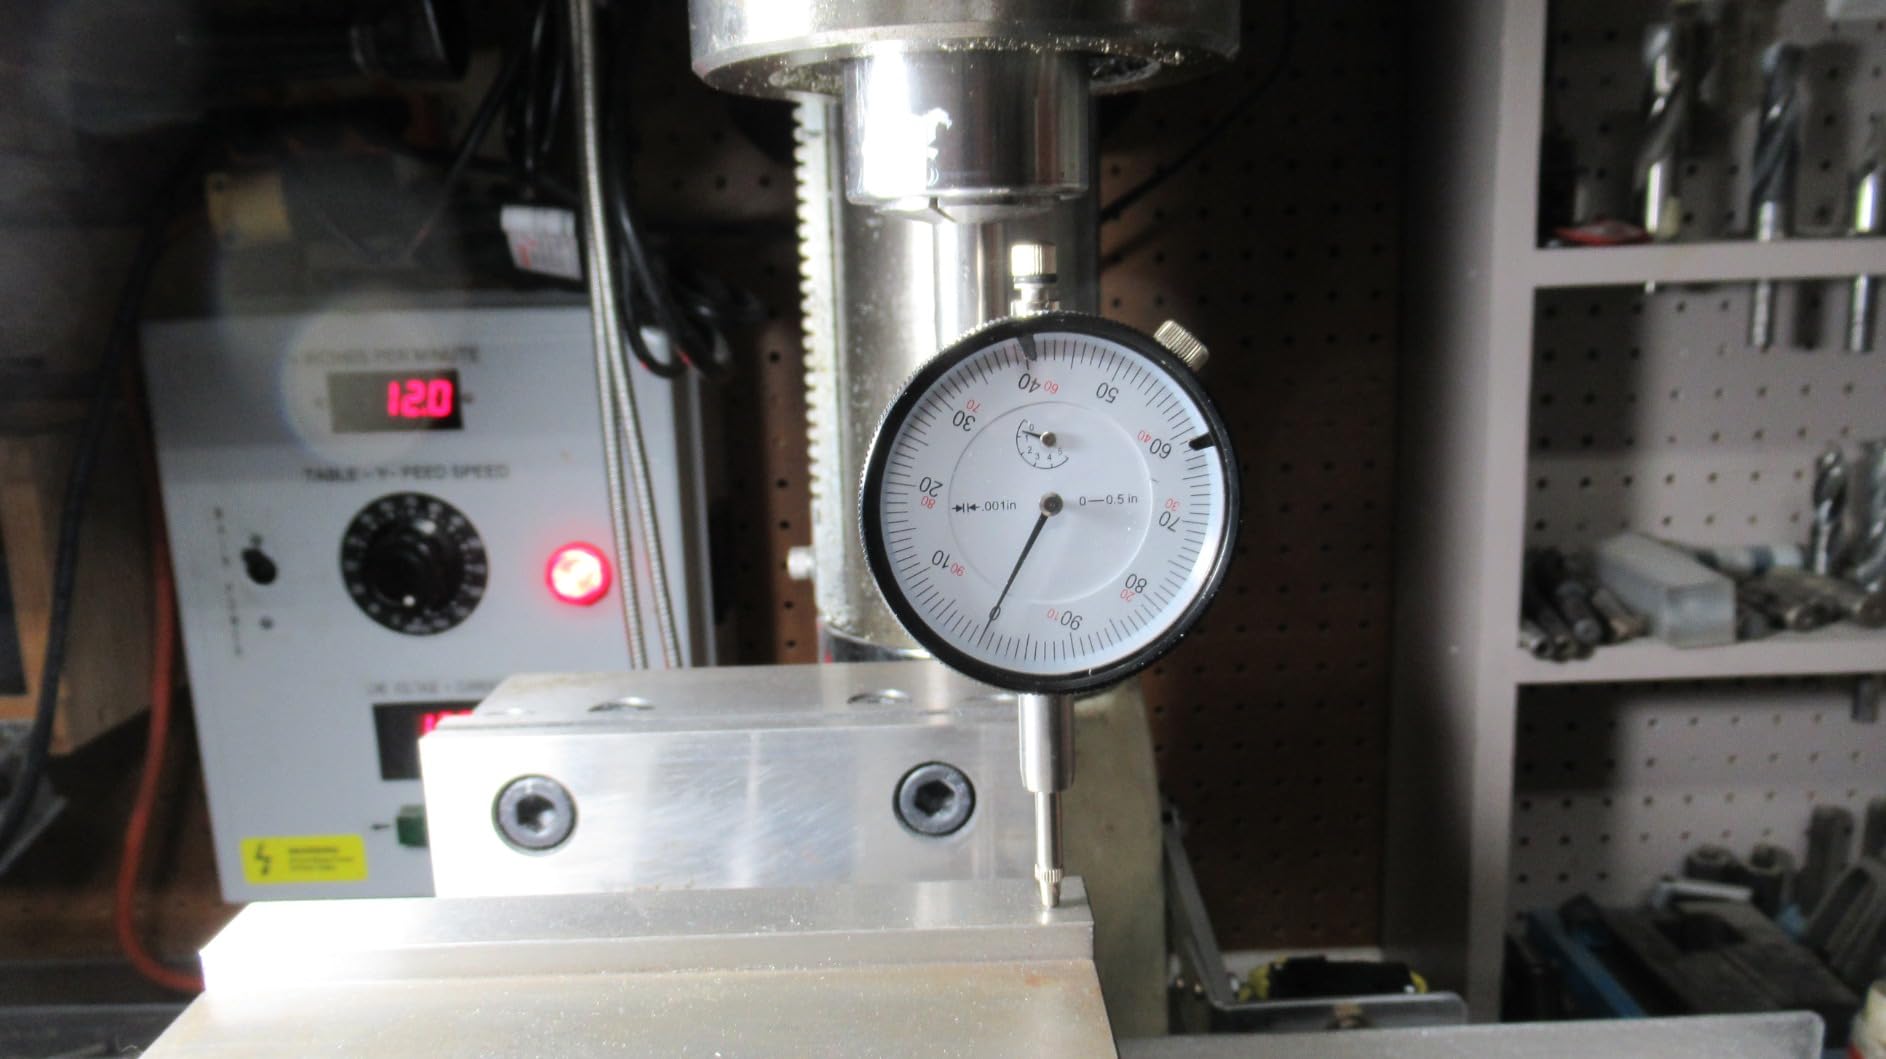
Most import indicators ship with a small lug sized for European standards, which is exactly wrong for an American lathe. This one has a 1/4 inch lug hole, so it clamps directly into most domestic tool posts without a special holder or an adapter.
It is a bare indicator with no base, which makes it a spare-shop part rather than a first purchase. The value is that you already own a stand or a tool post holder, and you want a second gauge that drops in.
Why the 1/4 inch lug is the deciding spec
A tool post indicator setup is about zeroing tool height, and a loose fit means the zero drifts the moment you move the carriage. A 1/4 inch lug sized to American posts keeps the gauge seated so the reference you set stays put between cuts.
Bezel lock holds your reference
The rotating bezel lets you zero anywhere on the face, and the bezel lock holds that reference so it cannot creep. The 3/8 inch stem is the other standard dimension worth checking, since that is what fits the holders in most shops.
Plan your own base
Nothing is included but the indicator, so budget for a magnetic base or a tool post holder separately. The interchangeable hardened contact point is a genuine plus for repeated machining use rather than occasional checks.
7. Neoteck 0-1 inch Indicator with 176 lb Magnetic Base – Built to Stay Planted
Neoteck 0-1″/0.001″ Dial Indicator and 176lbs (80kg) Max Pull Magnetic Base
0-1 inch range
0.001 inch accuracy
176 lb base
14.1 inch height
Pros
- Base rated at 176 lbs stays planted on a casting
- Arm holds position once locked
- Hardened stainless steel rack and tip
- Metal surface must be at least 30mm thick
Cons
- Dial is described as mechanically rough and hard to zero
- Some units arrived with a cracked lens and short screws
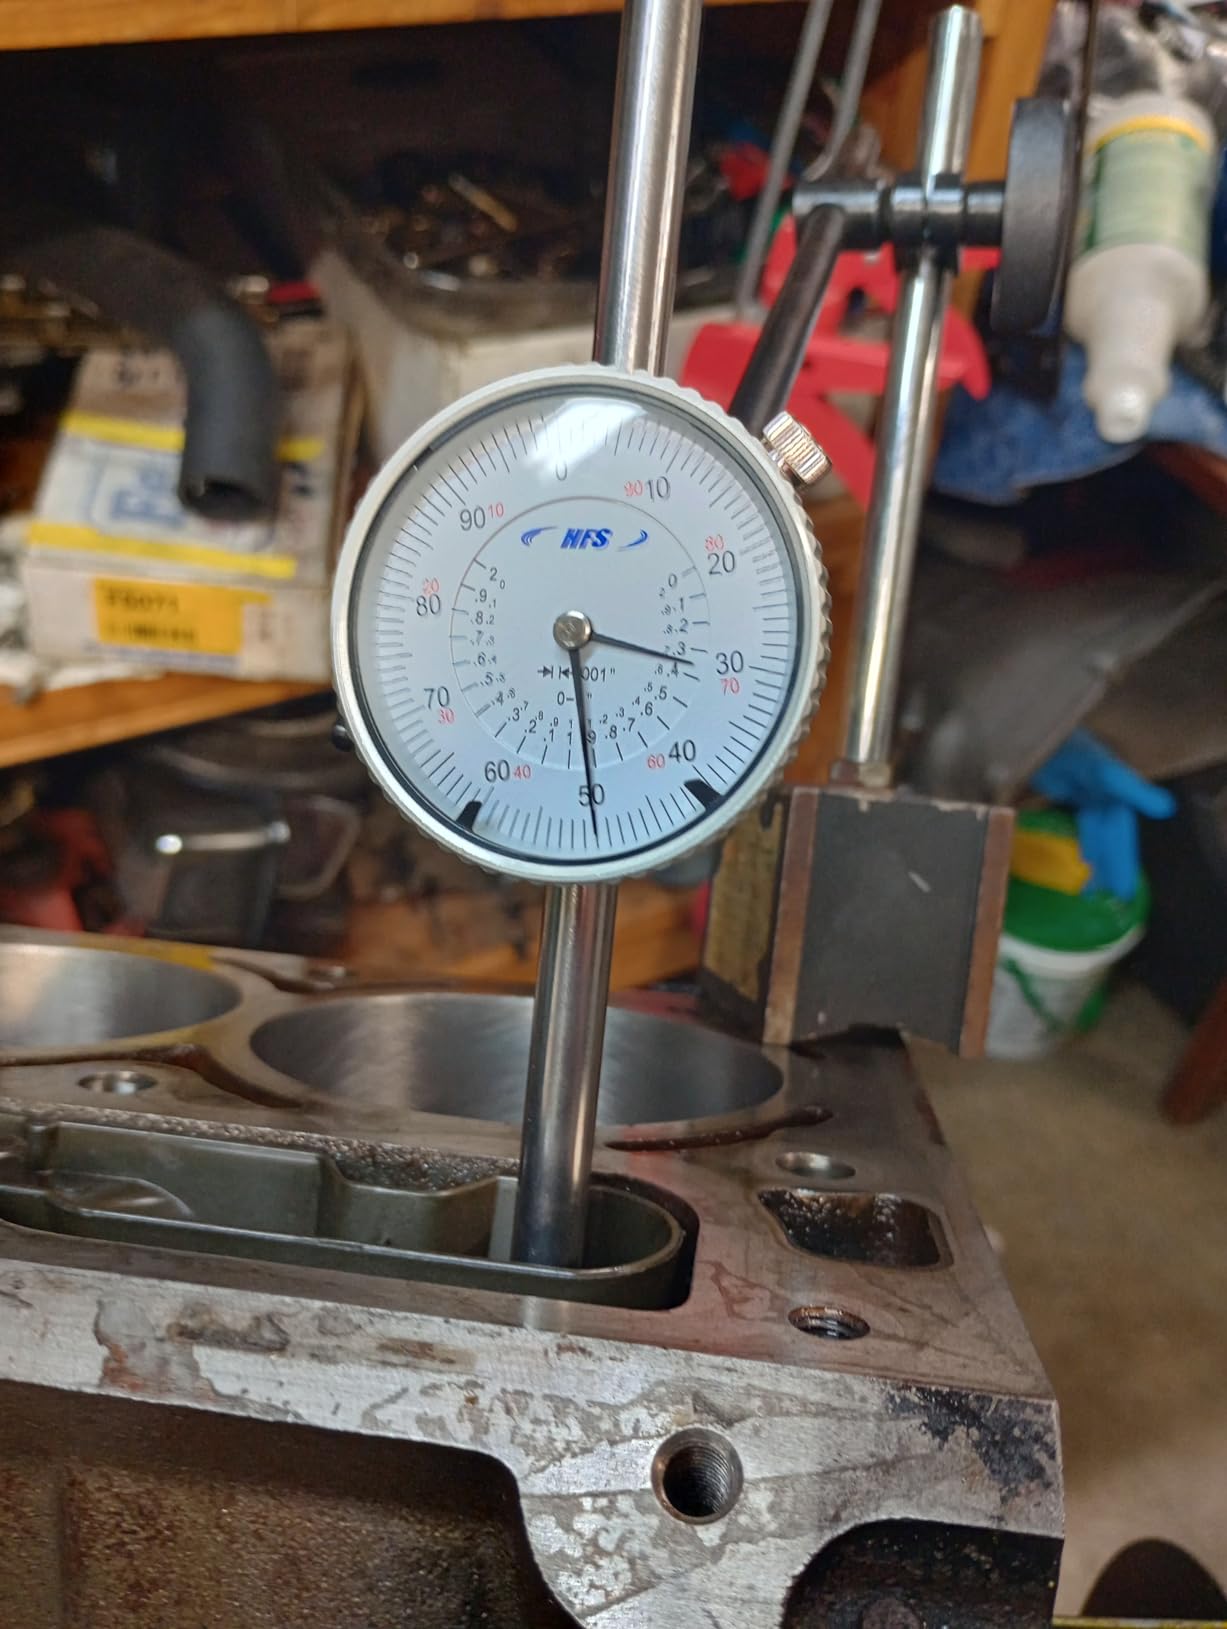
If your lathe has a cast bed or a headstock that vibrates, base stiffness is the limiting factor, not the gauge. This set pairs a 0-1 inch indicator with a base rated at 176 lbs of pull across two magnet faces, which is the tier where the arm stops creeping during a cut.
The reviews split cleanly here. Daily machinists rate it as good value for flywheel and bellhousing style alignment checks, while hobbyists say the stand suits occasional work and advise a better dial for routine precision work.
The base is the strongest part of this kit
Two magnet faces with on and off control need metal at least 30mm thick, and the total height of 14.1 inch puts the tip where you need it on a lathe without a riser. Owners doing repeatability checks within 0.001 inch report consistent results.
A dial that is merely adequate
The gauge itself is described as mechanically rough with a cheap appearance and is hard to zero. There are also reports of units arriving with a cracked lens and screws too short for the second back piece, so inspect it on arrival.
Fit and finishing details
The rack and contact point are hardened stainless steel, built to ASME and ANSI standards, and the clamping hole is 3/8 inch (9.52mm). A plastic storage case is included, which matters more than it sounds for an instrument that is fragile in transit.

8. Neoteck 0.03 inch Lever Test Indicator with 90 lb Base – Compact for Tight Lathes
Neoteck 0.03″/0.0005″ Dial Test Indicator and 90lbs/40kg Magnetic Base Set
0.03 inch range
0.0005 inch accuracy
Lever action
5.7 inch base
Pros
- Lever action is the correct style for lathe work
- Articulation is smooth and holds firmly
- Returns to exact zero after release
- Compact base fits tight spaces
- Repeatability compared well to costlier brands
Cons
- Magnet is smaller than expected and wants a polished round surface
- One report of a needle that stuck with no seller response
Small lathes and woodturning setups run out of room fast. This test indicator is the only compact option in the pool, with a total base height of 5.7 inch, and it carries the lever action that makes shoulder and taper work practical.
Owners who already know indicators treat it as a sensible alternative to hundred dollar name brands, and several report the arm returning to exact zero after release. Buyers who need certified all-day accuracy are advised to step up a tier.
Lever action for shoulder and taper sweeps
A test indicator’s arm lets you slide along a shoulder or up a taper while staying mounted, which is a job a plunger indicator does poorly. At 0.0005 inch accuracy over 0.03 inch of range it covers most setup variation you will meet.
A 5.7 inch base for narrow working areas
The lower arm is 2.6 inch and the upper arm 2.7 inch, with a 90 lbs (40kg) pull magnet that needs a 30mm or thicker metal surface. Keep in mind the magnet is smaller than expected and works best against a polished round steel surface.
Brass body and what cosine error means here
The brass body has high anti-magnetic properties, which is good near a steel chuck. Because the arm swings, the reading depends on the arm angle, so a 0.001 inch display can correspond to a smaller true displacement if the arm is not perpendicular to the movement.
9. Accusize AGD 2 Magnetic Back Indicator – Built Into the AGD 2 Standard
Accusize AGD 2 Magnetic Back Dial Indicator, 0-1in x 0.001in, EG08-1600
0-1 inch range
AGD 2 dimensions
44 lb magnetic back
Bezel clamp
Pros
- AGD 2 body drops into existing holders and fixtures
- Magnetic back grips a cylindrical workpiece directly
- Bezel clamp holds the zero reference
- Interchangeable hardened contact point
Cons
- 44 lb magnetic back is much weaker than a 176 lbs stand
- Smaller face than the two inch faces on several rivals
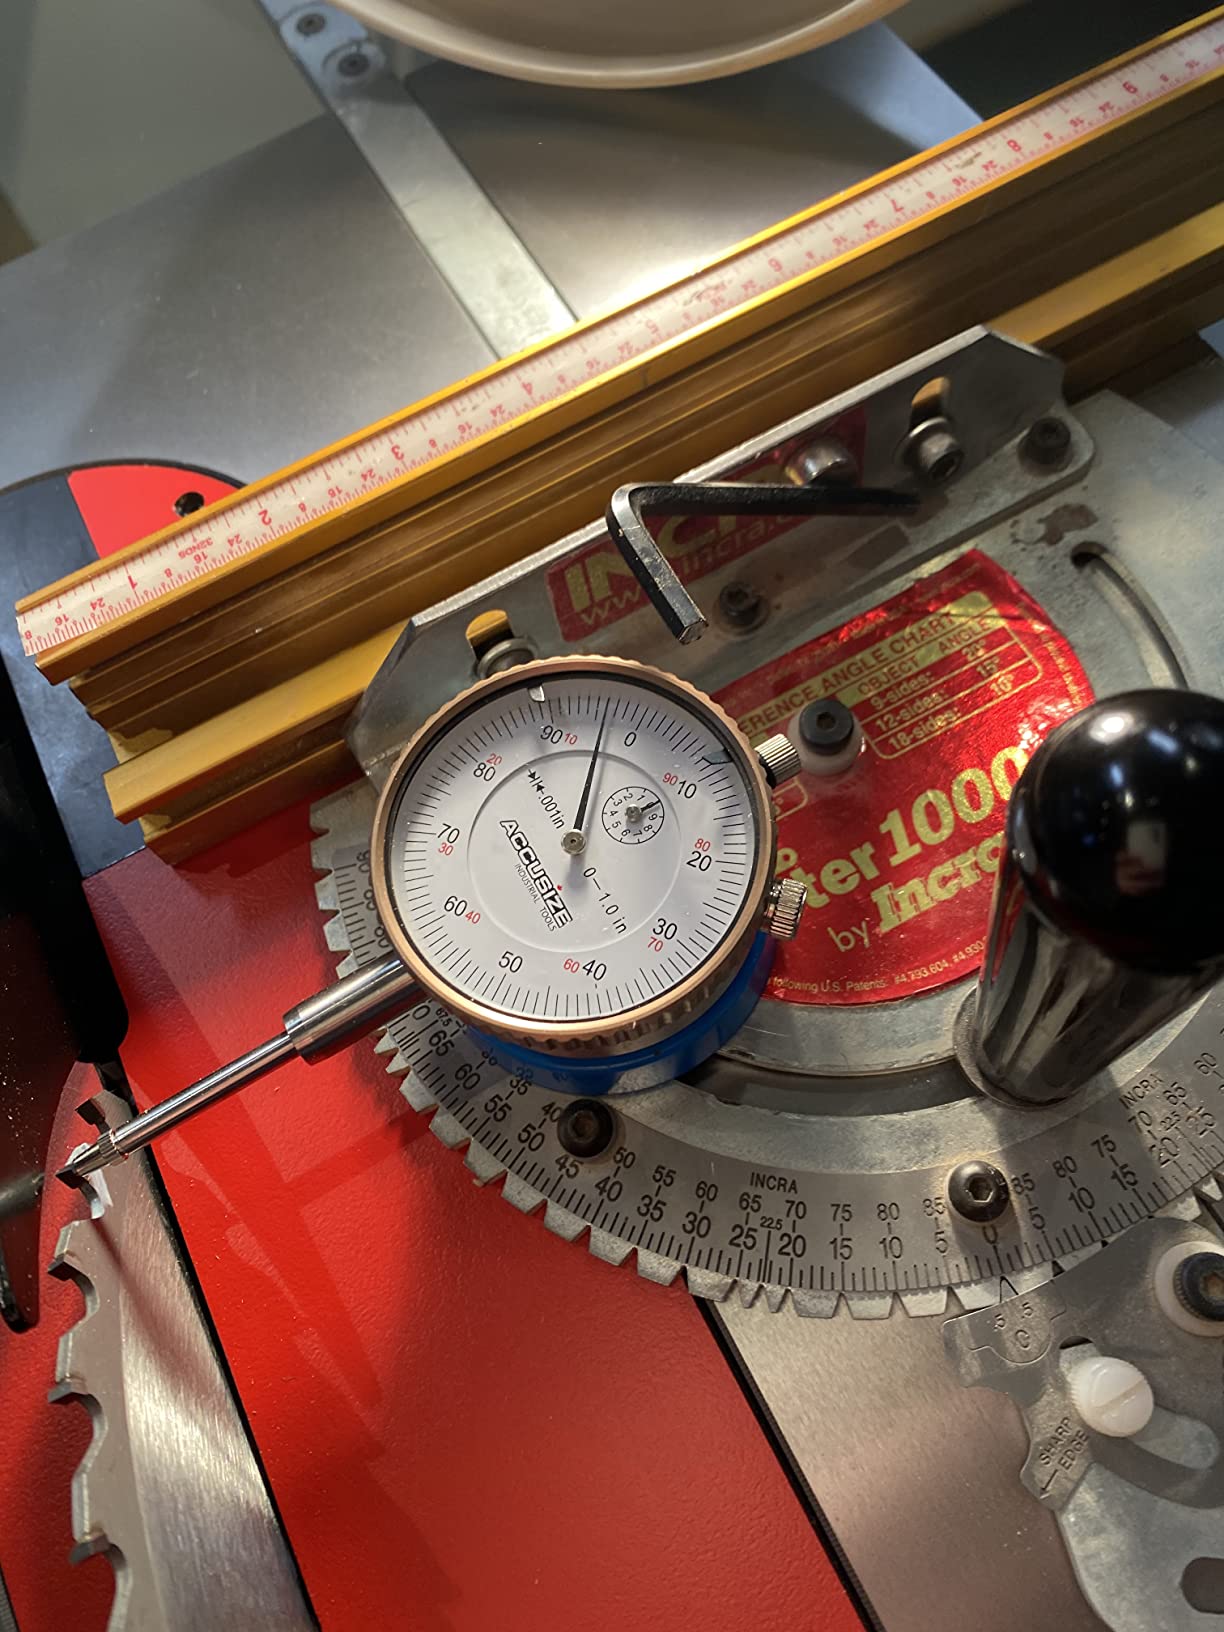
AGD 2 is the interchangeability standard for this category of instrument, and buying to it saves you money over a decade. If you already own AGD 2 gear, a new indicator in the same body drops straight into your existing holders, bases and fixtures.
The magnetic back is the interesting part. Rather than clamping to a flat surface, it grips a cylindrical workpiece or shaft directly, which is what you need for true-roundness and centre checks on turned parts.
AGD 2 standard dimensions
AGD 2 body dimensions mean universal holder, base and fixture compatibility, and the interchangeable hardened contact point swaps on a standard thread. The value here is drop-in compatibility rather than absolute precision, which is a fair trade for most shops.
A 44 lb magnetic back has limits
Forty four pounds of holding power on flat steel is plenty for indicator-on-light-duty checks and much weaker than a 176 lbs stand. It suits flat steel and moderate masses, so do not hang an arm off it on a heavy casting.
Readability over range
The range is a full 0-1 inch at 0.001 inch increments, but the face is smaller than the two inch faces on several rivals in this list. The rotational bezel with its clamp does hold a reference point without shifting zero, which is the feature that keeps it in service.
10. WEN 10703 1 inch Precision Indicator – The Sensible First Purchase
WEN 10703 1 in. Precision Dial Indicator with .001 in. Resolution
0.001 inch resolution
2 inch face
1.5 inch plunger
1/4 inch lug
Pros
- Least expensive working 0.001 inch indicator in this group
- Large two inch face is easy to read
- Stainless steel rack and contact tip
- ASME and ANSI compliant
Cons
- Bezel can arrive very tight and needs a documented fix
- Back screws work loose over time
- Not a heavy shop tool and not serviceable if dropped
For a small hobby lathe that has never been trammed, this is the least expensive way to find out whether your machine needs tramming. It meets ASME and ANSI standards, has a stainless steel rack and contact tip, and the two inch face is larger than several pricier options.
Owners use it for brake rotor, chuck and blade runout and rate it well against name-brand equivalents. The one recurring fault, a very tight bezel, has a well documented fix that takes a few minutes.
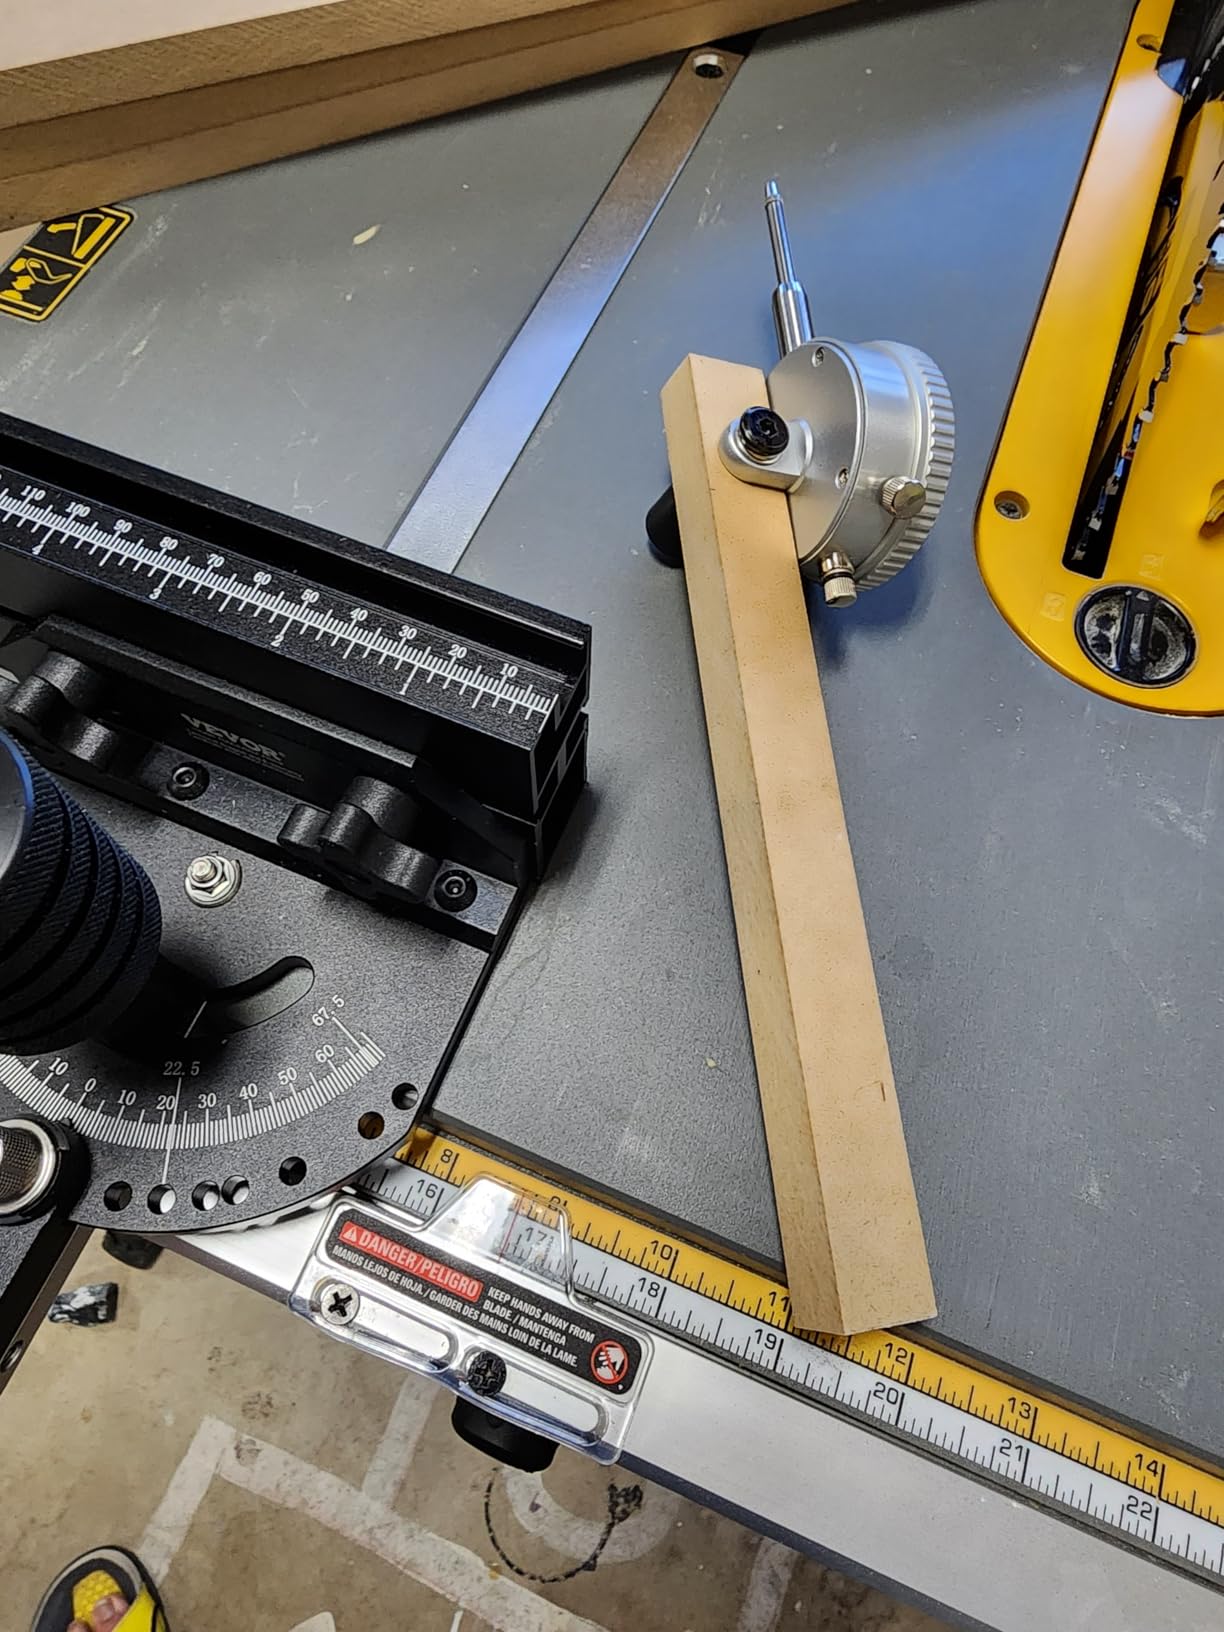
0.001 inch resolution is enough to start
Accuracy and repeatability are reported as acceptable out of the box for runout checks, and 0.001 inch resolution is the resolution most lathe setup work actually calls for. You are not losing measurable capability, you are losing the certificate.
Face size and plunger length
The two inch display face and 1.5 inch plunger give reasonable dial reading distance, and the 1/4 inch lug hole is the size that fits American tool posts. The rotatable bezel with adjustable markers gives you a reference point at any angle.
The bezel fix you will probably need
The most reported issue is a bezel that arrives extremely tight, which requires loosening two spring clamps behind the faceplate and adding threadlocker. Back screws also work loose over time, and the tool is not serviceable if you drop it.
How to Mount and Zero a Dial Indicator on a Lathe
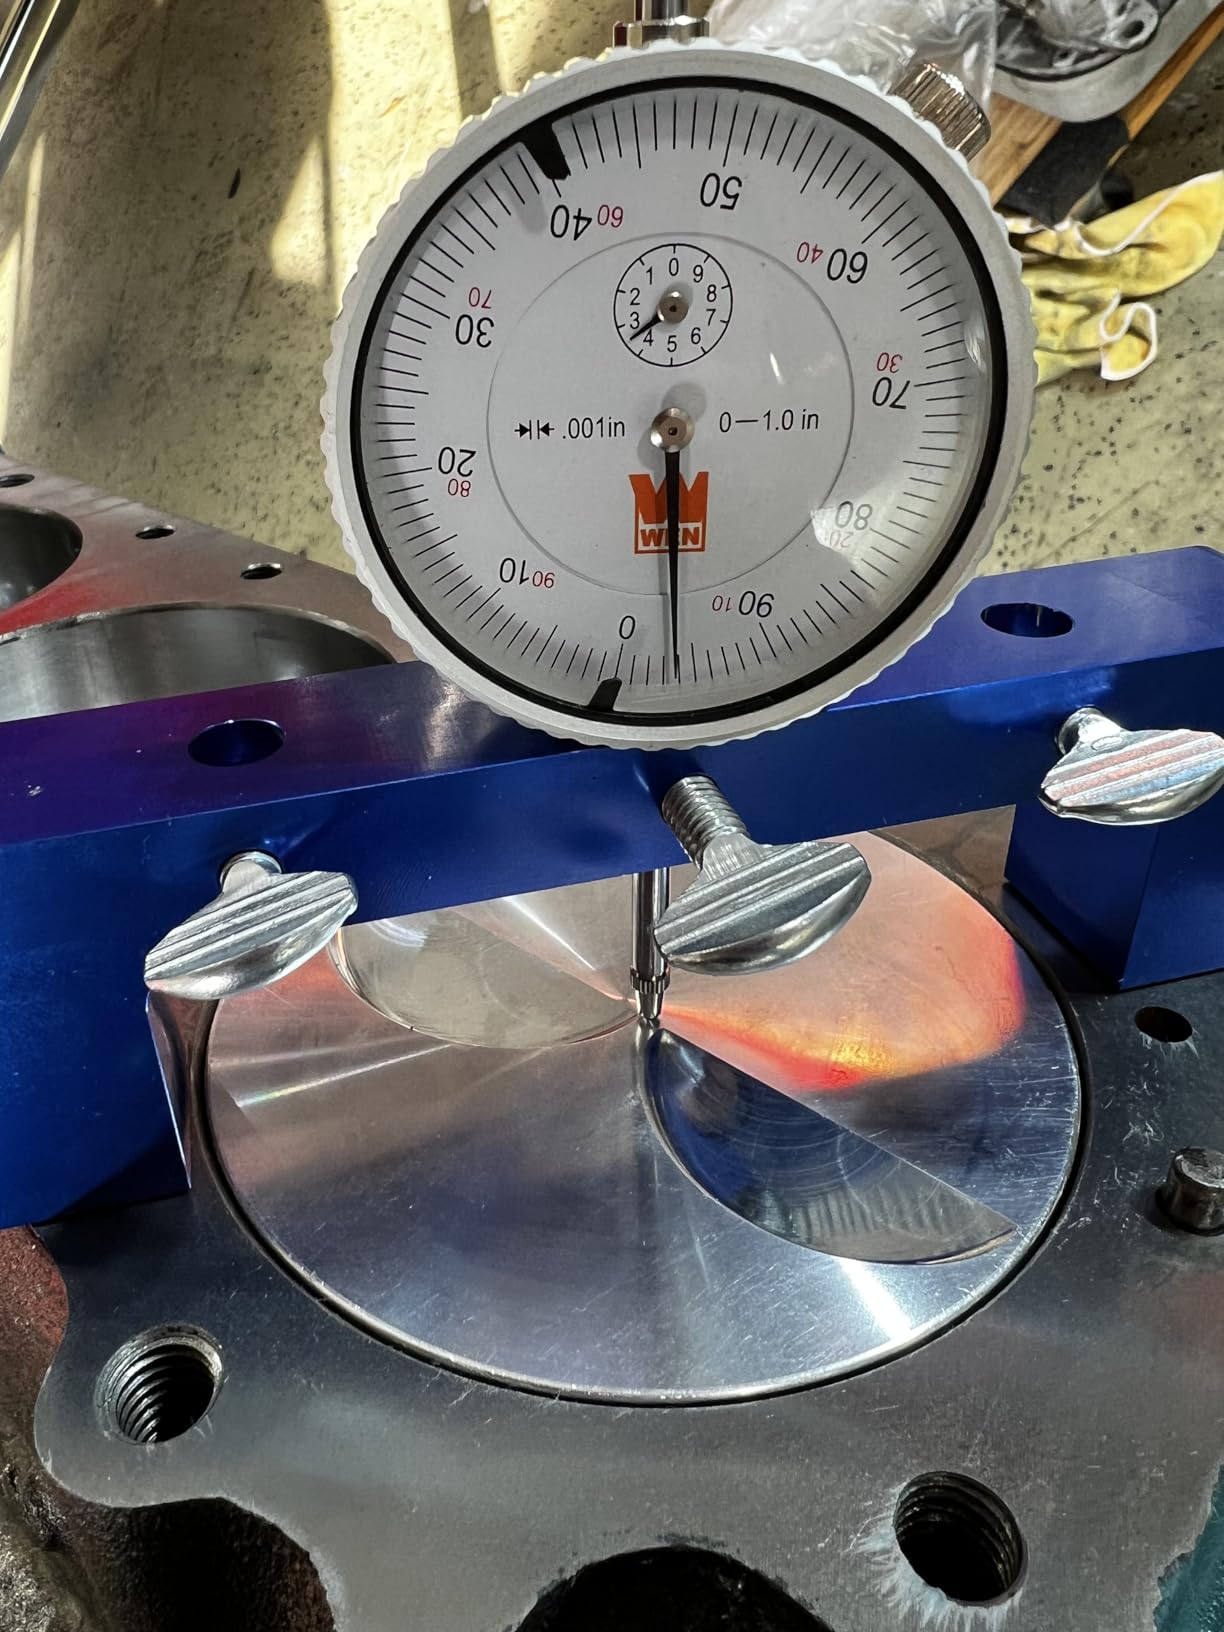
Most bad readings are setup errors, not instrument errors. This is the sequence we use, and it takes about five minutes once you have done it a few times.
- Clean the surfaces first. Wipe the chuck face, the workpiece shoulder and the tip of the indicator. A chip of swarf under the tip produces a runout reading that does not exist.
- Mount the base to solid metal. Clamp the magnetic base to the headstock casting or the lathe bed rather than to a thin cover plate. Switch the magnet on, then push the arm sideways firmly to confirm it holds.
- Set contact force by feel. Roll the arm in until the tip just touches, then back it off a fraction of a turn. The needle should sit between one and three thousandths of deflection so it has room in both directions.
- Align the tip perpendicular to the surface. A plunger indicator must be square to the face or the reading is wrong. Swivel the holder until the tip is perpendicular and lock it.
- Zero it. Rotate the bezel so the hand reads zero, and engage the bezel lock or clamp so the reference cannot drift during the cut.
- Take the reading, then re-check zero. Index the chuck one full revolution and note the high and low points. Come back to your reference and confirm the hand has returned to where it started.
- Write the number down. A runout figure you did not record is a number you will re-derive from scratch in six months.
On a small bench, layout matters more than most people expect. If you are still planning the workspace around the machine, our corner setup desk guide covers how to arrange a tight footprint so the lathe and the bench do not fight each other for clearance.
DI vs. DTI: Which One Your Lathe Work Needs
Dial indicator (DI): a rack and pinion gear train converts the straight-line motion of a plunger into rotation of the dial hand, so the reading is accurate only when the plunger is aligned exactly with the direction of travel.
Dial test indicator (DTI): a spring-loaded swinging arm pivots about a point, so the tip can be held at an angle and still follow the surface. The trade is cosine error: because the arm measures along its own axis, tilting the arm makes the displayed figure larger than the true displacement, so a 0.001 inch reading can correspond to roughly half that actual movement.
For lathe work, a DI wins when you are checking a chuck face or a bore where the plunger can be aligned square. A DTI wins when you are centering in a jaw chuck, aligning a tailstock, or sweeping a shoulder or taper at an angle, which is why Hobby-Machinist users consistently recommend owning one of each.
Buying Guide: What Actually Matters on a Lathe
Resolution and graduation
0.001 inch graduations cover general lathe setup. Step up to 0.0005 inch when you are chasing tailstock alignment or fine runout, and understand that accuracy is a separate number from resolution. An indicator with 0.0005 inch graduations and 0.001 inch accuracy tells you the display is fine and the mechanism is not.
Total range versus useful range
A one inch travel indicator gives clean readings over only a fraction of its sweep. Gear train flex and reversal error grow as you approach the ends of the travel, so treat the last tenth of an inch as reserve rather than measurement. Short-range instruments like a 0.03 inch test indicator stay accurate precisely because they are never stretched.
Stem, lug back and holder fit
Check three dimensions before you buy: stem diameter, which is 3/8 inch on most units here, lug hole size, which ranges from 1/4 inch (6.3mm) to 6.5mm across this pool, and the base clamping hole, which is 5/16 inch, 1/4 inch or 3/8 inch depending on the stand. Getting this wrong is the most common reason a good indicator ends up unused.
The base matters at least as much as the gauge
A plain magnetic base holds a single position and is fine for indicating a bore or a fixed face. A Noga-style articulating arm reaches around obstructions and into a chuck, which is what makes it the forum favourite for centering. A tool post indicator clamps to the carriage and travels with the tool, which is the right choice for zeroing tool height. If your bench and base are fighting for weight and space, the standing desk heavy setup guide covers supporting a rigid work surface.
Face size and readability
A two inch face is easier to read across a machine, which matters when you are leaning over a lathe in a workshop with poor light. Smaller faces are legitimate when the work is small parts and the indicator lives in a fixture, but for a lathe you will be looking at a needle from a distance. Sharpness matters just as much: a blurry or badly scaled panel turns a 0.0005 inch reading into a guess, so if you are recording tramming figures on screen, our dual 4K monitor guide is worth a look.
Case, tips and build quality
Forum readers distrust all-pros copy, and rightly so. Sealed faces, non-yellowing dial paint, a storage case and a set of spare contact points are the details that decide whether an indicator is still working in five years. Several brands here include a manufacturer certificate or inspection certificate, which matters only if your work needs traceability.
Signal handling around the bench
One thing nobody thinks about until the shop grows: a lathe, a dust collector and a compressor all want the same wall. If you are routing a camera or a test rig alongside the machine, a single lead is rarely enough, and our HDMI switch guide covers getting multiple sources onto one display without swapping cables every time you check a reading.
Are Cheap Dial Indicators Worth It?
Yes, for general lathe setup, provided you treat them as comparison tools and keep them in a case. A well-made budget indicator at 0.001 inch resolution will center a chuck, check runout and dial tool height to zero as reliably as a gauge costing several times more, because the physics of the job is forgiving at that scale.
What budget instruments do tend to lose is repeatability over time. Chip oil and grinding dust get into unsealed faces, and a needle that drags is a needle that lies. Forum users report mistaking a sticky indicator for failing lathe bearings, which is an expensive mistake involving a spindle rebuild that changed nothing.
The forum view is that brands like Starrett and Mitutoyo are trusted for jewel bearings and hardened steel gearing, with Swiss-made Interapid and Teclock carrying cachet among long-term users, while Central Tool and value imports are acceptable tiers. Cheaper indicators also skip storage cases, and an indicator without a case is an indicator that arrives already damaged.
Fixing a Sticky or Inconsistent Reading Before You Blame the Lathe
If the needle hesitates, work through this list before you start pulling bearings.
- Needle sticks at one point on the sweep. Usually chip oil or dust in the bezel gap. Pull the bezel, clean it, add a drop of instrument oil, and re-zero. The WEN bezel-tightness fault is related: loosen the two spring clamps behind the faceplate and add threadlocker.
- Reading changes every time you approach from the same direction. That is backlash in the gear train, usually from a hard drop or a dull contact tip. Replace the contact point, which is standard thread on most units here.
- Reading differs by 0.001 inch with the arm at a different angle. That is cosine error, not a fault. Square the arm to the direction of travel, or use a plunger indicator for that job.
- Reading drifts while you watch it. The base is moving. Push the arm laterally to test it, and if it moves, the magnet is on thin or painted material rather than 30mm of solid steel.
- You are over-forcing the tip. Push too hard and you are measuring your own hand. Set contact so the needle sits between one and three thousandths with a light, consistent touch.
- Contact point detached. Detachable tips fall out in transit. Fit a spare from the supplied set and check the thread before you mount it again.
One note on wood. A Practical Machinist thread makes the point clearly: on a wood lathe, moisture and grain compression mean 0.0005 inch is not a repeatable target. Use a roller tip to average the surface and a large flat tip, often called an elephant foot, for face work, and accept a coarser reading.
Frequently Asked Questions
What is the best brand for a dial indicator?
Starrett and Mitutoyo are the most trusted names for jewel bearings and hardened steel gearing, and Swiss-made Interapid and Teclock indicators have a strong long-service reputation. Fowler, Central Tool and value imports are widely used and perfectly adequate for general lathe setup. Buy to your holder fit first and brand second.
What are the two most common types of dial indicators?
1. Dial indicator (DI): a plunger driven by a rack and pinion gear train, accurate only when the plunger is aligned square with the direction of travel. 2. Dial test indicator (DTI): a spring-loaded swinging arm that can be held at an angle, but carries cosine error so the displayed figure changes with the arm angle.
How much should a dial indicator be loaded?
Lightly. Advance the arm until the tip just contacts the surface, then back off a fraction of a turn, leaving the needle between one and three thousandths of deflection. Over-forcing introduces hand error into the reading and can damage the contact point over time.
Are cheap dial indicators worth it?
For general lathe setup, yes, if you treat the indicator as a comparison tool rather than an absolute measurement. Budget units at 0.001 inch resolution will center a chuck and check runout reliably. Expect less long-term repeatability, and keep them in a case because unsealed faces collect dust and grinding grit.
Do I need 0.001 inch or 0.0005 inch resolution for a lathe?
Start with 0.001 inch for centering, runout checks and tool height zeroing. Step up to 0.0005 inch graduations for tailstock alignment and fine runout, and treat 0.0005 inch on wood as unrealistic because grain and moisture movement will not hold that number.
Which Dial Indicator Belongs on Your Lathe
If you are buying one kit and nothing else, the Qnkaa 0-1 inch set with its 9 inch magnetic stand and 22 tips covers the widest range of setup jobs and holds the largest review base in this group. If you would rather read digits than a needle, the Neoteck digital set adds 0.0005 inch resolution and a 176 lb base.
For day-to-day analog work the Clockwise Tools DIMR-0105 gives you a large two inch face and a single knob arm lock. For chuck centering specifically, the Taytools test indicator and its fine adjustment base is the most direct route to a centred workpiece, while the Mitutoyo 513-402-10E is the choice when your alignment work has to be traceable.
For tool post work, the HFS 1/4 inch lug back drops straight into most American posts, and the Accusize AGD 2 body is the one to buy if you want drop-in compatibility with gear you already own. On a compact lathe, the Neoteck 0.03 inch lever test indicator fits where nothing else will, and the WEN 10703 remains the sensible first indicator for a small hobby machine.
Whichever you choose, buy the base with it, keep it in its case, and clean the bezel before you trust a number. That is our complete guide to the best dial indicators for lathe setup in 2026, and the indicator you actually use beats the one you admire.