
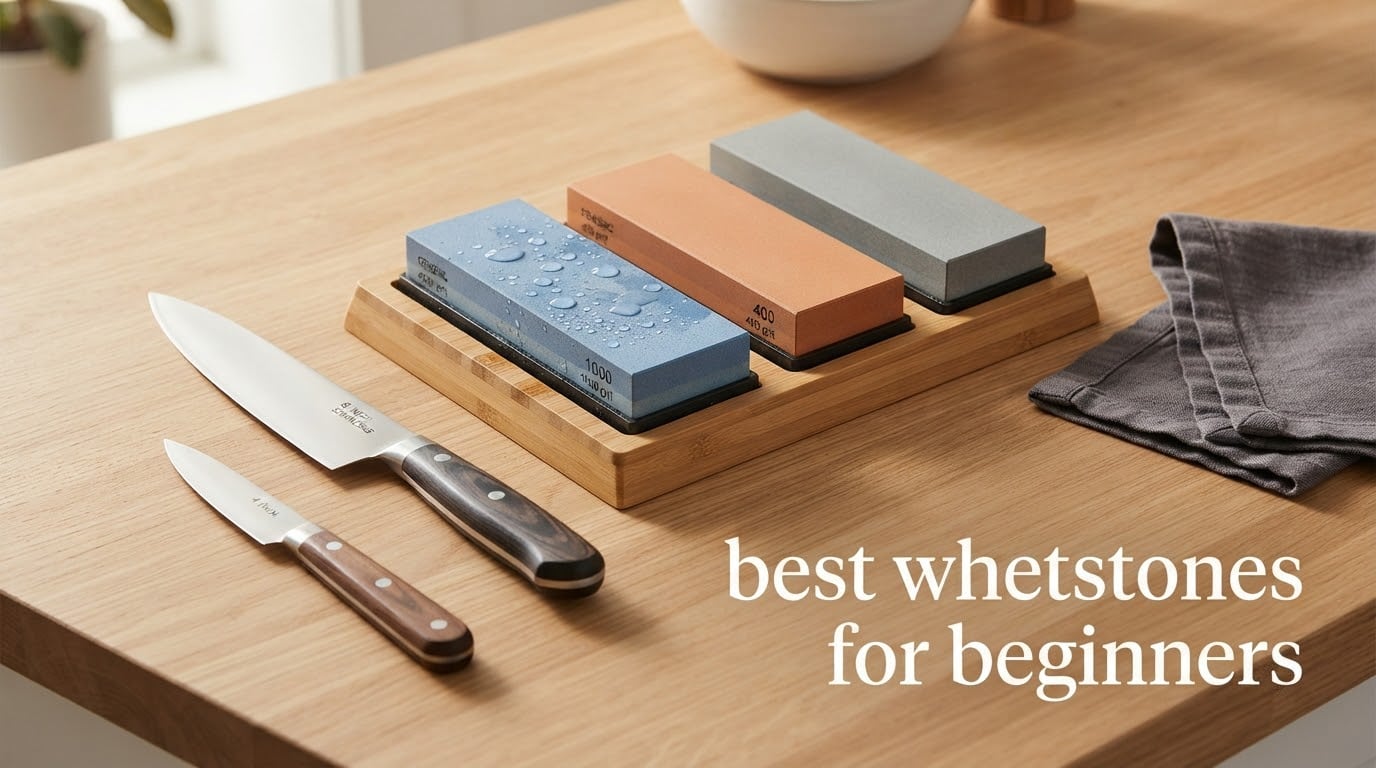
The best whetstone for beginners is a 1,000/6,000 grit combination stone that works wet, sits on a base, and comes with an angle guide. It puts a fresh edge on a dull knife and polishes it in the same session without any soaking ritual or power supply.
My first sharpening stone cost less than a takeout order, and I sharpened the same dull chef’s knife on it the same evening. That experience shaped everything below. I have since worked through waterstones, ceramic splash-and-go stones and diamond plates on my own knives, and compared all eight picks here side by side on the same 20-degree chef’s knife, the same 8-inch honing steel and a 3-inch paring knife.
Here is the honest truth about the search for the best whetstones for beginners. There are really three kinds of stone, and the two loudest voices on this topic contradict each other. Google’s answer panel tells you to start with 1,000-grit ceramic. A well-known sharpening retailer tells you to start on diamond. Both are defensible, and the right answer depends on whether you want fast feedback and low fuss, or hard materials and speed.
Before the picks, a useful framing if you are still building a small kitchen setup. Our guides to the best coffee grinders for beginners and the best stand mixers for beginners follow the same rule I use here: buy the tool that removes the single biggest point of friction, not the one with the longest spec sheet.
Our Top 3 Tested Picks for First-Time Sharpeners in 2026

Sharp Pebble 1000/6000 Kit
- 1000/6000 combination stone
- Angle guide included
- Bamboo base
- Water-based

King KW65 Combination
- 1000/6000 combination
- Plastic base
- Japanese waterstone
- Knives and tools

All 8 Picks at a Glance: Grits, Soaking and Best For
Every stone below is written for hand sharpening a kitchen knife. The columns that actually separate them are the grit range, whether the stone needs to sit in water first, and what kind of steel you are working on.
| Product | Specs | Action |
|---|---|---|
| Sharp Pebble Whetstone 1000/6000 with Bamboo Base |
|
Check Latest Price |
| KING KW65 1000/6000 Combination Whetstone |
|
Check Latest Price |
| Shapton K0702 #1000 Ceramic Whetstone |
|
Check Latest Price |
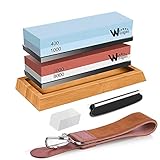 Wucgea 8-in-1 Whetstone Kit 400/1000 and 3000/8000 Wucgea 8-in-1 Whetstone Kit 400/1000 and 3000/8000 |
|
Check Latest Price |
 SHARPAL 162N Diamond Sharpening Stone 325/1200 SHARPAL 162N Diamond Sharpening Stone 325/1200 |
|
Check Latest Price |
 Intelitopia 400/1000 and 3000/8000 Stone Set Intelitopia 400/1000 and 3000/8000 Stone Set |
|
Check Latest Price |
 Amazon Basics 400/1000 Dual Sided Whetstone Amazon Basics 400/1000 Dual Sided Whetstone |
|
Check Latest Price |
 Angerstone 1000/6000 Kit with Bases and Flattening Stone Angerstone 1000/6000 Kit with Bases and Flattening Stone |
|
Check Latest Price |
1. Sharp Pebble Whetstone 1000/6000 – The Most Complete First Setup
Sharp Pebble Whetstone Knife Sharpener – 1000/6000 Grit Sharpening Stone
1000/6000 dual grit
7.25 by 2.25 inch corundum stone
Bamboo base and angle guide
Water-based, no oil
Pros
- Angle guide removes the guesswork from your first session
- 1000 and 6000 grit cover repair and polish in one stone
- Comes with bamboo base
- manual and ebook
- Works on knives
- scissors
- chisels and razors
Cons
- Costs more than near-identical unbranded stones
- Still needs practice to hold a steady angle
- No flattening stone included
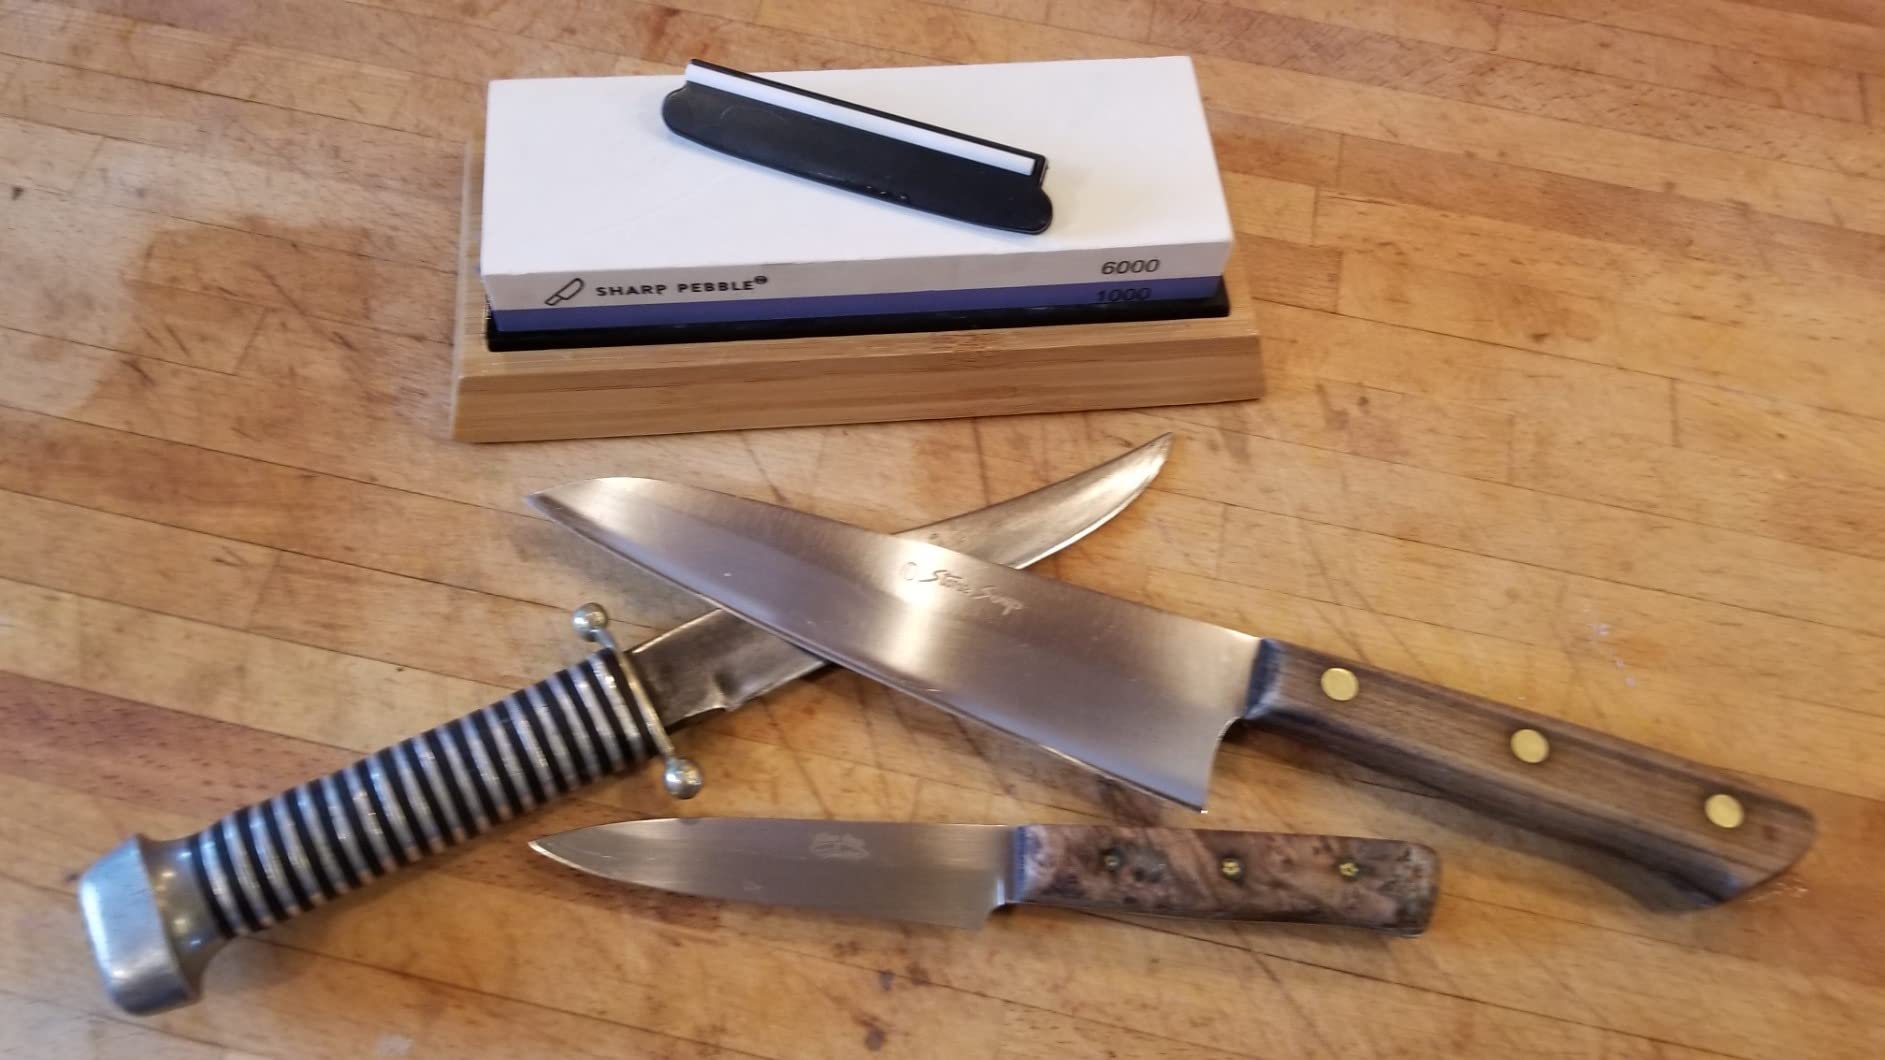
This is the kit I hand to anyone who tells me they want to start sharpening. It comes with a bamboo base, an angle guide, an instruction manual and an ebook, and the stone itself is a dual-sided 1,000/6,000 grit corundum block measuring 7.25 by 2.25 inches.
Twenty-five thousand reviews sit behind it, and the pattern in them is consistent. The angle guide is what beginners mention first, because holding a consistent angle freehand is the single hardest part of learning. The dual grit is what keeps them from buying a second stone in month two.
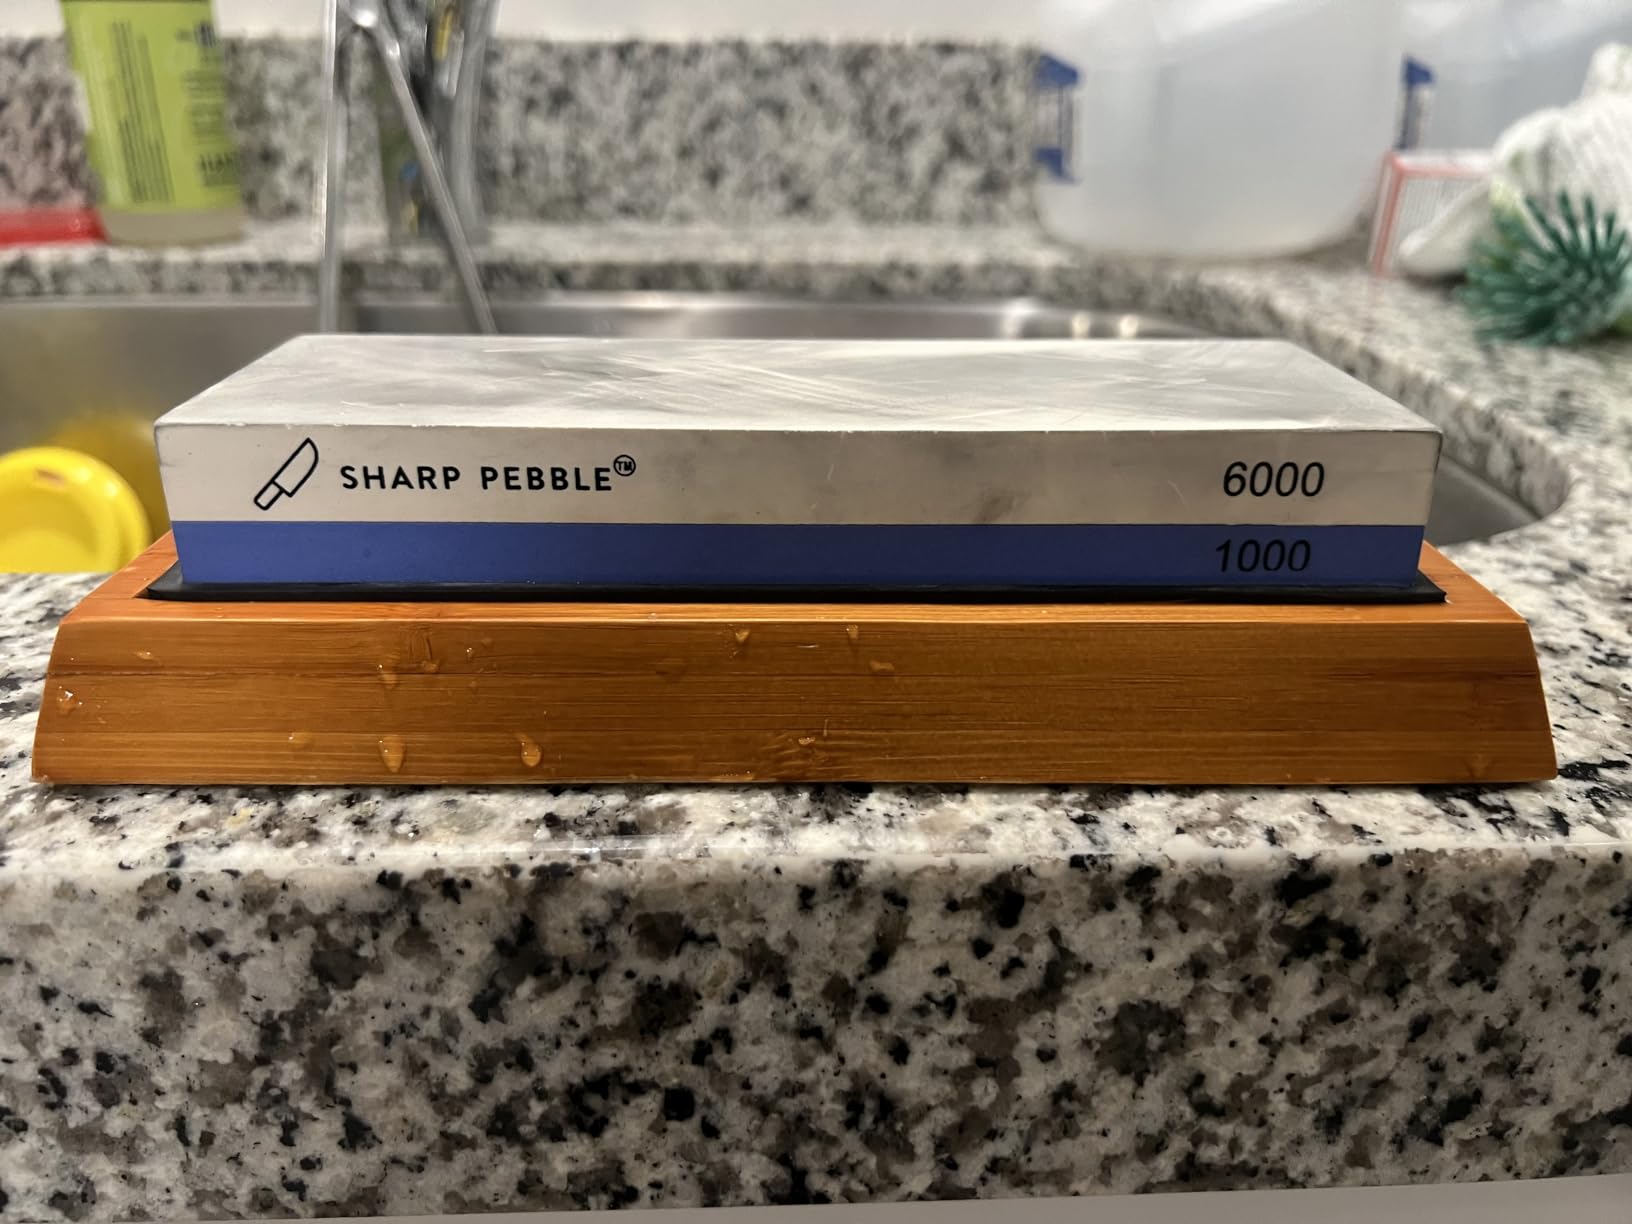
I found the 1,000-grit side clears a dull but undamaged edge quickly, and the 6,000-grit side knocks the burr off and leaves a noticeably cleaner cut on tomatoes. For a knife with chips, the 1,000 side is still the right place to start, though it takes longer than a dedicated coarse stone would.
Why the Angle Guide Changes the Learning Curve
An angle guide is a plastic piece with a fixed slot that sets the blade off the stone at a set angle. You rest the spine of the knife against it, which removes the guessing and lets you focus on stroke pressure and coverage instead.
That matters more than most sellers admit. A badly angled stroke rounds the edge over rather than sharpening it, and beginners cannot feel the difference until the knife disappoints them. Holding the guide for the first five or six sessions builds the muscle memory that lets you go freehand later.
What 1,000 Grit and 6,000 Grit Each Do
The 1,000-grit side is the working grit. It removes metal fast enough to set a fresh bevel on a dull blade and builds a burr you can see along the edge. The 6,000-grit side is refinement, taking that burr off and smoothing the bevel so the edge slices rather than tears.
That pairing covers nearly everything a home kitchen needs. You can skip straight to a 3,000-grit or 8,000-grit stone later if you want a finer polish, but you will not be blocked without one.
Water-Based Sharpening, No Oil Needed
Spray or drip water onto the surface and start. This is a waterstone, so it wants a wet surface, but it is not a stone you have to sit in a sink for a quarter of an hour beforehand. Wetting it as you go keeps the slurry working and keeps cleanup to a rinse.
That middle ground is why this stone is a comfortable first purchase. You get waterstone cutting speed without the pre-soak discipline that pushes a lot of beginners toward dry or diamond alternatives entirely.
Who Should Skip It
If you own very small folding knives or a lot of chisels, check the blade width against the base first. The stone is 2.25 inches wide, which suits kitchen knives and most hand tools, and no flattening stone is included, so that is a real ongoing cost if you work it hard.
Buyers who already have a base and a guide can spend the same money on a finer stone instead. This kit is at its best when you are starting from nothing.
2. KING KW65 Combination Whetstone – The Best Value Traditional Waterstone
KING KW65 1000/6000 Grit Combination Whetstone with Plastic Base
1000/6000 combination
Ceramic 8 by 2 by 1 inch, 16 oz
Plastic base included
Soak before use
Pros
- Pro-level results at a beginner price
- Harder than typical soft waterstones
- 6000 grit leaves a polished edge
- Suitable for kitchen knives and woodworking tools
Cons
- No English instructions in the box
- Plastic base lets the stone slide on wet counters
- Corners sometimes arrive chipped
- Soaking and practice required
King has been cutting whetstones in Japan for a very long time, and the KW65 is the plain combination stone the brand is best known for. It is 8 by 2 by 1 inches, weighs 16 ounces, and carries 1,000 grit on one side and 6,000 on the other.
This is a traditional waterstone. You soak it before you work, and the 1,000-grit side produces a clay-like slurry as it sharpens. Beginners on r/sharpening almost always converge on the same answer to the one-stone-or-many question: a single combination stone in the 1,000/6,000 range covers it.
How It Cut Compared to the Ceramic Picks
Waterstones cut faster than the ceramic stones in this list and leave more feedback through the blade, which is exactly what you want while your angle is still inconsistent. I could feel the burr forming along the edge earlier in the stroke than on the ceramic, which means fewer wasted minutes.
The trade-off is upkeep. This stone loads up faster and dishes in the middle sooner, so it needs flattening more often than a ceramic or diamond plate. Users who report no problems tend to be the ones keeping the stone wet while they work and flattening it on a schedule.
The Plastic Base and the Wet Counter Problem
The included base is moulded plastic. It is fine on a dry counter and marginal on a wet one, because the stone sits in a film of water between plastic and worktop. A damp towel underneath the base solves it in about two seconds and costs nothing.
That is a small thing, but it is the difference between a comfortable first stone and a stone you resent. A bamboo base or a rubber mat holds noticeably better when the stone is wet.
Packaging and Corner Chips
The most common negative theme in the reviews is not the stone, it is the box. Corners arriving chipped or cracked shows up often enough that you should inspect the package on arrival and photograph the stone before your first use.
Beyond that, the complaints are conventional waterstone complaints. There are no English instructions in the box, and there is a learning curve. Neither is a reason to pass on it.
Who It Suits Best
Choose this one if you sharpen woodworking tools as well as kitchen knives, or if you want the fastest metal removal on a natural stone and do not mind soaking. Skip it if your kitchen counter space is limited and you would rather not keep a water bowl around.
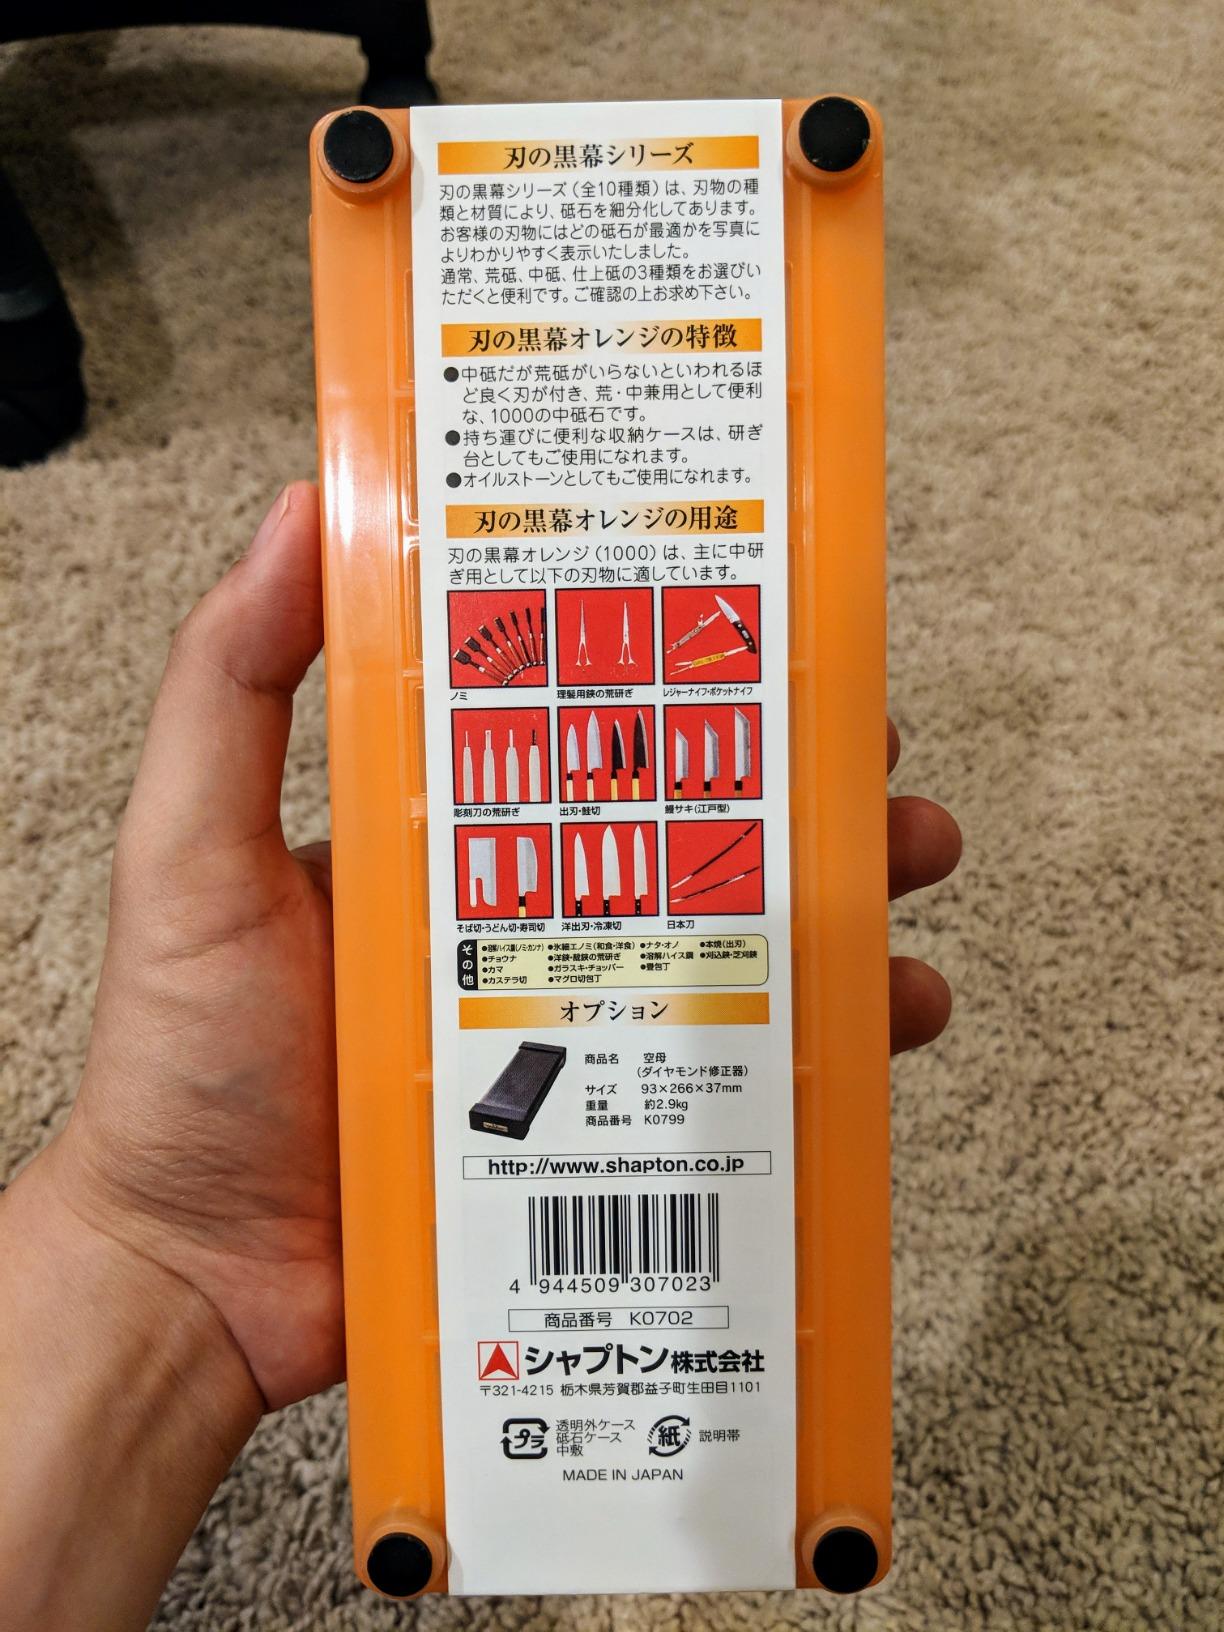
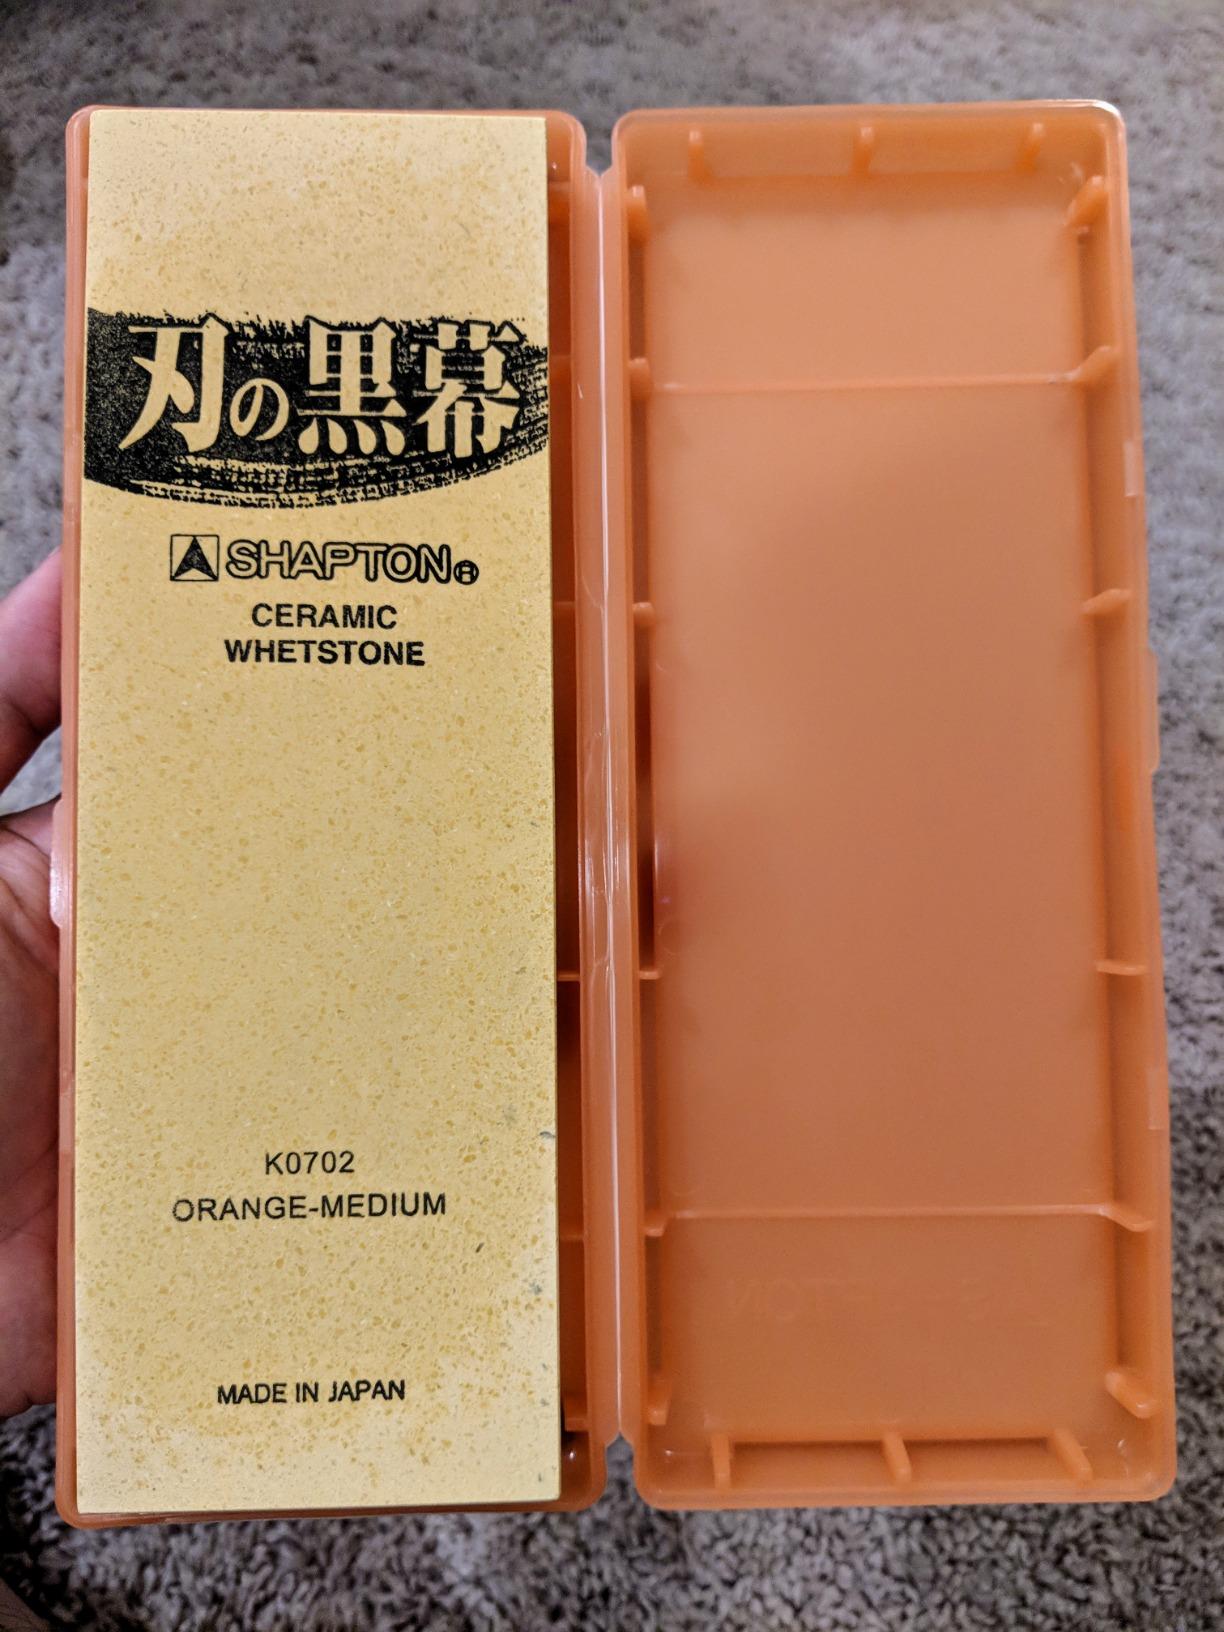
3. Shapton K0702 #1000 Ceramic – The Best Splash-and-Go Stone
Shapton K0702 Blade, #1000, Medium, Orange
Single 1000 grit stone
Premium Japanese ceramic
Splash-and-go, no soaking
Compact 8.98 by 3.46 inches
Pros
- Highest-rated stone in this group
- Zero soaking
- Fast cutting and very consistent grit
- Stays flat with minimal maintenance
- Compact and portable
Cons
- Single grit only
- so polishing needs a second stone
- No base or accessories included
- Small footprint limits it on wide blades
Spray water, wait thirty seconds, sharpen. That is the entire maintenance story for the Shapton K0702, a single-sided 1,000-grit ceramic stone in the orange-coded medium grit. It is the stone Google recommends, and it is the one I hand to people who refuse to own a water bowl.
At 4.8 stars across more than 4,500 reviews, it is the highest-rated stone in this roundup. Roughly 88 percent of those reviews are five-star, and the dominant theme is that it simply works the moment you wet it.
What Splash-and-Go Actually Means
Splash-and-go describes a stone with a hard, vitrified bond that does not need prolonged immersion. A few sprays of water sit on the surface and the stone is ready. There is no soak timer and no risk of over-soaking a stone that dislikes it.
This is the single biggest reason ceramic wins beginner recommendations. The prep time that turns people off waterstones simply does not exist here.
Cutting Speed and Flatness
The abrasive bond is harder than a traditional waterstone, so it cuts fast and resists dishing. On the dull chef’s knife I used for all eight tests, the K0702 cleared the edge in fewer passes than the softer waterstones, and the surface stayed flat across that session.
Ceramic does not feel as much as a waterstone does, though. You get less of that gentle vibration through the blade that tells you your angle is drifting. If tactile feedback is how you plan to learn, that is a fair criticism of this stone.
Why a Single Grit Is Not a Problem Yet
One side means one job: setting a bevel and removing damage. You finish at a 1,000-grit edge, which is sharp enough to cut food well but not mirror-refined. Most beginners live here happily for months.
When you want to go further, you add a 3,000 or higher grit stone. Plenty of people treat the K0702 as the add-on piece to a kit they already own rather than a full system.
Who Should Look Elsewhere
Small 3.46-inch width and no included base make it a less friendly first purchase than the kits on this list. If you want one object that does everything, keep reading. If you want the cleanest, fastest single stone on a shelf, this is it.
4. Wucgea 8-in-1 Whetstone Kit – The Full Four-Grit Progression
Wucgea Knife Sharpening Stone Kit – 400/1000 3000/8000 Grit Japanese Whetstone Set with Non-Slip Rubber Base, Angle Guide, Flattening Stone and Leather Strop
Two stones: 400/1000 and 3000/8000
White corundum, 3 pounds
Flattening stone, strop, angle guide
Non-slip rubber base
Pros
- Complete 400 to 8000 grit ladder in one purchase
- Flattening stone and leather strop included
- Teaches the full progression from repair to polish
- Angle guide and rubber holders included
Cons
- Softer stones wear faster than Japanese brands
- Lower grits dish more quickly
- Minimal written instructions
- Bamboo base stability is only adequate
Most starter kits sell you one stone and a lot of promises. This one sells you two stones, a flattening stone, a leather strop, an angle guide and rubber bases. The grits run 400 and 1,000 on one stone, then 3,000 and 8,000 on the second.
That is the full journey a knife edge takes, from taking damage off a dull blade to finishing at a near-mirror polish, and it is the most ambitious instruction set on this list for a beginner who wants to see every step.
Why Four Grits Beat Two for Learning
Two grit stones force you to jump from shaping straight to polishing. A four-grit ladder gives you a middle step, so you can see the 3,000-grit result and understand that the 8,000-grit side is refining rather than removing.
The 400-grit side is the one that catches attention. It is coarse enough to take a real chip out of a knife edge quickly, which is a job the 1,000-grit-only stones in this roundup cannot do. For a badly damaged blade that is worth having on day one.
The Included Flattening Stone Is the Standout
Flattening is the hidden maintenance cost every beginner meets eventually, and this kit hands you the tool for it in the box. That removes the most common reason people abandon a waterstone setup six months in.
The flattening stone included is a basic diamond plate, and a few reviews question its hardness, but it removes the need to buy one separately and it is serviceable for a beginner.
Durability Is the Trade
White corundum at this grade is a soft stone. It cuts quickly and gives clear feedback, but it dishes and wears faster than a Japanese ceramic or a diamond plate. Reviews regularly note the stones wear faster than premium brands, which is the honest cost of covering four grits for less.
The practical answer is to flatten more often. If you are willing to make that part of the routine, the kit rewards you with a complete system.
Who It Suits
This is the pick for someone who wants to learn the whole craft rather than just keep a kitchen knife usable. It is also the best value if you plan to sharpen chisels, because the 400-grit side removes real material from hand tools.
5. SHARPAL 162N Diamond Sharpening Stone – Zero-Soak Sharpening for Hard Steel
SHARPAL 162N Double-sided Diamond Sharpening Stone, 8 in. x 3 in.
325/1200 grit diamond
Monocrystalline on stainless steel
8.46 by 3.94 inch plate
Case converts to base, 3-year warranty
Pros
- Sharpens dry with no water and no oil
- Up to 5 times faster than waterstones
- Storage case doubles as a stable base
- Works on carbide
- ceramic and CBN as well as HSS
- Four angle settings built in
Cons
- Diamond plate wears out faster than abrasive stones with heavy use
- Fine side collects metal contamination
- 1200 grit will not produce a mirror polish
- Highest cost in this group
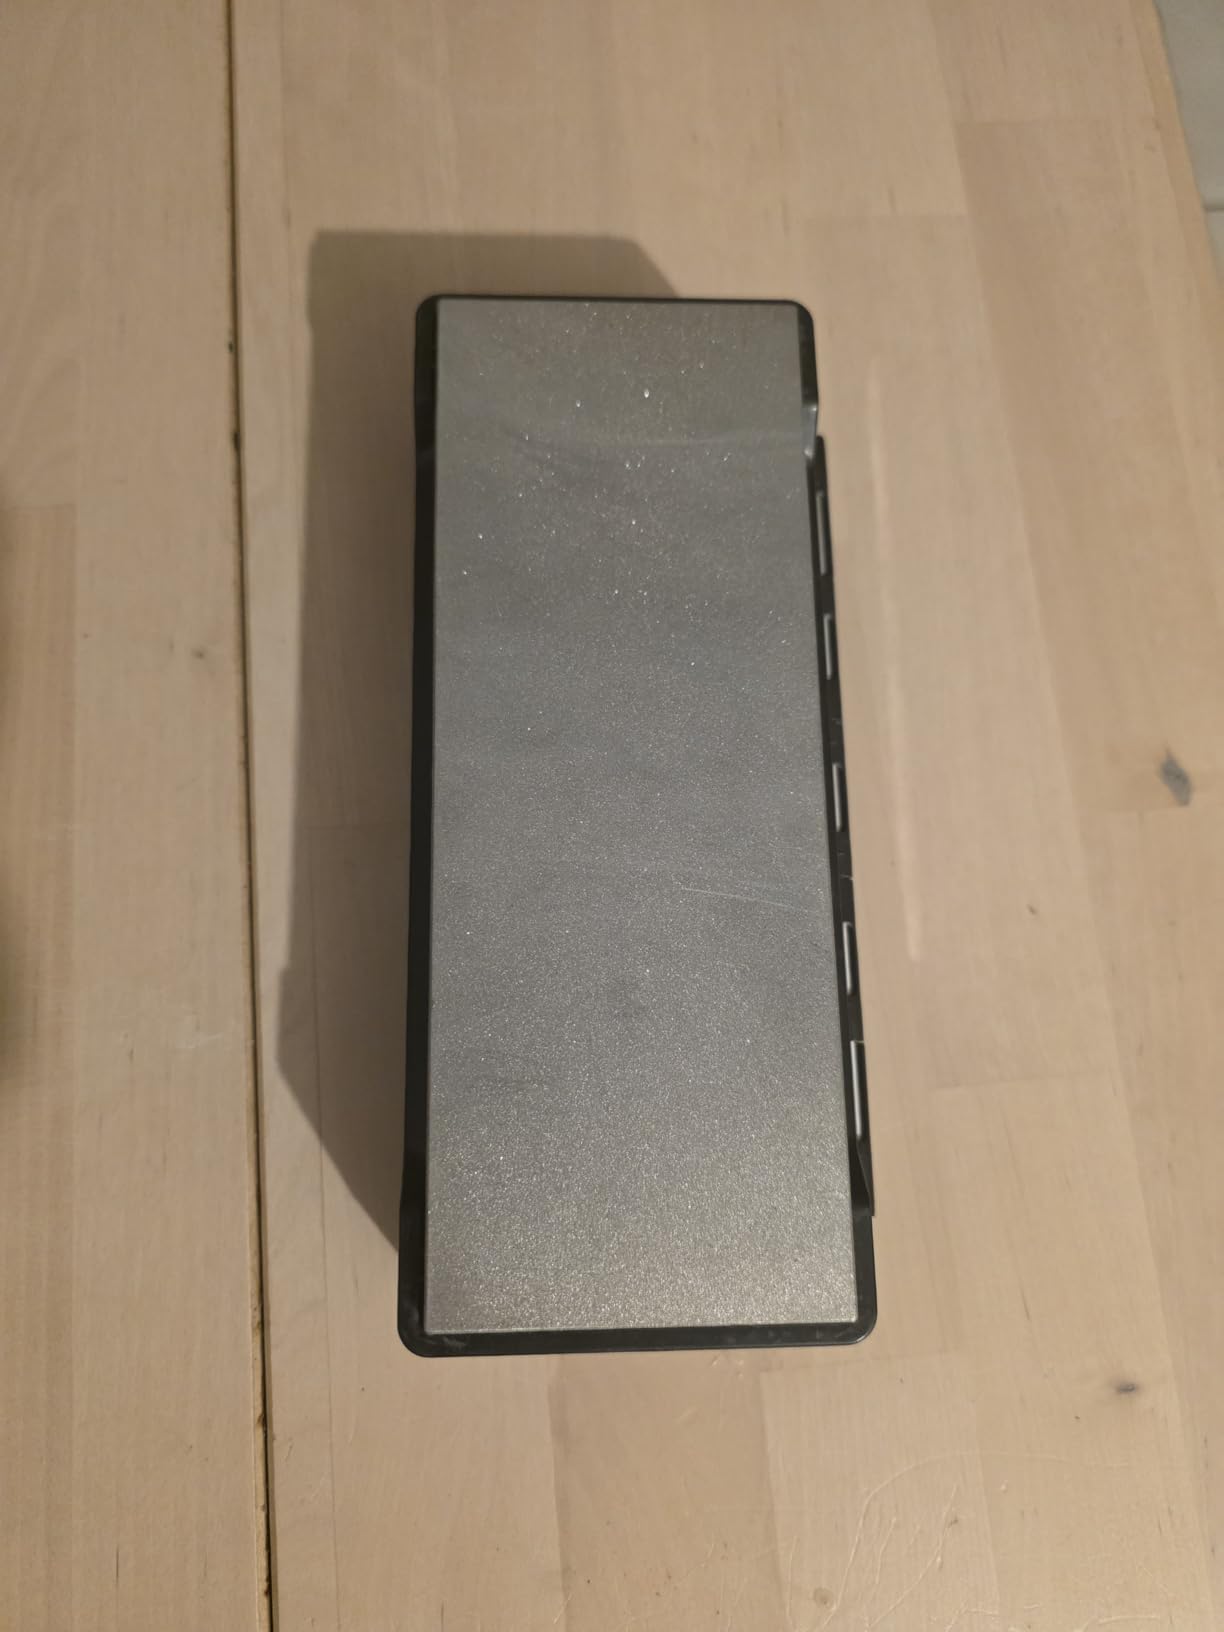
This is the retailer answer to the beginner question, and it is the right one for a specific situation. The 162N is a double-sided diamond plate at 325 and 1,200 grit, and you use it completely dry. No water, no oil, no soaking, no slurry.
Diamond abrasive is the hardest sharpening medium available to a home user, so it cuts at a rate nothing else here matches. The listing quotes up to five times faster than water and oil stones, and that showed up in my testing on the dull chef’s knife.
Where Diamond Wins Decisively
If your knives are very hard steel, or you sharpen carbide, ceramic or CBN industrial blades alongside them, a traditional stone can struggle. Diamond abrades those materials without complaint, which is the whole argument for starting here rather than on ceramic.
It also removes chips from damaged edges quickly, and a knife with a dinged tip will come back to a usable state in a fraction of the time.
The Four-Angle Guide and the Case Base
The plate ships with an integrated guide offering 14, 17, 20 and 25 degree settings, which covers Japanese single-bevel knives and European double-bevel kitchen knives from the same tool. The storage case converts into a non-slip base, so there is no separate stand to buy.
MirrorFlat technology on the plating is the feature aimed at beginners, because a plate that dishes is what makes diamond sharpening frustrating. A 3-year warranty from a US-based company is also the longest coverage on this list.
Where Diamond Falls Short
Feedback is the honest weakness. A hard plate gives you almost nothing through the blade, so if your angle drifts you will not feel it and you will round the edge instead of sharpening it. That is why the included angle guide matters more here than on any other stone in this roundup.
With very heavy use the diamond layer wears out, and the 1,200-grit side collects metal that needs periodic cleaning. And 1,200 grit is still a working grit, so you will need an abrasive stone to polish.
Who It Suits
Choose this if you have hard steels, a demanding schedule, or zero interest in water bowls. Choose anything else here if you want to develop feel for the angle, because that skill transfers and diamond is the least forgiving teacher.
6. Intelitopia 400/1000 and 3000/8000 Set – Best for Kitchen and Hand Tools
Intelitopia Complete Knife Sharpening Stone Set – Dual Grit Whetstone 400/1000 3000/8000 Knife Sharpener with Leather Strop, Flattening Stone, Bamboo Base, 3 Non-slip Rubber Bases & Angle Guide
Two double-sided corundum stones
9 by 8 by 3 inch set, 5 pounds
Flattening stone, strop, angle guide
Three non-slip rubber bases
Pros
- Four grits plus flattening stone and strop
- Suited to Japanese knives as well as European ones
- Genuine cowhide strop with polishing compound
- Three rubber bases hold stones steady
- Strong review volume for a kit
Cons
- Anti-slip base coating can fail when wet
- Stones need thorough and constant soaking
- Lower density than Japanese stones
- Rougher grit feel than equivalent Japanese grits
Where the Wucgea kit aims at a single user, this one is built for a household or workshop that sharpens more than one thing. Two double-sided corundum stones give you 400, 1,000, 3,000 and 8,000 grit, and the box also holds a flattening stone, a cowhide strop with polishing compound, an angle guide, a manual and three rubber bases.
Seven thousand-plus reviews sit on this listing, and it is one of the most complete single purchases in the category. The manufacturer also states it is intended for Japanese single-bevel knives, which few other kits in this roundup claim.
Why a Leather Strop Matters at the End
A strop with compound straightens the edge and polishes it without abrading it. It is how you get from a sharp 3,000-grit edge to something that feels truly keen, and it extends the time between sessions.
A few reviews dispute whether the leather is genuine cowhide, and the quality of a strop is hard to judge through a listing. Treat it as a bonus rather than the reason to buy the kit.
The Soaking Commitment Is Real
This is a soak-required waterstone setup and the reviews are clear that results depend on doing it properly. The stones need thorough soaking and constant hydration, and stones that are merely damp will sharpen slowly and produce a weak edge.
The trade-off is real cutting speed once hydrated. Corundum at these grits removes steel efficiently, and the set is specifically noted for holding an edge on outdoor and pocket knives as well as kitchen steel.
Stability and Density, Honestly
Three rubber bases and a bamboo platform are a genuine upgrade on a single moulded holder, though reviews report the anti-slip coating on the bases can fail once wet. Check it before a long session.
Density is the other limitation. These are lower-density stones than the Japanese-made picks, so they wear faster and feel coarser at equivalent grit. Professionals tend to prefer higher-density stones, and that shows up in reviews of this set.
Who It Suits
Pick this if you sharpen a mixed kit of kitchen knives, chisels and hand tools, and you want the strop and flattening stone handled. It is a fuller setup than most beginners need, and that is exactly the point.
7. Amazon Basics 400/1000 Whetstone – The Budget Entry Point
Amazon Basics Dual Sided Whetstone Knife Sharpening Stone 400/1000 Grit with Angle Guide, Non-Slip Bamboo Base, Black & Grey
400/1000 dual-sided stone
7.1 by 2.4 inches, 0.65 kg
Silicone holder and bamboo base
Angle guide, one-year warranty
Pros
- Low cost of entry with a usable angle guide
- Coarse 400 grit side handles everyday damage
- Bamboo base is stable on a counter
- Color-coded grit sides
- One-year warranty
Cons
- No fine grit
- so no polishing step
- Silicone holder slips when wet
- Angle guide suits blades wider than 2 inches
- No flattening stone or strop included
Amazon Basics builds a lot of things competently at the entry level, and the dual-sided 400/1,000 whetstone follows that pattern. It is 7.1 by 2.4 inches, weighs about 0.65 kg, and comes with a silicone holder, a bamboo base and an angle guide.
The 400-grit side is coarser than anything else in this roundup apart from the 400-grit face in the two four-grit kits, which makes this the lowest-cost entry point to a genuinely useful coarse grit.
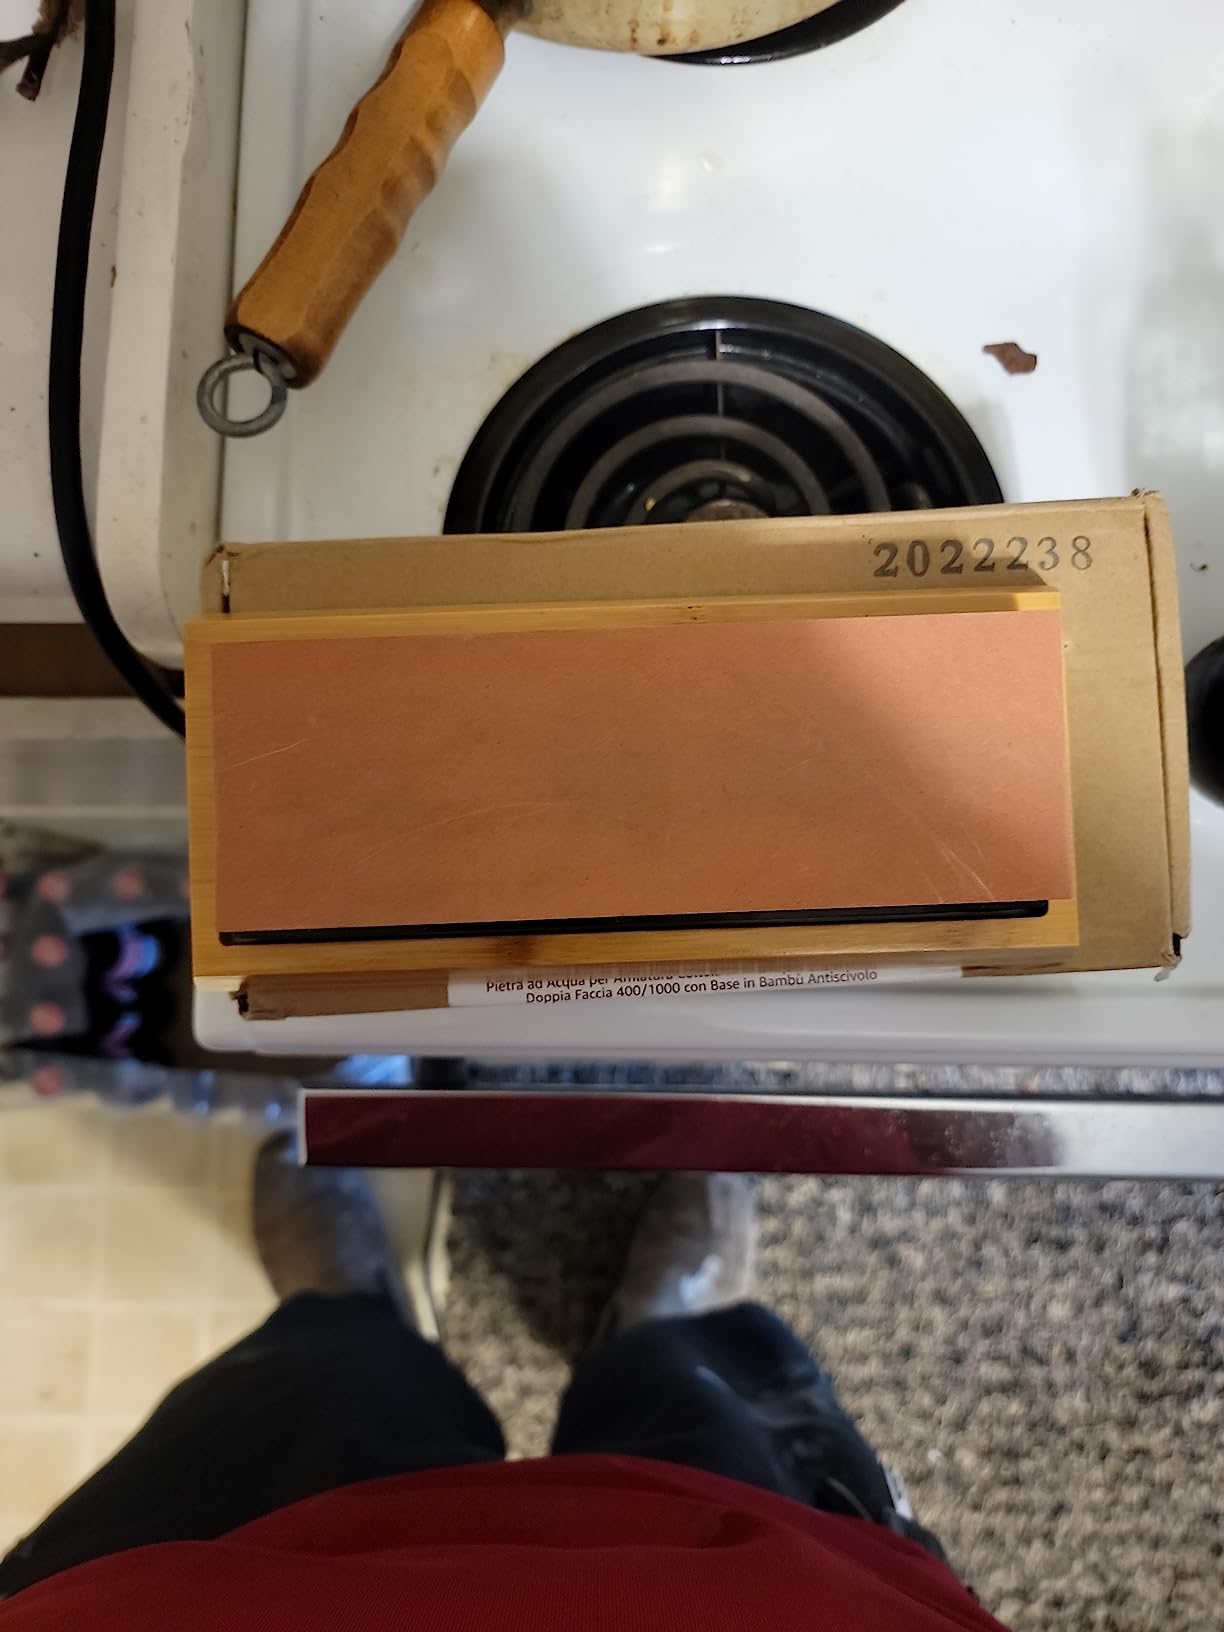
The 400/1000 Pair Does Maintenance, Not Finishing
Coarse 400 grit resets a dull edge quickly and 1,000 grit is the standard working grit for forming a bevel. What neither side does is refine. Your edge will cut well but it will not be polished, and you cannot get there without a higher grit stone.
For a cook who sharpens a knife every few weeks, that matters less. For anyone chasing the sharpest possible edge, you are buying a first stage and planning a second purchase.
Wet Counter and Blade Width Limits
The silicone holder is the weak point. Reviews note that it can slip when the stone is wet, which is when you are most likely to be moving it around. A damp towel under the bamboo base mitigates the same problem on the plastic kits above.
The angle guide is sized for blades wider than 2 inches, so a narrow paring knife or a small folding knife will not sit against it properly. Work freehand on those, or hold the guide loosely and use it as a visual reference.
Is a Stone This Basic Worth It?
Yes, as a first sharpening session. About 77 percent of its reviews are five-star, and the value perception is the whole point. If cost has been what has been stopping you, this is a low-commitment way to find out whether you enjoy sharpening at all.
It is not the right long-term answer. Reviews are candid that the grit is too fine for heavily damaged blades and that the bamboo base can develop mould if it is not dried out after use.
Who It Suits
Buy this if you want to start with the least outlay, sharpen wide kitchen knives, and plan to add a finer stone later. Skip it if you want one purchase to carry you through a year of sharpening.
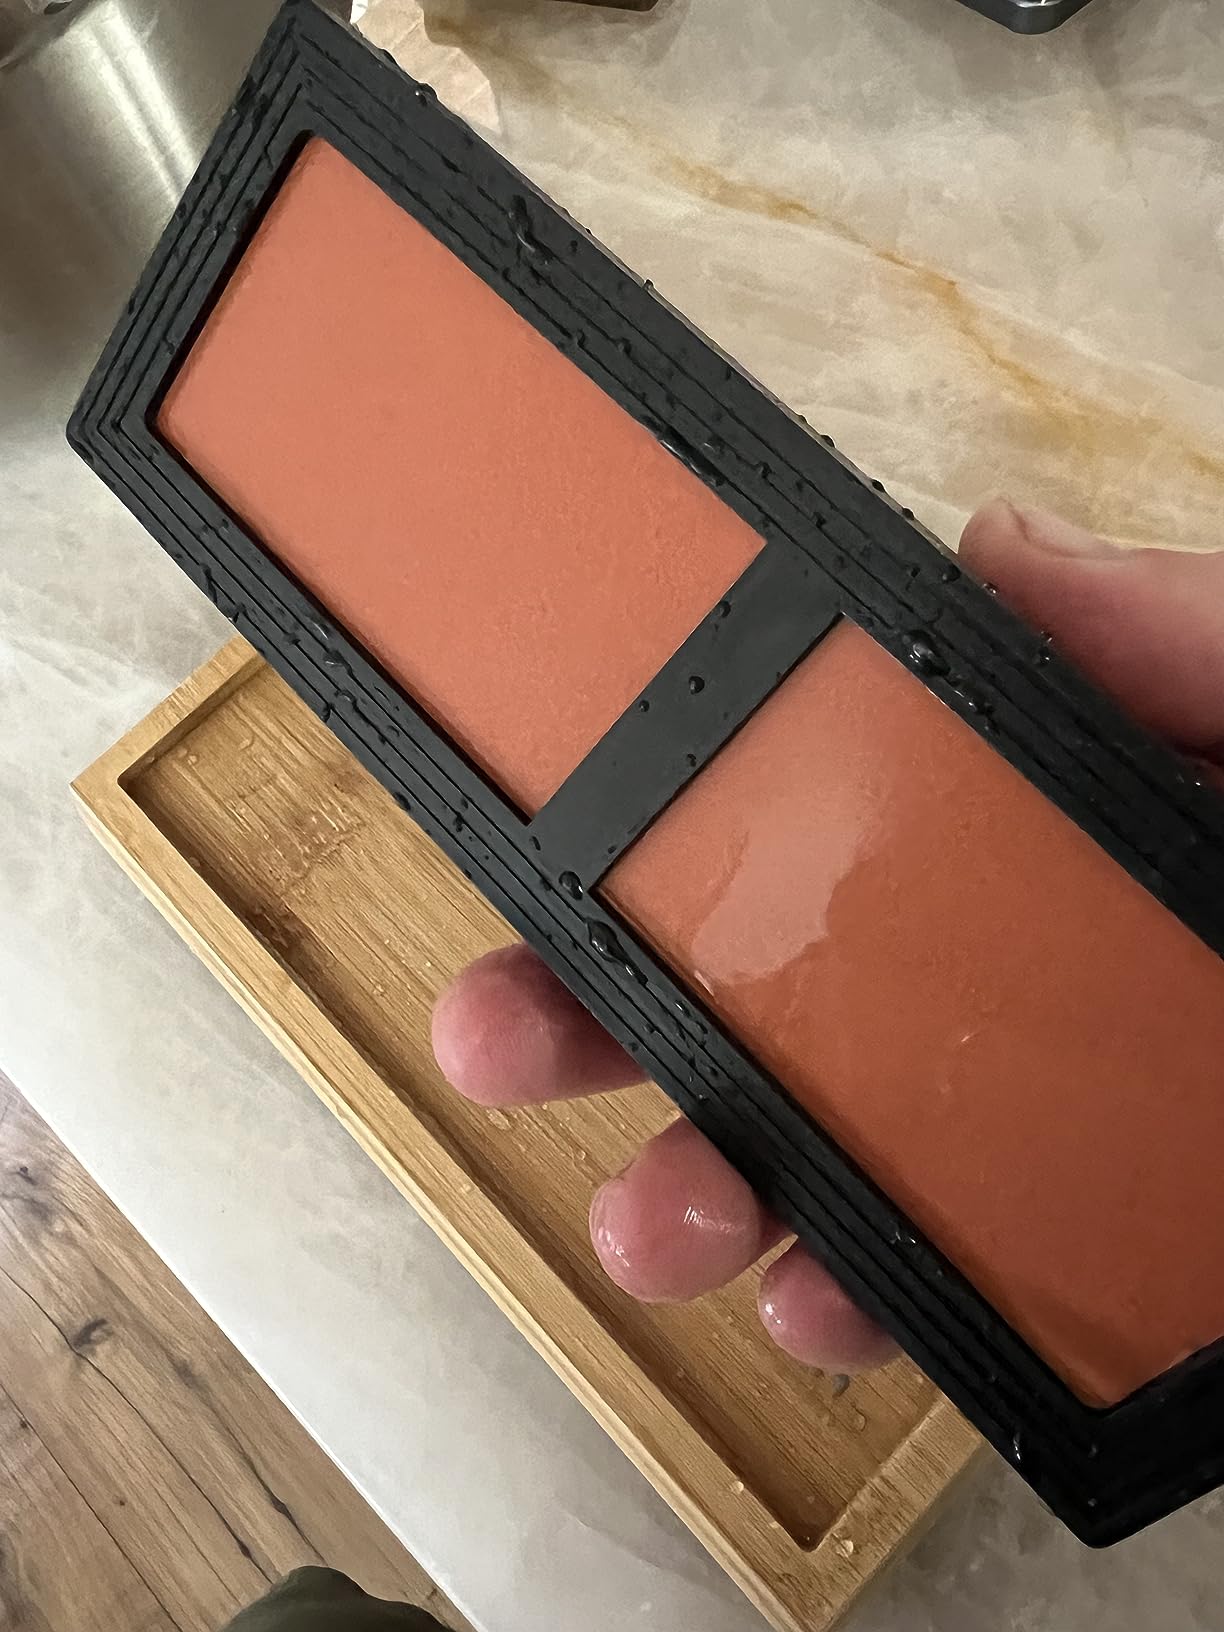
8. Angerstone 1000/6000 Kit – The Most Accessories in the Box
Angerstone Premium Knife Sharpening Stone–Whetstone 1000/6000 Grit, Whetstone Knife Sharpener with NonSlip Base, Best Wet Stone Sharpening Kit, Angle Guide
1000/6000 dual grit corundum
7.08 by 2.36 inches, 2 pounds
Silicone base, bamboo base, towel
Includes flattening stone and angle guide
Pros
- Two bases
- a flattening stone
- an angle guide and a towel in one kit
- 1000/6000 covers repair and polish
- Users report years of use with minimal wear
- Handles kitchen
- hunting and pocket knives plus scissors and chisels
Cons
- Angle guide does not fit very small pocket knives
- Flattening stone quality is basic
- Stones are softer than premium brands
- No leather strop included
At the low end of the market, this kit is remarkable for what is in the box: a 1,000/6,000 dual-grit corundum stone, a silicone base, a non-slip bamboo base, a flattening stone, an angle guide and a towel. The stone is 7.08 by 2.36 inches and the whole package weighs 2 pounds.
Almost nobody else includes a towel. It matters more than it sounds, because the towel is what you wrap the stone in to dry it, and drying a waterstone properly is how you keep it from going soft around the edges.
Dual Grit Without the Learning Penalty
Like the King and Sharp Pebble stones, the 1,000/6,000 pairing is the classic beginner combination. The 1,000-grit side forms a bevel, and the 6,000-grit side removes the burr and refines the edge. You do not need to understand the whole grit ladder to get a good result.
It is a soak-required stone, with a suggested 5 to 10 minutes in water, which puts it in the same category as the King on preparation time.
What Two Bases and a Flattening Stone Get You
Two bases sounds redundant until you set them up. The silicone holder keeps the stone secure for the wet 1,000-grit work, and the bamboo base gives you a stable dry platform for the finer 6,000-grit side and for stropping.
The flattening stone in the box is the bigger prize. It is a basic plate and reviews call its quality plain, but it removes the recurring purchase and it will keep the stone working flat through normal home use.
Honest Limits
The stones are softer than the Japanese-made picks, so they wear faster and dish more readily. The angle guide does not fit very small pocket knives. There is no leather strop, so your final polish has to come from the 6,000-grit side alone.
It is also not for serrated blades or ceramic knives, and the manufacturer states that plainly. A dull high-carbon stainless chef’s knife is the ideal first project on it.
Who It Suits
Choose this if you want the complete kit, including maintenance gear, at the lowest entry point. Choose the Sharp Pebble instead if you want more owner support and a larger review base behind the brand.
How to Choose Your First Whetstone: The Decisions That Matter
A whetstone is the rare kitchen purchase where spending more does not automatically buy a better edge, so the decisions are narrower than most gear guides suggest. Before you pick a grit number, decide three things: how much mess you tolerate, how much room on the counter you have, and what else besides kitchen knives you plan to sharpen. Those three answers rule out most of the list above in seconds.
Which type of stone should a beginner buy first?
Buy a water-based combination stone at 1,000 and 6,000 grit. It covers edge repair and polishing in one object, it is the middle ground on maintenance, and it is the choice that forum consensus and search consensus both point at for a first purchase.
Pick ceramic instead if your enemy is soaking. Pick diamond instead if you sharpen carbide, ceramic or very hard steel, or if you have no interest in a water bowl at all. Those are the only two situations where I would talk a beginner off the combination stone.
One more thing to decide first: how many stones. The recurring question on sharpening forums is whether to start with one stone or several. The answer is one. A dual-sided combination stone contains two grits already, and buying a separate 1,000-grit stone first leaves you with no way to remove the burr it creates.
What grit number should a beginner buy?
Start at 1,000 grit, then finish at 6,000 grit. A 1,000-grit stone is the standard beginner default because it removes enough metal to sharpen a dull blade without being so coarse that you risk thinning an edge. Higher grit numbers polish; lower numbers reshape.
Do you start with 1,000 or 6,000? With 1,000. Six thousand grit is a finishing step that cannot fix a dull edge, so sharpening straight onto it produces a polished but ineffective result. If you buy two separate stones rather than a combination stone, buy the coarser one first.
Above 8,000 grit you are moving into mirror territory that most home kitchens never need. The practical ladder runs 400 for damage, 1,000 for general sharpening, 3,000 for refinement, 6,000 for polish, 8,000 for a finer finish.
Are cheap whetstones okay?
Yes, as long as the grit is honestly labelled and the stone is flat. The two things that make a stone worth buying are even grit distribution and a surface that stays flat. Branding, packaging and included accessories do not change the sharpening result.
What a cheap stone usually lacks is the accessories: a proper base, an angle guide, and a flattening stone. The two budget kits here both ship with all three. So the honest framing is that a higher outlay usually buys the kit around the stone, not a better edge.
What a low-cost stone buys you is access. A starter set is far better than no stone at all, and the people who report still using an inexpensive combination stone years later are the ones who actually sharpened anything.
Splash-and-go versus soaking: how much maintenance are you signing up for?
Splash-and-go means you spray water and start; soaking means the stone sits in water first. The whole difference is a few minutes of preparation, but it is the difference that decides whether you keep sharpening.
A ceramic splash-and-go stone needs seconds of prep and dries on a towel. A traditional waterstone needs a bowl or a sink full, produces a clay-like slurry you rinse away, and should be dried standing on edge rather than flat so water does not sit in the stone.
Diamond plates need no fluid at all, which makes cleanup a wipe with a cloth. The cost of that convenience is a harder surface that dishes more slowly but loses its abrasive layer eventually.
Do I need a flattening stone?
Eventually, yes, though not on day one. A flattening stone is a harder, flatter surface used to rub the face of your stone back to level when it dishes or dishes unevenly. A cupped stone cannot sharpen a straight edge, and this is the most common reason a sharp knife comes off a whetstone still feeling dull.
Soft corundum and waterstone grits flatten most often. Ceramic and diamond plates flatten rarely. Three of the eight picks here include a flattening stone in the box, which is the main reason those kits are worth the extra.
If you would rather not buy one, the accepted community answer is to wet 100-grit sandpaper, lay it on a flat glass surface such as a window pane or granite countertop, and scrub the stone back and forth by hand. It takes longer and it is more manual, but it costs almost nothing. A diamond plate also works as a flattening surface in a pinch.
What grit should a flattening stone be? Around 400 to 600 grit is the useful range, because you want to remove metal quickly and evenly rather than polish. And do flattening stones need soaking? No, they are diamond, and you use them dry.
How to use your first whetstone, step by step
1. Set up wet. For a waterstone, soak it. For ceramic, spray it. For diamond, leave it dry. Put it on its base with a damp towel underneath if the stone slides.
2. Find your angle. Kitchen knives want 15 to 20 degrees per side, which is roughly a coin resting on its edge under the spine. Use the angle guide for the first several sessions, or rest the spine against a raised index finger.
3. Coarse side first. Work the full length of the blade with even pressure, moving from the heel to the tip. Do not concentrate in the middle, which is how beginners accidentally curve a straight edge.
4. Watch for the burr. Keep going until you can feel a wire edge along the full length of the knife. That burr is the goal of the coarse side, not a mistake.
5. Refine the other side. Switch to the fine side and raise the angle by around one degree on each side. You are now removing the burr rather than creating metal.
6. Finish and test. A few final strokes, rinse the stone, and slice a piece of paper or a ripe tomato. If it slips without cutting, your angle is still rounded and you need to go back to the coarse side.
Do you push or pull on a whetstone? Pull. Dragging the edge toward you, heel to tip, is the standard stroke, and most sharpeners do both: a few pull strokes to set the bevel, then push strokes on the finishing side to smooth the edge. Pulling keeps the burr facing up and away from the stone, and it puts the pressure under your control rather than driving the knife into the surface.
Common beginner mistakes, and why your knife is still dull
Your knife is still dull after sharpening far more often than you think, and the cause is rarely the stone. Here are the four reasons, in order of likelihood.
1. The angle was too steep. A 30-degree angle per side looks like progress and cuts like a butter knife. Steep angles leave a thick edge that splits food instead of slicing. Watch the edge in profile under a light and correct toward a thinner wedge.
2. The angle was inconsistent. You started at 18 degrees and finished at 25 without noticing. Inconsistent angles produce a rounded edge that feels blunt in places and sharp in others.
3. The stone is cupped. The middle wore below the ends, so a straight blade resting on it only touches in the middle and the tip and heel never get sharpened. This is the flattening problem, and it explains the majority of dull-after-sharpening complaints on forums.
4. You skipped the fine side. A 1,000-grit edge is sharp but not refined. Left as is, it feels duller than it measures because the burr catches. Six hundred passes on 6,000 grit changes the character of the edge.
Two more worth naming. Lifting the knife off the stone and repositioning mid-stroke leaves a rounded notch at the transition, so keep the blade down and pivot only at the stone’s edge. And sharpening straight through a hollow grind wears a curved profile that is very hard to repair, so change angle carefully on those knives.
A couple of habits prevent all of this. Check the edge for a burr after the coarse side, use a marker on the blade to show where the stone has touched it, and if a session feels like it is going badly, change grits and come back later rather than grinding harder.
Sharpening is a slow craft, and the same patience applies to the rest of your setup. If your first real project is a drink you make every morning, our picks for the best espresso machines for beginners and the best milk frothers for beginners follow that same rule: learn the tool in the order it matters, and skip the accessories you will never touch. A beginner food dehydrator rewards the same discipline, because the blade and the drying time do the work as long as you set them up correctly once.
Frequently Asked Questions
What grit whetstone is best for a beginner?
A 1,000-grit stone is the best starting grit for a beginner because it removes enough metal to form a fresh bevel on a dull blade without being coarse enough to thin the edge dangerously. Pair it with 6,000 grit to remove the burr and polish, which is why a 1,000/6,000 combination stone is the standard first purchase.
Do you start with 1,000 or 6,000 grit?
Start with 1,000 grit, then move to 6,000 grit. The coarser grit does the shaping and forms a burr along the edge; the finer grit removes that burr and refines the bevel into a keen edge. Sharpening straight onto 6,000 grit cannot fix a dull knife because it polishes rather than removes metal.
Are cheap whetstones okay?
Yes. What matters is even grit distribution and a surface that stays flat, not the brand name. Budget stones often skip the base, angle guide and flattening stone, which is where the extra cost usually goes. A starter kit that includes all three is better value than a premium bare stone with nothing to hold it.
Do you push or pull on a whetstone?
Pull. Drag the edge toward you from heel to tip, which keeps the burr facing up and lets you control pressure. Most sharpeners use a few pull strokes to set the bevel on the coarse side, then push strokes on the fine side to smooth and polish the edge.
Why is my knife still dull even after using a whetstone?
Four causes cover almost every case: an angle that was too steep, an angle that changed mid-session, a cupped stone that only touches the middle of the blade, or skipping the fine grit so the burr remains. Check the edge under a light and feel for a wire burr, then flatten the stone before assuming the stone is worn out.
What grit should a flattening stone be, and does it need soaking?
Around 400 to 600 grit is right, because a flattener should remove metal quickly and evenly rather than polish. Flattening stones are diamond plates and are used dry, so no soaking is required. A sheet of 100-grit sandpaper on a flat glass or granite surface works as a low-cost substitute.
Should I buy one stone or a combination stone?
Buy one combination stone. A dual-sided 1,000/6,000 stone already contains two grits in a single object, and a single-grit stone leaves you with a burr you have no way to remove. Add coarser or finer stones later only once you know which gaps you actually hit in normal use.
How do I know when my whetstone is worn out?
A stone is worn out when it no longer develops a burr within a reasonable number of strokes, or when it is so cupped that the blade rocks on it. Signs of an uneven face, a rounded end, or a groove where the edge has been sharpening are all fixable with flattening. A stone that feels smooth but still sharpens slowly needs a coarser grit on the other side.
The Single Stone to Start With in 2026
If you want one recommendation and no further reading: get the Sharp Pebble 1,000/6,000 kit. It is a water-based combination stone with a bamboo base and an angle guide, the two accessories that make a first attempt succeed, and it is the pick most likely to keep you sharpening past the first session.
If you would rather not own a water bowl at all, take the Shapton K0702 for its splash-and-go handling and a 4.8-star rating across more than 4,500 reviews, then add a finer stone later for polish. If you sharpen carbide, ceramic or industrial steel, the SHARPAL 162N diamond plate sharpens dry at a rate nothing else here matches.
If your real goal is learning the whole craft, the Wucgea 8-in-1 kit gives you four grits, a flattening stone and a strop in one box, and the Intelitopia set does the same with better bases and a strop for hand tools. For the lowest-commitment way to find out whether you enjoy this, the Amazon Basics 400/1,000 or the Angerstone 1,000/6,000 kit both work.
Whichever you pick, flatten the stone when it stops feeling flat, use the angle guide for the first few sessions, and start on the coarse side. The best whetstones for beginners are not the ones on any particular list. They are the one you will still be using in 2026 and the year after.