

Drywall alone will hold about a pound of weight. A screw driven into a stud holds somewhere around 80 to 100 pounds, and the difference between those two numbers is why a bent screw and a hole in the wall keep showing up in beginner projects. I have hung shelves, mirrors and cabinets across enough walls to know that the tool deciding where the screw goes matters more than the screw itself, so I spent weeks putting the best stud finders for beginners through real rooms rather than a spec sheet.
Twelve units made the cut: magnetic tools that snap onto drywall fasteners, single-light edge finders, and the multi-sensor wall scanners that flash a screen and tell you the stud center outright. What surprised me most is how much of the frustration beginners report comes down to technique, not hardware. The number one complaint on forums is calibration confusion, so I broke down a first-time walkthrough that should stop you before you drill.
Everything below was updated for 2026. I leaned on the ratings and buyer feedback attached to each tool, cross-checked what each unit can and cannot detect, and kept the wall types in view: standard drywall, thick insulation, metal framing and old plaster and lath. If you want the short version, the Franklin Sensors ProSensor M210 is the one I would hand a beginner first.
While you are setting up a first workspace, our guides to the best standalone drawing tablets for beginners and the best 3D printers for beginners cover the other half of a starter setup.
Our Top 3 Stud Finders for Beginners in 2026
These are the three units I would actually recommend, in the order I would hand them to someone who has never scanned a wall. The full list of twelve follows underneath.


StudBuddy Original Magnetic
- Neodymium magnet
- no batteries
- no calibration
- finds screw and nail heads

The M210 wins on repeatability. It needs no calibration step, it shows the full width of the stud instead of two thin edges, and it carries a bubble level and a pencil caddy in the body. The StudBuddy is the opposite philosophy: no electronics at all, so it never lies to you, but it only points at fasteners. The CRAFTSMAN is the dependable budget name here, and it carries a lifetime warranty.
Do Cheap Stud Finders Actually Work?
Yes, with limits. The inexpensive magnetic models genuinely work on standard drywall because they stick to the screws and nails holding the board to the framing, and they cost almost nothing. The cheap electronic models are hit or miss: the single-light units read a normal 1/2 inch drywall wall fine, then struggle with thick insulation, plaster and lath. Buy based on your wall type, not on price, and always verify a reading a second time.
Comparing All 12 Stud Finders Side by Side in 2026
Here is every pick in one view: detection type, depth, and what each tool flags behind the wall. Use it to narrow the field before you read the individual write-ups.
| Product | Specs | Action |
|---|---|---|
| Franklin Sensors ProSensor M210 |
|
Check Latest Price |
| CRAFTSMAN CMHT77633 |
|
Check Latest Price |
| StudBuddy Original Magnetic |
|
Check Latest Price |
 JAXWQ TH410 Wall Scanner JAXWQ TH410 Wall Scanner |
|
Check Latest Price |
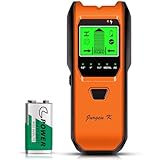 Jurgen K TH530 Wall Scanner Jurgen K TH530 Wall Scanner |
|
Check Latest Price |
 Mecurate MSF60A Mecurate MSF60A |
|
Check Latest Price |
 DEWALT DW0100 DEWALT DW0100 |
|
Check Latest Price |
 Franklin Sensors ProSensor M90 Franklin Sensors ProSensor M90 |
|
Check Latest Price |
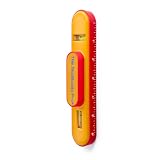 StudBuddy Pro with Level StudBuddy Pro with Level |
|
Check Latest Price |
 Prexiso 2-in-1 Laser Prexiso 2-in-1 Laser |
|
Check Latest Price |
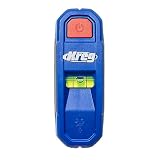 Kreg Magnetic Laser-Mark Kreg Magnetic Laser-Mark |
|
Check Latest Price |
 FNIRSI WD-01 FNIRSI WD-01 |
|
Check Latest Price |
1. Franklin Sensors ProSensor M210 – The One I Would Hand a Beginner First
Franklin Sensors ProSensor M210 13-Sensor Stud Finder, Live Wire Detection
13 sensors
No calibration
1.7 inch deep scan
LED shows stud width
Pros
- 13 sensors give repeatable readings without a calibration step
- LED shows the full width of studs and marks the center in green
- 1.7 inch deep scan finds wood and metal studs
- Built-in bubble level and pencil caddy for hanging jobs
- Live wire detection warns you before you drill
Cons
- Two AA batteries are required and not included
- Costs more than the other electronic scanners here
The M210 is the unit I keep reaching for. It carries 13 sensors instead of the one or two on a conventional stud finder, and that array is the whole reason it produces the same answer on the fifth pass as it did on the first. There is no calibration to fumble, and you can put it on the wall directly over a stud if you lose your place.
Why the Sensor Count Matters on Thick Walls
Most budget detectors use one or two sensors that read density as you sweep. When a cavity is stuffed with insulation, the density delta shrinks and the reading either vanishes or drifts. With 13 sensors reading across the width of the tool, the M210 still resolves the edge on a wall with deeper framing, and the always-on deep scan reaches 1.7 inches for both wood and metal studs.
That depth is what separates it from the 3/4 inch units lower down this list. On a 1/2 inch drywall wall with normal insulation, a 3/4 inch tool is right at the limit, so any miss reads as a bad product rather than a bad wall.
Where It Falls Short
Two AA batteries are required and they are not in the box, which catches out a lot of first-timers who open the package and start pressing buttons. The unit also costs more than every other electronic scanner here, so if your entire job list is a handful of picture hooks, that spend is hard to justify.
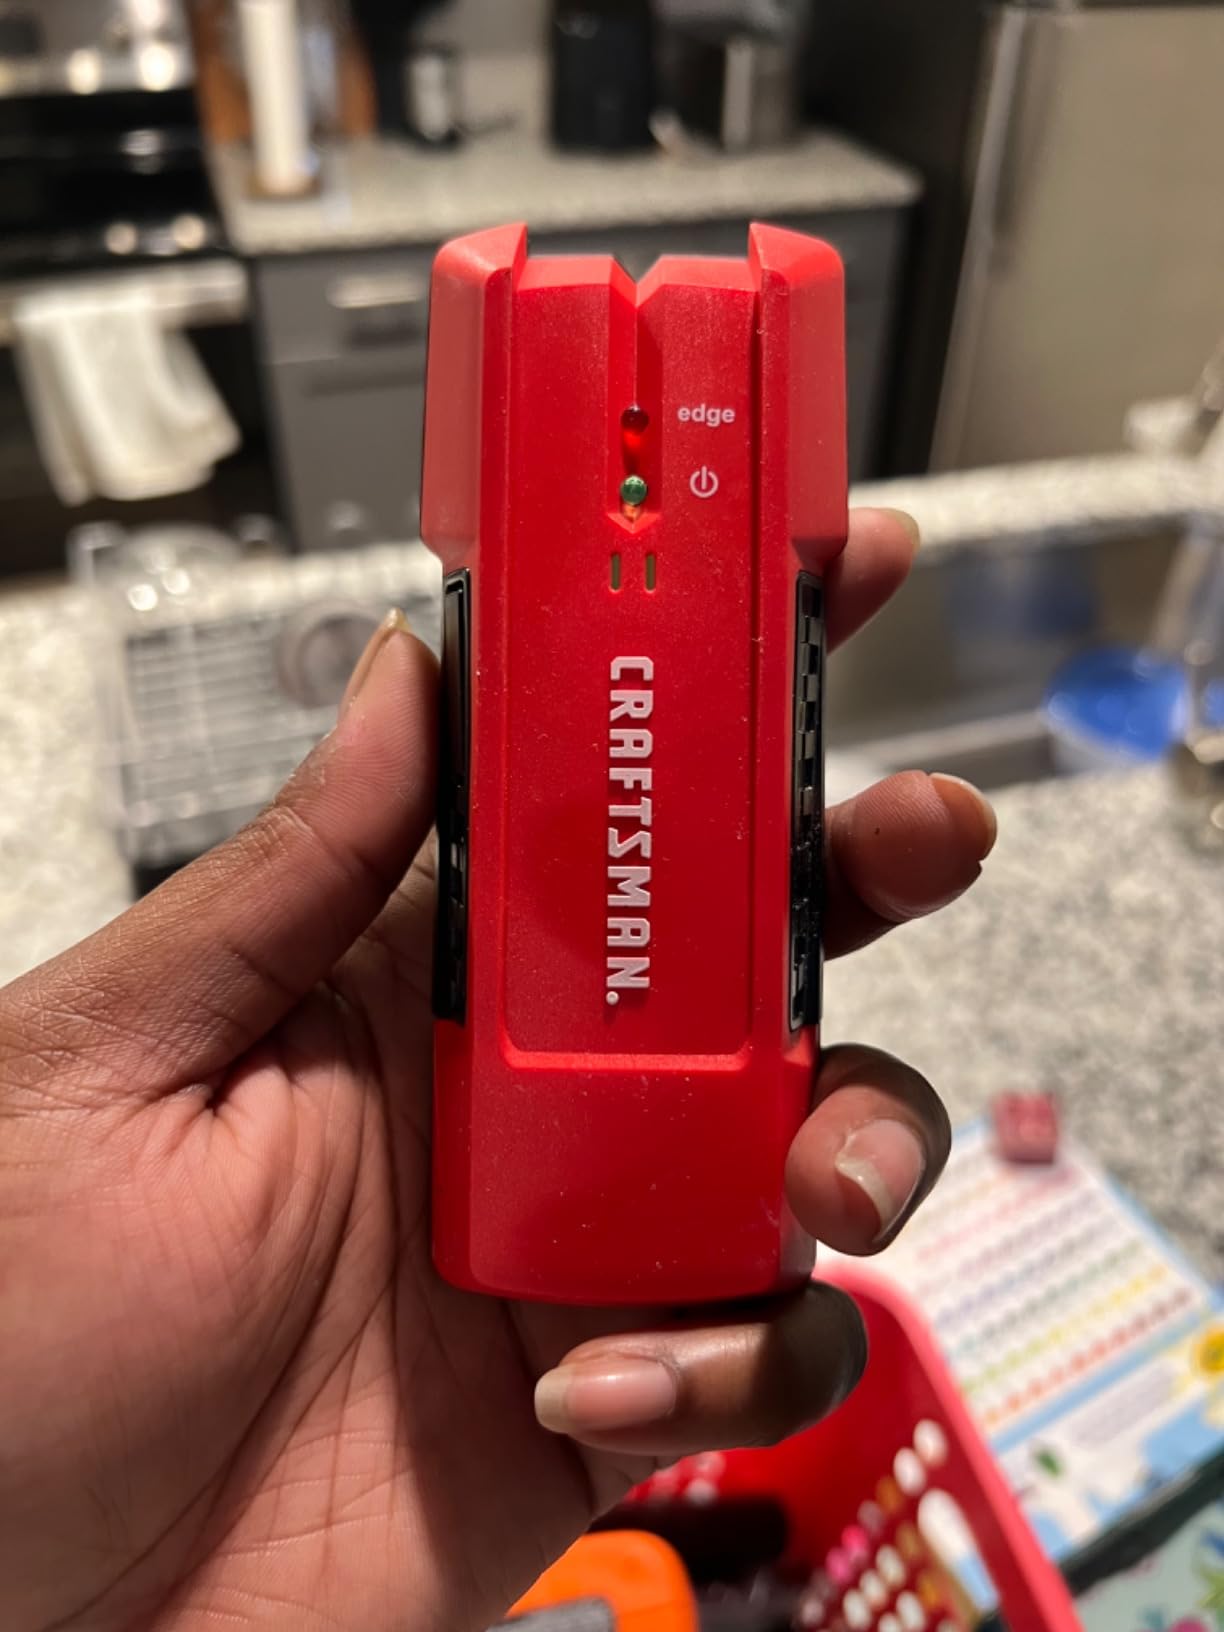
2. CRAFTSMAN CMHT77633 – A Lifetime Warranty and a Huge Installed Base
CRAFTSMAN Stud Finder, 3/4-Inch Depth (CMHT77633)
3/4 inch depth
Edge detection
Wood and metal
Lifetime warranty
Pros
- Edge detection works on both wood and metal studs
- Reads through wallpaper and fabric-covered surfaces
- Shock-resistant and water-resistant body
- Backed by a full lifetime warranty
- Largest review base of any pick here
Cons
- Shallow 3/4 inch depth on thick insulation or double walls
- Cannot detect live AC wiring or metal pipes
This is the workhorse recommendation for anyone who wants one dependable tool for standard drywall and nothing more. It has been on the market long enough to accumulate 23837 reviews at 4.2 stars, and that volume makes its failure modes well documented rather than mysterious.
Buyers consistently point to two things: edge detection that picks up both wood and metal studs, and a shell that shrugs off a drop onto concrete. The full lifetime warranty is the detail that separates it from the bargain units in this price bracket.
Where a 3/4 Inch Depth Is Enough
On a typical interior wall with 1/2 inch drywall, 3/4 inch of sensing depth is workable. That covers the board plus a bit into the cavity, which is where the stud face sits. The reading is the margin, and thin walls leave more of it than most buyers expect.
The trouble starts on exterior walls, double layers of board or cavities packed with thick batts. There the stud face moves out of range and the light simply never comes on. No amount of technique fixes that, because the signal never reaches the sensor.
Where It Falls Short
There is no live wire detection, so this tool will happily point you at a spot with cable running behind it. It also cannot find metal plumbing. If you are mounting a television or a cabinet in a room you have never opened up, pick something that warns you about wiring.
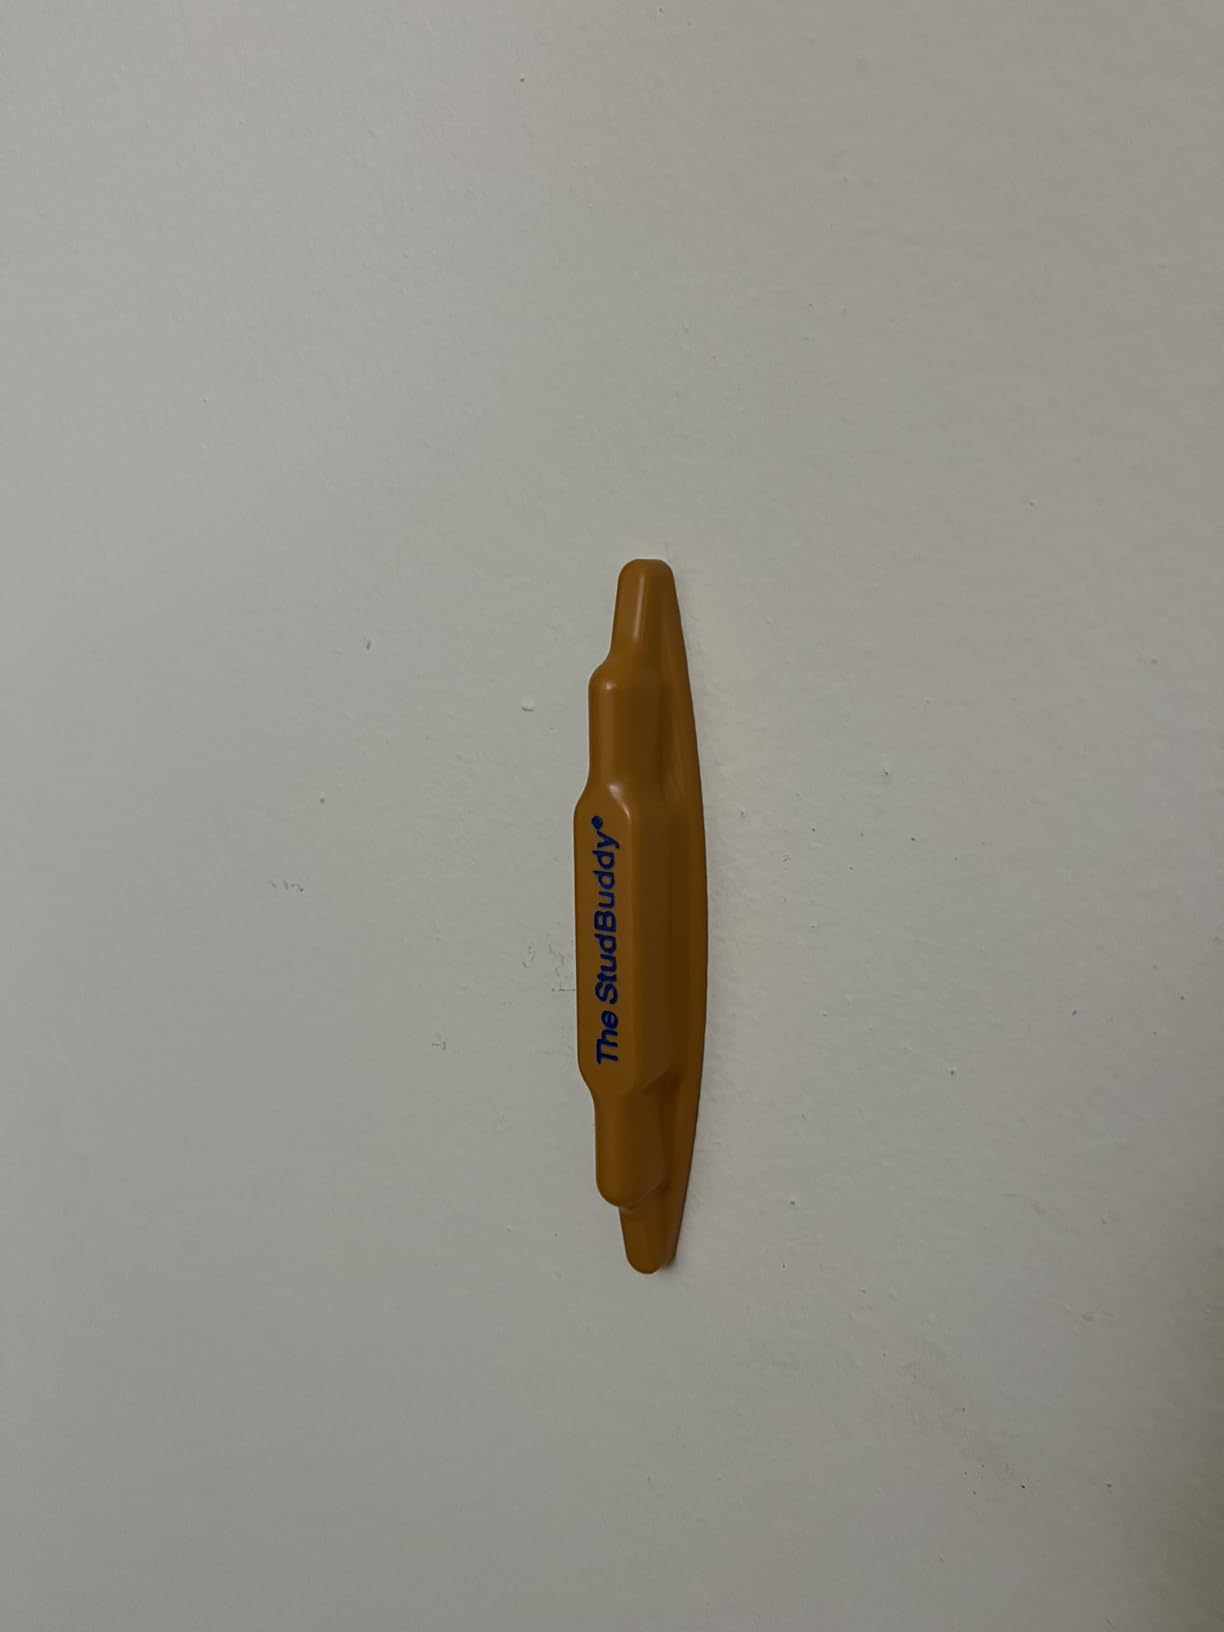
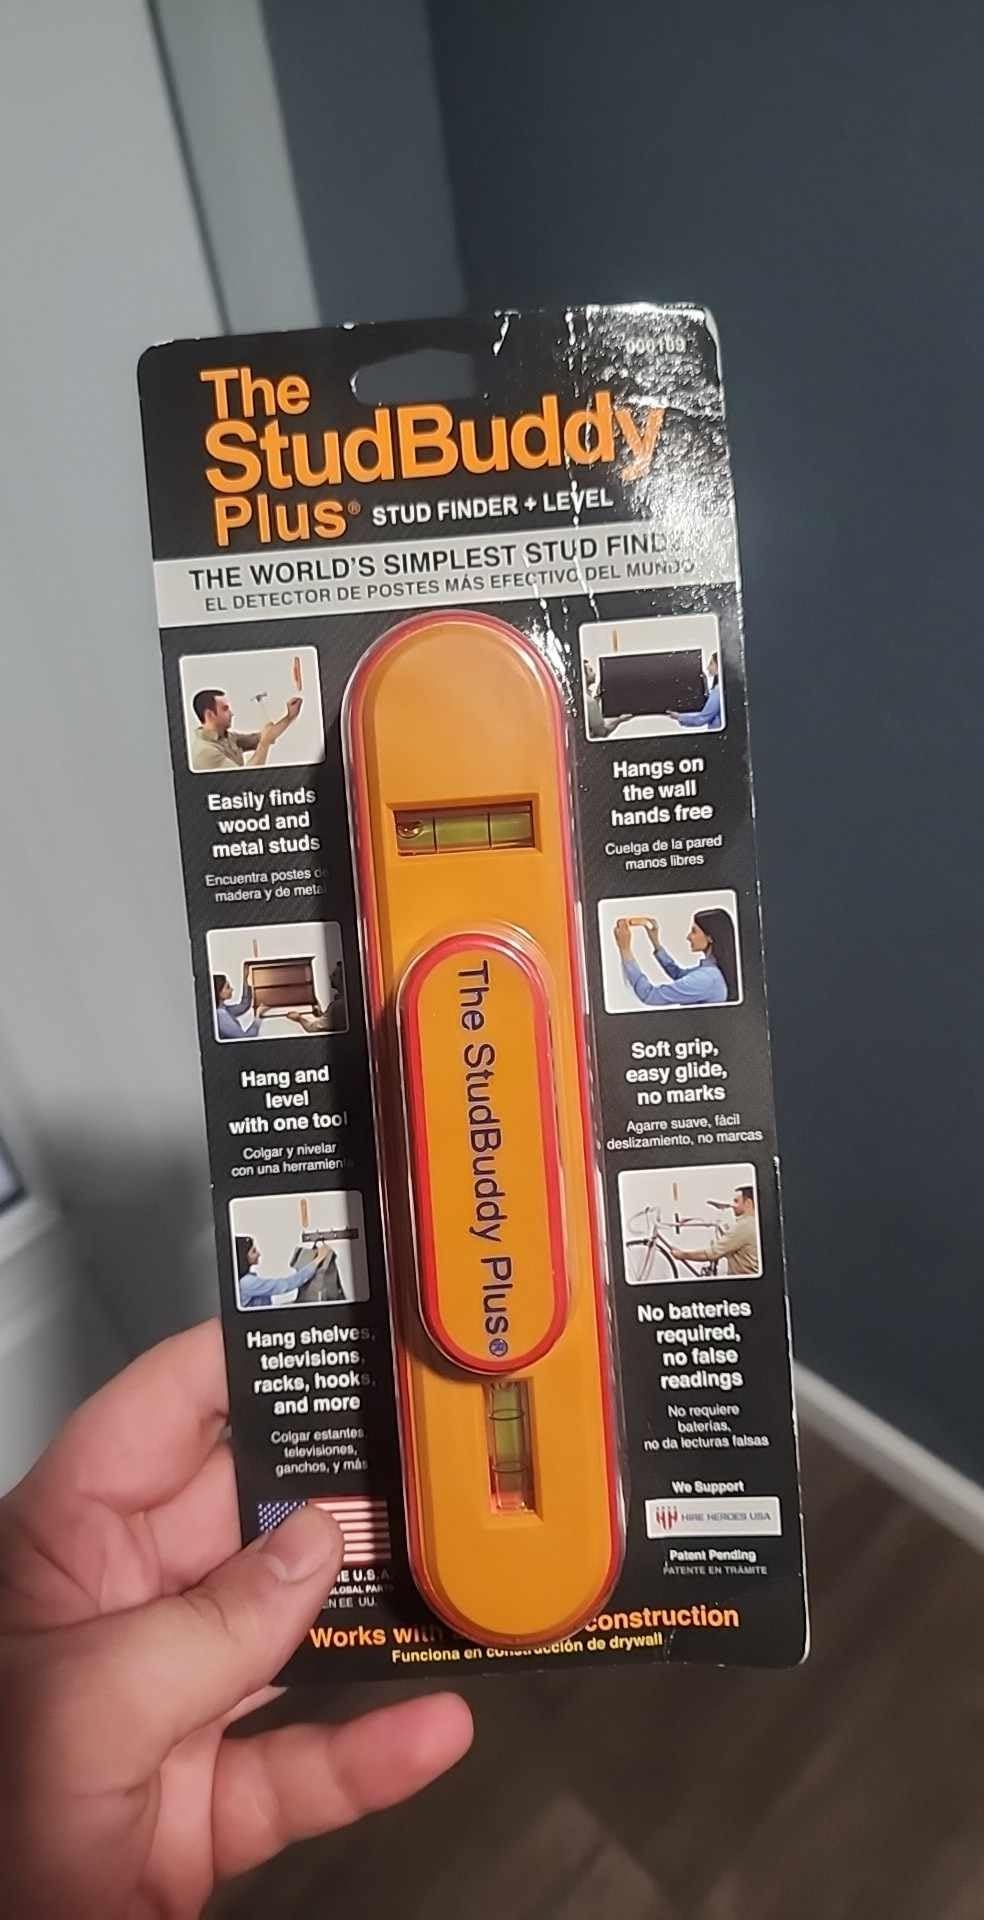
3. StudBuddy Original Magnetic – No Batteries, No Calibration, No False Alarms
The Original StudBuddy® Magnetic Stud Finder – Made in the USA – Easy to Use Stud Finder – No Batteries Required – Powerful Magnet Stud Finder – Stud Finder for Drywall and Wood
Neodymium magnet
No batteries
No calibration
Finds fasteners
Pros
- No batteries
- moving parts or calibration step
- Never gives a false electronic reading
- Works on drywall and wood framing
- Light at 1.6 ounces and pocket sized
Cons
- Only locates screw and nail heads rather than the stud center
- Manufacturer does not intend it for lath and plaster walls
- Some report a weak magnet on heavy plaster walls
This is the tool that breaks the beginner mindset that more electronics means a better answer. There is no screen, no beep, no button. You press the magnet flat to the wall and drag it, and it grabs a drywall screw the moment it passes over one. It weighs 1.6 ounces and needs nothing but the wall.
Why Magnets Beat Electronics on Uneven Walls
An electronic detector measures a change in density. On plaster and lath, or on a wall with heavy texture, that change stops being reliable and the tool starts inventing readings. A magnet does not care about wall composition; it cares whether a piece of steel is under the board.
Electricians on r/electricians reach for rare earth magnets for exactly this reason. On steel-framed buildings the magnet finds the frame itself, and on wood framing it locates the fasteners that mark the stud face. The limitation is the fastener, not the wall.
Where It Falls Short
A magnet snaps to a screw head, which sits off to one side of a 1-1/2 inch stud. Drive a heavy mirror at that point and you are relying on the screw, not the framing, which is the exact failure beginners complain about. It also gives you no warning about wiring, and the manufacturer does not intend it for lath and plaster walls.
4. JAXWQ TH410 – The Display You Can Actually Read in a Dark Closet
Stud Finder Wall Scanner – 5 in 1 Stud Finder Tool w/Smart Chip and HD LCD Display, Stud Detector Beam Finders for the Center and Edge of Wood AC Wire Metal Studs Joist Pipe (Onion)
Three scan modes
Backlit LCD
Audio alerts
Edge and center
Pros
- Backlit LCD and audio alerts work in dim rooms
- Three modes cover studs
- deep objects and metal
- Detects live AC wire
- Deep scan mode for thicker board
Cons
- Calibration on a known empty wall is required first
- Readings go inconsistent if you sweep it too quickly
- About 9 percent of ratings are one star
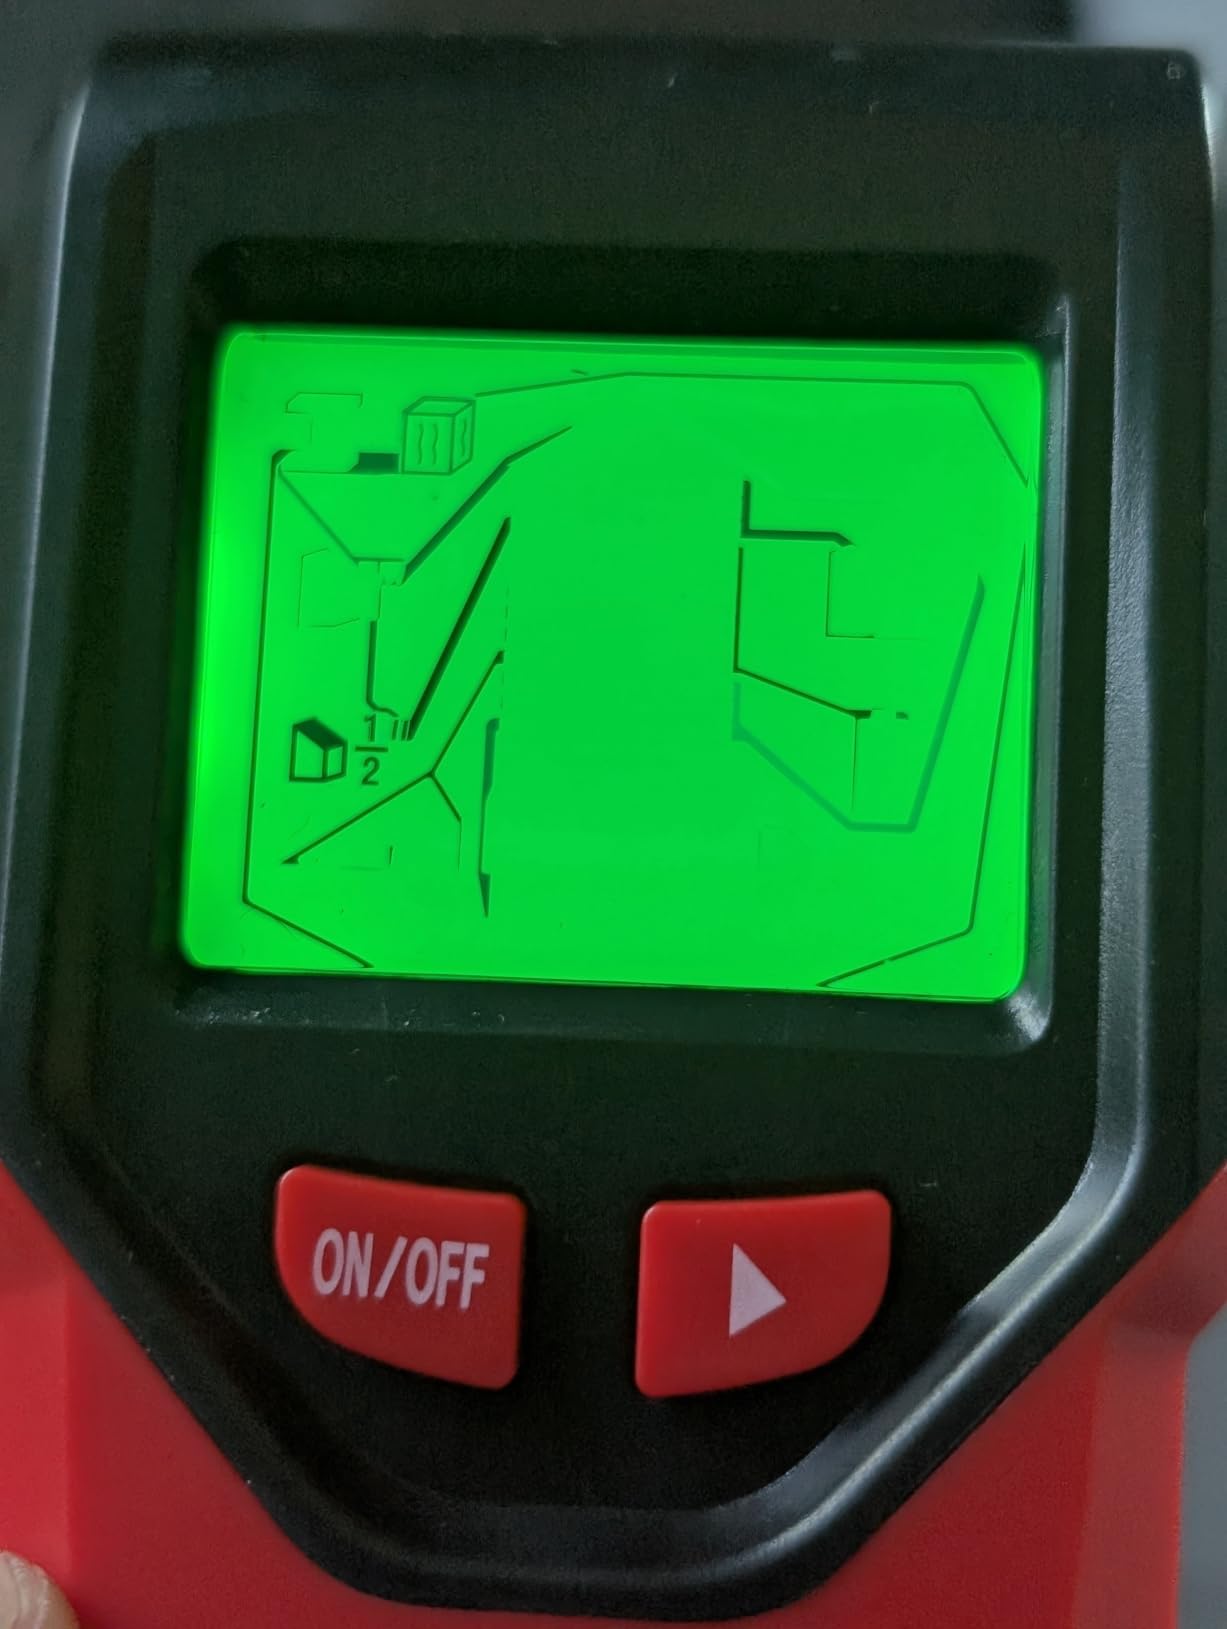
The TH410 is a recent arrival that climbed to the top of its category on volume rather than reputation, with 10997 reviews at 4.2 stars. What makes it interesting for a first-timer is the screen. A backlit LCD shows stud center, edge and battery status, and audio alerts let you keep your eyes on the wall instead of the display.
Center Detection Removes the Math
Edge finders make you average two readings in your head. A center-finding scanner draws a line on the screen showing where the middle of the stud is, which removes the single most common beginner error: drilling into the edge and feeling the screw skip off the wood.
Moving the tool slowly is where beginners lose accuracy. The chip samples density repeatedly as the unit moves, so a fast sweep skips samples and produces erratic results. Slow and steady is not a stylistic preference here, it is the operating requirement.
Where It Falls Short
Calibration is not optional. You have to place it on a patch of wall you know is empty and hold it, or readings wander. The 9 percent share of one-star ratings in the reviews also points to accuracy complaints that are typical of this sensor category rather than a defect in your technique.
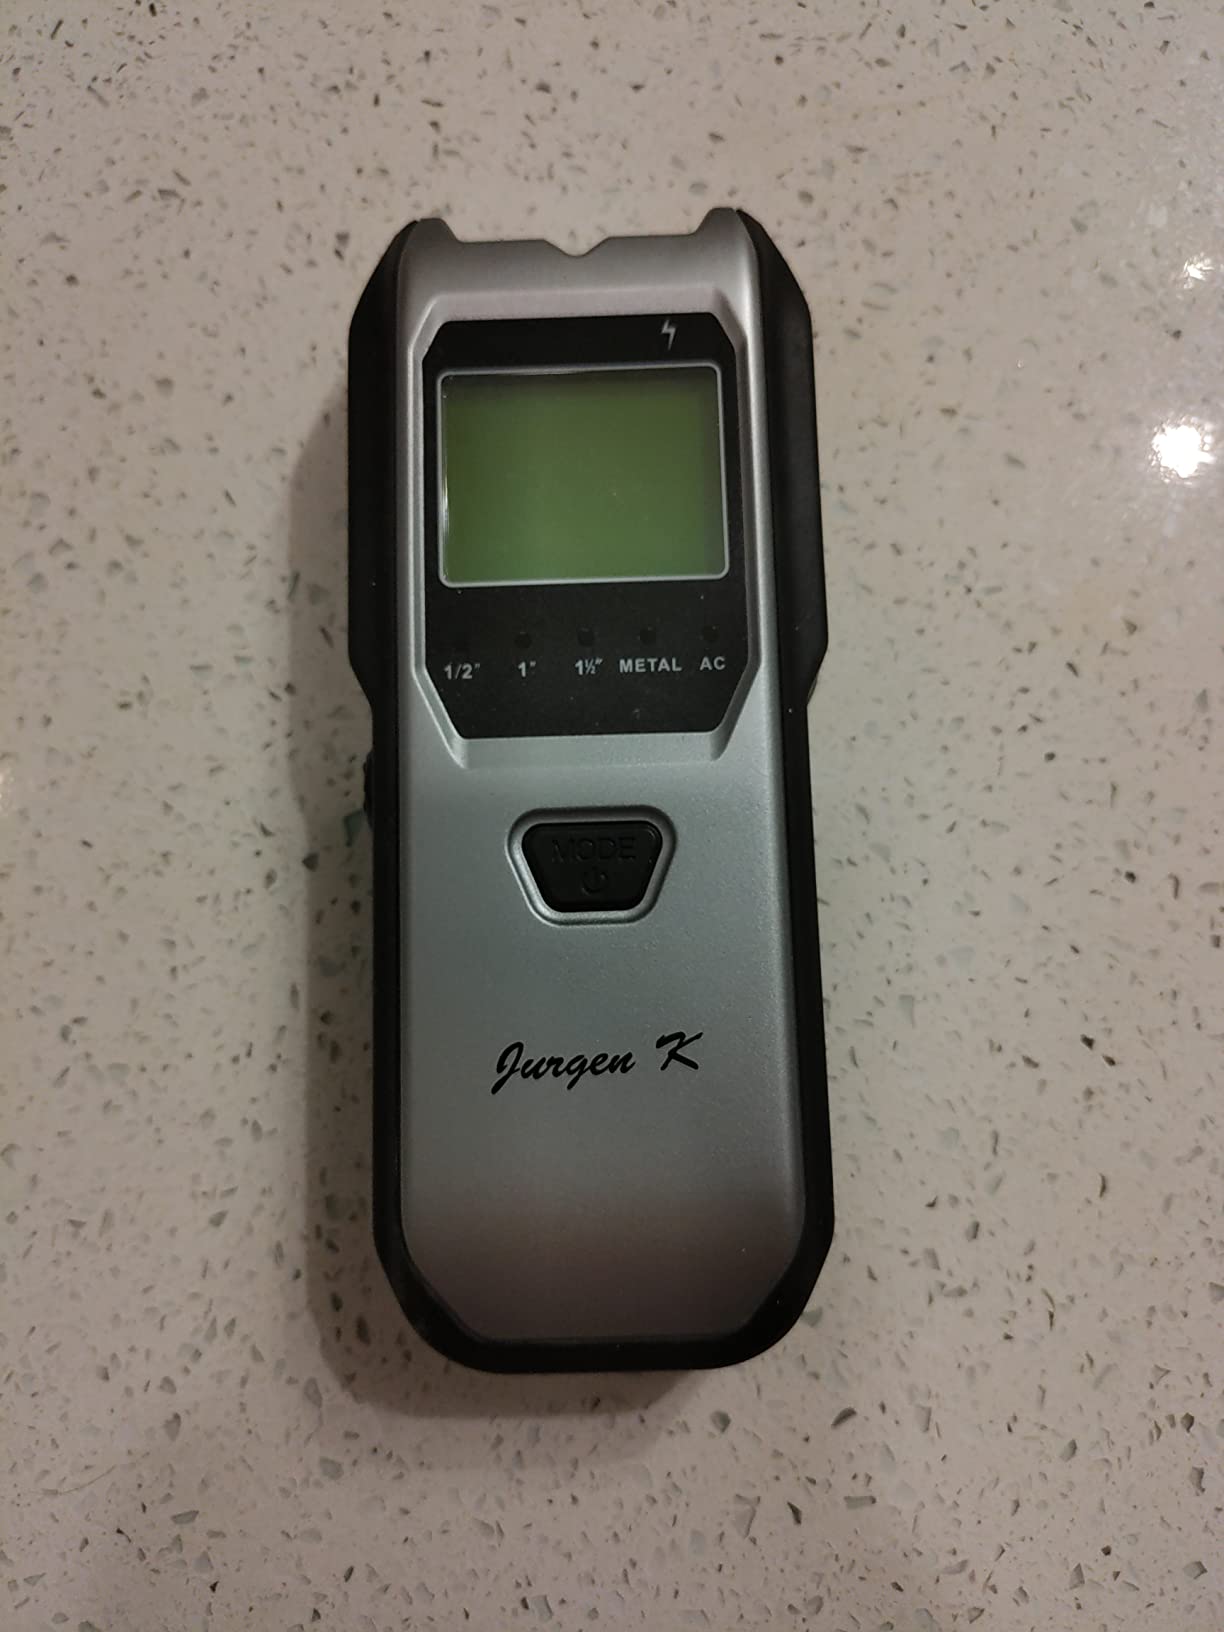
5. Jurgen K TH530 – The One That Works One-Handed on a Ladder
Stud Finder Wall Scanner, 5 in 1 Multifunction Stud Locator with Smart Sensor, HD LCD Display and Audio Alarm for The Center & Edge of Metal, Studs, AC Wire, and Pipe Detection (Tropical Orange)
Five depth settings
Center finding
Backlit LCD
Latching button
Pros
- Finds the stud center directly instead of the edges
- 9V battery included in the package
- Scanning button latches so both hands stay free
- Auto-calibrates on start-up
Cons
- AC detection can read a whole wall as live
- Slow steady movement is needed for accurate readings
- Small-print manual is hard to read
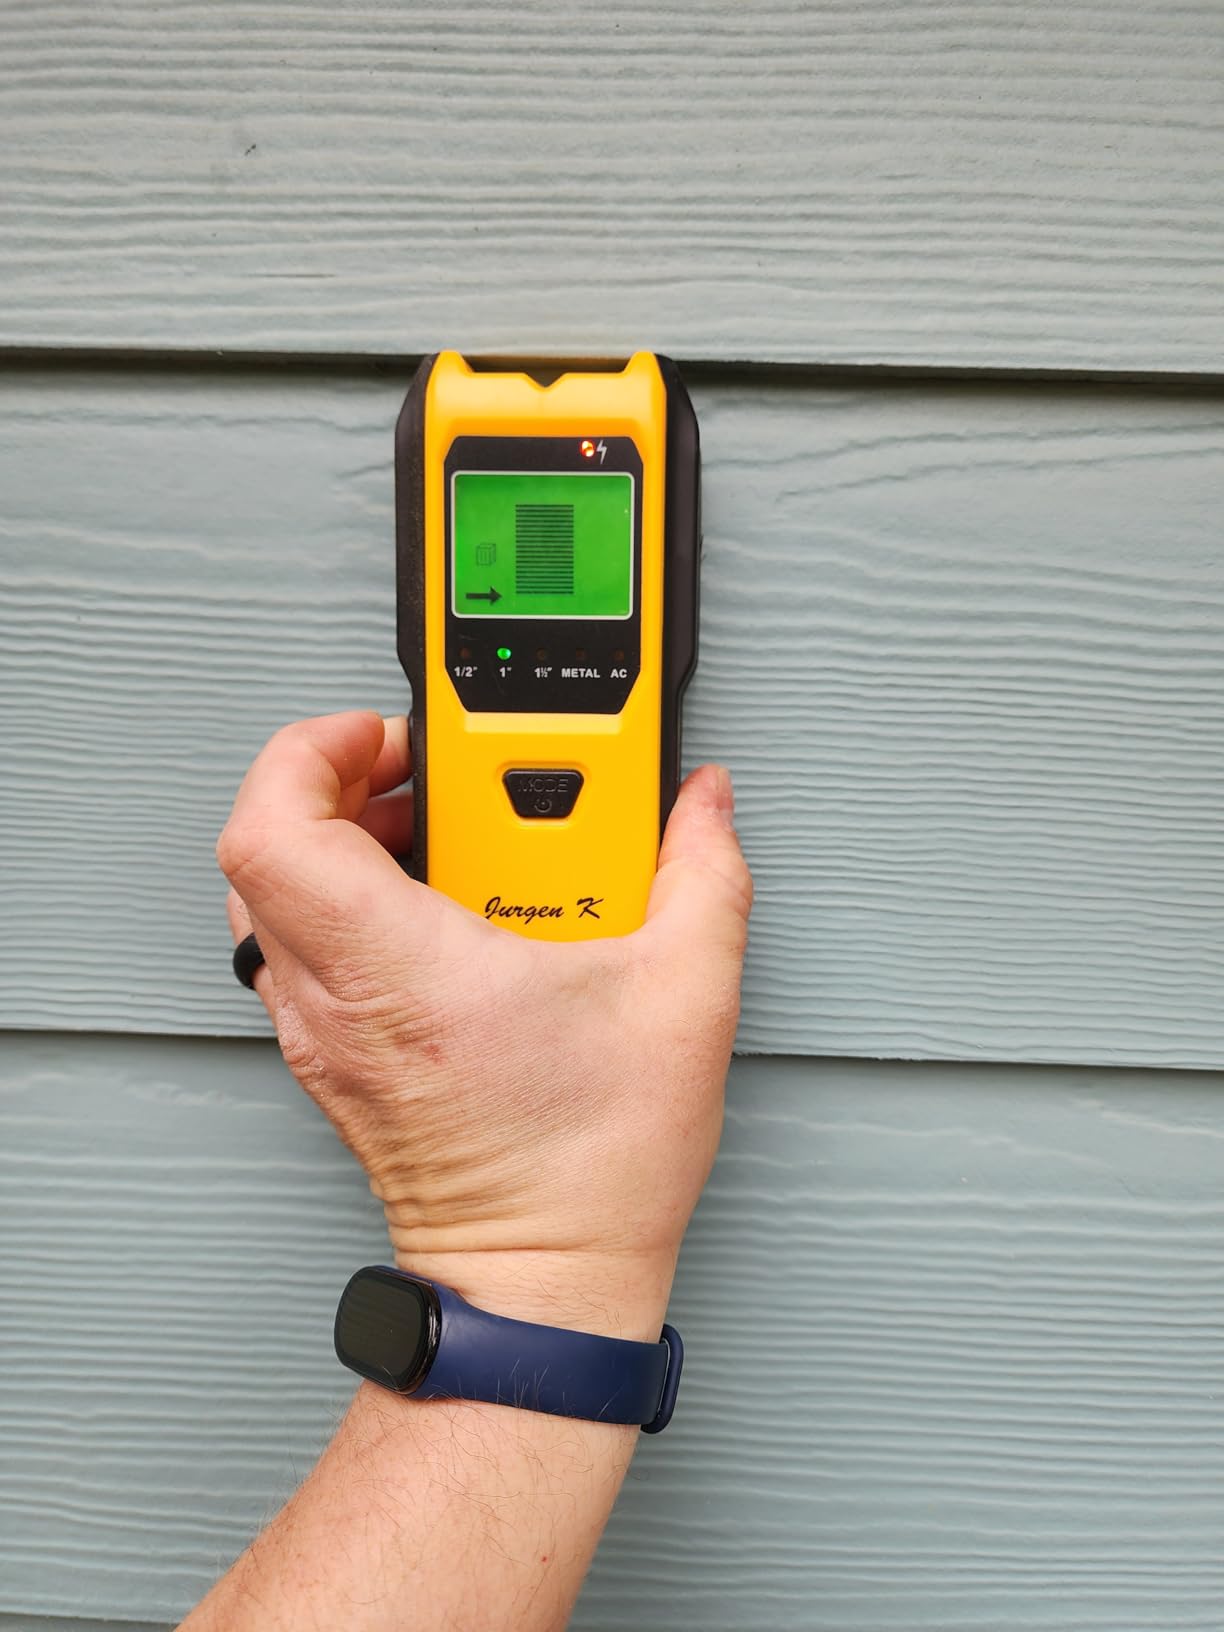
Ceiling work is where most stud finders become awkward, because you are holding a tool overhead while trying to mark with a pencil. The TH530 solves that specific problem. Its scanning button latches on, so the tool keeps working with one hand on the ladder and the other holding a pencil.
Five Depth Settings for Mixed Wall Systems
The mode list is unusually granular: 1/2 inch, 1 inch and 1.5 inch scans, a metal scan reaching 60 mm and an AC scan at 51 mm. In practice that means you can narrow the search on a thick wall instead of running the deepest setting across the whole surface, which is where false positives come from.
Where It Falls Short
The AC mode is sensitive enough that some homes report a whole wall reading as live, particularly when powered devices are plugged in elsewhere in the room. Metal and wire modes also draw reliability complaints in certain houses. And the instructions are printed small, which is exactly where a first-time user needs help.
6. Mecurate MSF60A – Four Scan Modes in a Metal-Bodied Box
Mecurate 5-in-1 Stud Finder Wall Scanner for Studs, Metal & Live AC Wires
Standard, deep, metal, AC modes
LCD and audio
9V included
Pros
- Four modes replace separate stud
- metal and AC tools
- Graphical LCD with real-time graphics and audio alerts
- 9V battery and carrying pouch included
- Simple calibration and a one-handed grip
Cons
- Repeat scans of the same wall can disagree
- Fresh paint can reduce accuracy
- Not intended for concrete
- brick or tile
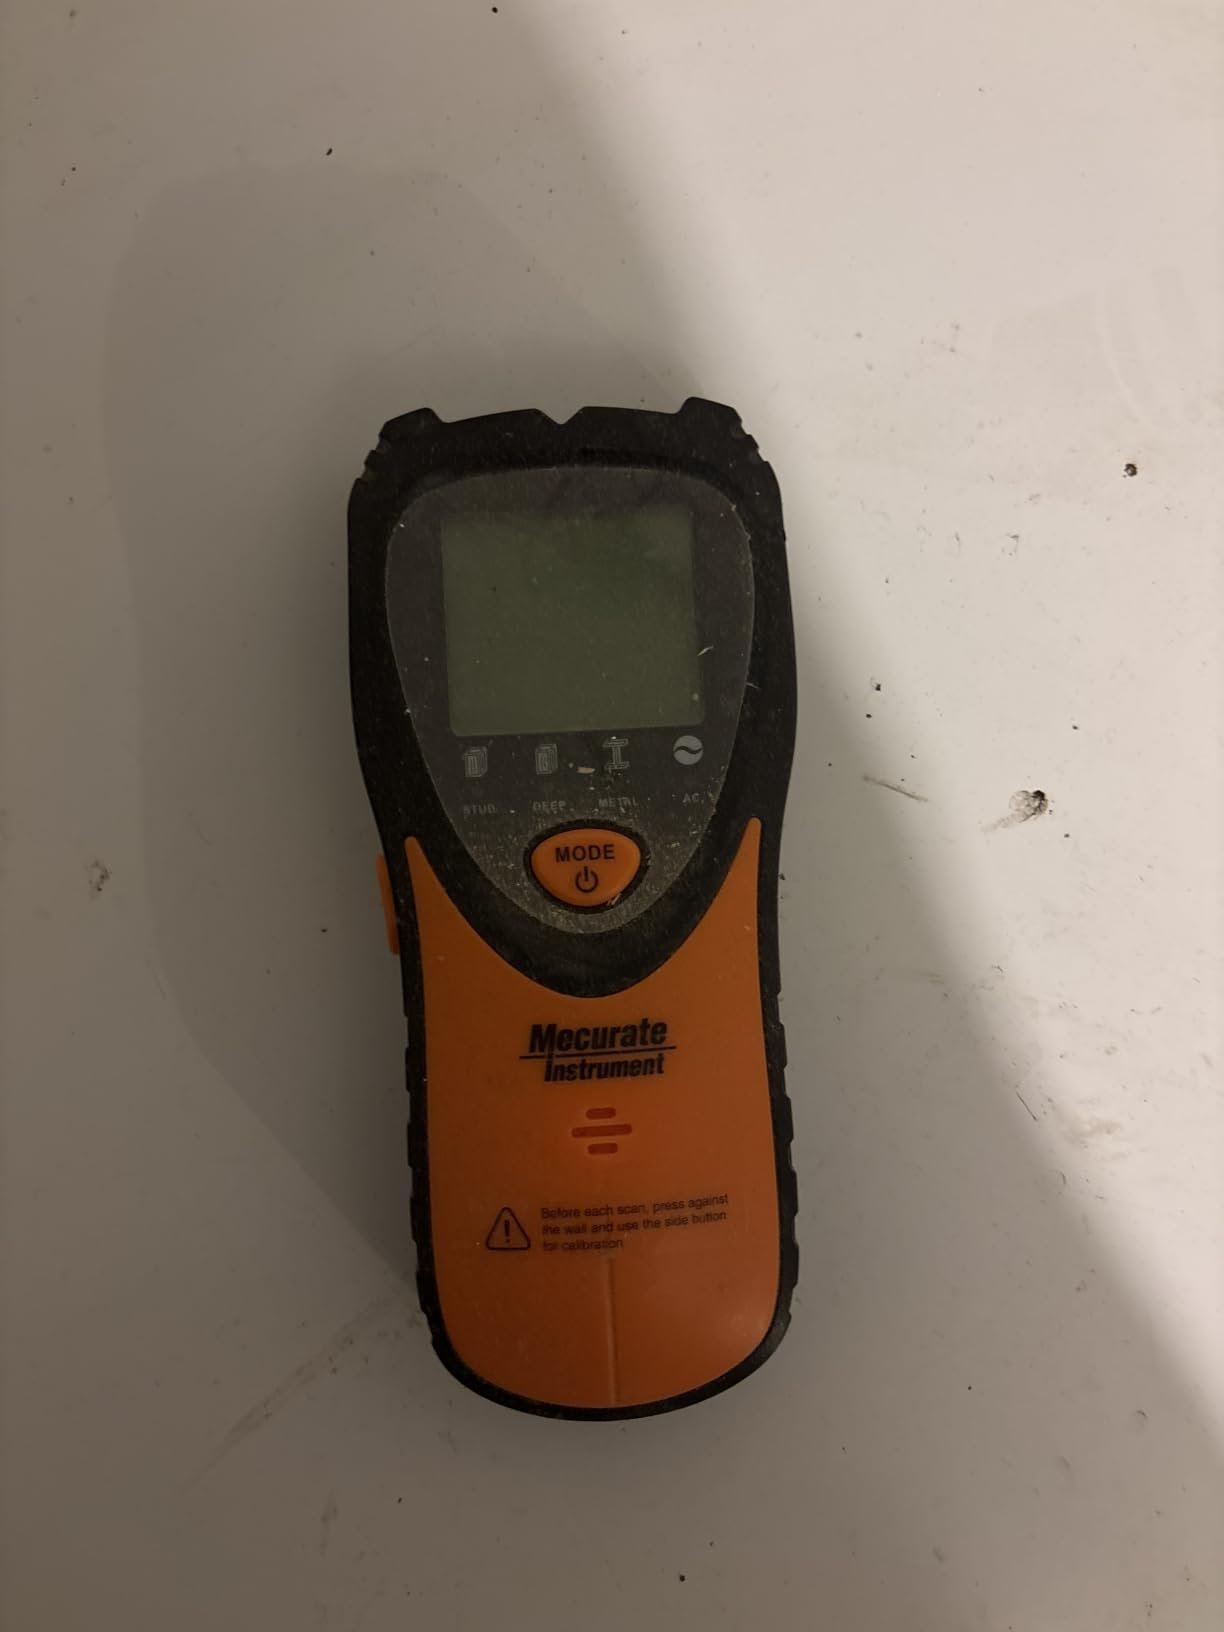
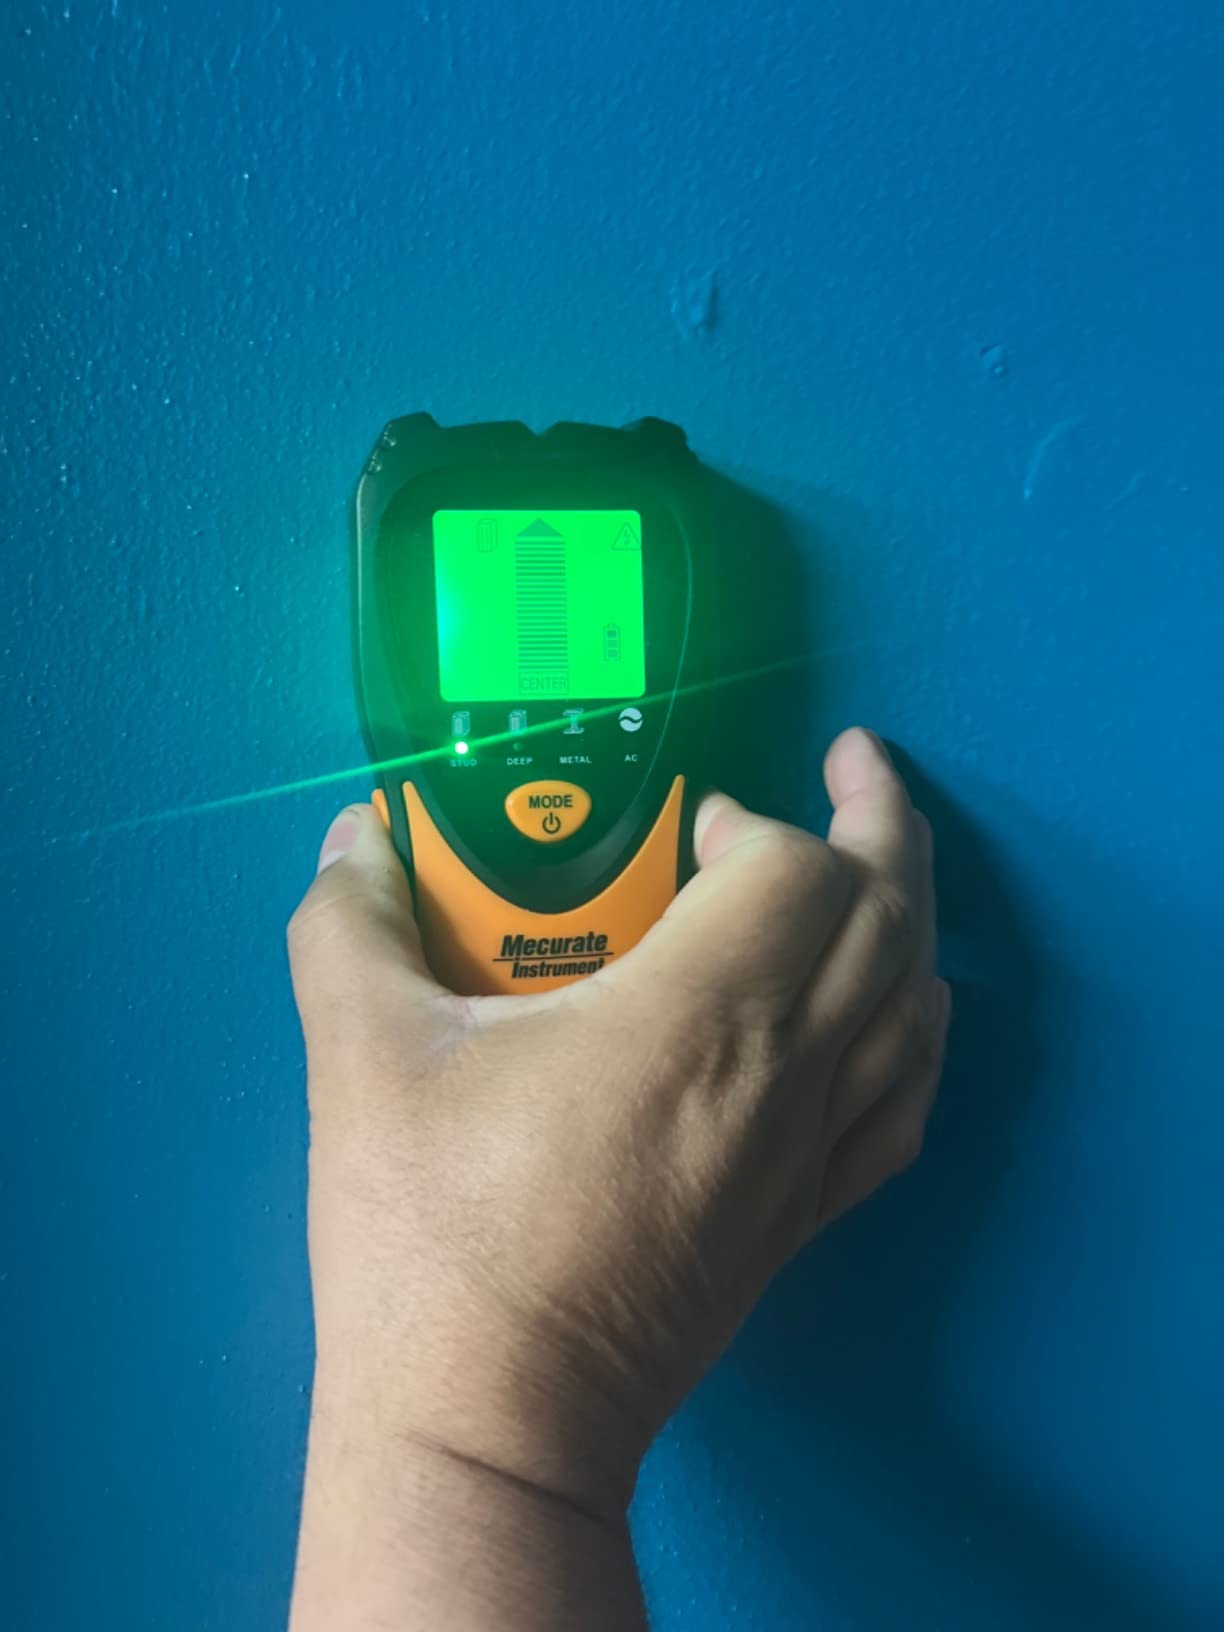
The Mecurate has been a fixture in the tool aisle for years and has built 6566 reviews at 4.2 stars. It is the sort of tool that sits in a garage drawer and gets handed to whoever is hanging something that week, which is a reasonable thing to want from your first stud finder.
Four modes cover the common jobs: a standard 3/4 inch scan, a deep 1-1/2 inch scan, metal detection reaching 2-3/8 inches and an AC mode at 2 inches. The high-definition LCD draws real-time graphics while an audio alert runs alongside it.
What the Included Extras Actually Save
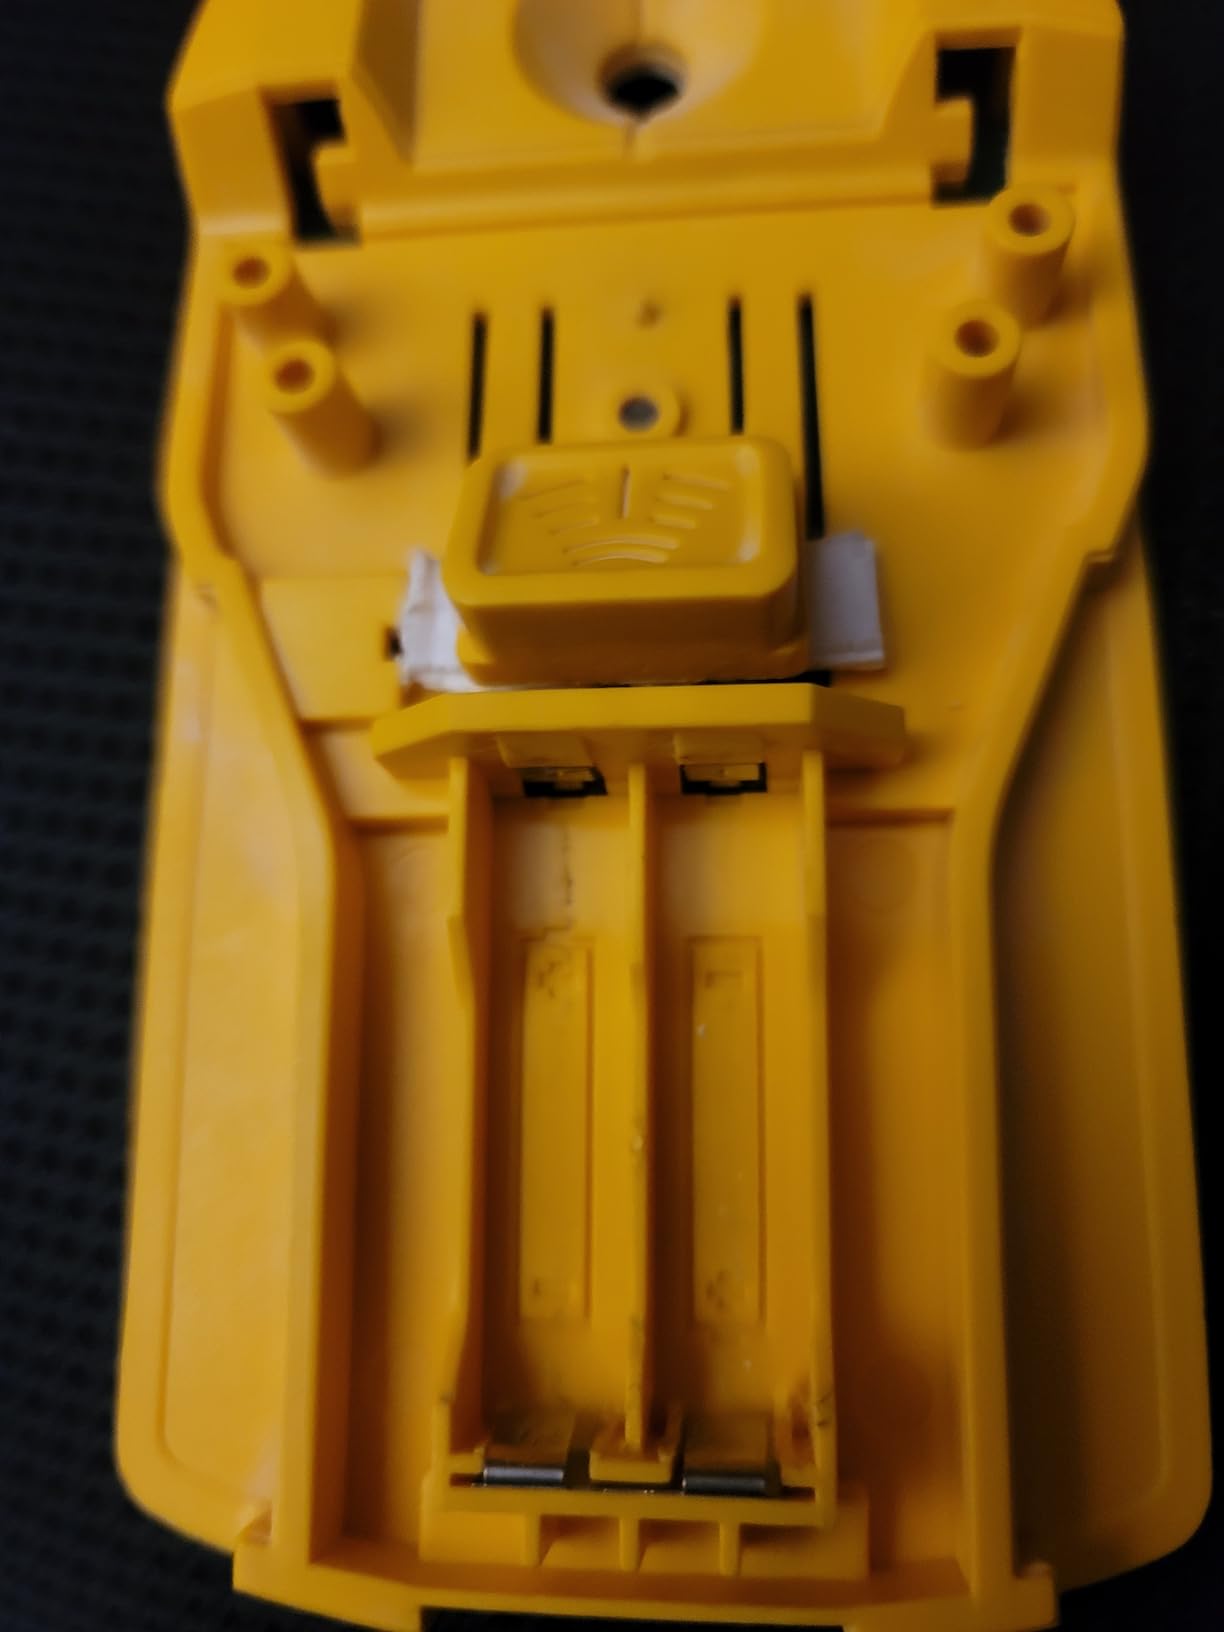
The box includes the detector, a 9V battery and a carrying pouch, so nothing has to be bought before the first use. For a beginner that matters more than it sounds, because a flat battery or a missing battery is a confusing first experience with an electronic tool.
Where It Falls Short
There is a persistent group of buyers reporting inconsistent results across repeated scans of the same wall, and fresh paint is known to reduce accuracy. It is also explicitly not for concrete, brick or tile, which is a reasonable limit but worth knowing if you are working in a basement or older building.
7. DEWALT DW0100 – Built for a Job Site, Limited to Thin Walls
DEWALT Stud Finder, 3/4”, Locate Framing Studs Efficiently with LED Arrows, Ideal for Wood and Metal, AAA Batteries Included (DW0100)
Center-find channel
3/4 inch depth
Live wire alert
IP65
Pros
- Center-find technology with a center marking channel
- LED arrows and audible alert give direction
- AAA batteries included in the box
- Slim IP65 body for wet and dusty conditions
Cons
- Shallow 3/4 inch detection depth
- Will not read concrete
- plaster
- brick
- carpet or tile
- Highest one-star share in this roundup at 12 percent
The DW0100 is the pick for people who work outside as well as in. Its IP65 rating means dust and water jets are not going to end the tool’s life, and the AAA batteries come in the box, which matters on a job where you are not near a supply store.
Center-find technology with a center marking channel handles the hardest part of the job for you, and directional LED arrows plus an audible alert tell you which way to move. It holds 4.1 stars across 5520 reviews, tied for the lowest average in this group, and 12 percent of those ratings are one star.
Live Wire Alerts Are the Reason to Consider It
Even at a shallow 3/4 inch depth, the unit flags AC and live wire with an audible alert and the LED arrows. For a beginner drilling into an unfamiliar wall, that warning is arguably worth more than extra depth, because a missed cable is a trip to the emergency room.
Where It Falls Short
The manufacturer lists a long list of surfaces it will not handle: concrete, mortar, block, brick, plaster, carpeting, foil-faced materials, metal surfaces and ceramic tile. It also will not locate non-ferrous objects such as plastic pipes. In a house with plaster and lath, this is the wrong tool.
8. Franklin Sensors ProSensor M90 – The Same Idea, Lighter and Shallower
Franklin Sensors ProSensor M90 9-Sensor Stud Finder Wall Scanner
9 sensors
No calibration
1.5 inch deep scan
LED width display
Pros
- Nine sensors with no calibration step
- Shows full stud width and marks the center in green
- Light at 5.12 ounces with a 1.5 inch deep scan
- Made in USA
Cons
- Two AAA batteries required and not included
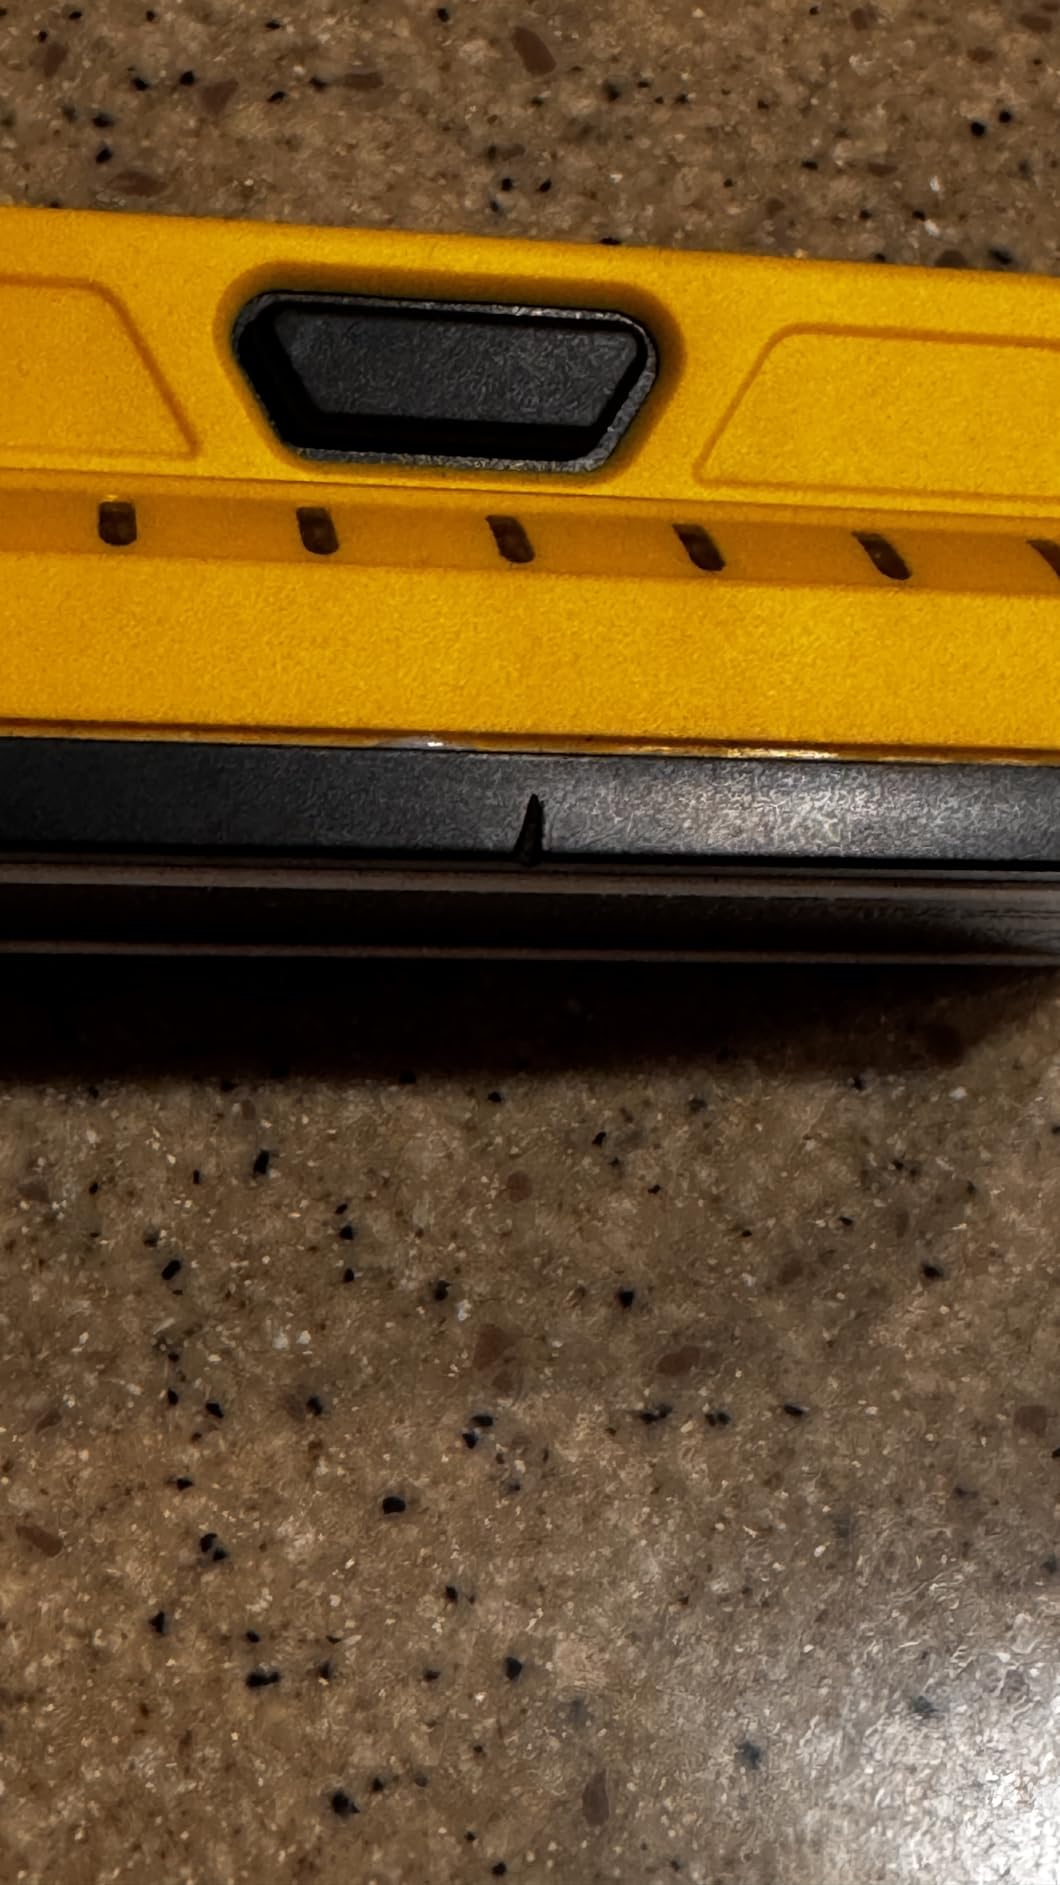
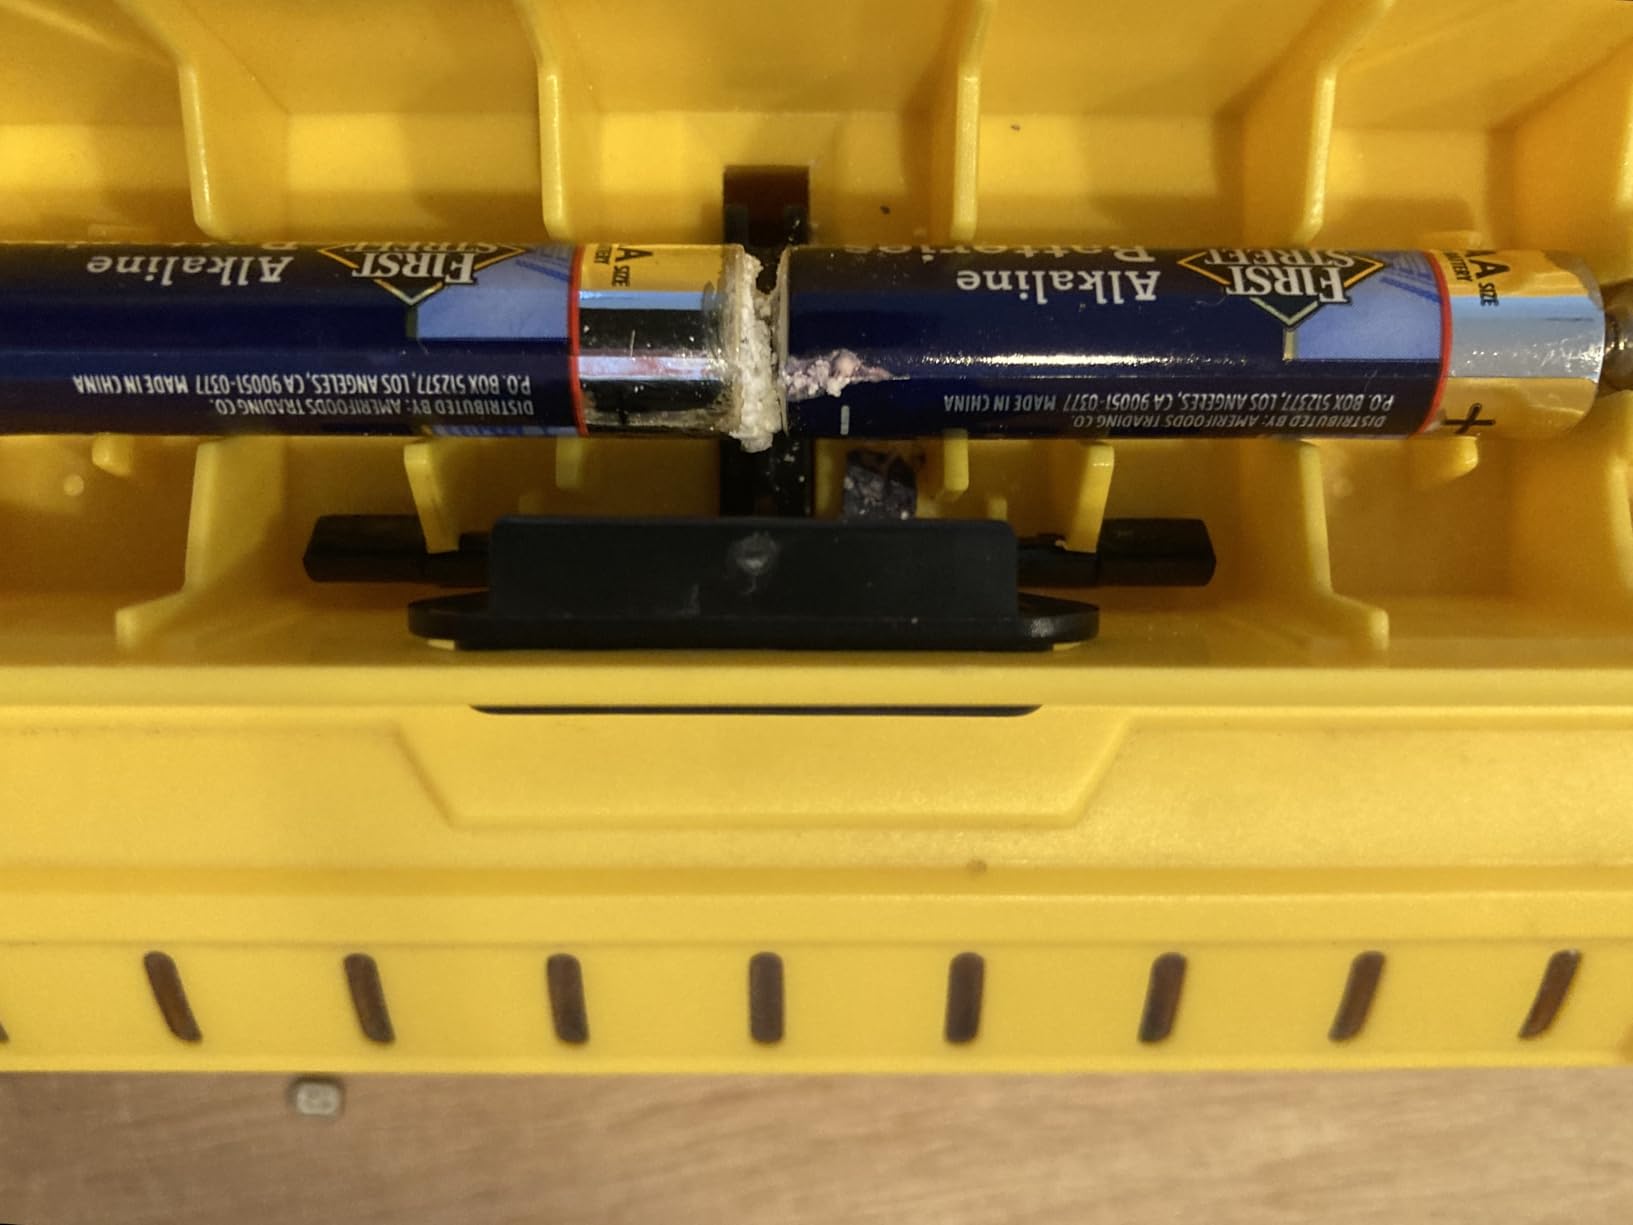
- Not compatible with rechargeable batteries
- Fewer sensors and less depth than the M210
The M90 is the M210 scaled down, and it works the same way. Nine sensors, no calibration, and an LED display that lights the full width of a stud with a green marker at the center. The always-on deep scan reaches 1.5 inches for wood and metal.
It holds 4.4 stars across 2731 reviews with 70 percent five-star ratings. At 5.12 ounces it is one of the lightest electronic units here, which makes it comfortable for overhead work and long scanning sessions.
When Nine Sensors Is the Right Number
The gap between nine sensors and 13 shows up on the hardest walls: thick insulation, unusual cavity contents and metal framing. On standard interior drywall, the M90 reads studs as cleanly as anything else in this roundup, so most beginners will never notice the difference.
Like its bigger sibling, it needs no calibration and can start scanning from any position, including directly over a stud. That is a real advantage when you are working alone and cannot easily check a starting point against a known wall.
Where It Falls Short
It needs two AAA batteries that are not included, and it will not accept rechargeable cells. That combination adds friction for anyone already using rechargeables everywhere else. You also give up a quarter inch of scan depth and four sensors compared with the M210.
9. StudBuddy Pro with Level – Magnets Plus a Bubble Level Built In
The Original StudBuddy Pro® Magnetic Stud Finder with Level – Made in the USA – Easy to Use Stud Finder for Drywall and Wood
Built-in bubble level
Neodymium magnet
No batteries
Made in USA
Pros
- Level is built in so nothing needs juggling
- Same battery-free magnetic reliability as the Original
- Instant detection with no calibration step
- Pocket-size design that fits a toolbox
Cons
- Not intended for lath and plaster walls
- Only finds screw or nail heads not the full stud width
- No live wire or metal pipe detection
Adding a bubble level to the magnetic design is a small change that removes a real annoyance. Hanging a shelf means finding the stud, holding a level on it and marking the screw position. With the Pro, the level travels inside the tool, so it stays put while you mark and drill.
It holds 4.5 stars across 2284 reviews with 75 percent five-star ratings, the same score as the original model that many buyers compare it to. Polystyrene plastic houses encapsulated neodymium magnets, and there are no batteries, moving parts or calibration.
The Level Solves a Workflow Problem, Not a Detection Problem
It is worth being clear about what the level does. It does not make the tool find anything better; it makes the marking step accurate once the fastener has been located. For a single shelf bracket, that removes a re-measure cycle that beginners usually discover only after a hole is already drilled.
The tool also stands on the wall on its own once the magnets grab a fastener, so both hands are free. For ceiling work or for anyone mounting several brackets in a row, that is a meaningful difference in a short session.
Where It Falls Short
Every limitation of the magnetic approach applies: it finds screw and nail heads rather than the stud width, it has no live wire detection, and the manufacturer does not intend it for lath and plaster walls. Treat it as a fast locator for drywall and wood framing.
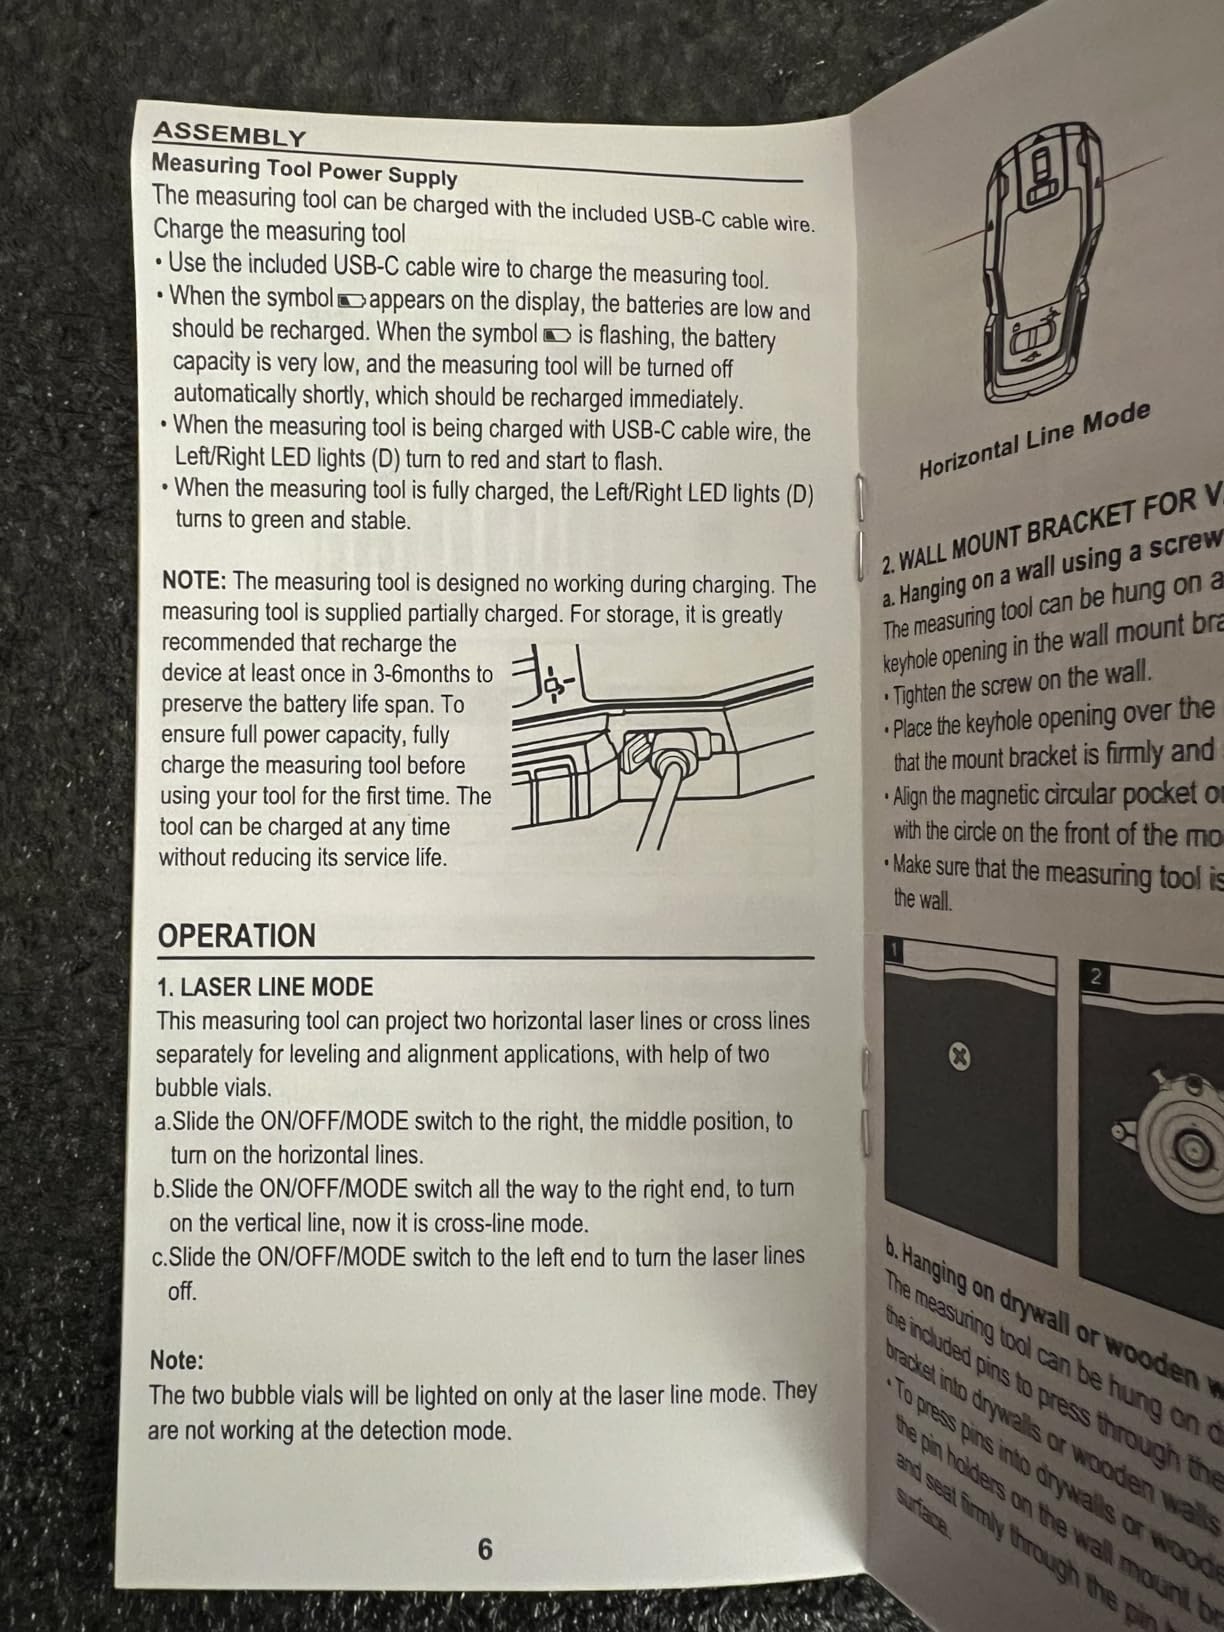
10. Prexiso 2-in-1 Laser – For When a Straight Line Matters as Much as the Stud
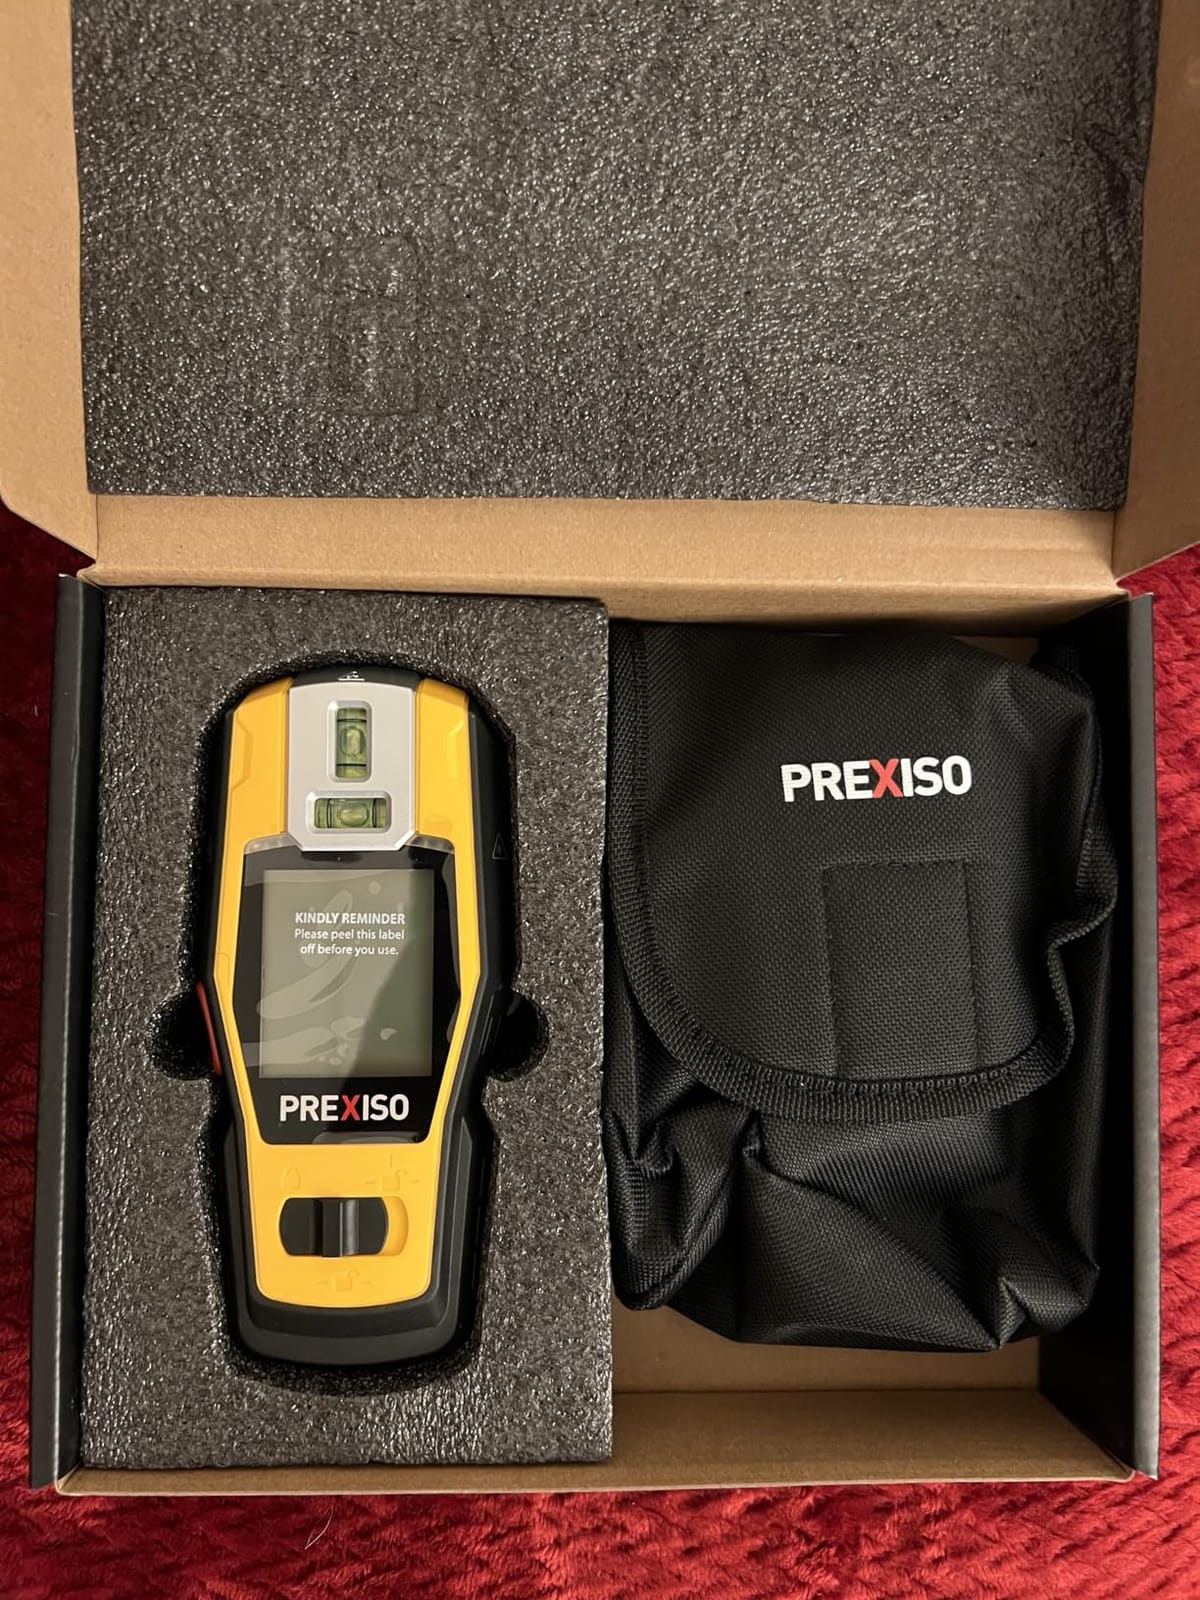
PREXISO 2-in-1 Stud Finder with Laser Level, Rechargeable Cross Line Laser
Rechargeable
Cross line laser
Studs to 3/4 inch
AC to 1-1/2 inch
Pros
- One tool covers stud finding and leveling
- Auto edge marking with a vertical laser line
- Wall mount fixes in place three different ways
- LED bubble vials help in dark areas
Cons
- Laser is manual-leveling rather than self-leveling
- Calibration is required before detection works
- Adhesive strips fail on dusty or textured walls
Cabinet and shelving jobs are a different problem from hanging a picture. You need a level line that runs across the wall, and you need to know where the studs fall along it. The Prexiso combines both: an electronic stud detector on one end and a rechargeable cross line laser on the other.
It detects wood and metal studs to 3/4 inch and live AC wire to 1-1/2 inch through drywall. The laser projects up to 10 meters, or 30 feet, indoors, and the vertical line, red LED and audio alert fire automatically when a stud edge is detected.
The Wall Mount Is the Feature That Changes the Job
A 360-degree rotating mount with three fixing methods, two pins, six self adhesive strips or a top pin hole, lets the tool stay locked to the wall while you work. Both hands are then free for the saw and the drill, and the laser holds the reference line steady while you mark.
Where It Falls Short
The laser is manual-leveling, which means the bubble vials have to be used every time or the line drifts. Calibration is required before the stud finder function works at all. The adhesive strips also fail on dusty, coarse, wallpapered or freshly taped drywall surfaces, which is common in an unfinished room.
11. Kreg Magnetic Laser-Mark – It Holds Itself to the Wall
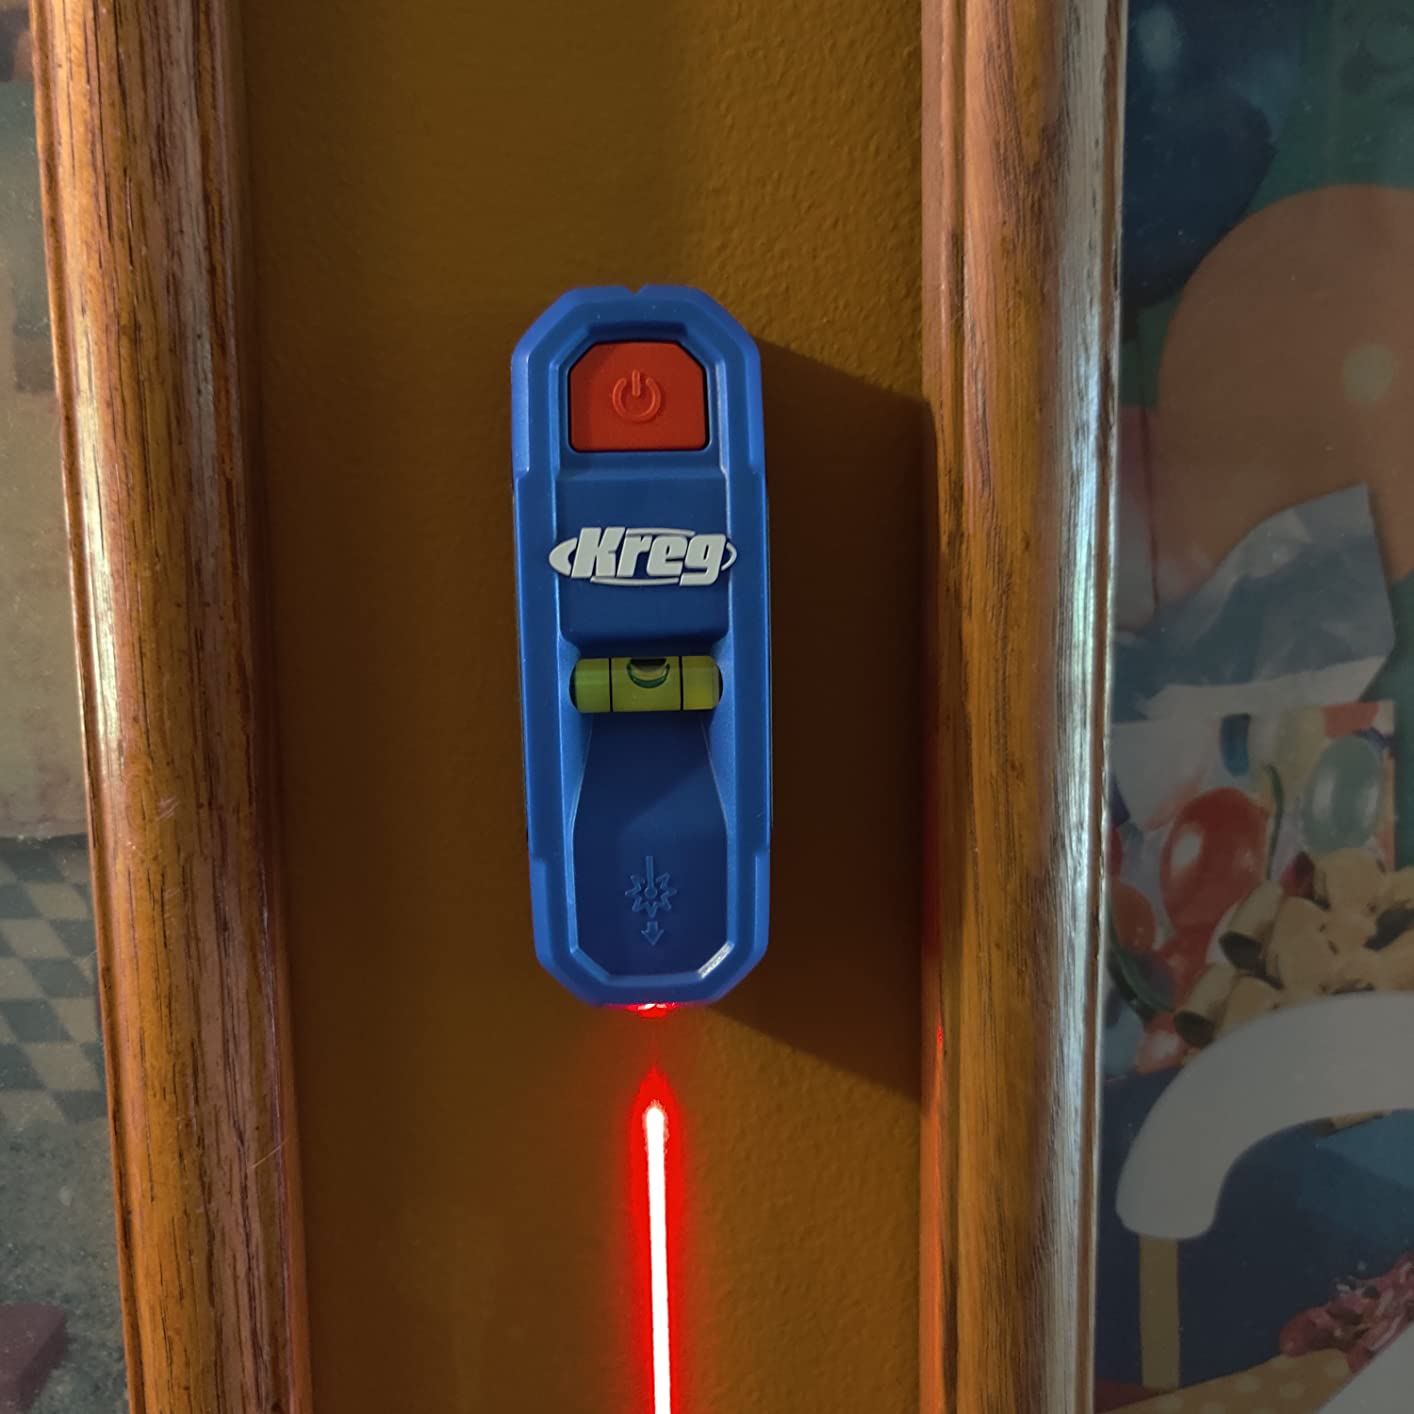
Kreg KMM1000LZ Magnetic Stud Finder with Laser-Mark for Wood & Metal Studs
Two rare-earth magnets
Laser-mark line
Bubble level
Notches
Pros
- Magnets hold the tool to the wall hands-free
- Laser-Mark projects the stud location
- Built-in bubble level and centered marking notches
- Compact enough for a pocket
Cons
- Laser only projects vertically
- Some find the magnets weaker than expected
- Requires sliding along the wall to locate fasteners
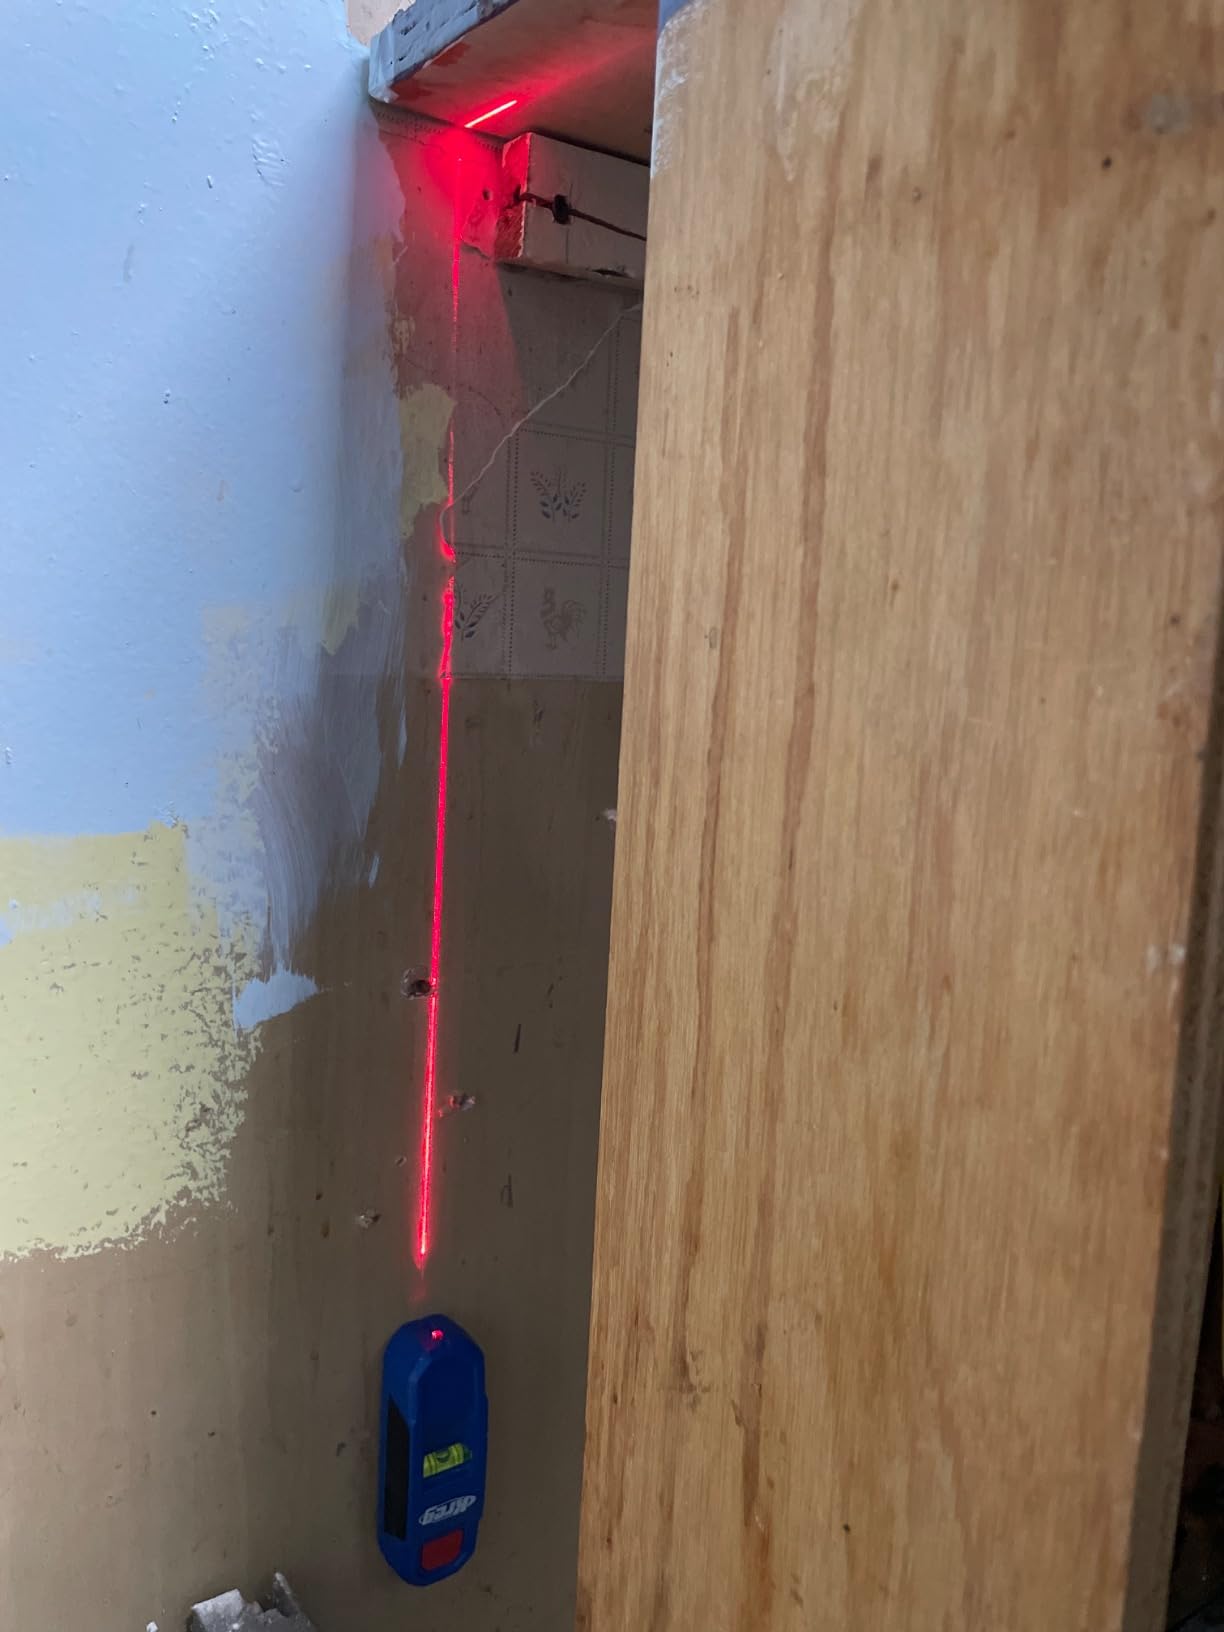
The Kreg takes the magnetic idea and adds a laser. When it catches a fastener, a class 2 laser line projects the exact stud location onto the wall, so you are marking with a projected reference instead of a pencil held against a wobbling tool.
It holds 4.5 stars across 1125 reviews with 74 percent five-star ratings. Two rare-earth magnets let the tool stick to the wall hands-free, and reviewers frequently single out the marking notches and the bubble level as the details that make it feel considered.
Why Hands-Free Changes the Marking Step
Every magnetic finder makes you mark while holding the tool in place, which is where crooked lines come from. Once the magnets have grabbed and the tool is supporting itself, your marking hand is free, so the mark lands where you actually intend it.
Where It Falls Short
The laser only works vertically, not horizontally, so it is not a replacement for a line level on a long run. Some reviewers find the magnets weaker than they expected on heavier walls, and because it is a locator rather than a scanner, you may need several passes to land on the fastener.
12. FNIRSI WD-01 – Six Detection Modes and the Deepest Metal Reads
FNIRSI WD-01 6 in 1 Rechargeable Stud Finder Wall Scanner, Positioning Hole
6 in 1 modes
Ferrous to 4.7 inch
AC to 2 inch
Rechargeable
Pros
- Six detection modes covering studs
- metal
- wire and pipe
- Rechargeable battery with nothing to replace
- Positioning hole marks the exact drill point
- Works on lath
- wallpaper and acoustic ceiling
Cons
- Edge detection struggles on plaster and lath
- AC mode can give false positives
- Switching between modes adds a learning curve
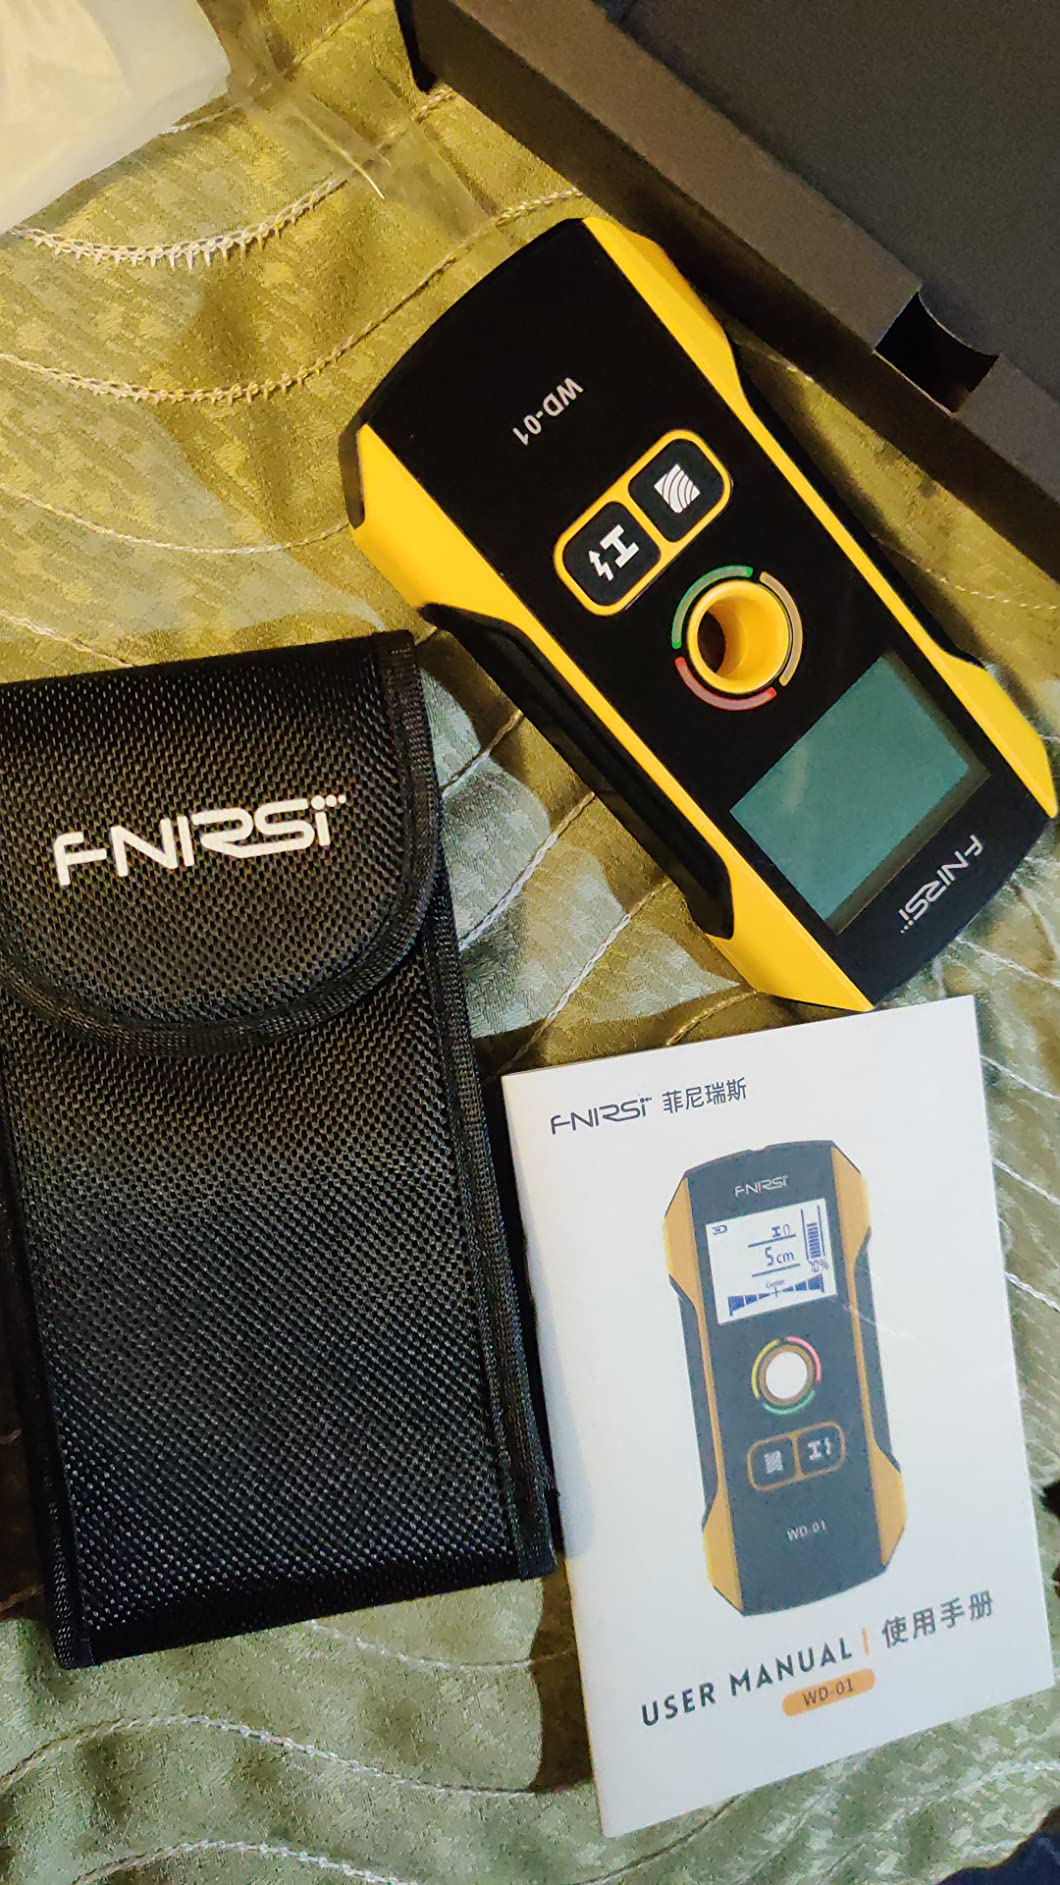
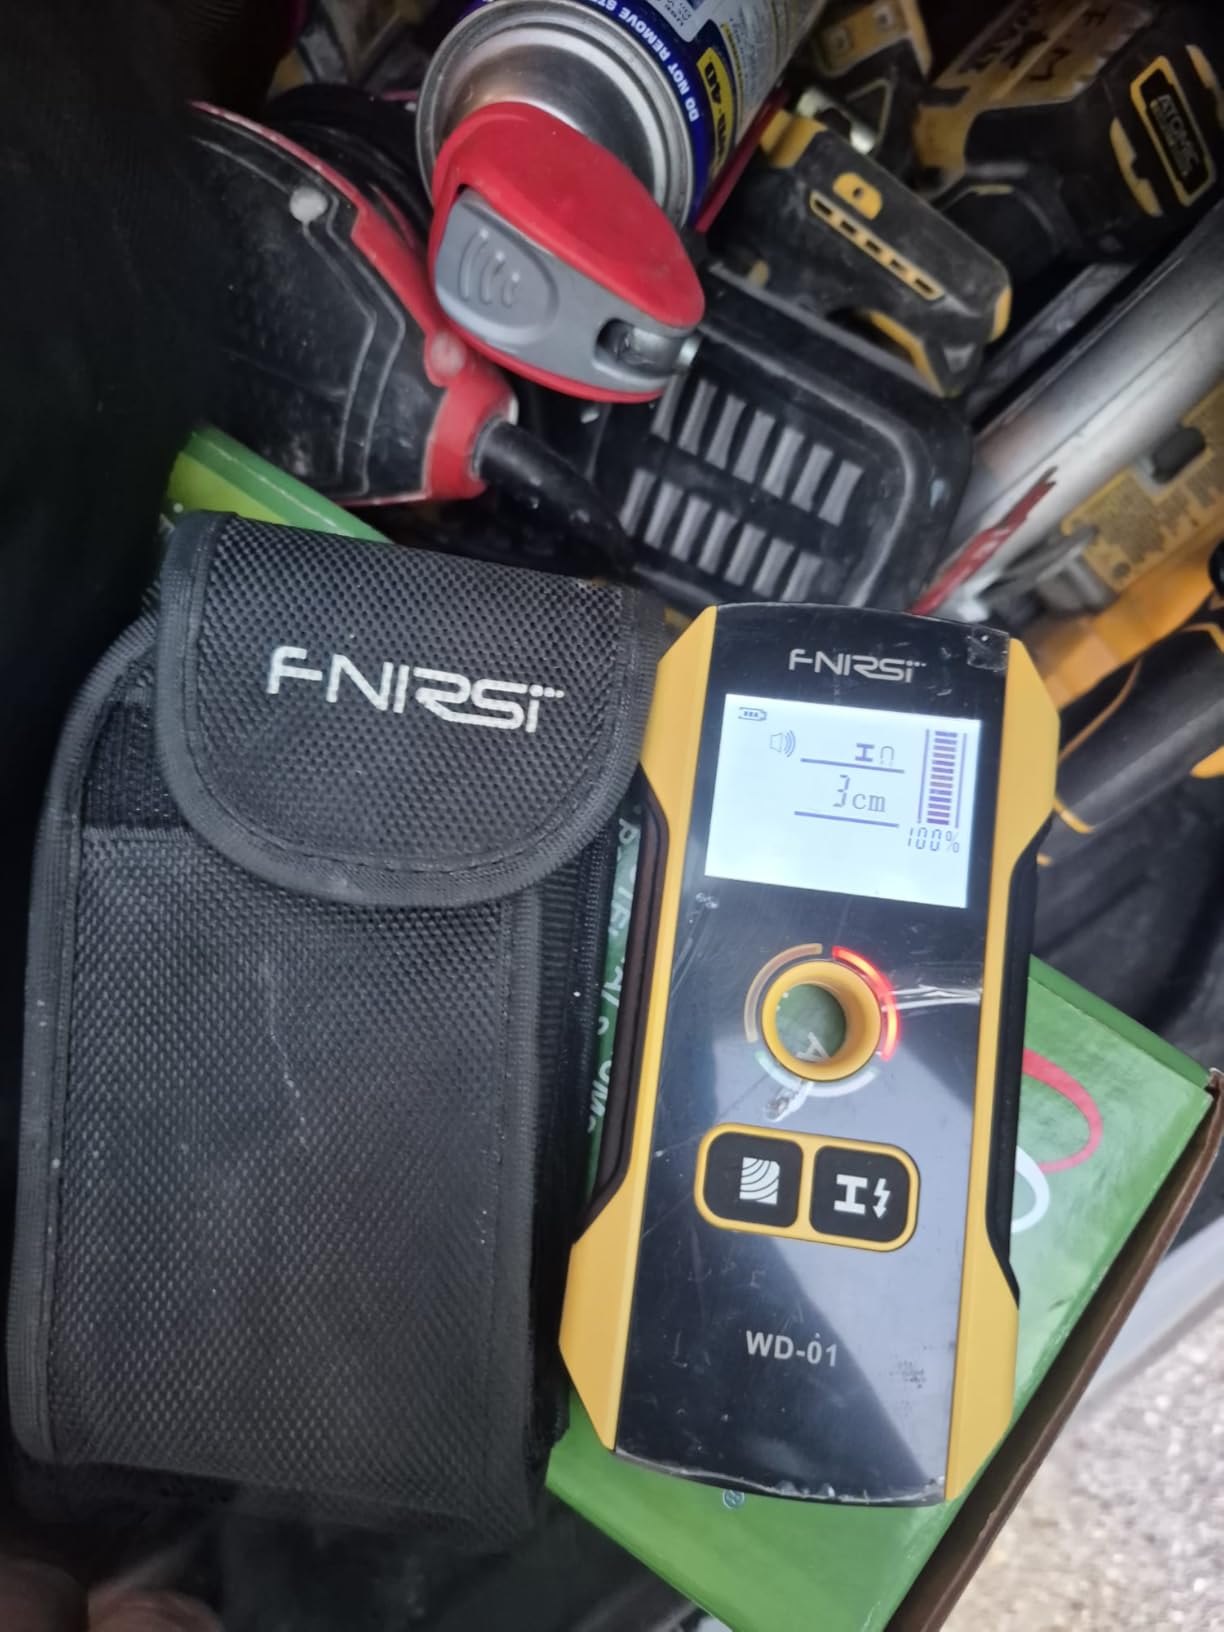
The WD-01 is the most technical unit here and the one worth considering if you work around older buildings. Six modes cover wood studs, non-ferrous metal to 3.9 inches, ferrous metal to 4.7 inches, live unshielded AC wire to 2 inches and copper wire to 1.6 inches. Those metal depths reach far past anything else in this roundup.
It holds 4.3 stars across 890 reviews with 70 percent five-star ratings, and reviewers point out the rechargeable lithium battery and the positioning hole, which lets you mark the exact drill location through the tool.
Rechargeable and Auto-Calibrated, Which Removes Two Beginner Steps
Two frustrations vanish here. There are no batteries to replace, which matters for a tool you might otherwise leave in a van, and the unit auto-calibrates anywhere on the wall, including over a stud, so a botched start does not ruin the scan.
Where It Falls Short
Reviewers report the edge finder being unreliable on plaster and lath, and the AC mode producing false positives. Six modes also mean a real learning curve, and this is the least-reviewed tool here at 890 reviews, so the long-term record is shorter than the rest.
How to Use a Stud Finder for the First Time
1. Start on a known empty patch. Move a foot or two away from anything already mounted, hold the tool flat against bare wall, and wait for the calibration to complete. Calibrating over a stud bakes a false baseline into the whole scan.
2. Hold it flat and press once. Most units need a power button held down. The tool should sit flush against the surface, not tilted, because a tilted sensor reads the wall at an angle.
3. Scan slowly and continuously. Move at roughly the speed you can talk while counting to five. Users report missed and erratic readings almost every time, and it is nearly always a too-fast sweep.
4. Mark both edges, then the center. Put a pencil mark at each edge as the light or sound starts, measure the gap between them, and mark the midpoint. A 1-1/2 inch gap means a standard stud.
5. Sanity-check against 16 inch spacing. Interior studs sit 16 inches on center, so a second stud should be 16 inches from the first. Exterior and garage walls are often 24 inches. If your two readings do not line up with one of those, find out why before drilling.
6. Scan again in the other direction. A reading you can reproduce from both directions is a reading you can trust. Anything that only appears on one pass is usually a pipe, a bracket or a wire.
7. Turn the power off before you drill. Live wire detection is a warning aid, not a guarantee. Shut the breaker off and confirm the outlet is dead before any bit enters the wall.
How to Find a Stud in the Ceiling
Use a tool with a latching scan button so one hand stays free, and set it to its deepest wood mode. Ceiling cavities are often packed with insulation, so calibrate on a stretch of clear ceiling rather than near an old light fixture, and brace the ladder before you start.
What to Look for When Buying a Stud Finder
The right question is not which stud finder is best but which type matches your walls. A magnetic tool and an electronic tool answer different questions, and choosing wrongly is why people end up frustrated with a tool that works fine.
Magnetic or Electronic?
A magnetic stud finder finds drywall fasteners. It costs almost nothing, needs no batteries and never gives a false electronic reading, but it points at a screw head rather than the stud center. An electronic stud finder reads changes in wall density, needs power and calibration, and can tell you the center and warn you about live wire. On plaster and lath, the magnetic tool is the more reliable of the two.
Edge, Center or Multi-Sensor Detection
Edge finders give you two lines and leave you to average them. Center finders mark the middle directly. Multi-sensor scanners widen the detection area, which is what makes them more dependable on thick insulation and metal framing. Beginners make fewer errors with a center finder, and fewer still with a multi-sensor unit.
Scan Depth and Wall Thickness
Most interior walls are 1/2 inch drywall over a cavity that starts right after the board, so 3/4 inch depth is workable but tight. Anything over 1 inch gives you margin on insulated or double-layer walls. Matching depth to your wall is the single highest-impact decision in this whole guide.
Live Wire Detection and Calibration
Live AC wire detection is worth paying for if you are drilling into walls you have never opened. Calibration matters just as much: a no-calibration multi-sensor tool is easier for a first-timer because there is no step to get wrong, while a calibrating model demands an empty patch of wall every time you switch it on.
Can I Use My Phone as a Stud Detector?
No, not reliably. Phones have no magnetometer reading a drywall fastener and no density sensor for stud detection, so what you install is either an app that uses sound and motion or a tool that needs an external accessory anyway. A basic magnetic finder will be faster, cheaper and more accurate, and the budget you save goes toward a tool that flags live wire.
Frequently Asked Questions
Do cheap stud finders actually work?
Yes, within limits. Inexpensive magnetic models work reliably on standard drywall because they stick to the screws and nails holding the board. Cheap electronic models read normal 1/2 inch drywall fine but often struggle with thick insulation, plaster and lath. Match the tool to your wall type and verify every reading from a second direction before drilling.
Can I use my phone as a stud detector?
Not reliably. A phone has no sensor that can detect a drywall fastener or read wall density, so stud finder apps depend on sound, motion or an external accessory. A basic magnetic finder is faster, more accurate and cheaper, and the savings can go toward a model with live wire detection.
What is the easiest way to find a stud in the ceiling?
Use a scanner with a latching scan button so one hand stays free, set it to its deepest wood mode, and calibrate on a clear stretch of ceiling away from old fixtures. Scan slowly and continuously, then mark both edges and find the center. Most framed ceilings are 16 inches on center, so measure from a known joist to confirm.
Which stud finder is better, Zircon or DeWalt?
Judge the model rather than the brand, because each line covers very different tools. The DEWALT DW0100 in this roundup uses center-find technology with a marking channel, detects live AC wire and carries an IP65 body, but its 3/4 inch depth limits it to thin walls. Compare scan depth, calibration steps and wire alerts before choosing.
How far apart are studs?
Interior framing is normally 16 inches on center, and exterior or garage walls are often 24 inches. Use that spacing as a sanity check: after marking one stud, look for the next one 16 inches away. If the two readings do not line up, repeat the scan before drilling.
How do you use a stud finder for the first time?
Calibrate on a patch of wall you know is empty, hold the tool flat, and scan slowly in one continuous pass. Mark both edges, measure between them and mark the center. Then scan again from the opposite direction to confirm. A reading you can reproduce twice is a reading you can trust.
The Best Stud Finder for Beginners to Start With
Start with the Franklin Sensors ProSensor M210. Thirteen sensors, no calibration step, a display that shows the full width of the stud and marks the center in green, and live wire detection that gives you a warning before the drill turns. It is the unit in this group least likely to make a beginner feel stupid, which is the entire point.
If your walls are older plaster and lath, or you only ever hang picture frames, the StudBuddy magnetic finders are the smarter purchase. Nothing to calibrate, nothing to charge, and no false readings to argue with. For a single tool that covers every wall type and a wide range of depths, the FNIRSI WD-01 reaches further than anything else here but asks more of a first-timer.
Whichever one you choose, take ten minutes to learn the calibration and the 16 inch spacing check. That habit will save you more holes than any model on this list. If you want a broader beginner setup, the guides to the best 3D printers for beginners and the best standalone drawing tablets for beginners cover the rest of the workbench.