
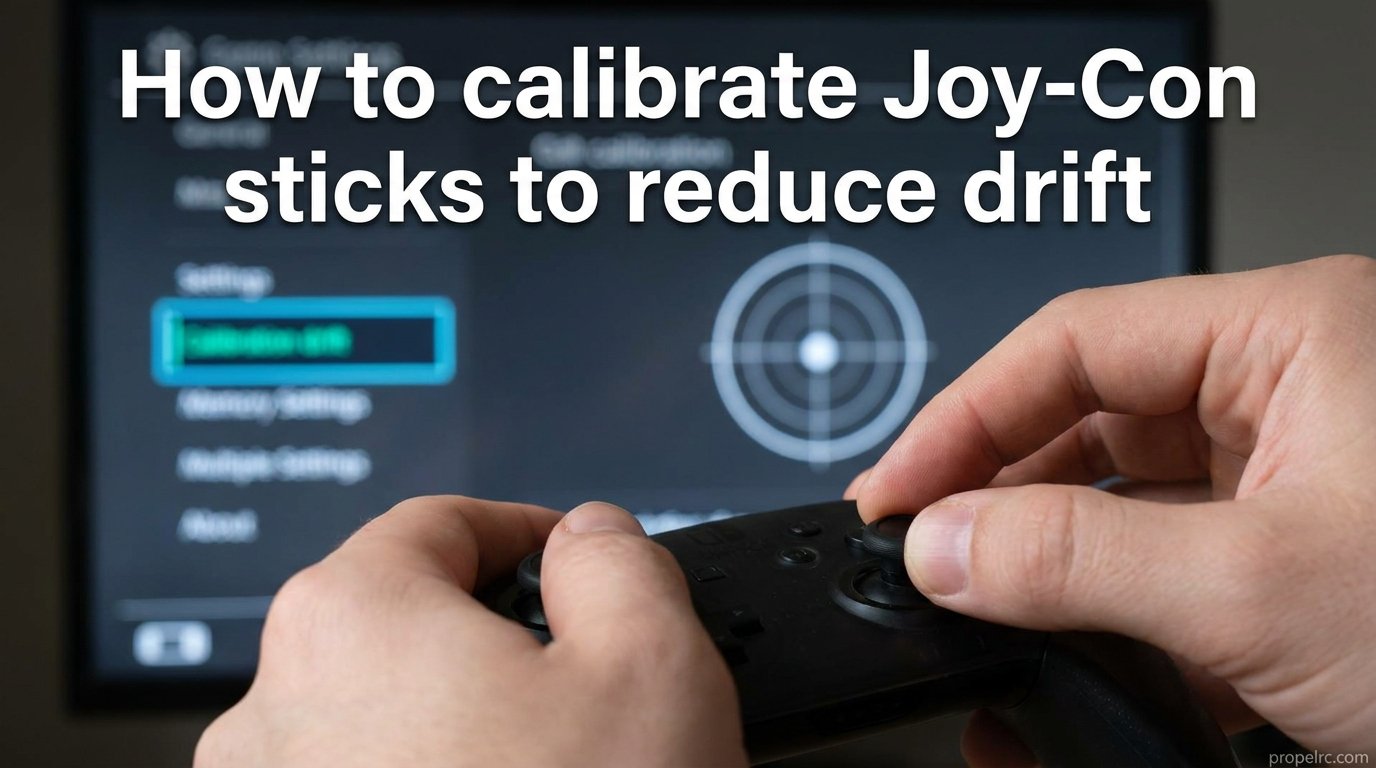
Nothing ruins a gaming session faster than your character walking off a cliff when you’re not even touching the controller. Joy-Con drift has frustrated Nintendo Switch owners since the console launched. I’ve spent countless hours testing calibration methods, and I’ve found that software calibration can resolve mild drift issues in many cases. Here’s everything you need to know about how to calibrate Joy-Con sticks and when to try other solutions.
Drift affects millions of Switch owners. The left Joy-Con tends to experience it more frequently, but both controllers can develop this problem over time. Calibration won’t fix every case, but it’s the first troubleshooting step Nintendo recommends and often provides temporary relief for software-related issues.
What Is Joy-Con Stick Drift?
Joy-Con stick drift occurs when your Nintendo Switch registers analog stick movement even though you’re not touching the controller. Your character might walk forward on their own, the camera could rotate continuously, or menu items scroll without input. This happens when the controller’s internal sensors misread the neutral position of the thumbstick.
The problem typically develops gradually. At first, you might notice occasional unwanted movement that’s barely noticeable. Over weeks or months, the drift worsens until it significantly impacts gameplay. First-person shooters and precision platformers become nearly unplayable when your crosshair keeps drifting off target.
Drift differs from general stick wear. A worn stick might feel loose or unresponsive, but drift specifically refers to unwanted input registration. Understanding this distinction helps you identify whether calibration, cleaning, or replacement will solve your problem.
Why Do Joy-Cons Drift So Easily?
The root cause lies in the design of the analog stick mechanism itself. Nintendo uses a potentiometer-based system in Joy-Cons, which relies on physical contact between electrical contacts to detect movement. Every time you move the stick, these contacts slide against each other, gradually wearing down over time.
Dust and debris compound the wear issue. The small gap around the stick base allows particles to enter and interfere with the sensor mechanism. Even microscopic debris can cause false readings, making the controller think the stick has moved when it hasn’t.
Many users report drift appearing within just a few months of regular use. The compact design of Joy-Cons leaves less room for robust components compared to full-size controllers. The left Joy-Con experiences drift more frequently because most games map movement to the left stick, resulting in more wear.
The technical explanation involves the potentiometer’s resistance values drifting from their calibrated state. When the electrical contact points degrade, they can no longer provide accurate position data to the Switch console. Calibration resets the software interpretation of these signals, but it can’t repair physical damage.
How to Calibrate Joy-Con Sticks: Step-by-Step Guide
The standard calibration process takes about two minutes and requires no tools. Nintendo built this feature directly into the Switch system software, making it accessible to everyone. Follow these steps in order for best results.
Step 1: Access System Settings
From your Switch HOME Menu, select the gear icon labeled “System Settings.” This opens the console’s configuration menu where you’ll find controller options. Use the D-pad or touch screen to navigate if drift makes the left stick unreliable.
Step 2: Navigate to Controllers and Sensors
Scroll down the left sidebar until you see “Controllers and Sensors.” Select this option to access all controller-related settings. This menu contains calibration tools for both analog sticks and motion controls.
Step 3: Select Calibrate Control Sticks
Choose “Calibrate Control Sticks” from the Controllers and Sensors menu. The system will prompt you to detach any Joy-Cons you want to calibrate, then reattach them individually. This ensures the console recognizes which controller you’re adjusting.
Step 4: Perform the Full Tilt Calibration
After selecting a controller, you’ll see a visual representation of the stick position on screen. Fully tilt the control stick in any single direction and hold it there for a few seconds. The system measures the full range of motion and adjusts its interpretation of the stick’s neutral center point.
Move through each direction methodically. Tilt up and hold, then down and hold, then left and hold, then right and hold. Complete circular motions help the system understand the stick’s full range. Keep your movements smooth and avoid jerky motions during calibration.
Step 5: Verify the Calibration
After completing the calibration process, test the stick in the calibration screen before returning to your game. Watch for any drift on the visual display. If the crosshair still moves when you release the stick, the calibration may not have fully resolved the issue.
Repeat the process once if drift persists. Sometimes a second calibration pass improves results. If drift continues after multiple attempts, the problem likely requires a different approach.
Factory Reset Calibration Method
When standard calibration fails, a factory reset of the calibration data sometimes works. This method comes from the Nintendo Switch community on Reddit, where users discovered that resetting to factory calibration defaults can resolve drift that normal calibration can’t fix.
Start by detaching the drifting Joy-Con from the Switch. Navigate to System Settings, then Controllers and Sensors, then select “Disconnect Controllers.” This removes all paired controller data. Press the SYNC button on the drifting Joy-Con (the small button on the rail edge) to enter pairing mode.
Reattach the Joy-Con to the console. The system will recognize it as a new controller and load fresh factory calibration data. This process essentially tricks the console into treating your worn controller as brand new, resetting any accumulated calibration offsets that may have drifted too far.
Community members report success with this method for both left and right Joy-Cons. It works best for cases where normal calibration overshoots or creates new offset problems. Think of it as restoring the controller to its out-of-box calibration state.
Can Calibration Fix Stick Drift?
Calibration fixes drift caused by software miscalibration, not hardware damage. If your potentiometer contacts have worn down physically, no amount of software adjustment can compensate. However, many drift cases result from minor calibration drift rather than component failure.
Think of calibration like zeroing a scale. If your scale shows weight when nothing is on it, you zero it to fix the reading. Similarly, calibration tells your Switch that the stick’s current position is neutral. This works perfectly when the stick mechanism itself is fine but the software interpretation has drifted.
Signs that calibration will likely help include: drift that appeared suddenly rather than gradually, drift that changes direction after you manually calibrate, and drift that only occurs in certain games (suggesting a software conflict rather than hardware fault).
Signs that calibration won’t fix the problem include: drift that worsens steadily over time, physical grinding or sticking when you move the stick, and drift that returns immediately after calibration. These indicate potentiometer wear requiring repair or replacement.
DIY Fixes When Calibration Doesn’t Work
Before sending your Joy-Con for repair, several DIY methods can temporarily resolve drift. I’ve tested these approaches, and while none provide permanent solutions, they can extend controller life for weeks or months.
Cleaning with Rubbing Alcohol
Lift the rubber flap around the base of the thumbstick to expose the gap beneath. Apply a small amount of isopropyl alcohol (90% or higher concentration) to a cotton swab. Work the swab around the stick base while moving the stick in circles. The alcohol dissolves grime and evaporates quickly without leaving residue.
This method works because debris buildup under the stick causes false sensor readings. Many users on forums report that alcohol cleaning fixed their drift for weeks at a time. Repeat as needed when drift returns.
Compressed Air Technique
Use a can of compressed air to blow dust out from under the thumbstick. Lift the rubber flap slightly and direct short bursts of air around the stick base from multiple angles. The force dislodges particles that interfere with the potentiometer mechanism.
Hold the Joy-Con upside down during this process so dislodged debris falls out rather than deeper into the mechanism. Several users report success combining compressed air with alcohol cleaning for stubborn cases.
Contact Cleaner Application
Electrical contact cleaner designed for electronics can penetrate deeper than alcohol. Spray a tiny amount under the rubber flap while moving the stick through its full range of motion. Allow the cleaner to dry completely before testing.
Contact cleaners specifically dissolve oxidation on electrical contacts. Since potentiometer drift often involves contact degradation, this approach addresses the root cause more directly. However, avoid using excessive amounts that could seep into other Joy-Con components.
None of these cleaning methods provide permanent fixes. They clear debris and temporarily improve contact performance, but wear continues accumulating. Use these as stopgap measures while deciding between repair and replacement.
Understanding Dead Zones and Drift
Dead zones refer to a small area around the stick’s center where input is ignored. Developers program dead zones into games to prevent minor stick movement from registering as intentional input. Understanding dead zones helps explain why some games feel more affected by drift than others.
A larger dead zone means the stick must move further from center before the game recognizes input. Games with small dead zones feel more responsive but show drift more noticeably. Games with large dead zones might mask mild drift but sacrifice precision.
Some gamers use controller customization software to increase dead zones as a drift workaround. This reduces unwanted movement but also reduces sensitivity, making fine control more difficult. It trades one problem for another rather than solving the underlying issue.
Dead zones don’t fix drift; they hide it. Your controller still sends incorrect position data, but the software ignores more of it. This approach works for casual gaming but impacts competitive play where precision matters.
When to Contact Nintendo for Repair
If calibration and cleaning fail to resolve drift, professional repair becomes necessary. Nintendo offers a repair program specifically for Joy-Con drift, and for many users, the service is free even outside the standard warranty period.
Signs you need professional repair include: drift returning within days of cleaning, physical grinding or resistance when moving the stick, the stick not returning to center when released, and multiple calibration attempts providing no improvement. These indicate potentiometer replacement is required.
Nintendo’s Repair Program
Nintendo’s official Joy-Con drift repair program covers controllers experiencing drift issues. Check Nintendo’s support website to initiate a repair request. The process typically involves shipping your Joy-Con to a regional service center, though some regions offer walk-in repair at authorized locations.
Repair turnaround varies by region and current volume. Users report times ranging from one to three weeks for mailed repairs. Nintendo either repairs your existing Joy-Con or sends a replacement unit. The service has addressed millions of drifting controllers since the problem gained widespread attention.
Check your warranty status before paying for third-party repair. Even if your standard warranty expired, Nintendo may still cover drift repair under their extended program. Contact Nintendo support directly to confirm coverage in your region.
Third-Party Repair Options
If Nintendo’s repair program isn’t available in your region or you prefer not to wait, third-party repair shops offer Joy-Con stick replacement. These services replace the potentiometer mechanism with new components, providing a permanent fix for drift.
Some repair shops offer Hall Effect stick upgrades. Hall Effect sensors use magnets instead of physical contacts, eliminating the wear mechanism that causes drift. This upgrade costs more than standard repair but provides a permanent solution for drift-prone gamers.
Long-Term Prevention Tips
While drift remains a design flaw rather than a user-caused problem, certain habits can extend Joy-Con lifespan. Proper handling and storage reduce the rate of wear accumulation.
Storage and Handling
Store Joy-Cons in a clean, dry environment. Avoid leaving them attached to the Switch in tight cases where pressure on the sticks could accelerate wear. Detach and store separately when not in use for extended periods.
Handle controllers with clean hands. Oils and debris transfer from your fingers to the stick mechanism. While this won’t cause drift directly, it contributes to the grime buildup that cleaning methods address.
Regular Cleaning Schedule
Preventive cleaning every few months helps delay drift onset. Use compressed air around the stick bases before debris accumulates. This maintenance takes seconds and can significantly extend controller life.
Hall Effect Replacement Options
For gamers frustrated by recurring drift, Hall Effect replacement sticks offer a permanent solution. These aftermarket components use magnetic sensing rather than physical contact, eliminating the wear mechanism. Replacement requires soldering skills or professional installation.
The Switch 2 console addresses drift with redesigned Joy-Cons featuring improved stick mechanisms. While details remain limited, early reports suggest Nintendo has implemented changes to reduce drift frequency in the next generation hardware.
FAQs
How to calibrate Joy-Con drift?
To calibrate Joy-Con drift, go to System Settings u0026gt; Controllers and Sensors u0026gt; Calibrate Control Sticks. Detach and reattach the Joy-Con you want to calibrate, then fully tilt the stick in each direction and hold for a few seconds. The system recalibrates the neutral position. Test the results in the calibration screen before returning to your game.
How do you fix stick drift on Joycons?
Start with software calibration through System Settings. If that fails, try cleaning under the thumbstick with rubbing alcohol or compressed air. The factory reset calibration method (disconnecting controllers and re-pairing) sometimes works when standard calibration doesn’t. For persistent drift, contact Nintendo for free repair or consider Hall Effect stick replacement.
Can calibration fix stick drift?
Calibration can fix drift caused by software miscalibration but not hardware wear. If your potentiometer contacts have physically degraded, software adjustments won’t resolve the issue. Calibration works best for sudden-onset drift or drift that changes direction after manual adjustment. Signs calibration won’t help include progressive worsening and immediate drift return after recalibration.
Why do joy cons drift so easily?
Joy-Cons use potentiometer-based analog sticks that rely on physical contact between electrical components. These contacts wear down with use, causing inaccurate position readings. The compact design leaves less room for robust components, and dust entering the stick mechanism compounds the wear. The left Joy-Con drifts more frequently because most games use it for movement, creating more wear.
Conclusion
Learning how to calibrate Joy-Con sticks gives you the first tool against drift. Start with the built-in calibration tool, try the factory reset method if that fails, and attempt cleaning for persistent cases. When software solutions don’t work, Nintendo’s repair program offers free fixes for many users. With the right approach, you can restore your Joy-Cons to responsive, drift-free operation.