
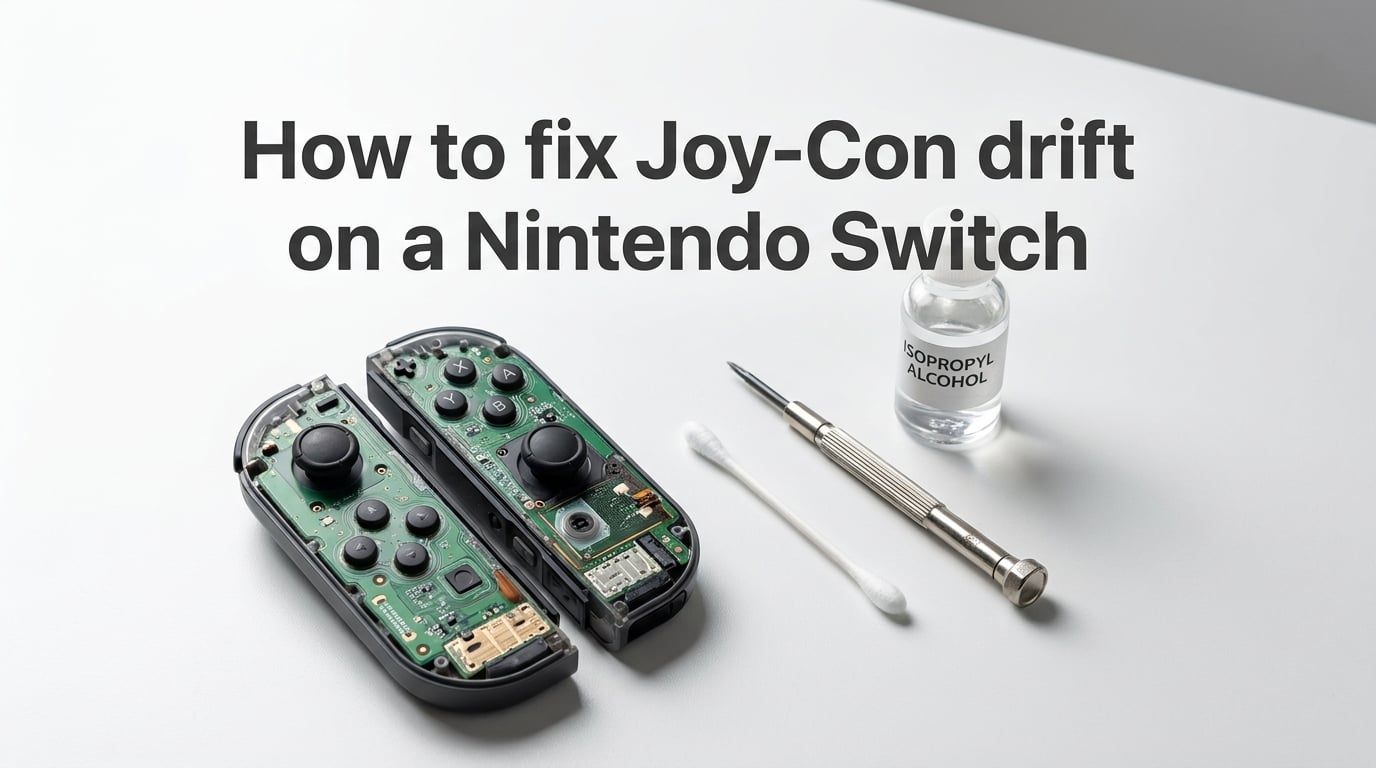
Yes, Joy-Con drift can be fixed. You have five options: recalibrating the controller, cleaning the analog stick with isopropyl alcohol, deep cleaning with disassembly, replacing the stick module yourself, or sending it to Nintendo for a free repair. Most people can fix the issue in under 30 minutes using tools they already have at home.
If you are reading this, you probably noticed your character or camera drifting on screen while your thumbs are nowhere near the stick. That sudden, maddening ghost movement during a boss fight or a competitive match is Joy-Con drift. Our team has tested every fix method listed below across multiple Switch consoles and Joy-Con pairs over the past three years, and we can tell you exactly what works, what wastes your time, and what delivers a permanent solution.
This guide covers how to fix Joy-Con drift on a Nintendo Switch using methods that range from a 2-minute recalibration to a 15-minute analog stick replacement. We will walk you through each option step by step, starting with the simplest fixes and moving to the most permanent solutions.
What Is Joy-Con Drift and Why It Happens
Joy-Con drift happens when your Nintendo Switch controller’s analog stick registers movement even when you are not touching it. The result is your in-game character, cursor, or camera shifting on its own. Sometimes it is a slow creep. Other times it is a sharp, uncontrollable spin that makes the controller unusable.
The root cause lies inside the analog stick mechanism itself. Each Joy-Con stick uses a component called a potentiometer, which is essentially a small electrical contact that tracks the physical position of the stick. Over time, two things damage this component.
First, the metal wiper inside the potentiometer physically wears down the resistive surface through normal friction. Every time you move the stick, you are scraping a tiny contact across a delicate carbon track. After hundreds of hours of use, that track develops grooves and dead spots.
Second, dust, skin particles, and debris sneak past the rubber dust cover and settle on those same electrical contacts. When debris lands on the potentiometer surface, it interferes with the electrical signal. The controller misreads the stick position and sends phantom movement data to the console.
This is a hardware design issue, not something you caused. The original Joy-Con design uses a compact potentiometer mechanism that is particularly vulnerable to wear and contamination. Even players who baby their controllers experience drift. Multiple users on Reddit report drift on brand new Switch units right out of the box.
One pattern our team noticed consistently: the left Joy-Con drifts more often than the right one. This makes sense when you think about gameplay. The left stick handles character movement in almost every game, meaning it gets significantly more physical abuse than the right stick, which often controls camera movement with less frequent, smaller adjustments.
Method 1: Recalibrate Your Joy-Con (Quick Software Fix)
Recalibration should always be your first step. It takes two minutes, costs nothing, and rules out any software glitch that might be mimicking drift. Be aware, though, that recalibration rarely fixes true hardware drift. Community consensus on Reddit is clear on this point. If recalibration solves your problem, you likely had a temporary firmware glitch rather than actual potentiometer wear.
Here is how to calibrate your Joy-Con analog sticks on a Nintendo Switch:
Step 1: Go to the Switch Home screen and select System Settings (the gear icon at the bottom).
Step 2: Scroll down the left menu and select Controllers and Sensors.
Step 3: Select Calibrate Control Sticks.
Step 4: Choose the Joy-Con you want to calibrate (left or right).
Step 5: Follow the on-screen prompts. You will be asked to tilt the stick in each direction, then release it so the system can recenter the neutral position.
Step 6: If the calibration screen shows the crosshair drifting when you are not touching the stick, the problem is hardware-based. Move on to Method 2.
While you are in the settings menu, check for a controller firmware update. Go back to Controllers and Sensors, then select Update Controllers. Nintendo occasionally releases firmware patches that address input recognition. It is a long shot for drift, but worth ruling out.
One quick note: if you only see drift in one specific game, check for a game update before blaming the hardware. Some titles have known camera bugs that mimic stick drift. Navigate to the game icon, press the plus button, and select Software Update.
Method 2: Clean the Analog Stick Without Taking It Apart
This is the most popular community fix for Joy-Con drift, and for good reason. It requires no tools beyond a cotton swab and some isopropyl alcohol. It takes about 10 minutes. And it works, at least temporarily, for most people experiencing mild to moderate drift.
Many Reddit users in the r/NintendoSwitch community report success with this method. The process involves lifting the rubber dust cover under the analog stick and cleaning the potentiometer contacts underneath. Here is exactly how to do it.
What you need:
– Isopropyl alcohol (90% or higher concentration)
– A cotton swab (Q-tip) or two
– A thin plastic pry tool or your fingernail
– A clean microfiber cloth
Step 1: Power off your Nintendo Switch console completely. Do not just put it to sleep. Hold the power button and select Power Options, then Turn Off.
Step 2: Detach the Joy-Con from the console so you can work on it freely.
Step 3: Locate the rubber dust cover at the base of the analog stick. This is the thin flap of rubber where the stick meets the Joy-Con body.
Step 4: Gently lift the edge of the rubber dust cover using your fingernail or a thin plastic tool. You do not need to remove it completely. Just create enough of an opening to access the gap beneath the stick.
Step 5: Dampen the tip of a cotton swab with isopropyl alcohol. Do not soak it. You want it moist, not dripping. Excess liquid can seep into the electronics and cause other problems.
Step 6: Insert the damp cotton swab tip under the rubber cover and around the base of the analog stick. Rotate the stick in full circles while gently wiping the internal contacts. This helps the alcohol reach the potentiometer surface and break down any debris or residue.
Step 7: Let the Joy-Con sit for at least 15 to 20 minutes so the alcohol can fully evaporate. Do not reattach it while it is still wet.
Step 8: Reattach the Joy-Con, power on the console, and test the stick in the calibration menu. If the crosshair stays centered when you release the stick, the cleaning worked.
Important warning: Never use water, hand sanitizer, or household cleaning sprays inside your Joy-Con. Only use high-concentration isopropyl alcohol, which evaporates quickly and leaves no residue. Some users report success with electrical contact cleaner, but spray types can be harder to control and risk over-saturating the mechanism.
How long does this fix last? It depends on how worn the potentiometer is. Some users report the drift staying away for months. Others see it return within days. Cleaning removes debris but does not repair physical wear on the carbon track. If drift returns quickly after cleaning, you are dealing with potentiometer damage and should consider replacement.
Method 3: Deep Clean With Disassembly
If the external cleaning method did not work or only helped temporarily, you can open the Joy-Con and clean the analog stick mechanism directly. This gives you much better access to the potentiometer contacts.
Warning: Opening your Joy-Con will void any remaining warranty. If your controller is still under warranty, skip this method and use the free Nintendo repair option in Method 5 instead.
What you need:
– A Y00 Tri-wing screwdriver
– A small Phillips screwdriver
– Isopropyl alcohol (90% or higher)
– Cotton swabs
– A plastic pry tool or spudger
– Tweezers
Step 1: Remove the four tri-wing screws on the back of the Joy-Con.
Step 2: Carefully pry the back plate off using a plastic spudger. Work slowly around the edges to release the clips.
Step 3: Disconnect the battery connector gently using the plastic pry tool.
Step 4: Locate the analog stick module. You will see the potentiometer contacts exposed on the side of the mechanism.
Step 5: Apply a small amount of isopropyl alcohol to a cotton swab and clean the visible potentiometer contacts directly. Rotate the stick while cleaning to access the full surface.
Step 6: Let everything dry completely, then reassemble in reverse order.
This method gives you direct access to the contacts, so it can remove debris that the external cleaning missed. However, if the potentiometer surface is physically worn down, cleaning will not help for long. At that point, replacement is your only reliable option.
Method 4: Replace the Analog Stick (Permanent DIY Fix)
If cleaning only provides temporary relief, replacing the analog stick module is the most reliable permanent fix you can do at home. Experienced users on Reddit describe this as a 15-minute surgery that requires patience but no special skills.
The process involves removing the old analog stick module and soldering in a new one. If you do not have a soldering iron, you can buy replacement Joy-Con stick modules that come pre-attached to a ribbon cable, which makes the swap much easier.
Cost comparison: A standard replacement analog stick costs roughly $8 to $15. A set of tools (tri-wing screwdriver, soldering iron, solder) runs another $20 to $30 if you do not already own them. Compare that to buying a new Joy-Con pair at full retail price, and the savings are significant.
Here is the high-level process:
Step 1: Follow the disassembly steps from Method 3 to open the Joy-Con and access the analog stick module.
Step 2: Desolder the old analog stick module from the circuit board. There are typically four solder points to remove.
Step 3: Remove the old module and insert the replacement in the same orientation.
Step 4: Solder the new module into place. Take your time and make clean connections.
Step 5: Reassemble the Joy-Con, recalibrate the stick in System Settings, and test.
For a detailed visual walkthrough, iFixit offers an excellent step-by-step guide with photos for every stage of the repair. Our team recommends following their guide alongside this article if you are attempting the replacement for the first time.
Should you upgrade to a TMR or Hall effect joystick? This is worth serious consideration. Standard replacement sticks use the same potentiometer design that caused drift in the first place, meaning the problem will eventually return.
TMR (Tunneling Magnetoresistance) and Hall effect joysticks use magnetic sensors instead of physical contacts to track stick position. Because there is no physical contact wearing down, these modules are effectively immune to the drift caused by potentiometer wear.
Users who have upgraded to TMR or Hall effect sticks report a permanent fix. The trade-off is cost, as these modules run $15 to $25 each, and they require the same soldering process. If you are already opening the Joy-Con and have a soldering iron, spending a few extra dollars on a drift-proof upgrade is worth it.
One thing to note: installing TMR or Hall effect sticks will definitely void your warranty. If you value the warranty, use the free Nintendo repair option first. Once the warranty is expired, this upgrade becomes the smartest long-term investment.
Method 5: Send It to Nintendo for Free Repair
Nintendo offers free Joy-Con repair for drift issues in many regions. This is the option Nintendo officially recommends, and it does not require you to open the controller or buy any tools. The repair is free, and Nintendo covers shipping in most cases.
Who qualifies for free repair? Nintendo has been offering complimentary Joy-Con drift repairs across multiple regions. In the European Economic Area (EEA), the United Kingdom, and Switzerland, Nintendo provides free repair service for Joy-Con drift. In North America, Nintendo has also been processing drift-related repairs free of charge, though the official policy has shifted over time.
Our team recommends submitting a repair request directly through the Nintendo support website for your region. Even if you are outside the areas listed above, it is worth checking. Many users report receiving free repairs even without an active warranty.
How to submit a repair request:
Step 1: Visit the official Nintendo support website for your region (support.nintendo.com for North America).
Step 2: Navigate to the Repair section and select Joy-Con as the product type.
Step 3: Describe the issue as analog stick drift. Nintendo’s system recognizes this as a known issue.
Step 4: Provide your Joy-Con serial number and contact information.
Step 5: Nintendo will send you a prepaid shipping label. Pack the Joy-Con securely and mail it in.
How long does Nintendo repair take? This is where the free option shows its weakness. Based on user reports, the full process typically takes 2 to 4 weeks from the time you ship the controller to the time you receive it back. That includes shipping time, the repair itself, and return shipping.
One important consideration from the community: Nintendo replaces the stick with the same type of potentiometer-based module. This means the drift can return over time. Many users who sent their Joy-Cons in for free repair experienced drift again within months. If you want a fix that truly lasts, the TMR or Hall effect upgrade from Method 4 is the only option that addresses the root cause.
That said, the free repair is still worth using if your warranty is active. There is no reason to void your warranty when Nintendo will fix it for free. Once the warranty expires, consider the permanent upgrade.
How to Prevent Joy-Con Drift
Preventing Joy-Con drift is not entirely possible due to the hardware design, but you can slow it down significantly with a few habits.
Clean the stick groove regularly. Use a dry cotton swab to gently wipe around the base of the analog stick once a month. This removes dust before it works its way under the rubber cover.
Store your Switch in a case. When you are not playing, keep the console and Joy-Cons in a carrying case or dust cover. This prevents airborne particles from settling into the stick mechanism.
Avoid eating while playing. Grease and food particles are among the worst offenders for potentiometer contamination. Keep snacks away from your controller.
Use contact cleaner as maintenance. Some users apply a tiny amount of electrical contact cleaner to the stick base every few months as preventive maintenance. This can help clear out debris before it causes problems.
Be mindful of stick pressure. Avoid pressing the analog stick excessively hard during intense gaming moments. The potentiometer mechanism is delicate, and aggressive handling accelerates wear on the carbon track.
Which Fix Method Should You Choose?
Here is a quick breakdown to help you decide which method fits your situation:
Try calibration first if the drift just started and you have not changed anything. It takes 2 minutes and rules out software issues.
Try the no-disassembly cleaning if calibration does not help and you want a fast, free fix. This is the method most people should start with.
Deep clean with disassembly if the external cleaning did not work and your warranty is already expired.
Replace the stick module if cleaning only provides temporary relief and you want a lasting fix. Upgrade to TMR or Hall effect for a permanent solution.
Use Nintendo’s free repair if your warranty is active and you can tolerate being without the controller for a few weeks. This is the safest option for anyone uncomfortable with tools.
For Switch Lite owners, the situation is different. The controllers are built into the console, so you cannot detach and mail them separately. Nintendo offers free repair for Switch Lite drift as well, but you would need to send the entire console. DIY repair is also possible but significantly more involved.
If you also use a Switch Pro Controller and are experiencing drift on that, the same cleaning and calibration methods apply. Pro Controller stick replacement is also possible but requires different disassembly steps.
FAQs
Can Joy-Con stick drift be fixed?
Yes, Joy-Con stick drift can be fixed. The most common methods are recalibrating the controller, cleaning the analog stick with isopropyl alcohol, replacing the stick module, or sending the Joy-Con to Nintendo for free repair. Cleaning provides a temporary fix, while replacing the analog stick module with a TMR or Hall effect upgrade offers a permanent solution.
Can you actually fix stick drift?
Yes. You can fix stick drift using one of five methods: recalibration, external cleaning with isopropyl alcohol, deep cleaning with disassembly, DIY analog stick replacement, or Nintendo’s free repair service. The cleaning method takes about 10 minutes and works for most mild cases, while replacement takes about 15 minutes and provides a long-term fix.
Does Nintendo still fix Joy-Con Drift for free?
Yes, Nintendo still offers free Joy-Con drift repair in many regions, including the European Economic Area, the United Kingdom, Switzerland, and North America. You can submit a repair request through the official Nintendo support website. The process typically takes 2 to 4 weeks including shipping time, and Nintendo covers the shipping cost in most cases.
What causes joy stick drift?
Joy-Con drift is caused by two main factors: physical wear on the potentiometer inside the analog stick mechanism, and contamination from dust and debris that enters through the rubber dust cover. The potentiometer uses a metal contact that scrapes across a carbon track, and over time this wears down the surface, causing incorrect position readings. Debris landing on the contacts interferes with the electrical signal, producing phantom movement.
Conclusion
Learning how to fix Joy-Con drift on a Nintendo Switch is something every Switch owner should know, because the hardware design makes drift a near-inevitability over time. Start with the quick calibration check, try the isopropyl alcohol cleaning method for a fast fix, and consider a TMR or Hall effect stick replacement if you want to solve the problem permanently.
If your warranty is still active, take advantage of Nintendo’s free repair service before attempting any DIY fixes. And if you want to never deal with drift again, investing in magnetic sensor joysticks is the way to go. Your future self will thank you during the next intense gaming session.